How to Draw a Kudu: Easy 10-Step Safari Animal Guide
Bring the African savanna to your sketchbook with this beginner-friendly kudu drawing tutorial. Designed for young artists ages 5 and up, this guide uses basic shapes to build confidence and artistic skill. Grab your pencil, eraser, and paper, and let's get started on this safari adventure!
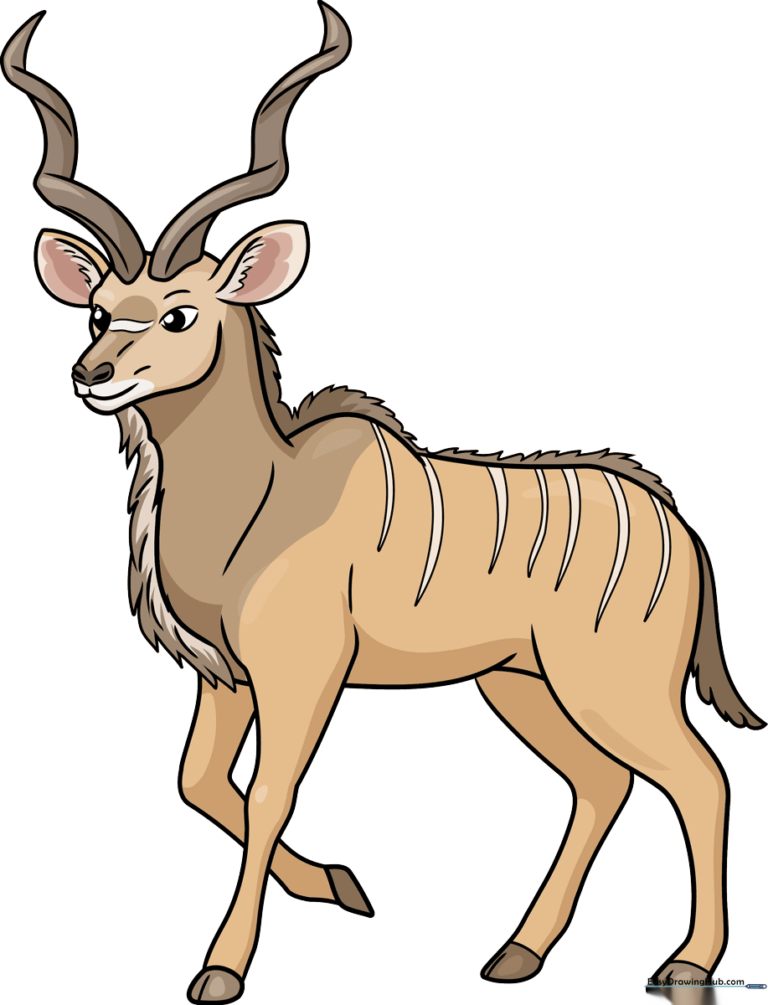
🎯 Final Result
Step-by-Step Instructions
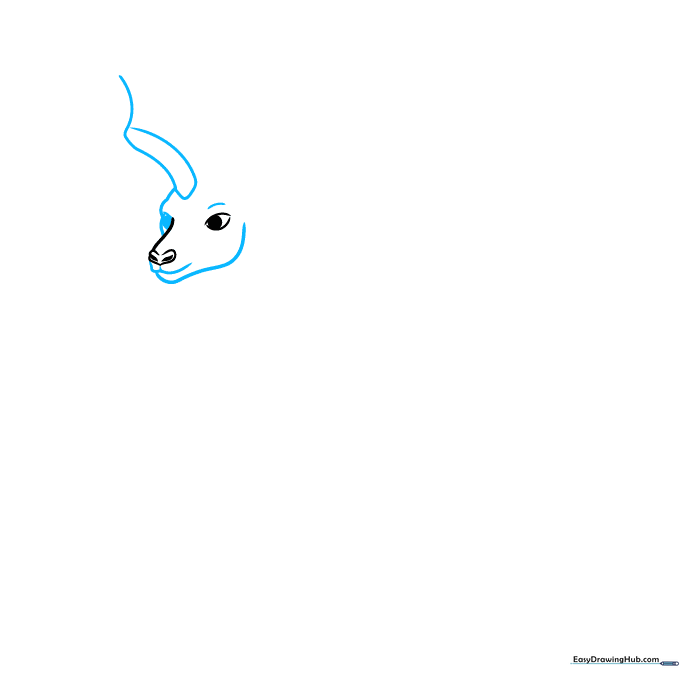
Step 1: Sketching the Kudu's Face

Start by drawing the snout and the eye. Use a soft, curved line for the nose and an almond shape for the eye. Teacher's Tip: Keep your pencil lines light so you can easily erase any mistakes as you refine the shape of the face.
Step 2: Defining the Jaw and Horn Base
Draw the lower jaw and the side of the face using smooth, overlapping curves. Then, draw a long, curved line that doubles back to start the base of the horn. Teacher's Tip: Think of the horn base like a gentle 'S' curve to give it a natural look.
Step 3: Adding the Spiral Horns
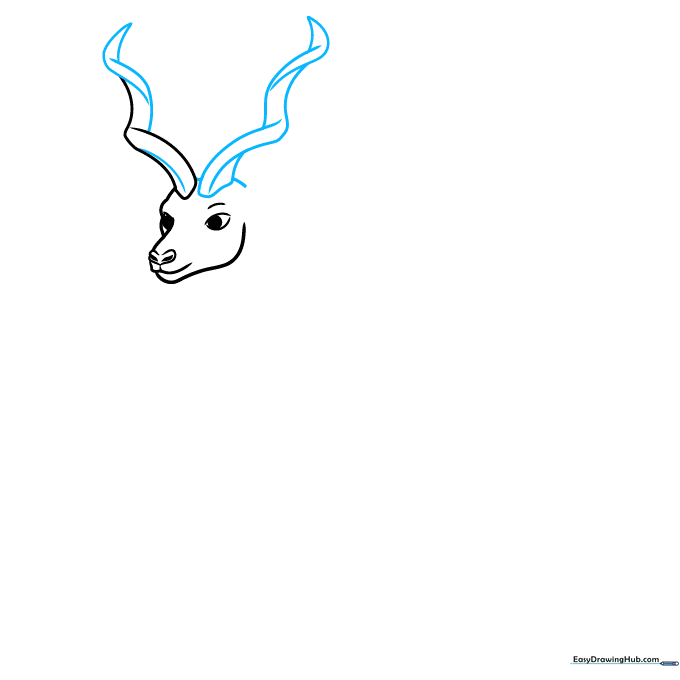
Continue the spiral shape for both horns. Add small, horizontal curved lines across the horns to create a 3D effect. Teacher's Tip: Don't worry about making them perfectly symmetrical; nature is full of beautiful variations!
Step 4: Ears and Neck Mane
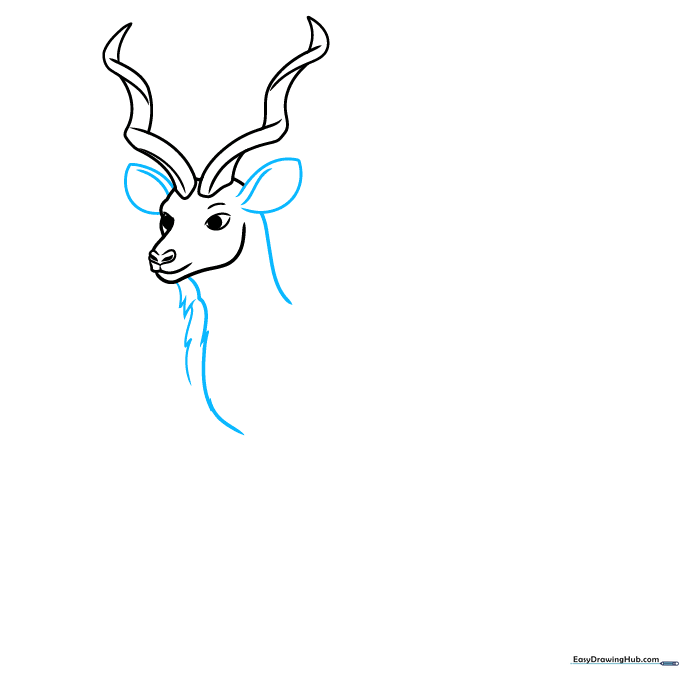
Draw the large, pointed ears and extend the neck downwards. Use short, jagged lines to sketch the hairy mane along the front of the neck. Teacher's Tip: Use quick, flicking motions with your pencil to make the mane look like real fur.
Step 5: Drawing the Front Leg
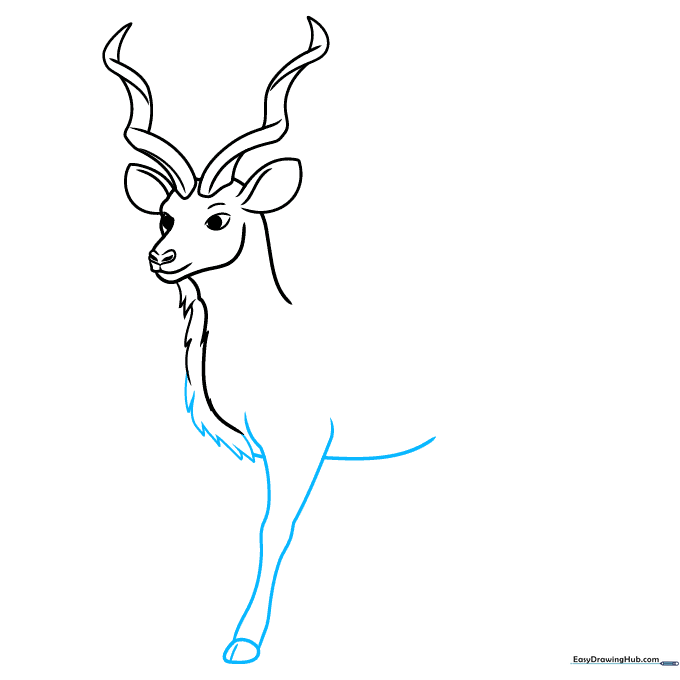
Extend long, graceful lines for the front leg and belly. At the base, draw a small circle and split it to create the hoof. Teacher's Tip: Keep the leg lines relatively straight to show the strength of the animal.
Step 6: Shaping the Back and Hips
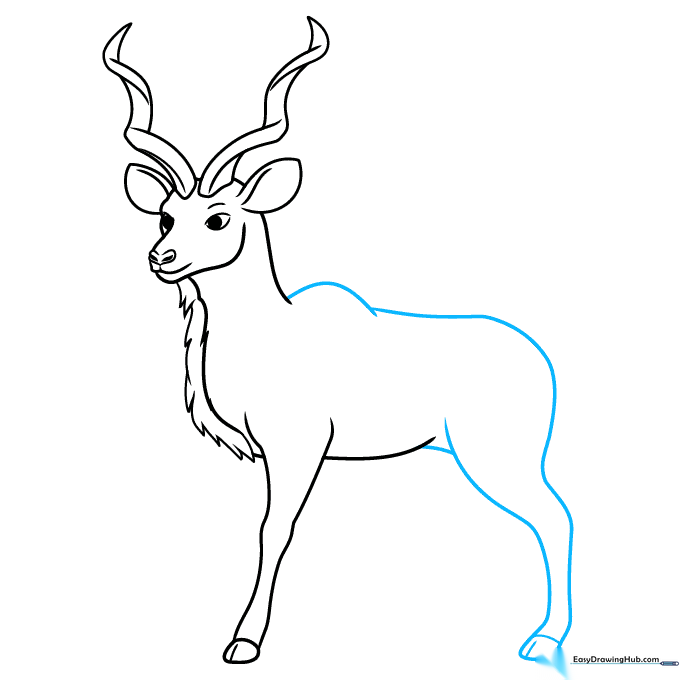
Use smooth, sweeping curves to draw the shoulder, back, and hips. Add the rear leg with a hoof at the bottom. Teacher's Tip: Imagine the kudu is mid-stride to give your drawing a sense of movement.
Step 7: Adding the Remaining Legs
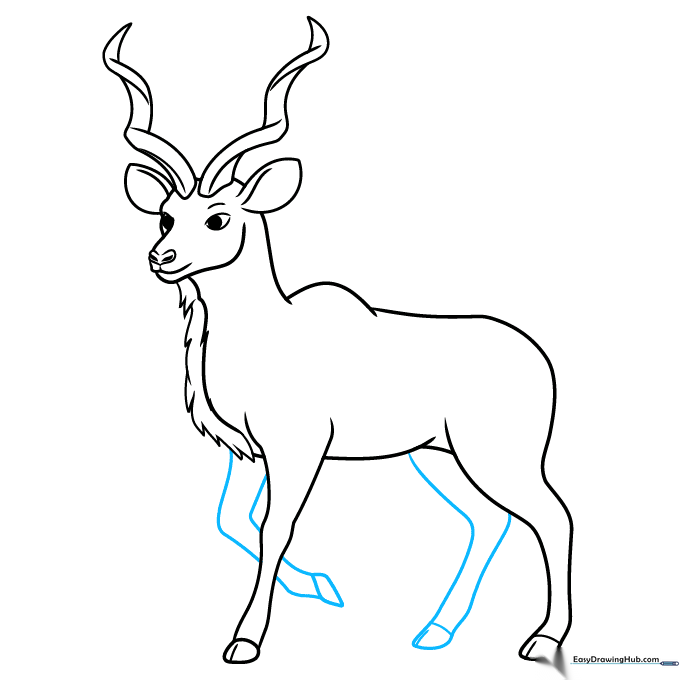
Draw the two legs on the far side of the body using pairs of lines. Don't forget to add the hooves! Teacher's Tip: Draw these legs slightly higher up on the page than the front legs to create a sense of depth.
Step 8: Adding Texture and Tail
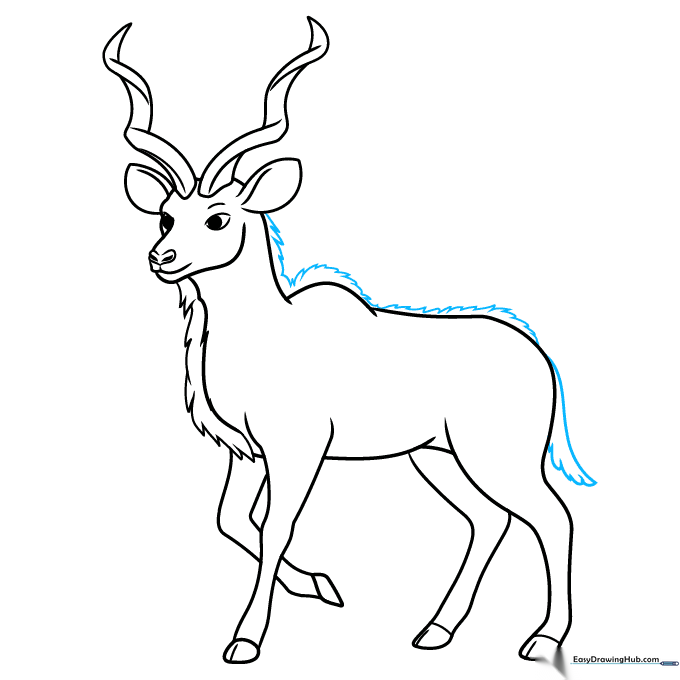
Use jagged lines to finish the mane along the back and add a small, flicked tail. Teacher's Tip: Vary the length of your jagged lines to make the fur look natural and unkempt.
Step 9: Final Details and Stripes
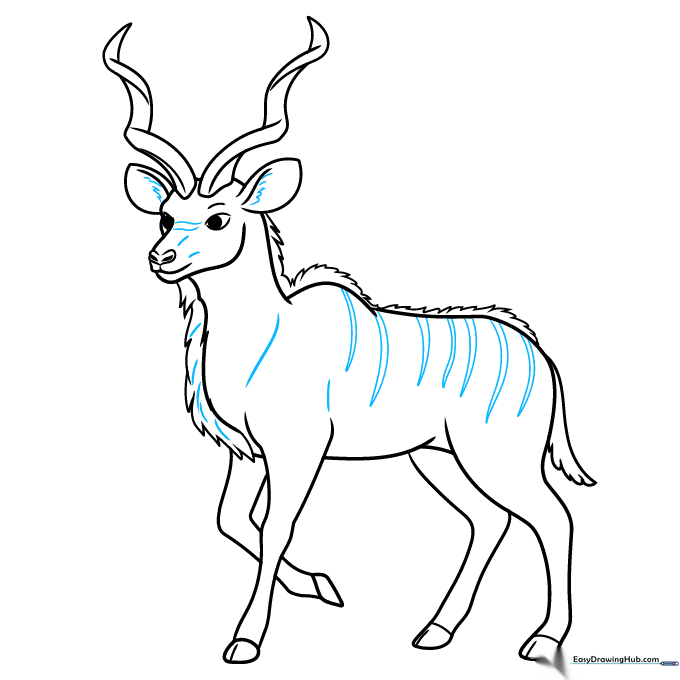
Add small lines to the face and ears for detail. Draw the kudu's iconic white stripes along its back using pairs of lines that meet at sharp points. Teacher's Tip: Keep the stripes thin and spaced out to match the kudu's real-life pattern.
Step 10: Bring Your Kudu to Life with Color
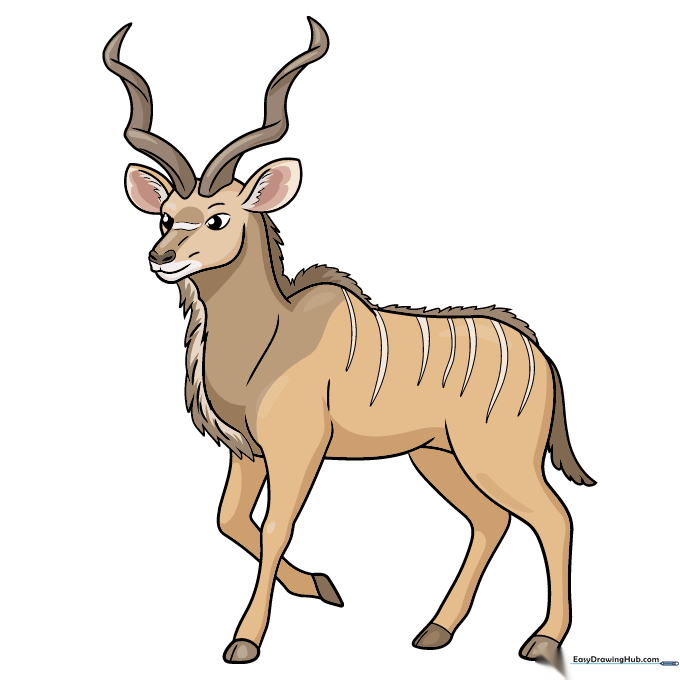
Your outline is ready! Use tan and brown for the body, and leave the stripes white. Teacher's Tip: Use a light brown colored pencil for the base and a darker shade to add subtle shadows under the belly and legs for a professional finish.
More Tutorials


