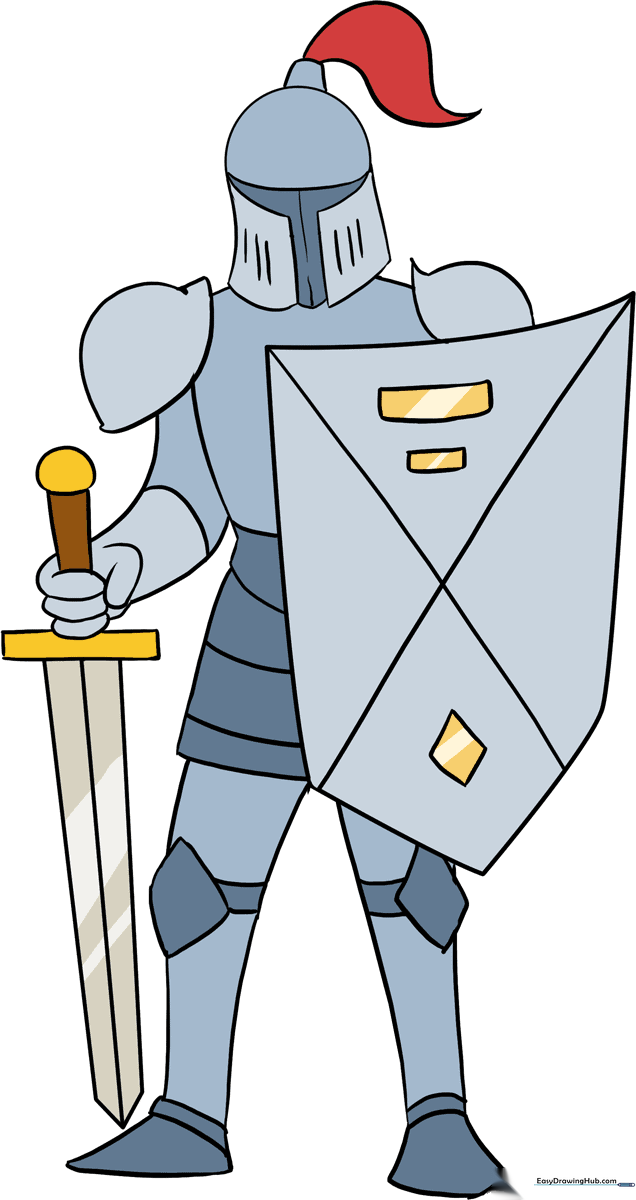
How to Draw a Knight: Easy 10-Step Guide for Kids
Ready to embark on a medieval adventure? This tutorial is perfect for young artists ages 6+ who want to draw their own heroic knight. You'll only need a pencil, an eraser, and some paper to bring this armored protector to life.
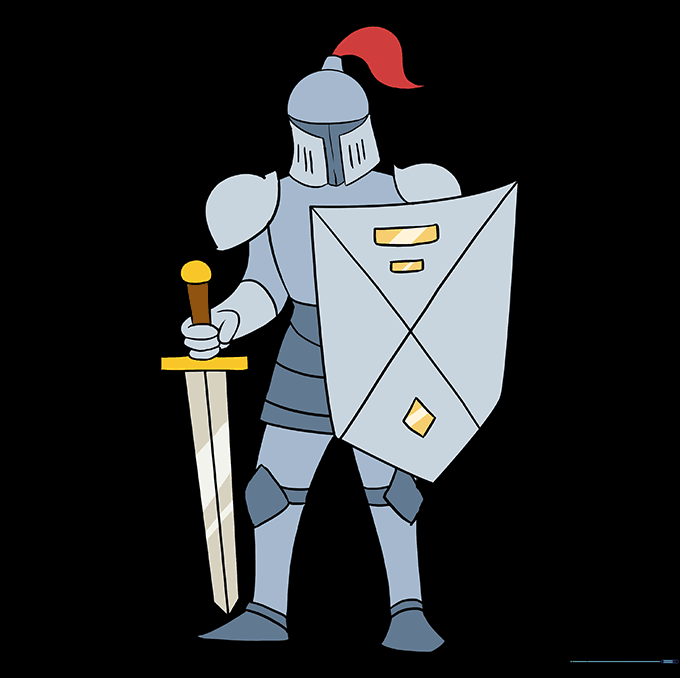
🎯 Final Result
Step-by-Step Instructions
Step 1: Sketching the Helmet Base
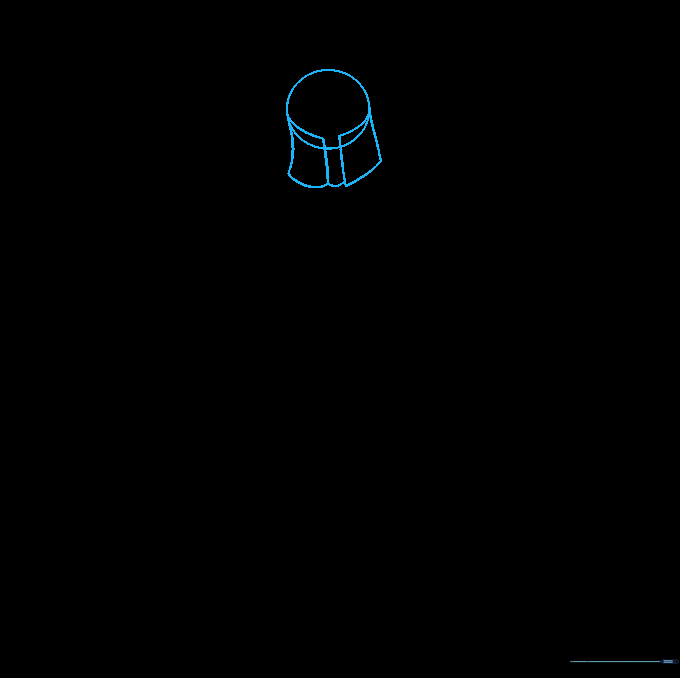
Start by drawing a circle for the helmet. Inside, add two curved lines for the visor, then extend two parallel lines downward to form the neck. Tip: Keep the circle light—it’s just a guide for the head shape!
Step 2: Forming the Breastplate
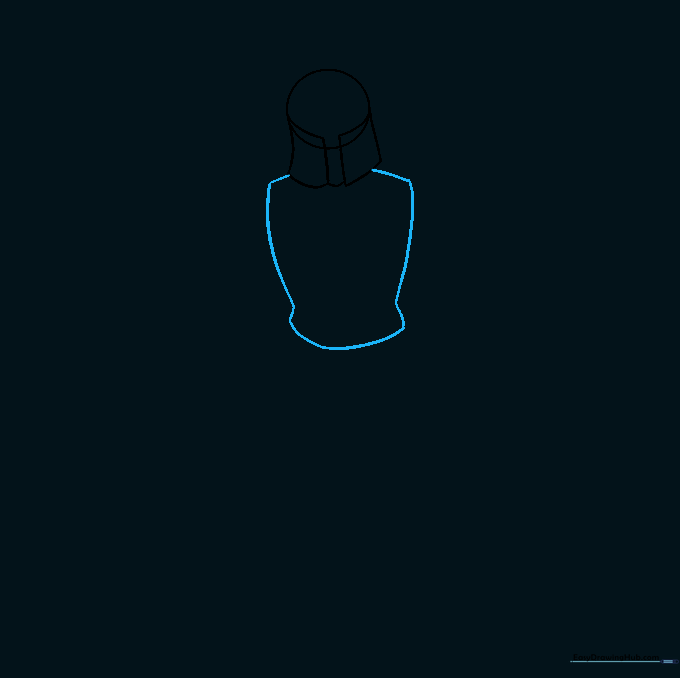
Draw the chest armor beneath the helmet using curved lines that meet at rounded corners. Tip: Make the armor curve inward slightly at the waist to give your knight a realistic, athletic posture.
Step 3: Adding the Tasset
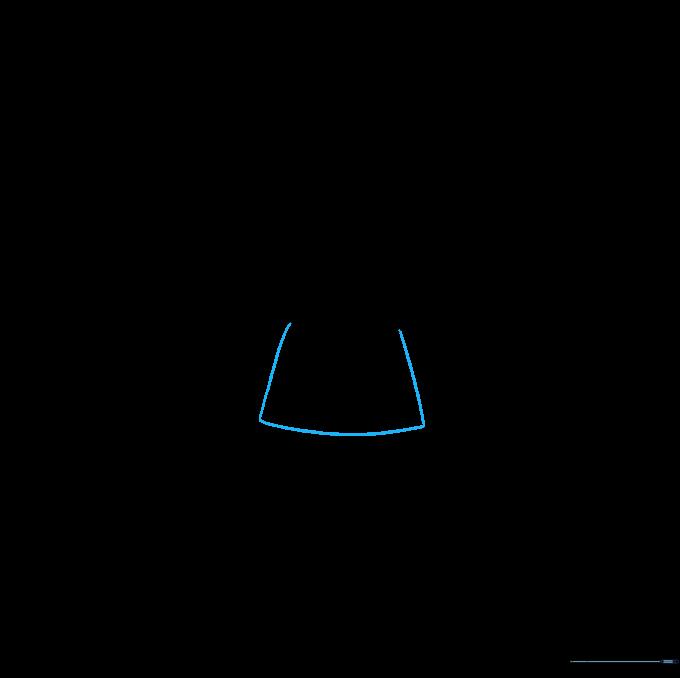
Extend two slightly curved lines downward from the breastplate and connect them with a bottom curve to create the tasset (the skirt of the armor). Tip: Ensure the lines are symmetrical for a balanced look.
Step 4: Outlining the Shield
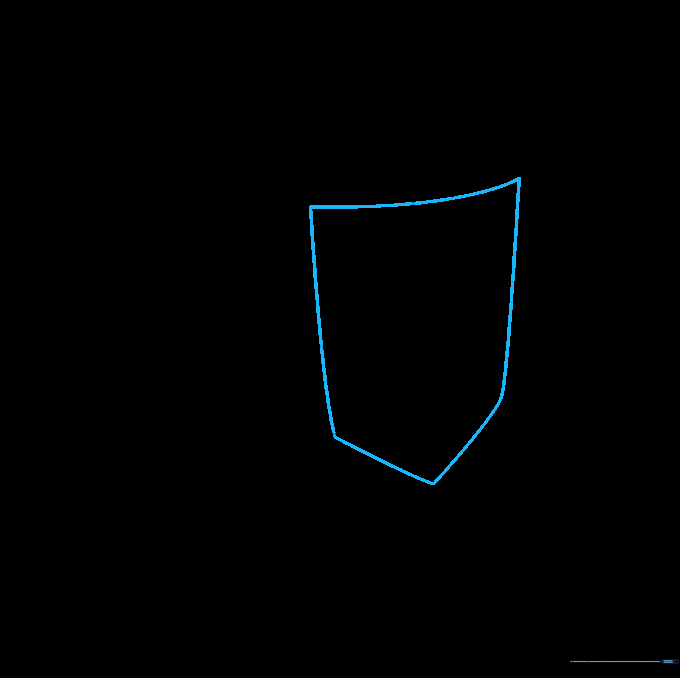
Draw a large shield by extending a curved line across the chest and angling two lines downward to a point. Tip: Use a ruler if you want the shield edges to look extra sharp and metallic.
Step 5: Cleaning Your Sketch

Carefully erase the overlapping guide lines inside the shield area. Tip: Use a kneaded eraser to lift graphite without smudging your paper.
Step 6: Adding Shield Detail and Shoulders
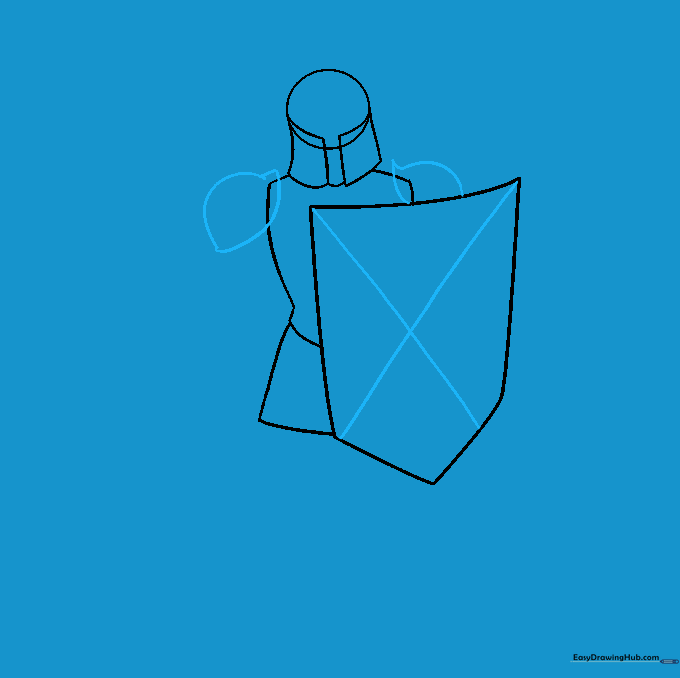
Add diagonal lines to the shield for a classic look, then draw the shoulder plates using half-circles. Tip: The shoulder plates should look like rounded caps sitting on top of the arms.
Step 7: Drawing Arms and Legs
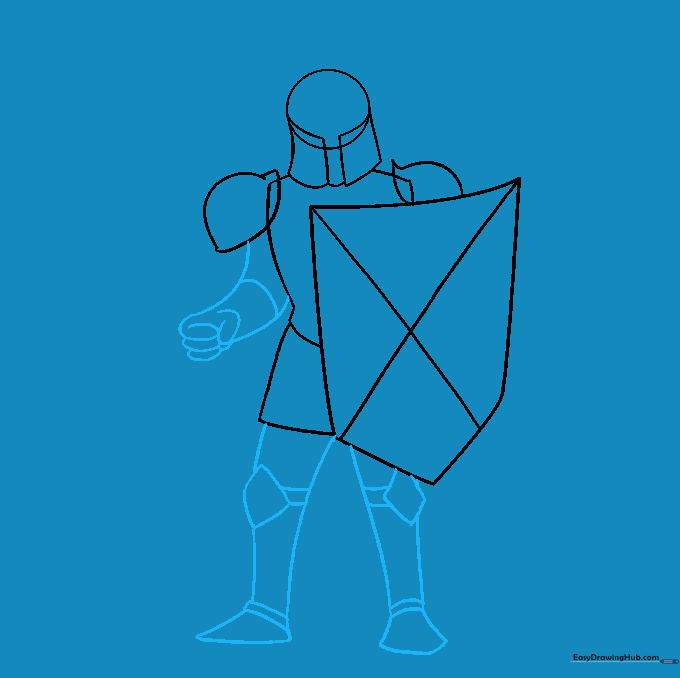
Sketch the arms, gauntlets, and legs using curved lines. Add diamond shapes at the knees for extra detail. Tip: Draw the knee diamonds slightly larger to make the armor look sturdy.
Step 8: Final Cleanup

Erase any remaining guide lines on the helmet and shoulders to make your knight look polished. Tip: Check your drawing from a distance to ensure the proportions look right.
Step 9: Adding the Sword and Helmet Details
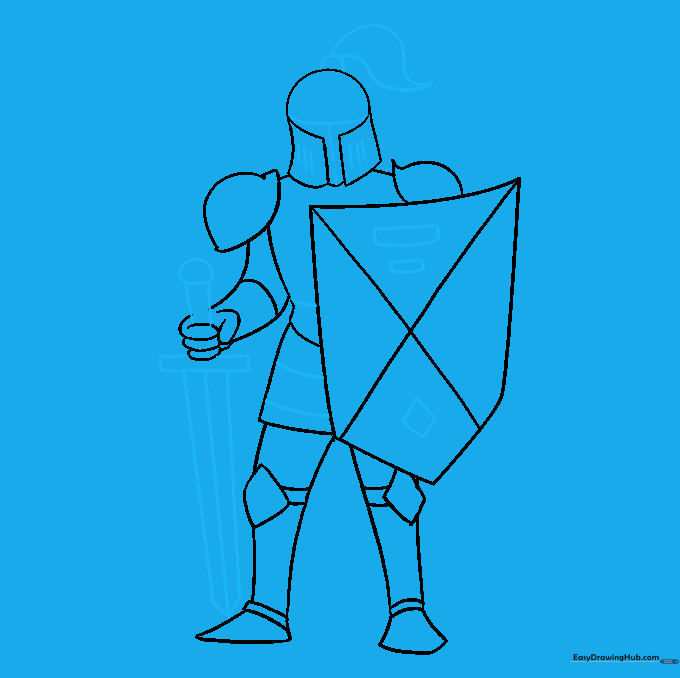
Draw a sword with a pommel and guard, then add horizontal and vertical lines to the helmet visor. Tip: Use short, quick strokes for the sword blade to keep it looking sharp.
Step 10: Bring Your Knight to Life
Add color to your knight! Use metallic tones for the armor and bright colors for the shield crest. Tip: Try using a silver gel pen for highlights on the armor to make it pop.
More Tutorials


