How to Draw a Knight Helmet: Easy 10-Step Guide
Ready to gear up for a medieval adventure? This tutorial is perfect for young artists ages 5+ looking to draw a classic knight's helmet. All you need is a pencil, an eraser, and some paper to bring this piece of armor to life.
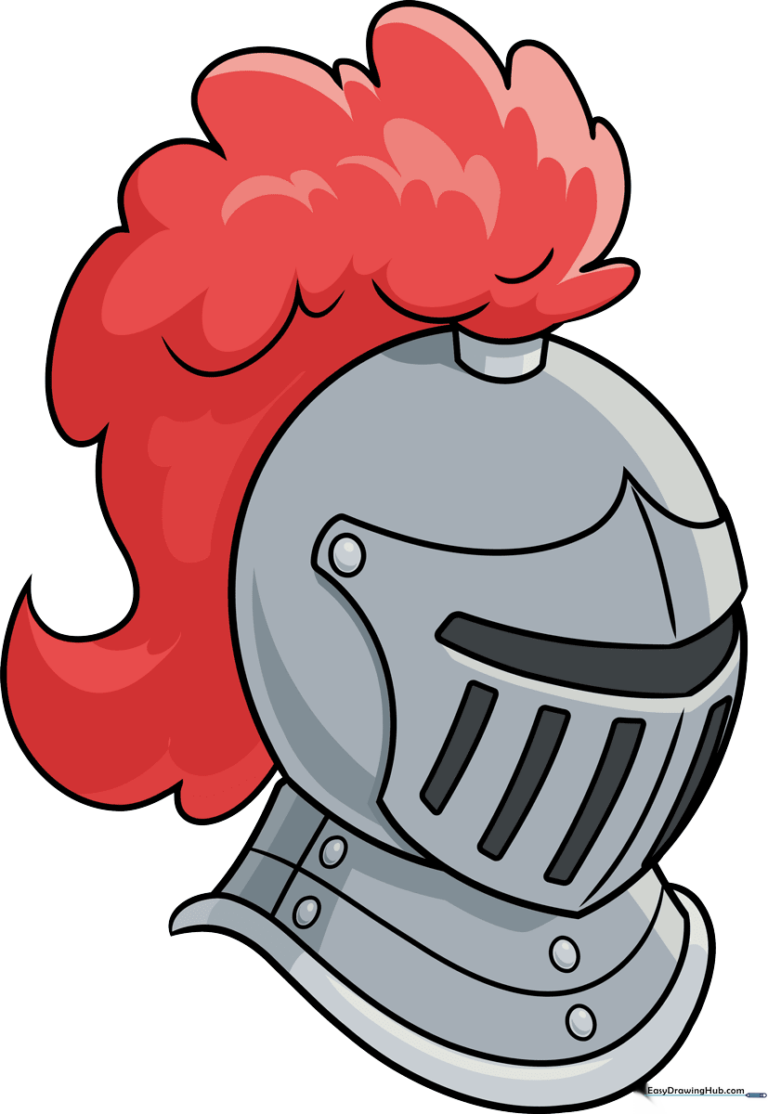
🎯 Final Result
Step-by-Step Instructions
Step 1: Sketching the Helmet Base
Draw two long, overlapping curved lines to form the main dome of the helmet. Teacher's Tip: Keep your lines light and loose; since this is the foundation, you'll want to be able to erase any overlapping marks later.
Step 2: Defining the Visor

Use a series of curved lines that meet at points to outline the front visor. Teacher's Tip: Imagine the visor is like a shield for the face; make sure your lines are bold to show where the metal plate begins.
Step 3: Creating the Eye Slit
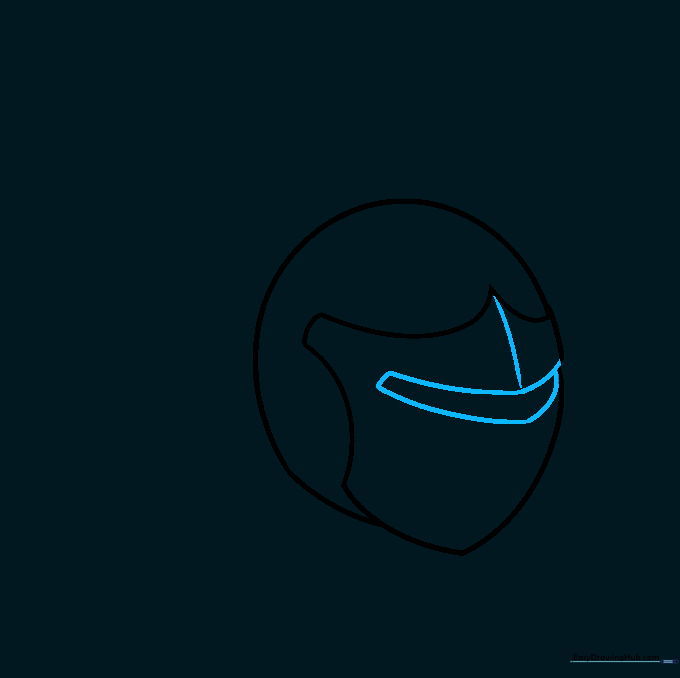
Draw a narrow, bent rectangle on the visor to create the eye slit. Add a curved contour line above it. Teacher's Tip: Keep the slit thin—this is where the knight peers out to spot dragons!
Step 4: Adding Vents and Hinges
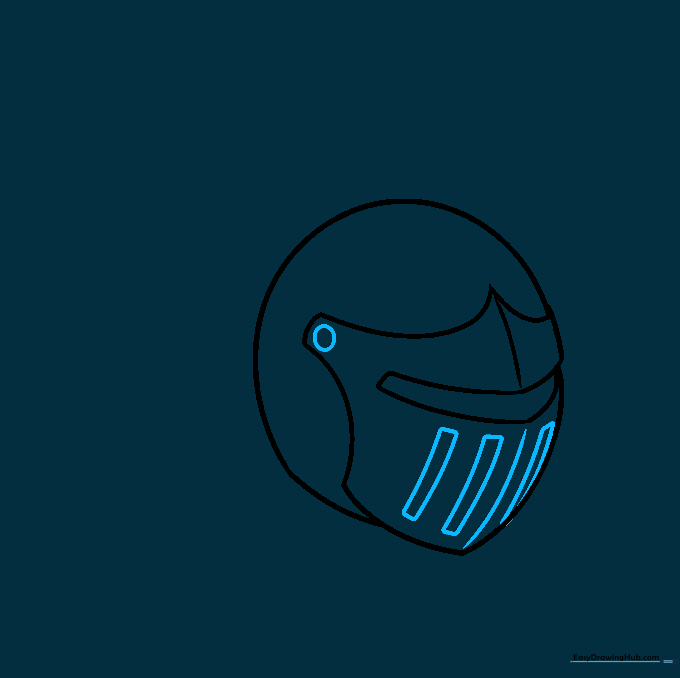
Sketch diagonal rectangles for the vent-tail and a small circle on the corner for the hinge. Teacher's Tip: The circle represents the bolt that allows the visor to flip up. Press firmly with your pencil to make the bolt pop.
Step 5: Drawing the Gorget
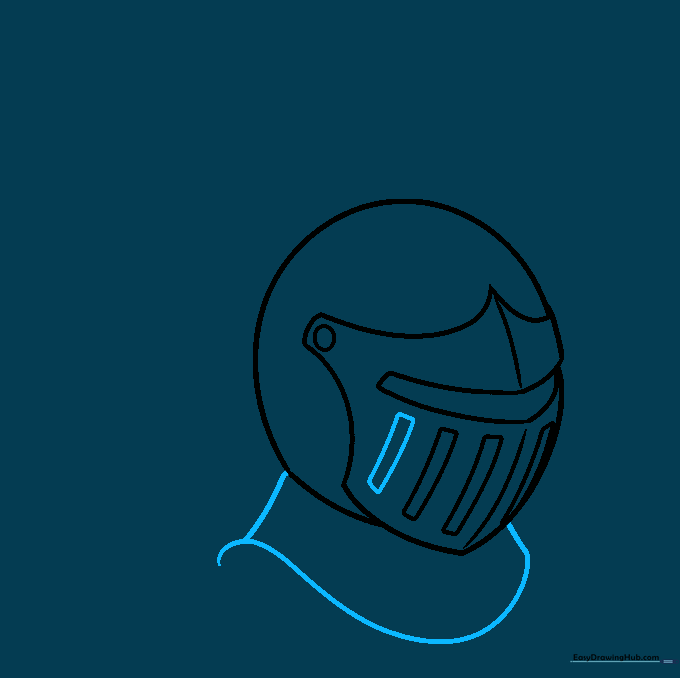
Outline the gorget, the neck-protecting piece, using overlapping curved lines. Teacher's Tip: Think of this as a collar made of metal; keep the curves smooth to mimic the shape of shoulders.
Step 6: Adding Armor Details
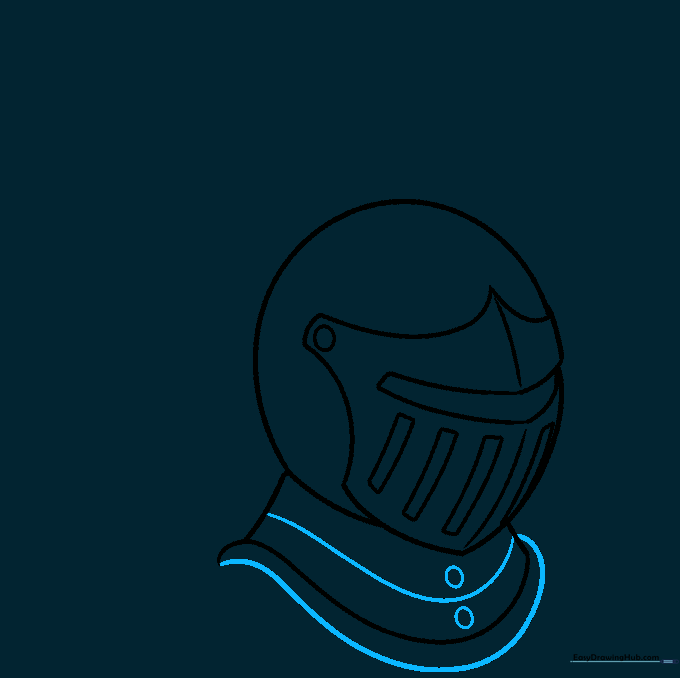
Add horizontal lines and small circles to the gorget to represent bolts. Teacher's Tip: These little circles add realism—they show how the armor is held together!
Step 7: Starting the Plume
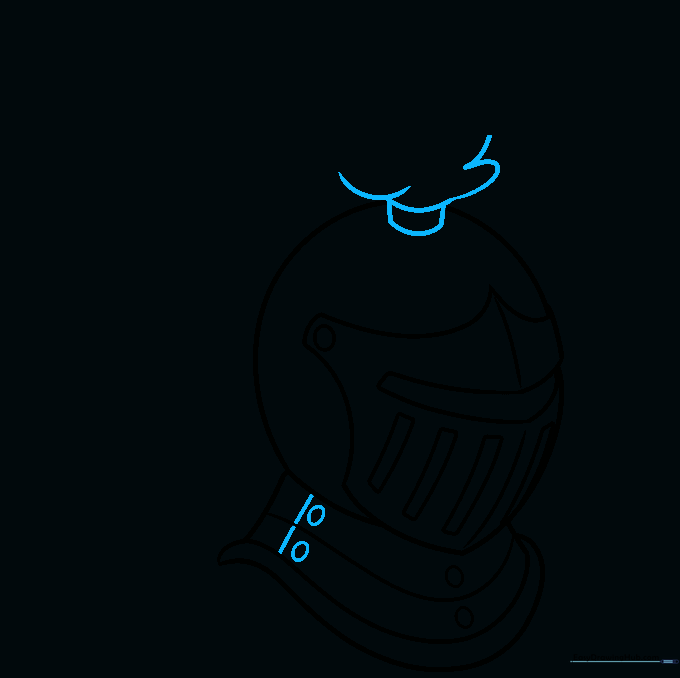
Draw a diagonal line on the gorget and start sketching the base of the plume on top of the helmet. Teacher's Tip: Use a light touch for the plume base so you can layer the 'feathers' over it later.
Step 8: Creating the Plume Texture
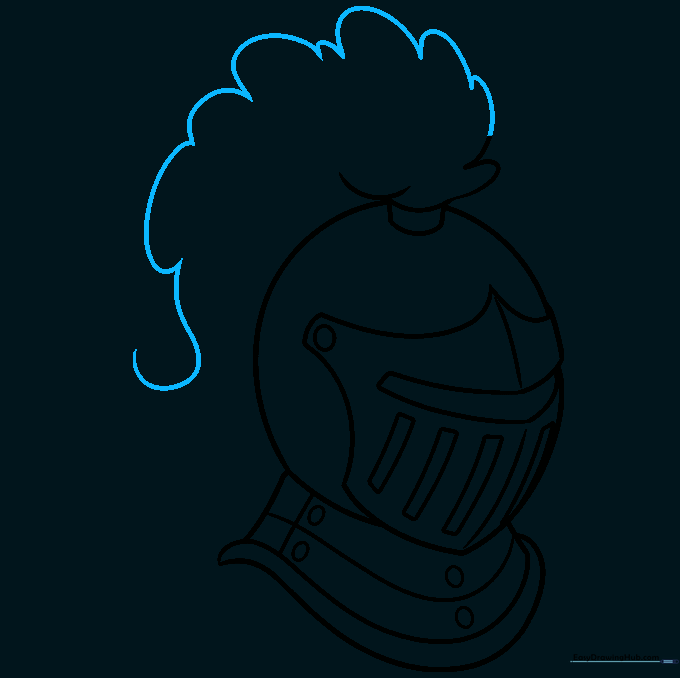
Use 'U' shaped lines to create a fluffy, cloud-like texture for the plume. Teacher's Tip: Vary the size of your 'U' shapes to make the feathers look natural and soft.
Step 9: Finalizing the Plume
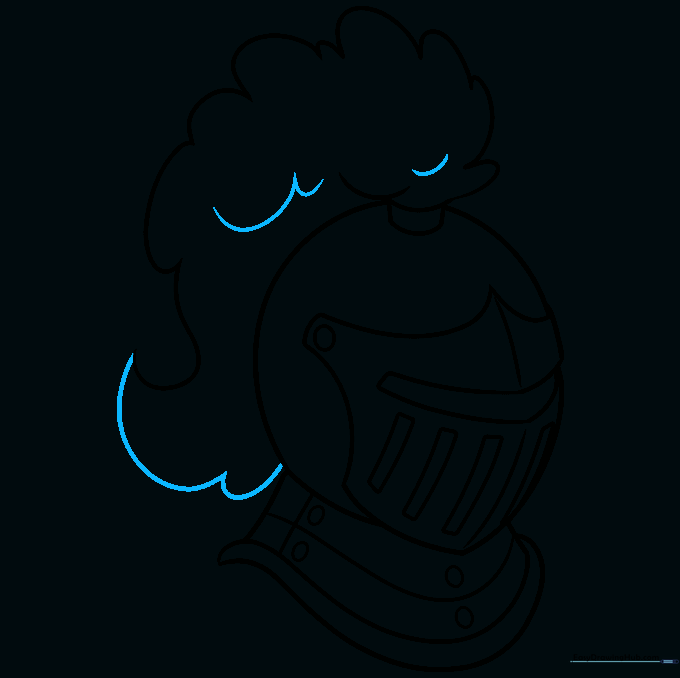
Complete the plume by tapering the lines to a point. Add extra curved lines for texture. Teacher's Tip: A sharp point at the top makes the plume look like it's flowing in the wind!
Step 10: Adding Color
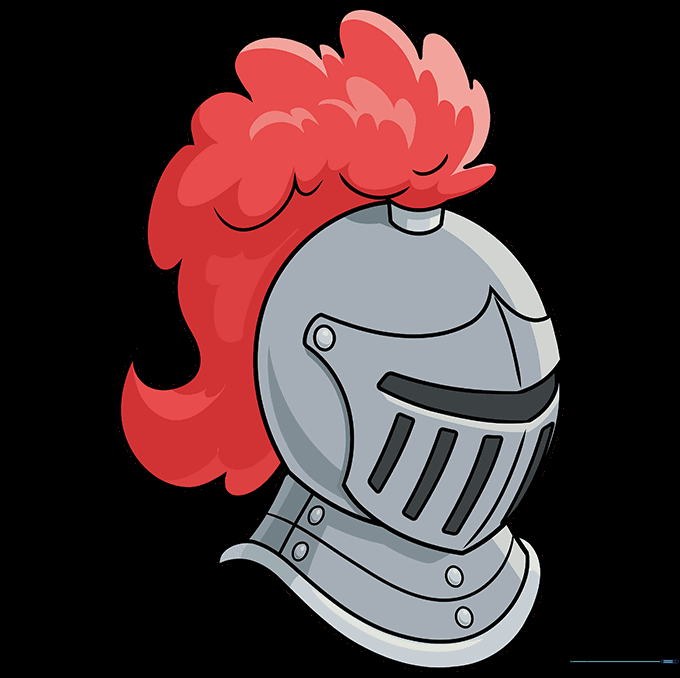
Bring your knight to life with color! Use silver or grey for the metal and bold reds or purples for the plume. Teacher's Tip: Color in one direction to keep your drawing looking neat and professional.
More Tutorials


