How to Draw a Knife: Easy 10-Step Guide for Beginners
Ready to sharpen your drawing skills? This tutorial is perfect for young artists and beginners looking to practice clean lines and geometric shapes. All you need is a pencil, an eraser, and a piece of paper to bring this classic design to life.
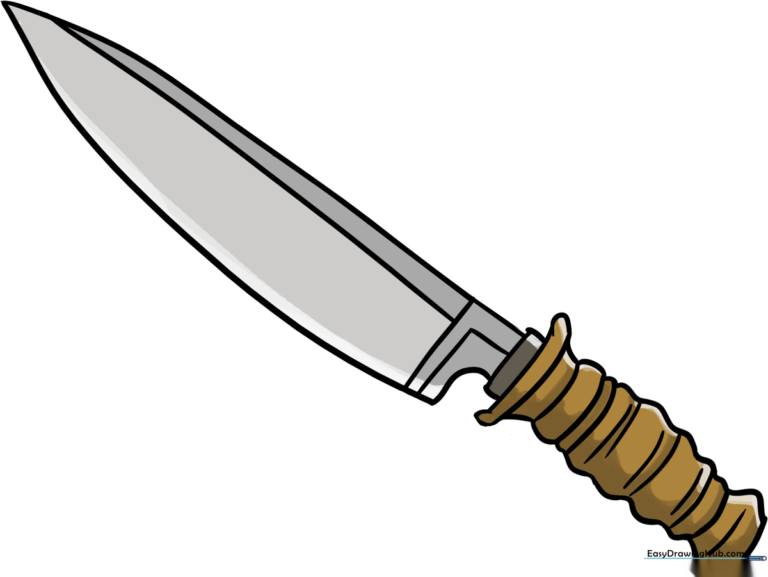
🎯 Final Result
Step-by-Step Instructions
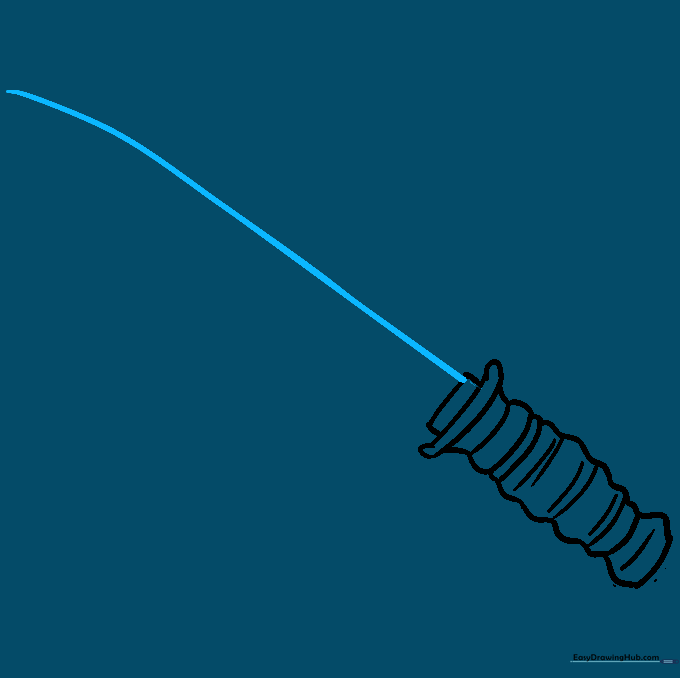
Step 1: Sketching the Handle Base

Draw two parallel curved lines and connect them at the ends to create the top of the handle. Teacher's Tip: Keep these lines light; they act as a guide for the grip.
Step 2: Defining the Handle Sides

Extend two wavy lines downward from the top to form the sides of the handle. Add small horizontal lines across the grip for texture. Tip: Use short, rhythmic strokes to make the handle look like it has a comfortable grip.
Step 3: Closing the Handle Shape

Continue one of the side lines and loop it back to enclose the bottom of the handle. Add a few more curved lines across the grip. Tip: Ensure the handle looks balanced by keeping the curves symmetrical.
Step 4: Adding the Pommel

Draw a rounded hexagonal shape at the base of the handle. This is the pommel. Tip: Think of this as the 'anchor' of the knife; draw it slightly wider than the handle for a realistic look.
Step 5: Sketching the Bolster

Draw a small rectangle at the top of the handle. This is the bolster, which protects the hand. Tip: Keep the lines straight and sharp to contrast with the curved handle.
Step 6: Drawing the Blade Swage
Extend a long, smooth curved line from the bolster to create the top edge of the blade. Tip: Use one continuous motion for this line to keep it looking sharp and clean.
Step 7: Creating the Drop Point
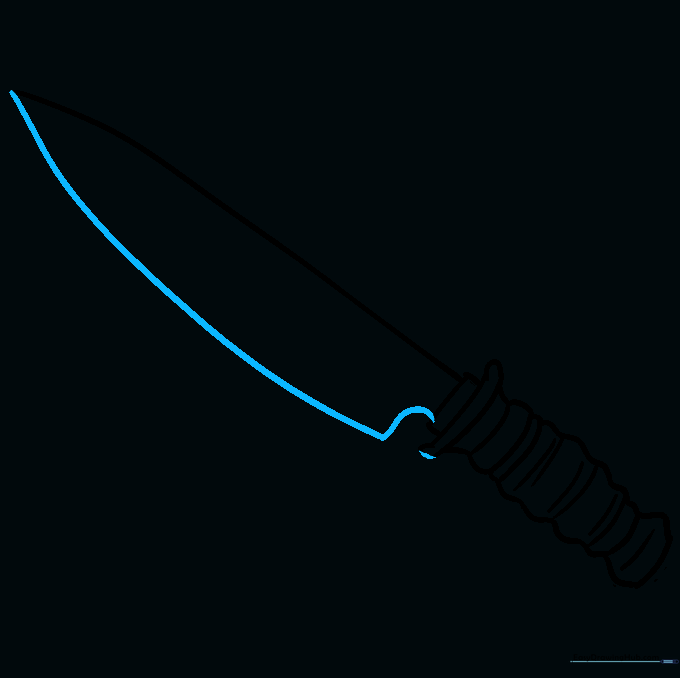
Connect the tip of the blade back to the bolster with a curved line. Tip: Notice how the blade tapers—this is what gives it that classic 'drop point' look.
Step 8: Adding the Ricasso
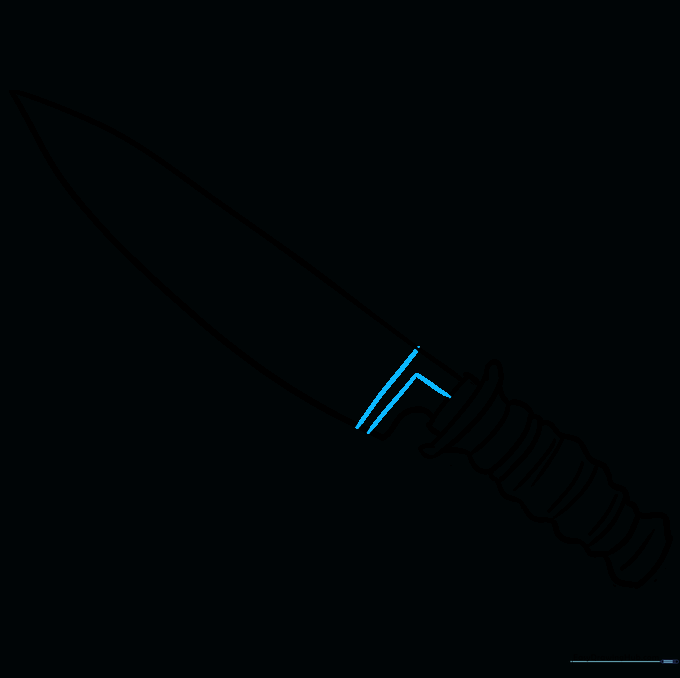
Draw a small L-shaped line near the base of the blade to define the ricasso. Tip: This adds a layer of mechanical detail that makes your drawing look more authentic.
Step 9: Finalizing the Blade Detail
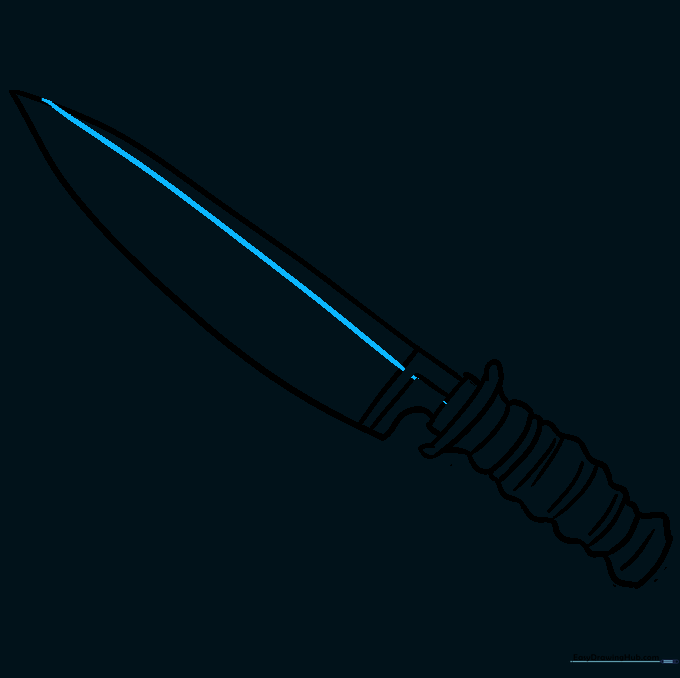
Add a line between the ricasso and the tip to represent the cannelure. Tip: Keep this line parallel to the blade edge for a professional finish.
Step 10: Coloring Your Drawing
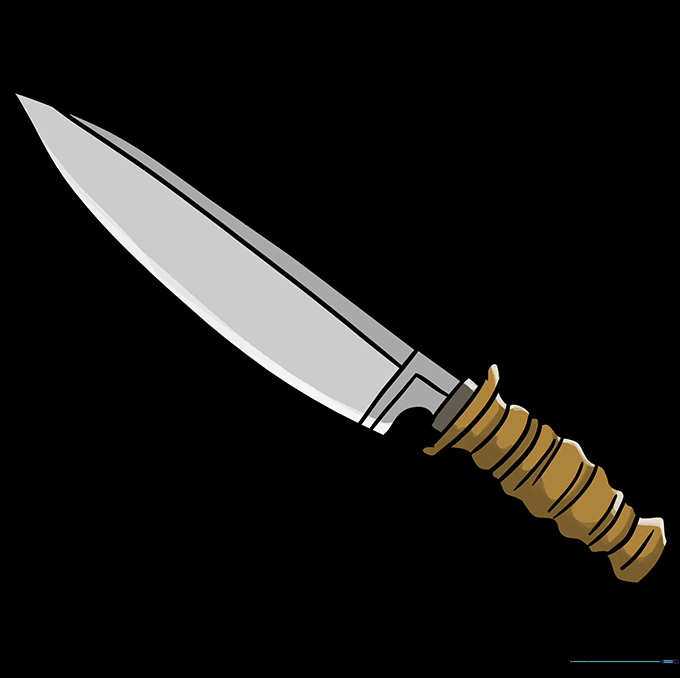
Time to bring your knife to life! Use metallic grays for the blade and warm browns or blacks for the handle. Tip: Add a thin white highlight along the blade edge to make it look shiny.
More Tutorials


