How to Draw a Kiwi Bird: Easy 9-Step Guide for Kids
Ready to draw New Zealand's famous flightless bird? This tutorial is perfect for young artists ages 5 and up. All you need is a pencil, an eraser, and some paper to bring this adorable, fuzzy kiwi to life.
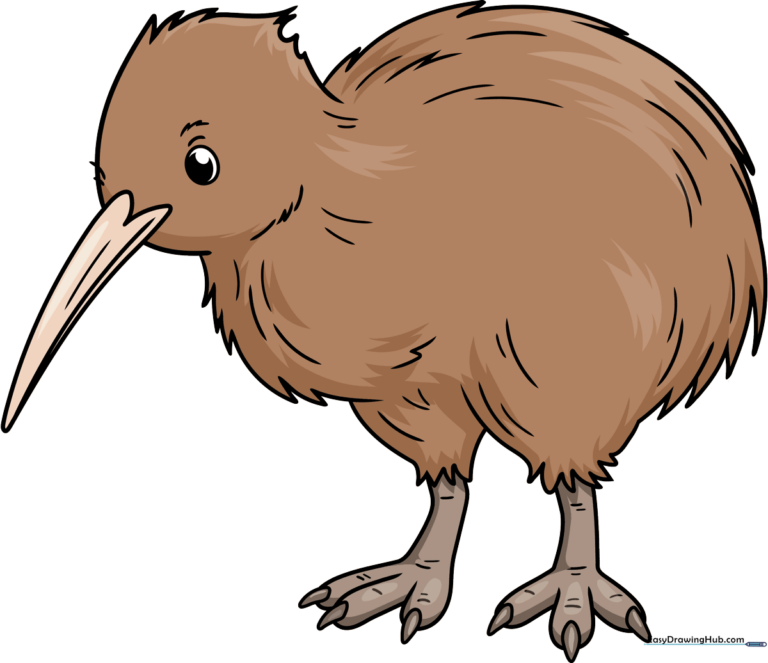
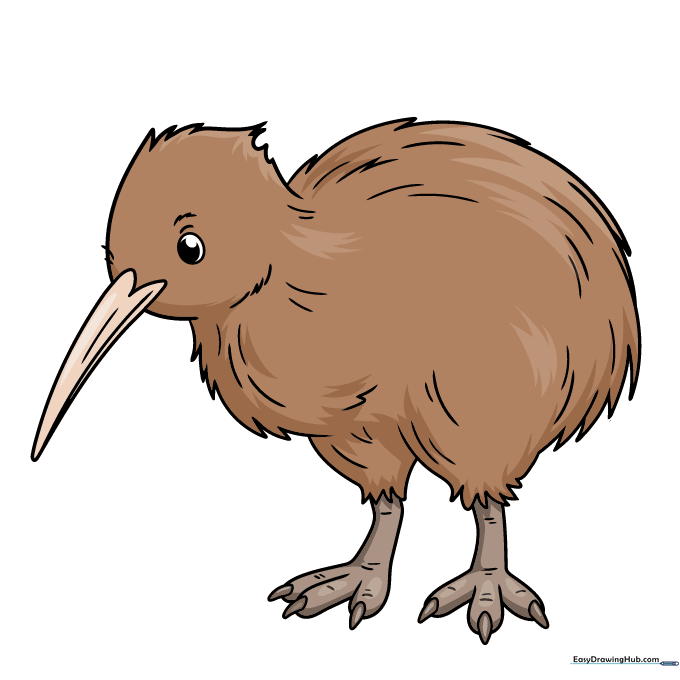
🎯 Final Result
Step-by-Step Instructions
Step 1: Sketching the Long Beak
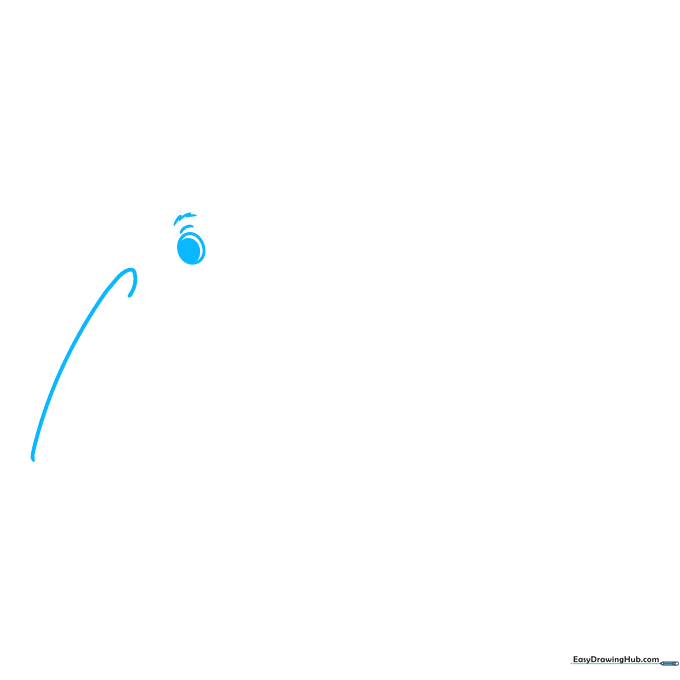
Draw a long, gentle curve for the top of the beak, ending in a small hook. Add an oval-within-an-oval for the eye, shading the center to make it pop. Teacher's Tip: Keep your pencil lines light so you can easily adjust the beak shape if needed.
Step 2: Defining the Beak and Head
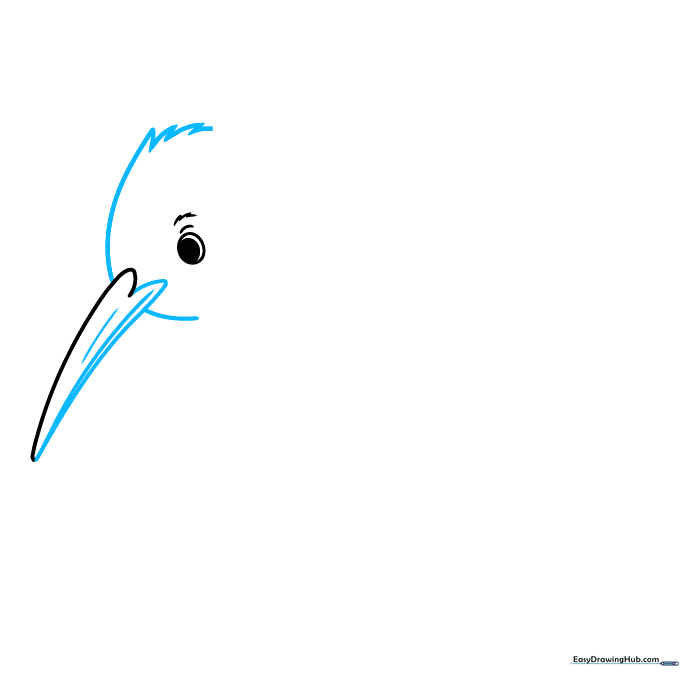
Complete the bottom of the beak with a matching curved line, creating a long, slender shape. Use short, jagged strokes to outline the top of the head. Teacher's Tip: Use quick, flicking motions with your wrist to create that 'fluffy' feather texture.
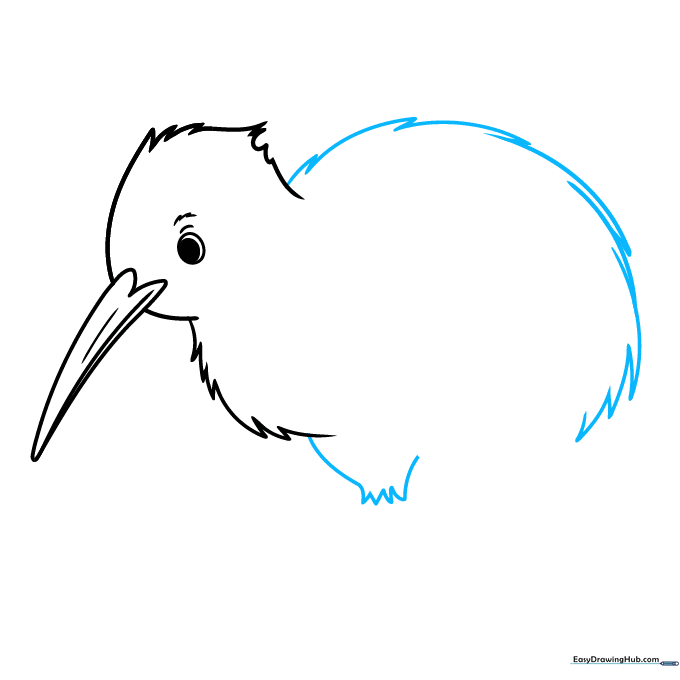
Step 3: Drawing the Chest
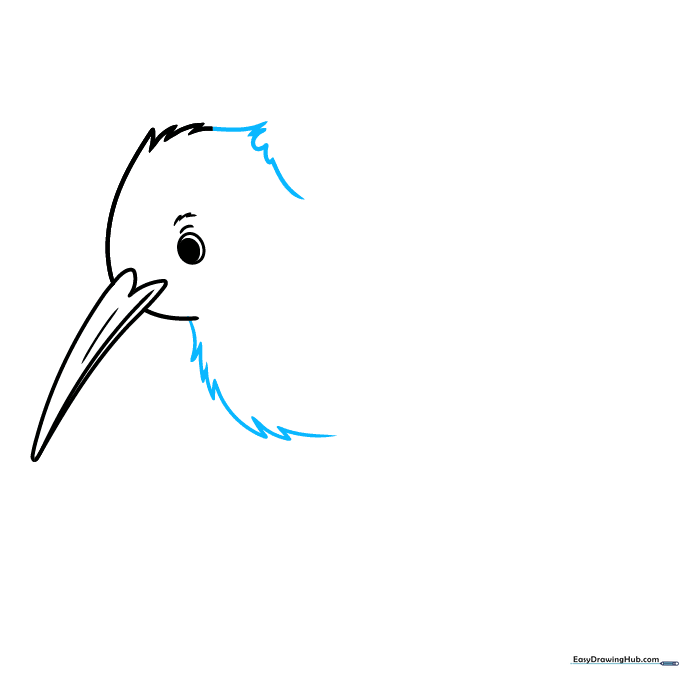
Continue the jagged line from the head downward to form the bird's chest. Teacher's Tip: Don't worry about making the lines perfectly straight; kiwis are naturally round and fuzzy!
Step 4: Sketching the Body
Sketch the round body using a series of connected jagged lines for the back and the upper leg area. Teacher's Tip: Think of this as drawing a soft, round potato shape.
Step 5: Closing the Body Shape
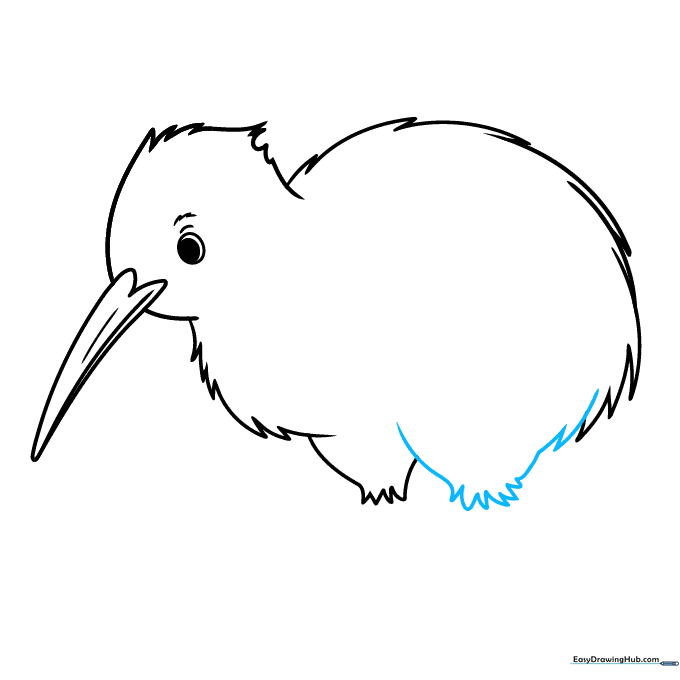
Draw the upper portion of the second leg to fully enclose the body. Keep using those jagged, textured lines. Teacher's Tip: Ensure the body looks plump and round to capture the kiwi's unique silhouette.
Step 6: Drawing the First Foot
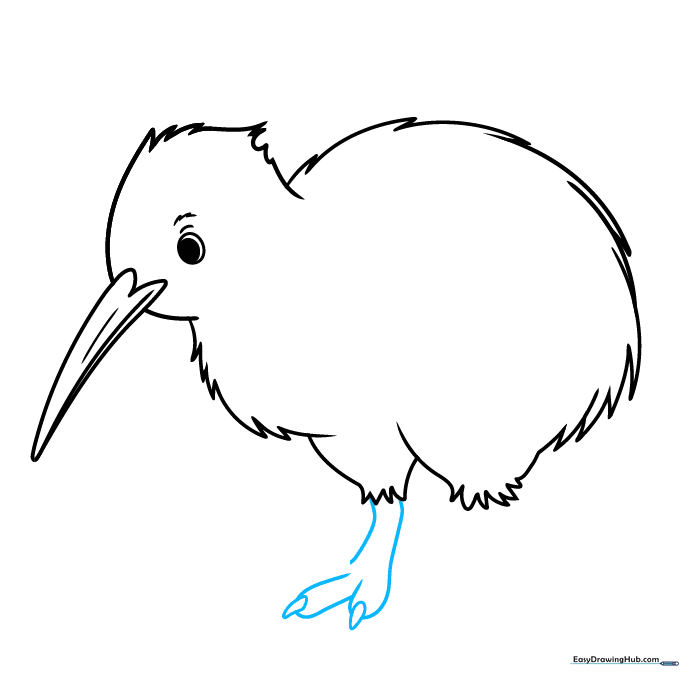
Draw the foot using overlapping curved lines. Add small, curved triangles at the tips of the toes for the claws. Teacher's Tip: Press slightly harder on your pencil for the claws to make them stand out.
Step 7: Adding the Second Foot
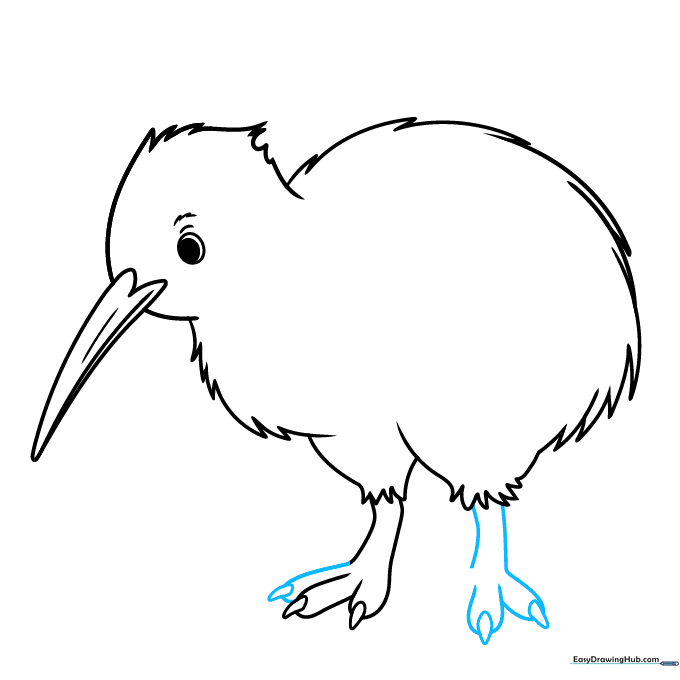
Repeat the process to draw the second foot, ensuring it overlaps slightly with the body to show depth. Teacher's Tip: Make sure the claws point in the same direction to keep the bird looking balanced.
Step 8: Adding Texture Details

Add short lines at the leg joints and near the base of the head to suggest feathers. Teacher's Tip: Less is more! A few well-placed lines look more natural than too many scribbles.
Step 9: Final Feather Details

Finish by adding scattered, curved lines across the body to represent the kiwi's hairlike feathers. Teacher's Tip: Vary the length of these lines to make the bird look soft and fluffy.
Step 10: Coloring Your Kiwi
Your outline is complete! Use shades of brown to color your kiwi. Teacher's Tip: Use light brown for the main body and a darker brown for the beak to add contrast.
More Tutorials


