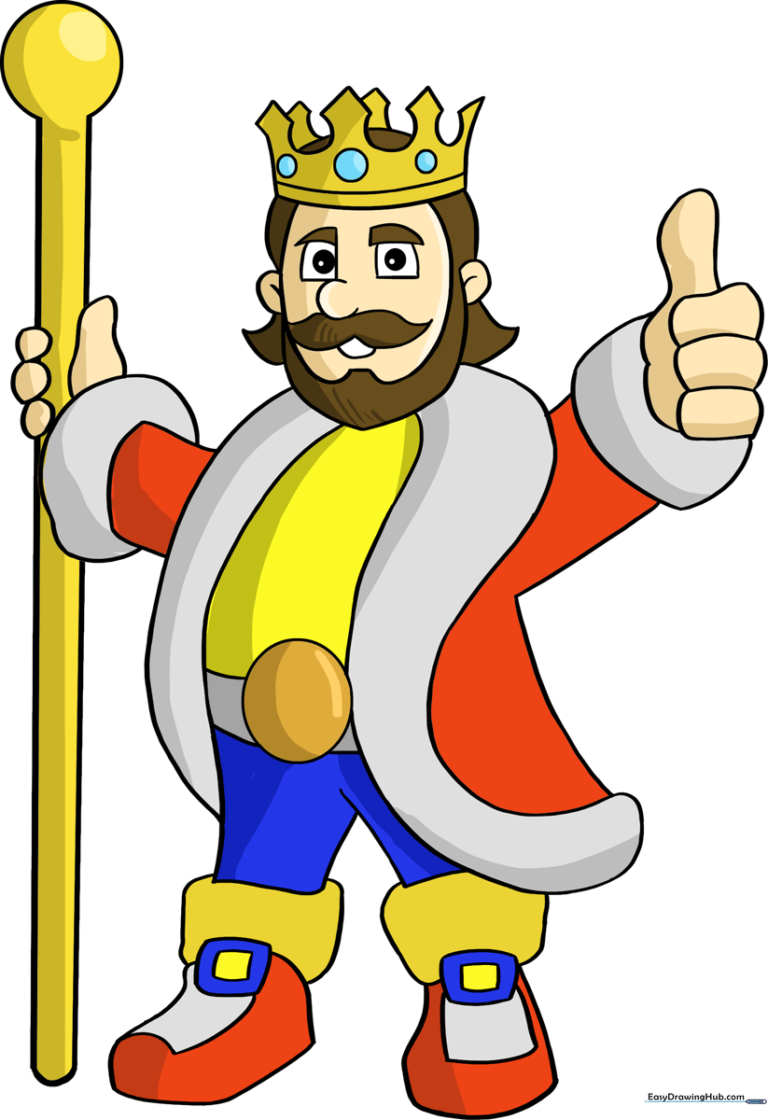
How to Draw a King: Easy 10-Step Guide for Kids
Ready to rule the drawing board? This tutorial is perfect for young artists ages 5 and up who want to create their own royal character. All you need is a pencil, an eraser, and some paper to bring this majestic king to life.
🎯 Final Result
Step-by-Step Instructions
Step 1: Sketching the Head
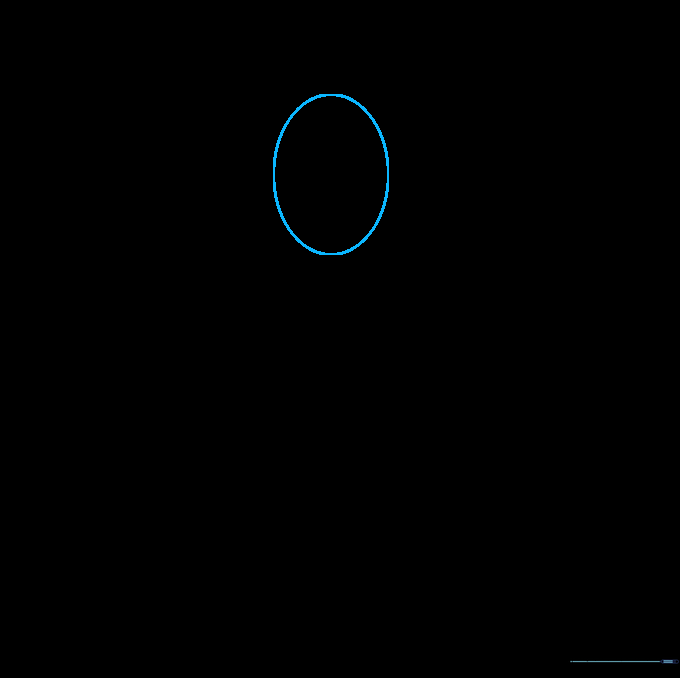
Draw a light oval to serve as the base for the king's head. Teacher's Tip: Keep this shape centered on your paper to leave plenty of room for the crown and robes later.
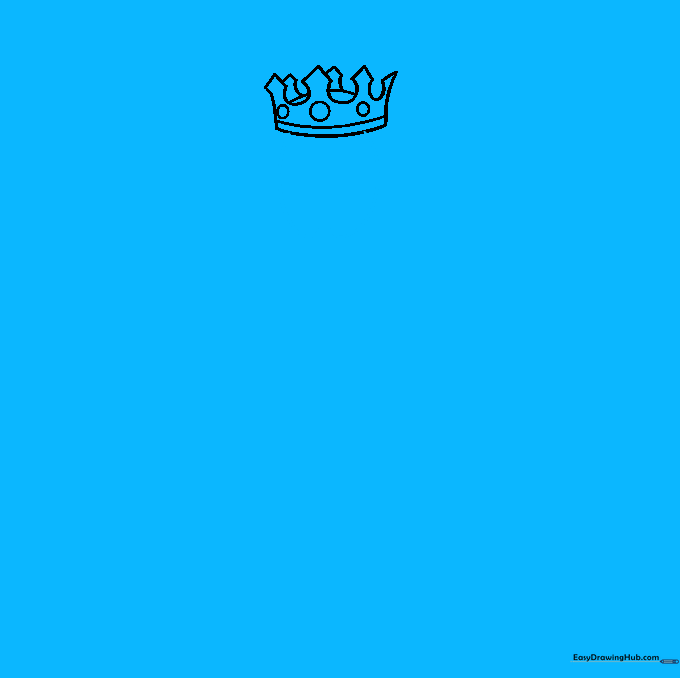
Step 2: Designing the Crown
Draw a curved line across the top of the oval, then add inverted 'V' shapes for the points of the crown. Tip: Add small circles at the tips to look like sparkling jewels!
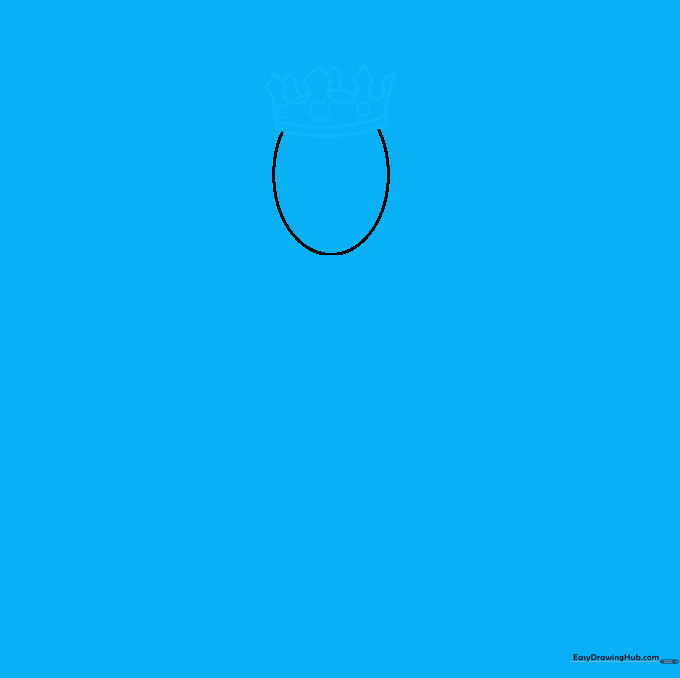
Step 3: Shaping the Face
Outline the face with a curved line, leaving a small indentation at the bottom. This little dip is the perfect starting point for his royal beard.
Step 4: Adding Ears and Hair
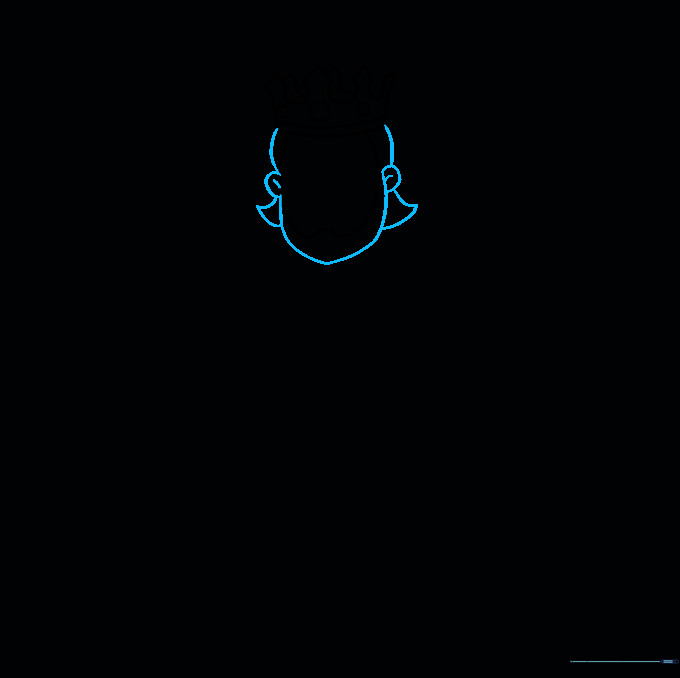
Add 'C' shaped ears on the sides and draw curved lines for hair flowing from the crown. Tip: Use short, quick strokes to make the beard look fluffy.
Step 5: Facial Features
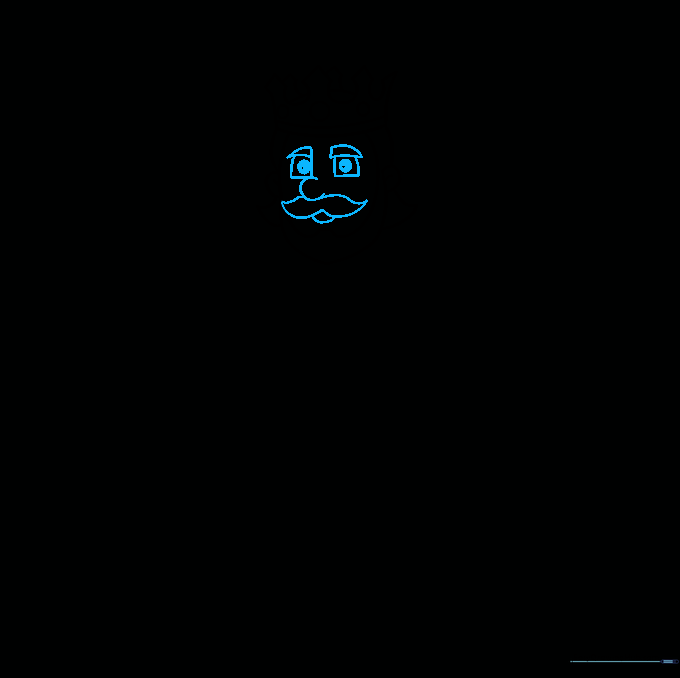
Draw the eyebrows, square eyes with pupils, a 'C' shaped nose, and a mustache. Tip: Keep the eyes simple to give your king a friendly, approachable look.
Step 6: Drawing the Robe
Sketch the edges of the robe and a large belt buckle. Tip: Use long, smooth strokes for the robe to make it look like flowing fabric.
Step 7: Arms and Hands
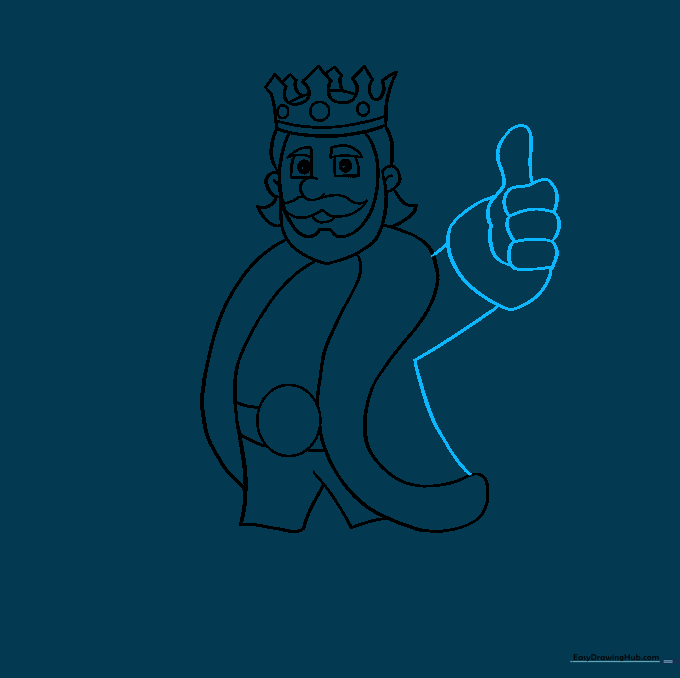
Draw the sleeves and the hand. Tip: Hands can be tricky! Try drawing a simple mitten shape first, then add small lines for fingers.
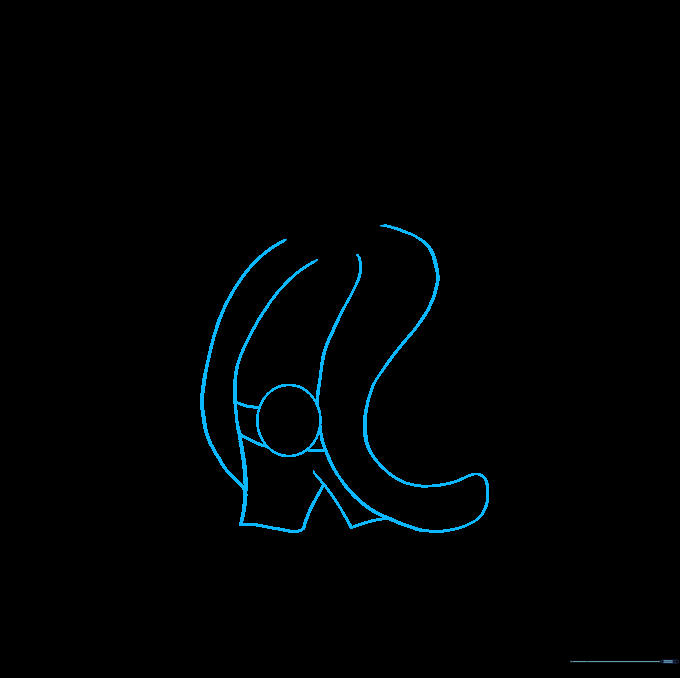
Step 8: The Royal Scepter
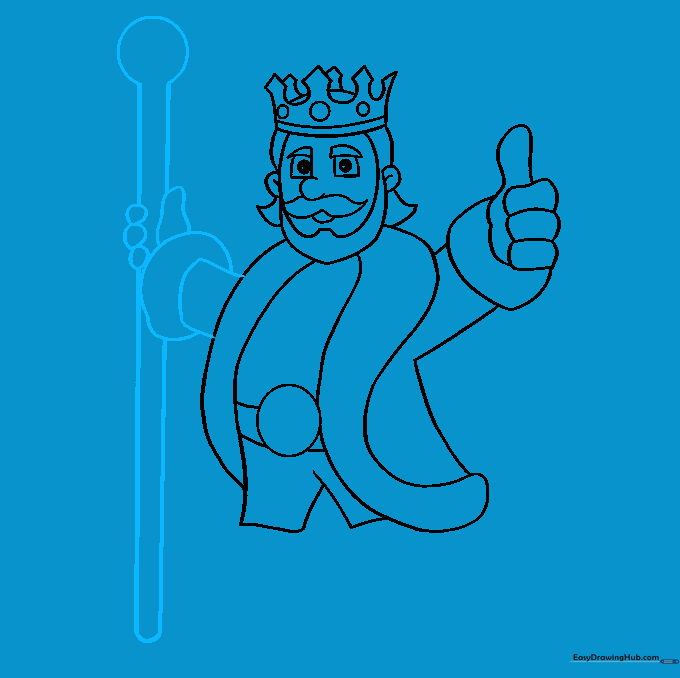
Draw the second arm and the scepter. Tip: Make sure the scepter is straight by using the edge of a ruler if you need a little extra help.
Step 9: Adding Shoes
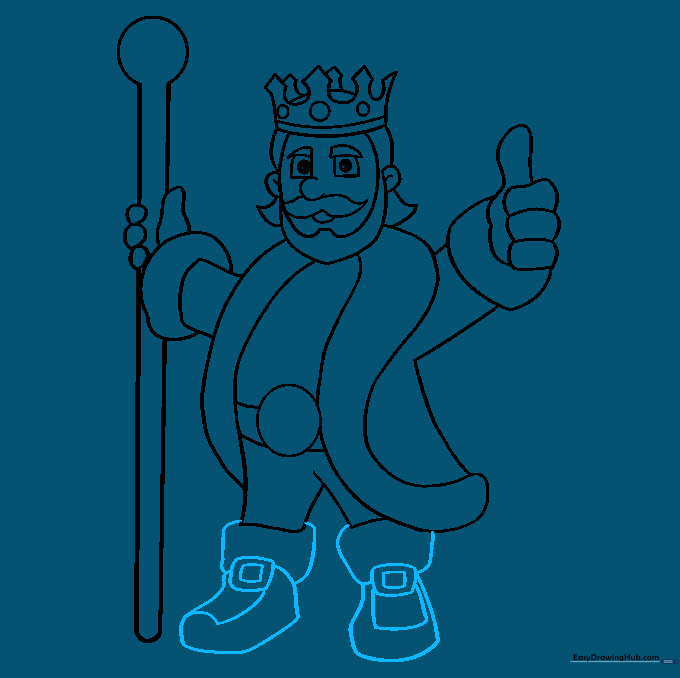
Finish the drawing by adding the shoes at the bottom of the robe. Tip: Draw them slightly rounded to give the king a classic, storybook look.
Step 10: Bring Your King to Life with Color
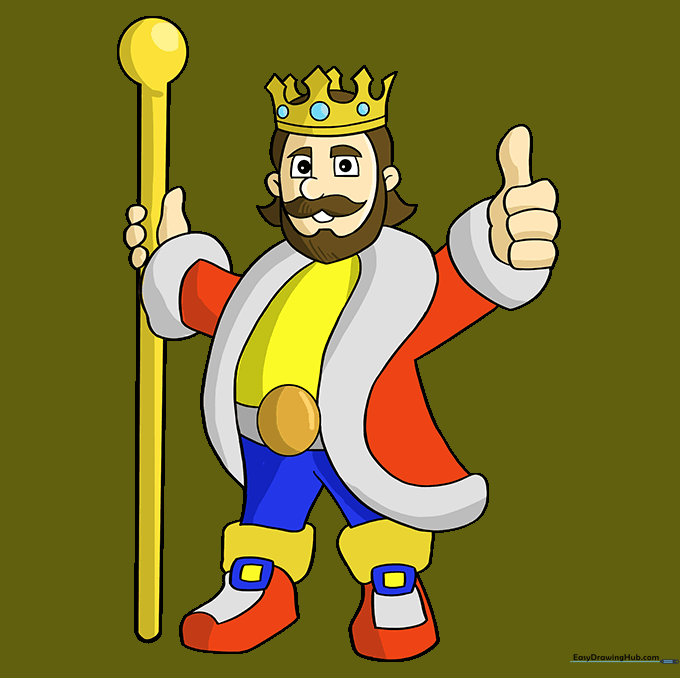
Time to color! Use royal colors like deep red, purple, and gold. Tip: Use a lighter shade of gold for the crown to make it look like it's shining.
More Tutorials


