How to Draw a Key and Lock: Easy 10-Step Guide
Unlock your creativity with this fun, beginner-friendly drawing project! Designed for ages 5 and up, this activity requires only a pencil, paper, and an eraser. Follow these simple steps to master basic geometric shapes while creating a charming, classic lock and key illustration.
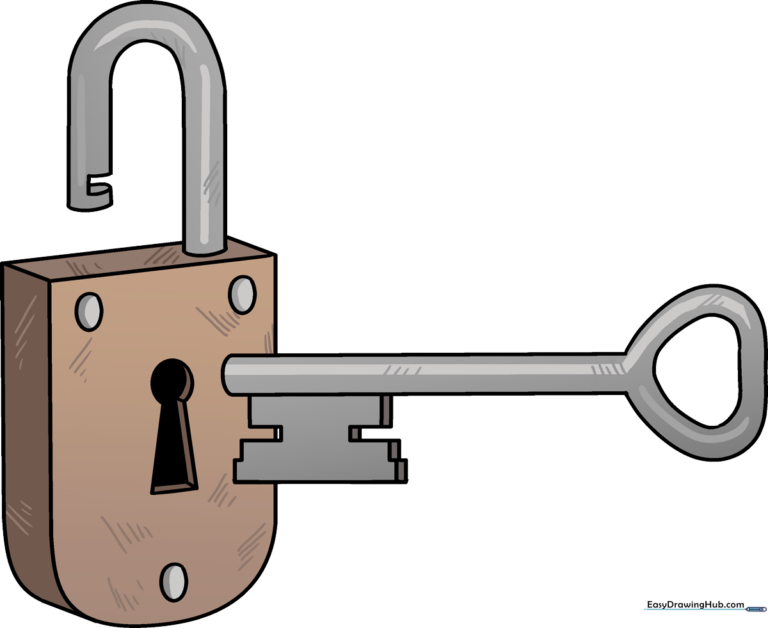
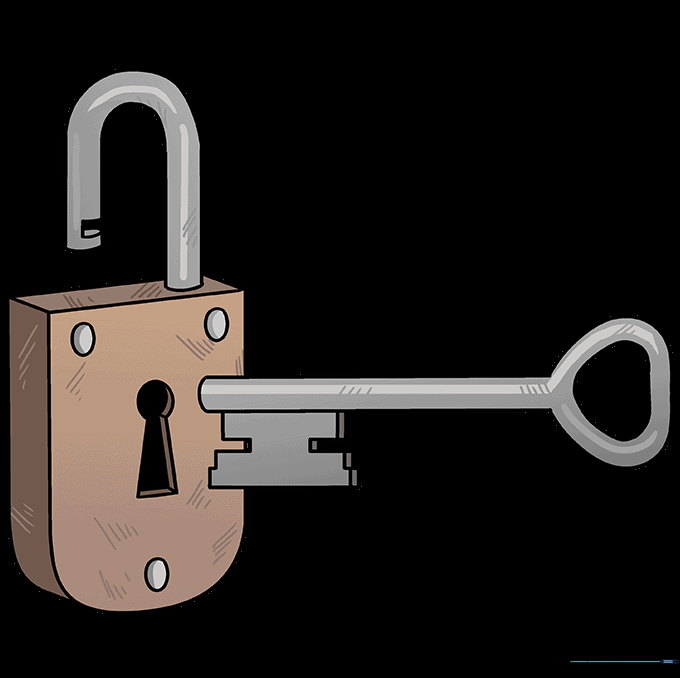
🎯 Final Result
Step-by-Step Instructions
Step 1: Sketching the Lock Body
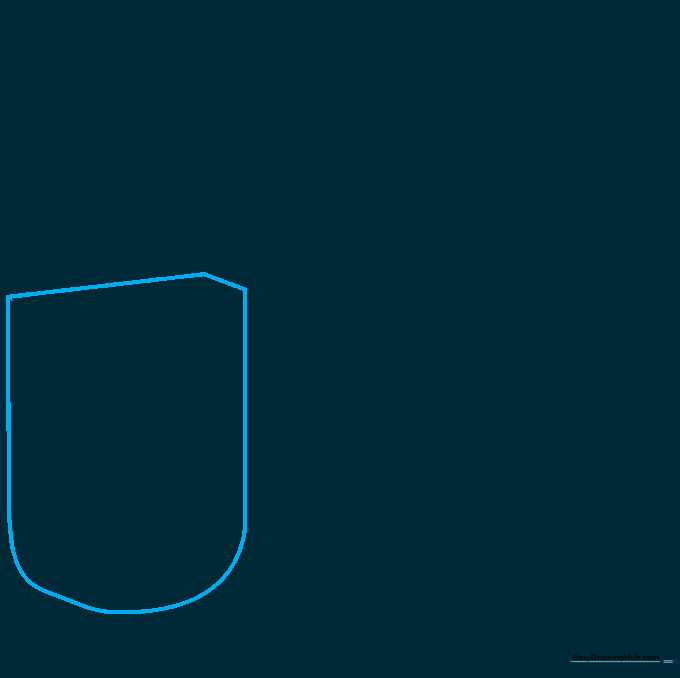
Start by drawing an “L” shaped line, then add a short diagonal line extending from it. Connect these with a long, smooth curve to form the base of the lock. Teacher's Tip: Keep your pencil pressure light so you can easily adjust the shape if it looks a bit wobbly.
Step 2: Defining the Lock's Depth
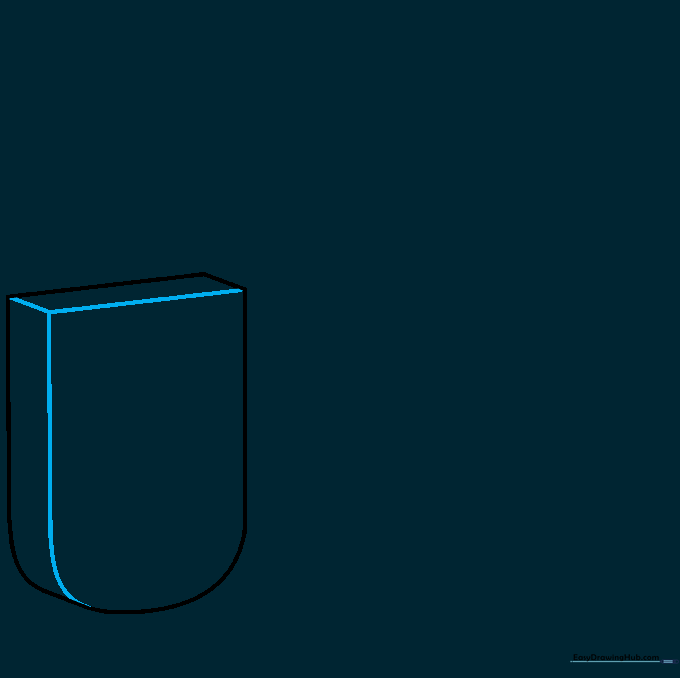
Draw a small parallelogram at the top to give the lock a 3D feel. Connect a long, curved line from the corner down to the base. Tip: Imagine the light is hitting the side of the lock to help you visualize where these depth lines should go.
Step 3: Adding Rivet Details
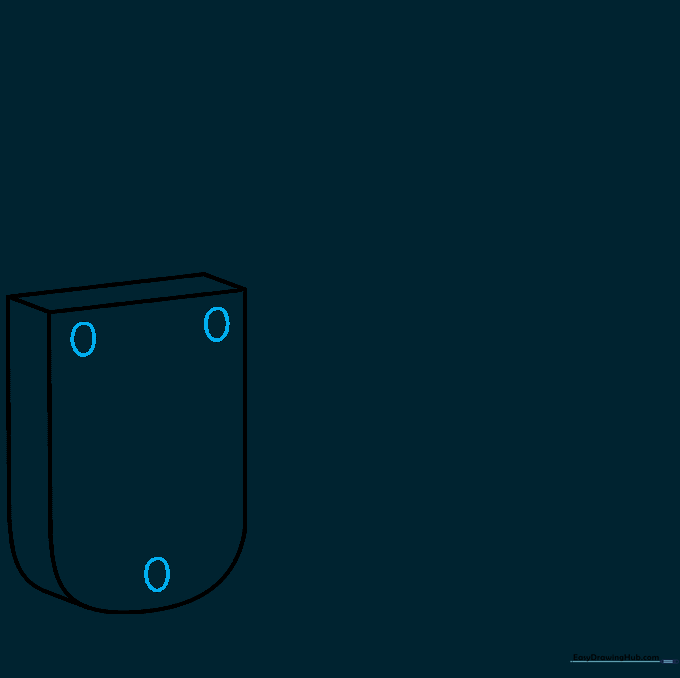
Add three small ovals on the face of the lock—two near the top corners and one at the bottom. Tip: These represent the rivets; try to make them uniform in size for a tidy, professional look.
Step 4: Drawing the Keyhole

Sketch a shape that looks like a chess pawn—a narrow triangle topped with a circle. Add a few short lines inside to give it depth. Tip: If the keyhole looks crooked, use your eraser to gently soften the lines before redrawing.
Step 5: Sketching the Shackle

Draw two inverted 'J' shapes at the top of the lock to create the shackle. Connect them with small curves to show thickness. Tip: Keep the space between the two 'J' lines consistent so the metal looks solid.
Step 6: Starting the Key Stem
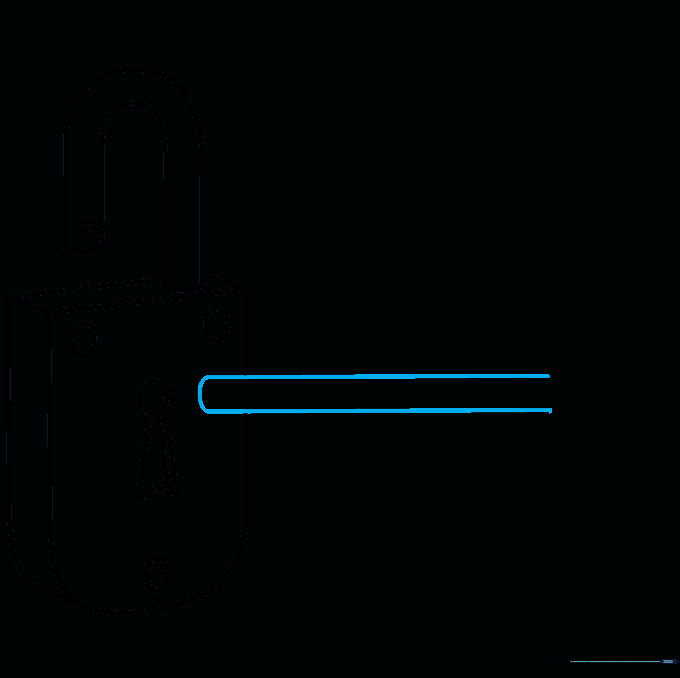
Draw two long, horizontal parallel lines to create the key's blade. Connect the end with a small curve. Tip: Use a ruler if you struggle with straight lines, but freehand is great for building muscle control!
Step 7: Drawing the Key Bow
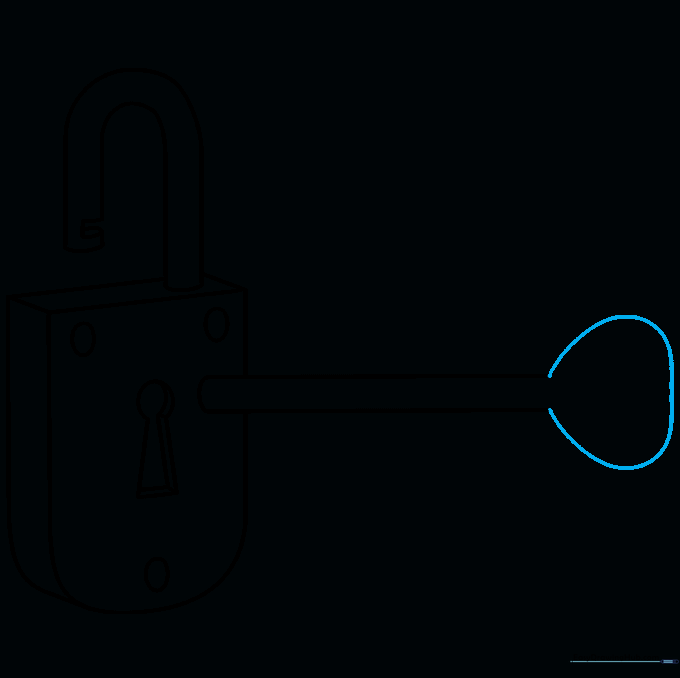
Add a rounded shape at the end of the stem to form the bow (the handle part of the key). Tip: Make this circle large enough to look like a comfortable handle.
Step 8: Refining the Handle
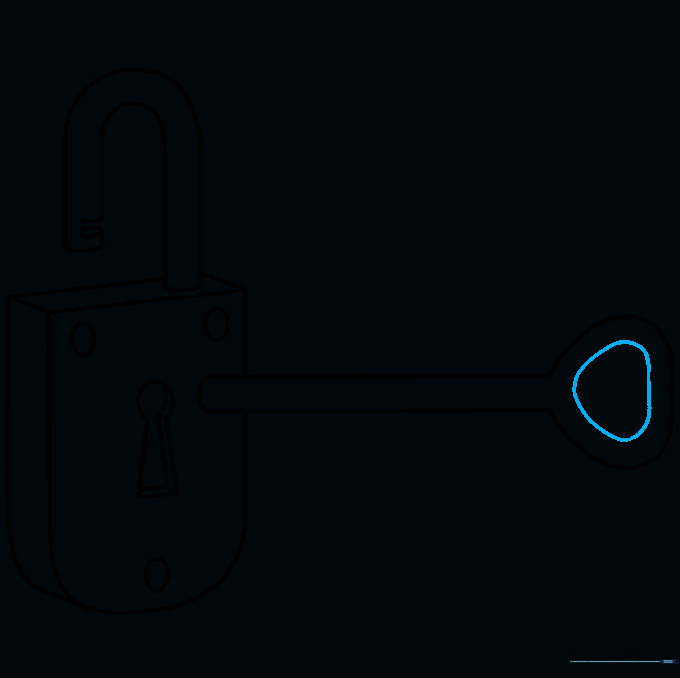
Draw a smaller rounded shape inside the bow to create a hole. Tip: This makes the key look realistic and easy to hold.
Step 9: Adding the Key Bit
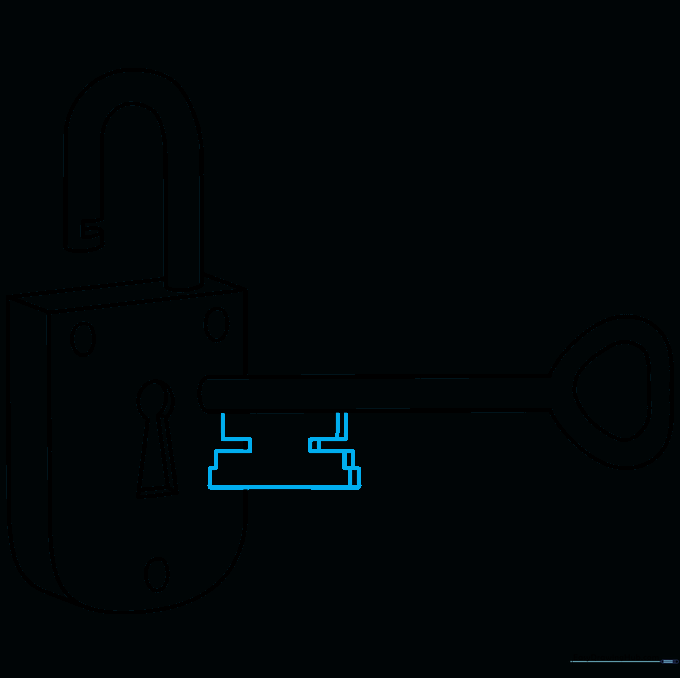
Draw the 'bit' (the teeth) of the key using small 'L' shapes. Add tiny rectangles to give it a 3D look. Tip: This is where you can get creative—make the teeth pattern unique!
Step 10: Bringing It to Life with Color
Time to color! Use metallic shades like silver or gold for the lock and key. Tip: Add a little white highlight with a gel pen or by leaving a small spot uncolored to make the metal look shiny.
More Tutorials


