How to Draw a Kawaii Dragon: Easy 10-Step Guide
Bring a magical, adorable creature to life with this beginner-friendly drawing guide. Designed for artists ages 5 and up, this activity requires only a pencil, paper, and an eraser. Follow these steps to master the art of 'Kawaii'—the Japanese style of cuteness—and create your very own friendly dragon.
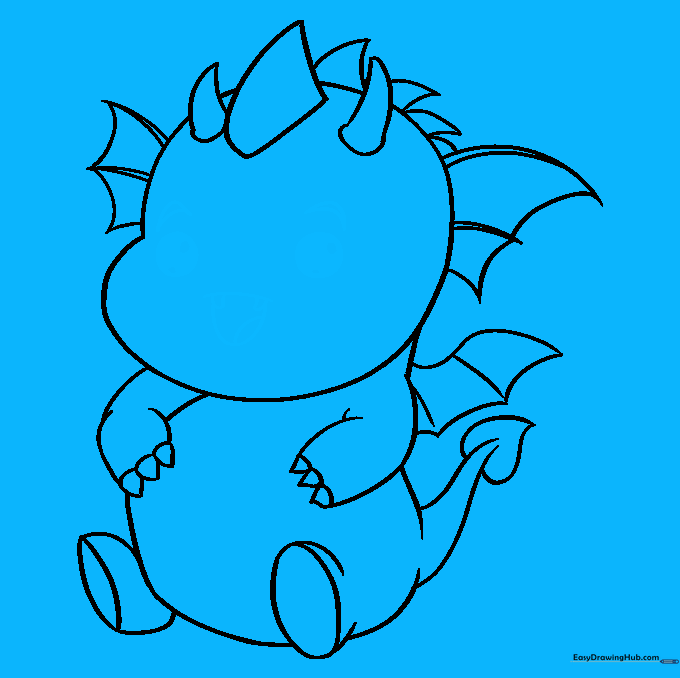
🎯 Final Result

Step-by-Step Instructions
Step 1: Sketching the Head

Draw a light circle to serve as the base for the dragon’s head. Teacher's Tip: Keep your pencil strokes very faint so you can easily erase guidelines later; aim for a circle about the size of a quarter.
Step 2: Defining the Cheeks and Horn
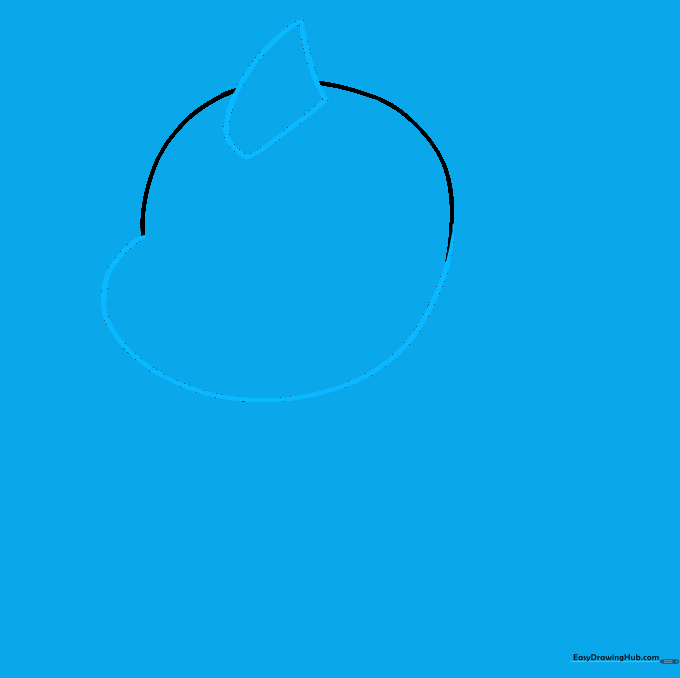
Erase the bottom half of your circle and replace it with a curved line that bulges out to form a chubby cheek. At the top of the head, erase a small gap and draw a curved triangle for the first horn. Tip: A 'chubby' shape is key to the Kawaii aesthetic!
Step 3: Adding Dorsal Fins

Draw the dragon’s ears or fins by extending three lines from the top of the head and connecting them with curves. Tip: Make sure the lines are smooth and rounded to keep the character looking friendly rather than scary.
Step 4: Creating Head Spikes
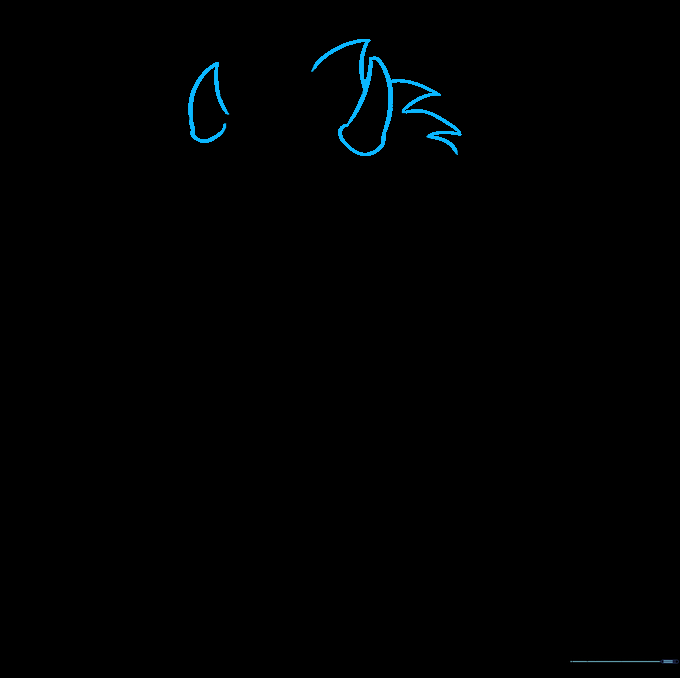
Erase small sections along the top of the head to add more triangular spikes. Vary their sizes, making them smaller as they move toward the back. Tip: Use quick, confident strokes to keep the triangles sharp.
Step 5: Outlining the Body
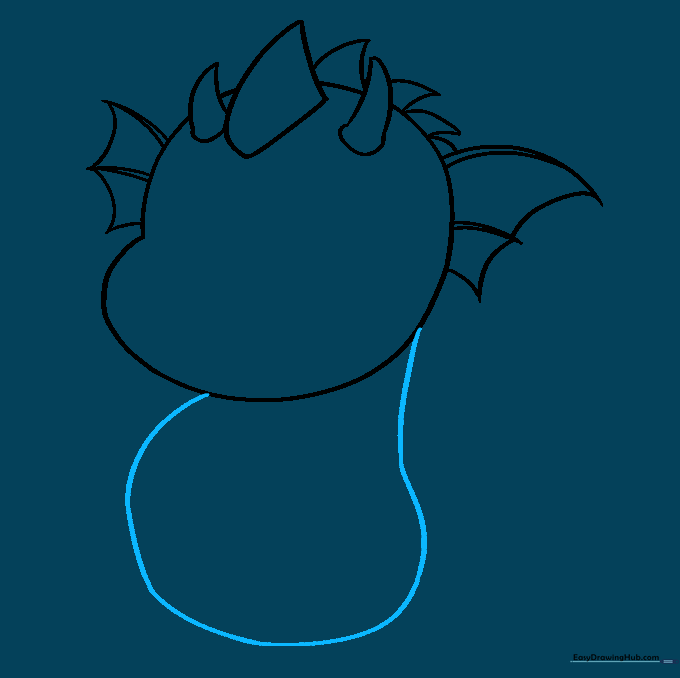
Extend a long, curved line from the base of the head and loop it back to form the dragon's body. Tip: Think of this as drawing a soft 'C' shape that curls inward.
Step 6: Drawing the Arms

Erase small sections on the sides of the body to place the arms. Draw them using curved lines, ending in small triangles for claws. Tip: Keep the arms short and stubby to maintain the 'cute' factor.
Step 7: Adding Legs and Tail
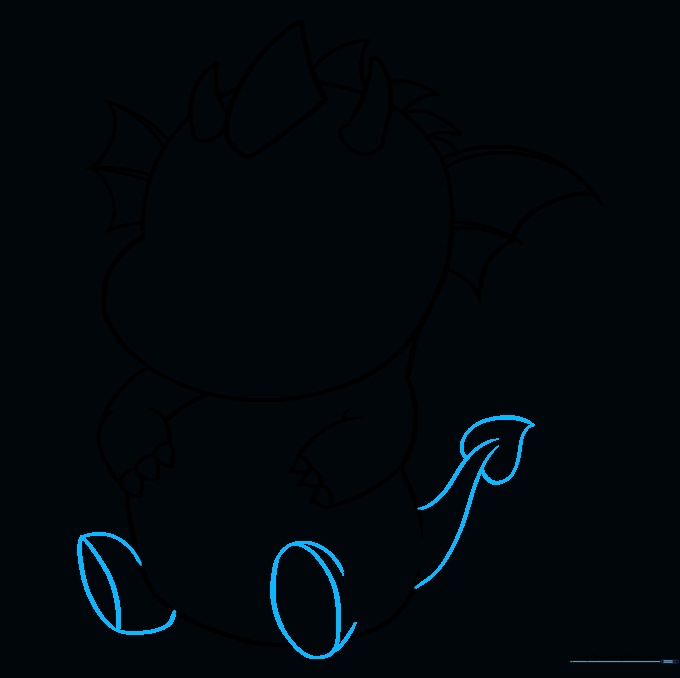
Draw ovals at the base for feet, connecting them to the body with curved lines. Add a teardrop-shaped tail at the back. Tip: The teardrop shape is a classic technique for drawing tails—start wide at the base and taper to a point.
Step 8: Sketching the Wing

Draw a small wing on the back using curved lines. Add a few lines inside the wing to show the structure. Tip: Don't worry about perfect symmetry; a slightly tilted wing adds character!
Step 9: Drawing the Kawaii Face
Draw large, expressive eyes with smaller circles inside for highlights. Add arched eyebrows and a 'U' shaped mouth with two small teeth. Tip: The secret to Kawaii style is large eyes placed low on the face—this makes the character look innocent and sweet.
Step 10: Final Touches and Color

Erase any remaining guidelines and add your favorite colors! Tip: Use bright, pastel colors like soft green or purple to really lean into the Kawaii theme.
More Tutorials


