How to Draw a Jumping Unicorn: Easy 10-Step Guide
Ready to bring a magical creature to life? This tutorial is perfect for artists ages 5 and up looking to master movement in their drawings. All you need is a pencil, an eraser, and a piece of paper to start creating your own leaping unicorn.
🎯 Final Result

Step-by-Step Instructions
Step 1: Sketching the Head
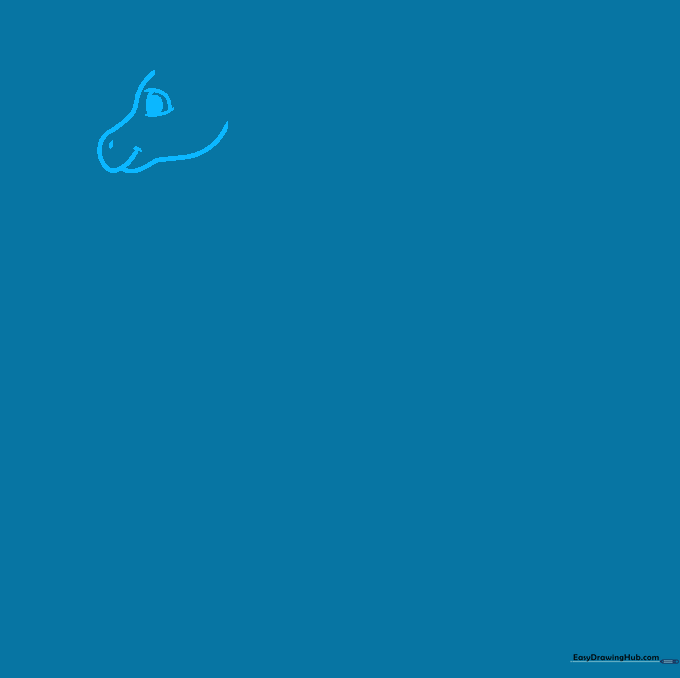
Draw a light, rounded shape for the head. Add a curved line for the snout and jaw. Tip: Keep your pencil pressure light so you can easily erase any overlapping lines later.
Step 2: Adding Ears and Horn
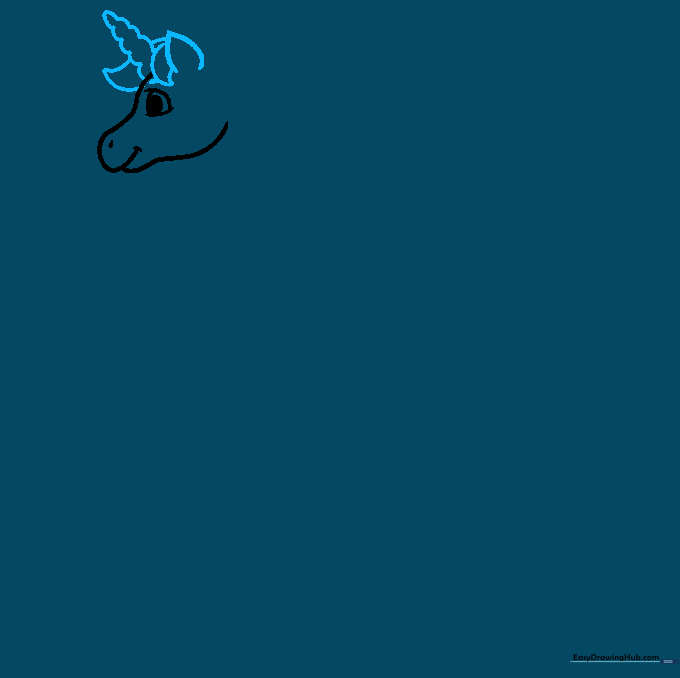
Use small, pointed triangles for the ears and a scalloped line for the magical horn. Tip: Make the horn slightly curved to give it a more dynamic, organic look.
Step 3: Defining the Neck and First Leg
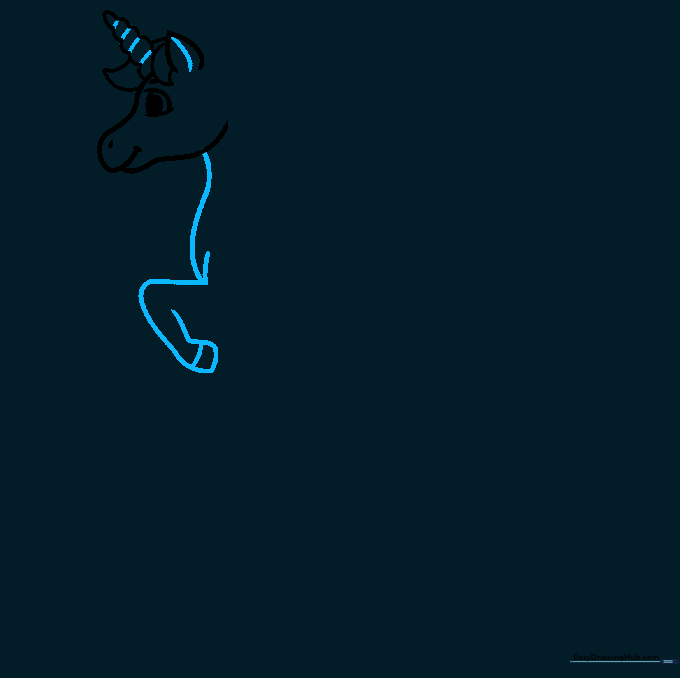
Extend a smooth line from the head to form the neck, then sketch the first front leg. Tip: Draw a horizontal line at the bottom of the leg to create a clear hoof shape.
Step 4: Shaping the Back
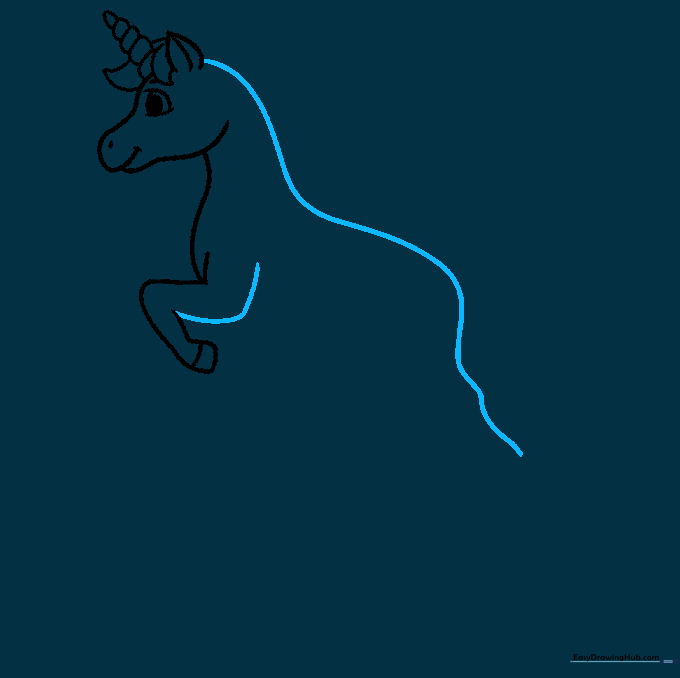
Draw a long, sweeping curve from the ear to create the back of the unicorn. Tip: This long line is what gives the unicorn its 'jumping' motion, so keep it fluid and continuous.
Step 5: Adding the Belly and Rear Leg

Connect the front and back using overlapping curves for the stomach. Add the extended rear leg. Tip: Use a crescent shape for the hoof to show the unicorn is mid-air.
Step 6: Completing the Legs
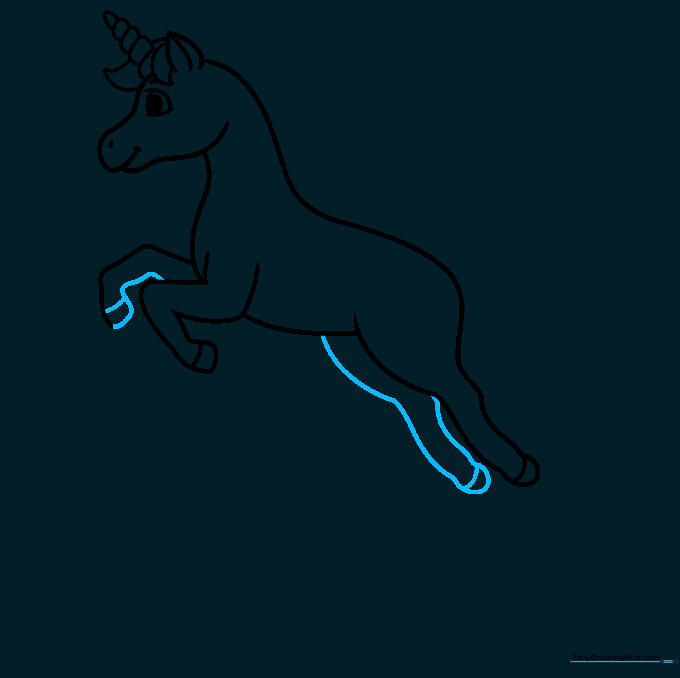
Finish the remaining legs using simple curved lines. Tip: Ensure the legs are bent at different angles to make the unicorn look like it is really leaping.
Step 7: Drawing the Mane
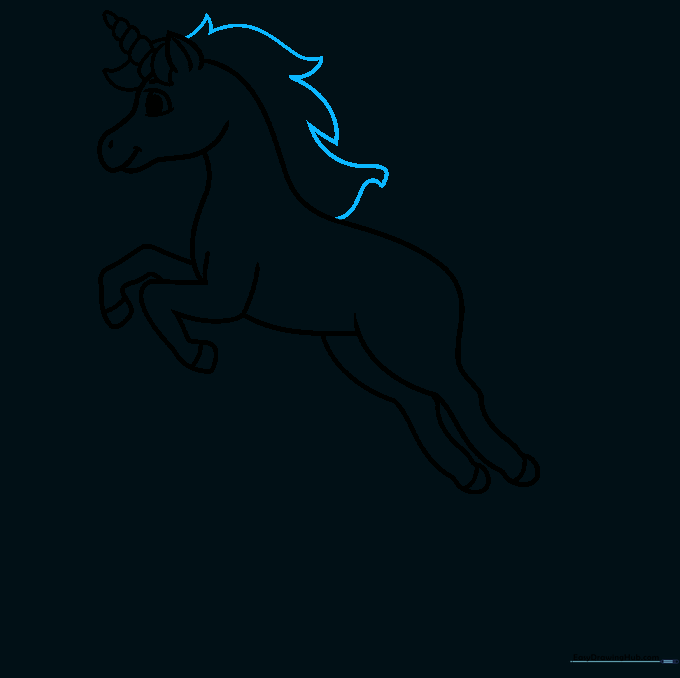
Add a flowing mane using jagged, pointed lines. Tip: Vary the length of the lines to make the hair look like it is blowing in the wind.
Step 8: Adding the Tail

Draw a bushy tail using similar jagged lines to match the mane. Tip: Add a few extra curved lines inside the mane and tail to give them texture.
Step 9: Adding the Rainbow

Draw parallel curved lines in the background to create a rainbow. Tip: Use a ruler or a steady hand to keep the lines evenly spaced for a professional look.
Step 10: Bringing it to Life with Color

Time to color! Use bright, magical colors for the mane and tail. Tip: Try using light pastels for the body and vibrant colors for the rainbow to make your unicorn pop.
More Tutorials


