How to Draw a Jumping Horse: Easy 10-Step Guide
Ready to capture the energy of a galloping horse? This tutorial is perfect for young artists ages 6+ who want to practice dynamic movement. Grab a pencil, an eraser, and some paper to start building your horse's form step-by-step.
🎯 Final Result
Step-by-Step Instructions
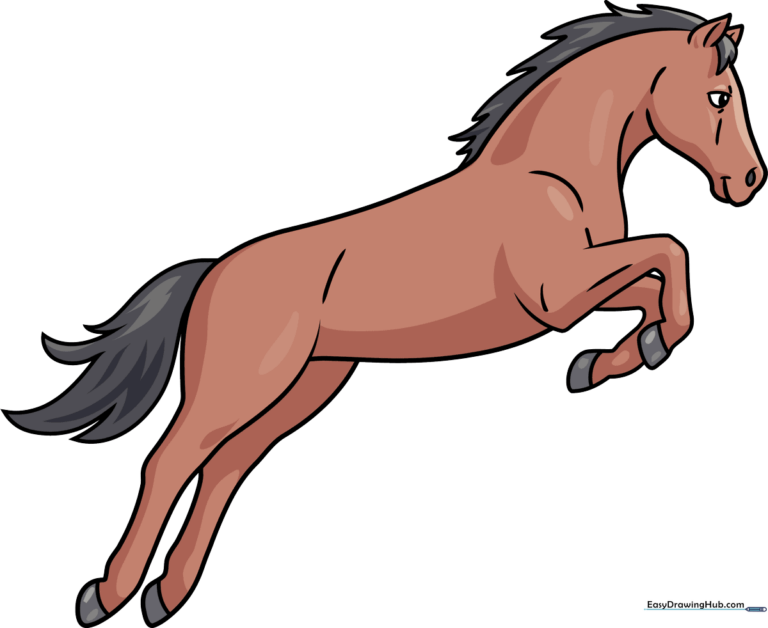
Step 1: Sketching the Profile

Start with a 'J' shaped curve to define the horse's long face. Add a small bump for the nose. Teacher's Tip: Keep this line light! Draw a small triangle for the eye and add a tiny circle inside for the pupil to give your horse personality.
Step 2: Defining the Jawline
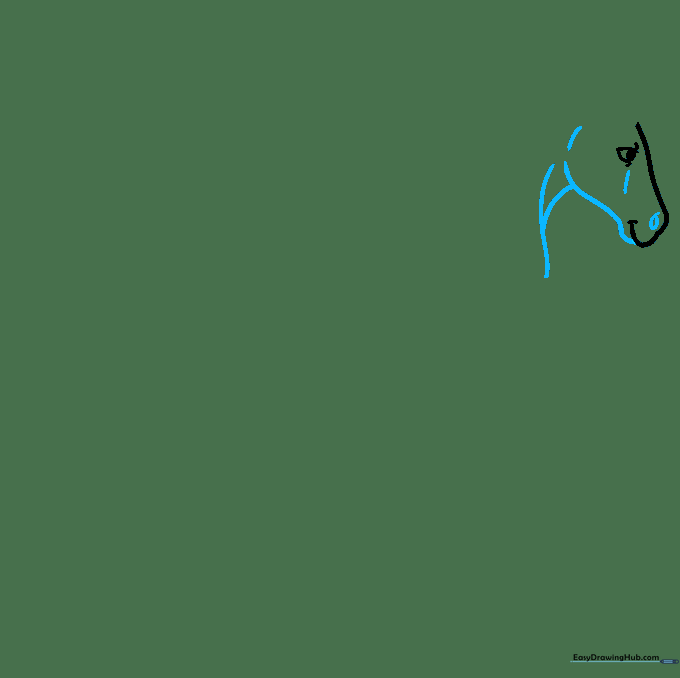
Trace the lower lip and jaw with a smooth, curved line. Add a 'Y' shape below to start the neck. Tip: Imagine the horse is looking forward—keep the jawline rounded to make it look friendly.
Step 3: Ears and Mane Base
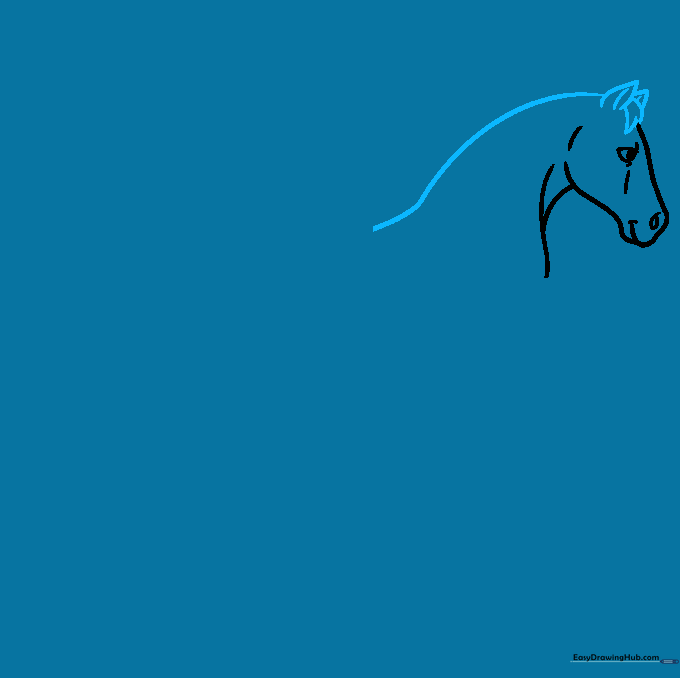
Draw two pointed ear shapes at the top of the head. Add a jagged line between them for the start of the mane. Tip: Use quick, flicking motions with your pencil to make the hair look natural and textured.
Step 4: Completing the Mane and Shoulder
Continue the mane down the neck using jagged, overlapping lines. Add a smooth curve for the shoulder. Tip: Don't worry about making the mane perfect; real horse hair is messy and flows in the wind!
Step 5: Drawing the First Front Leg
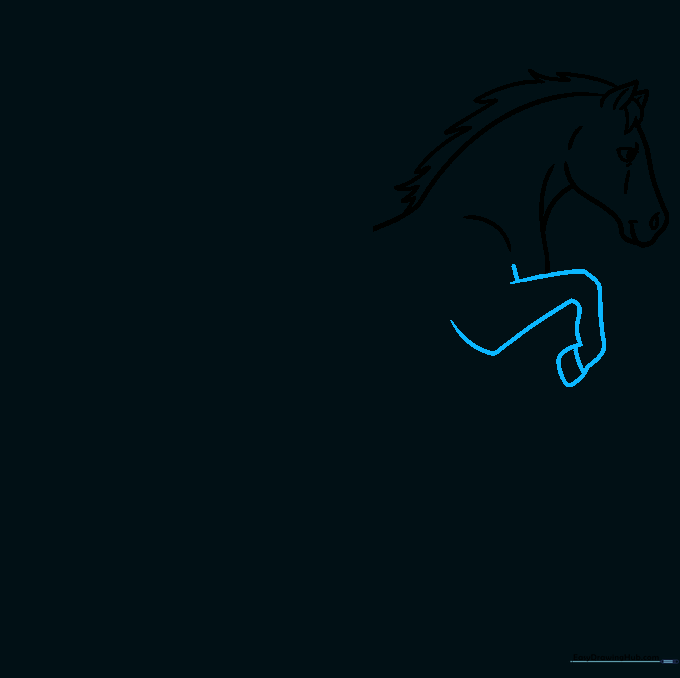
Sketch a bent front leg using curved lines that double back on themselves. Add a flat line at the bottom for the hoof. Tip: Think of the leg as a 'Z' shape to help get the jumping angle right.
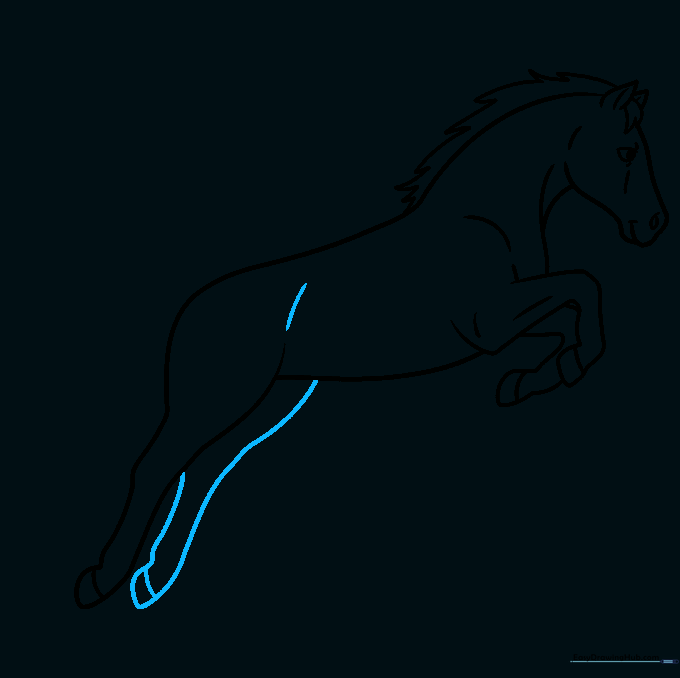
Step 6: Adding the Second Leg and Belly
Draw the second front leg slightly behind the first to show depth. Connect the chest to the back with a long, curved belly line. Tip: Keep the belly line smooth to show the horse's athletic build.
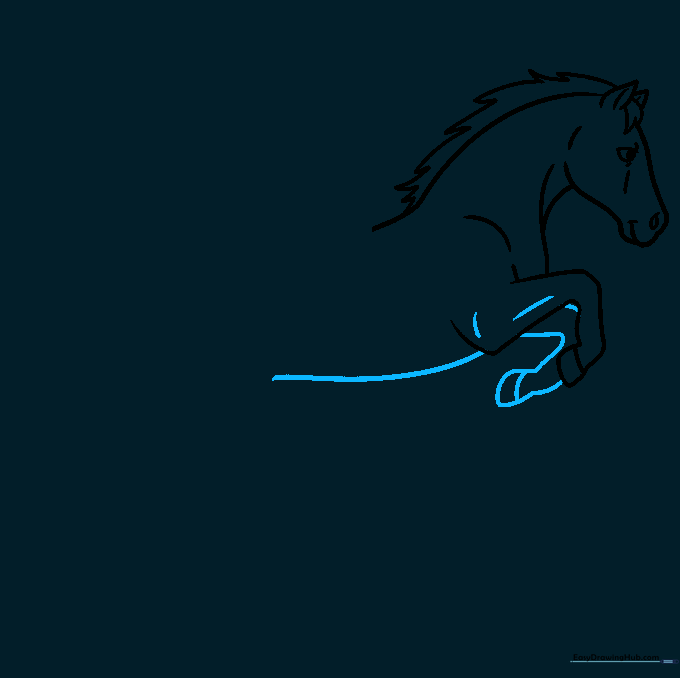
Step 7: The Rear Leg
Extend the back line and curve it down to form the rear leg. Add a hoof at the end. Tip: Make this leg look strong by keeping the upper part thicker than the lower part.
Step 8: Finalizing the Hips
Draw the final rear leg tucked underneath. Add a curved line to define the hip muscle. Tip: This adds 'weight' to your drawing, making the horse look like it's really pushing off the ground.
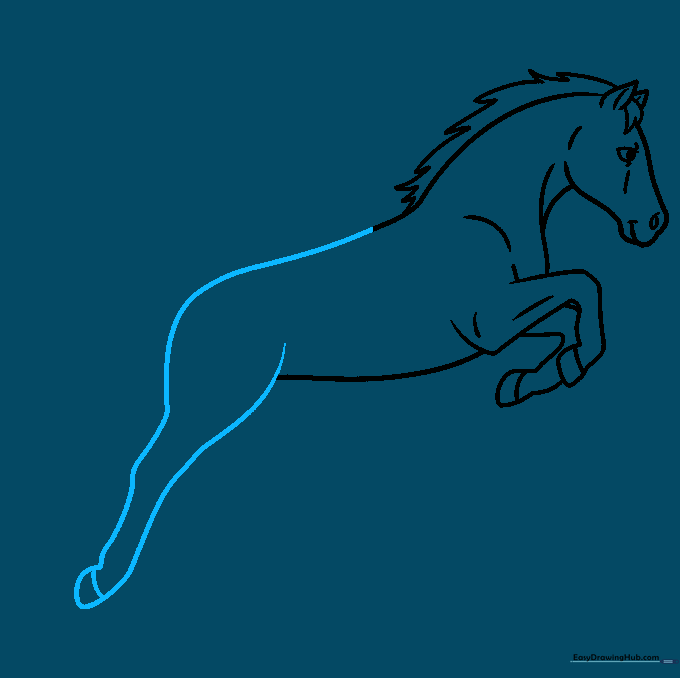
Step 9: Adding the Tail
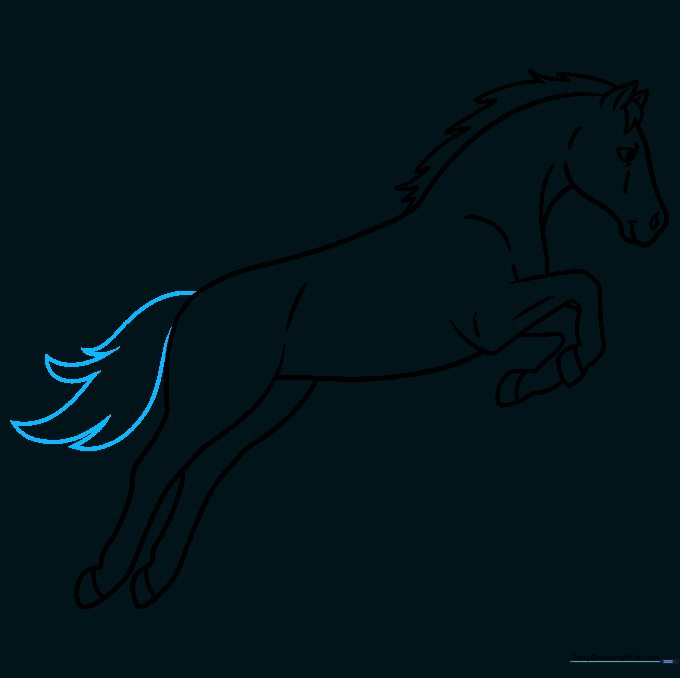
Draw a long, flowing tail using curved lines that taper to a point. Tip: Draw the tail lines in the same direction as the mane to show the horse is moving forward quickly.
Step 10: Bring It to Life with Color
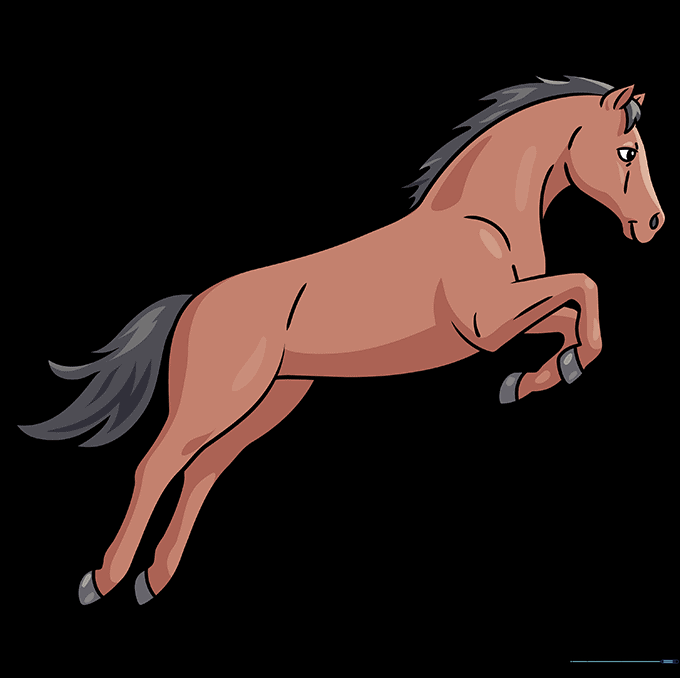
Time to color! Use browns, blacks, or even white for your horse. Add spots or a lighter color for the mane to make it pop. Tip: Use light pressure with your colored pencils to create soft shading on the belly and legs.
More Tutorials


