How to Draw a Jet: Easy 10-Step Guide for Kids
Ready to take flight? This tutorial is perfect for young artists ages 6+ who want to draw a high-speed fighter jet. All you need is a pencil, an eraser, and a piece of paper to get started. By the end of this lesson, you will have a professional-looking aircraft ready for takeoff!
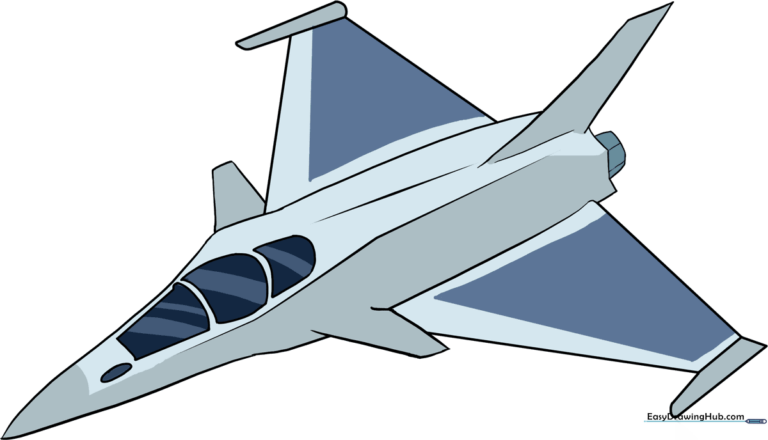
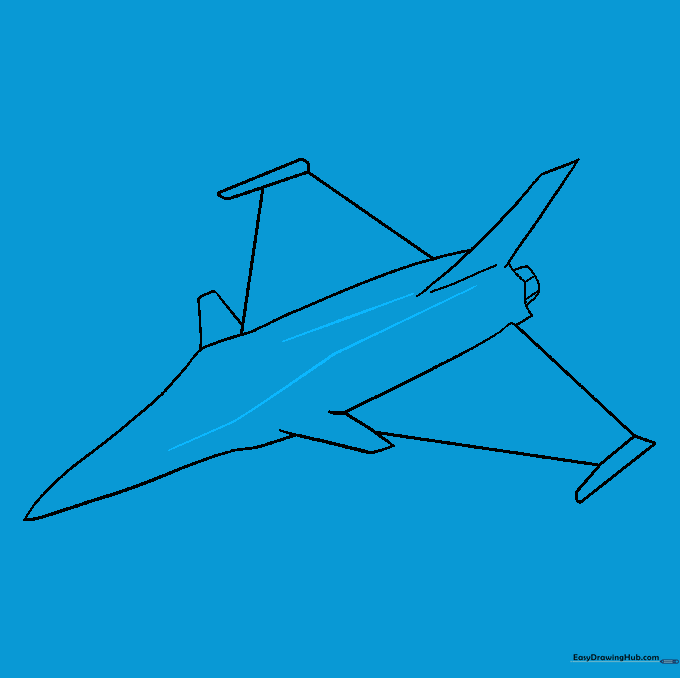
🎯 Final Result
Step-by-Step Instructions
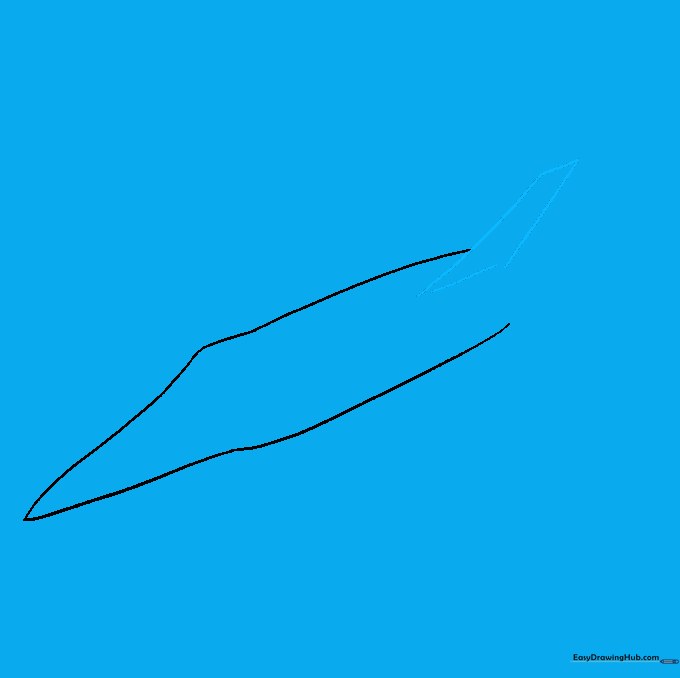
Step 1: Sketching the Fuselage
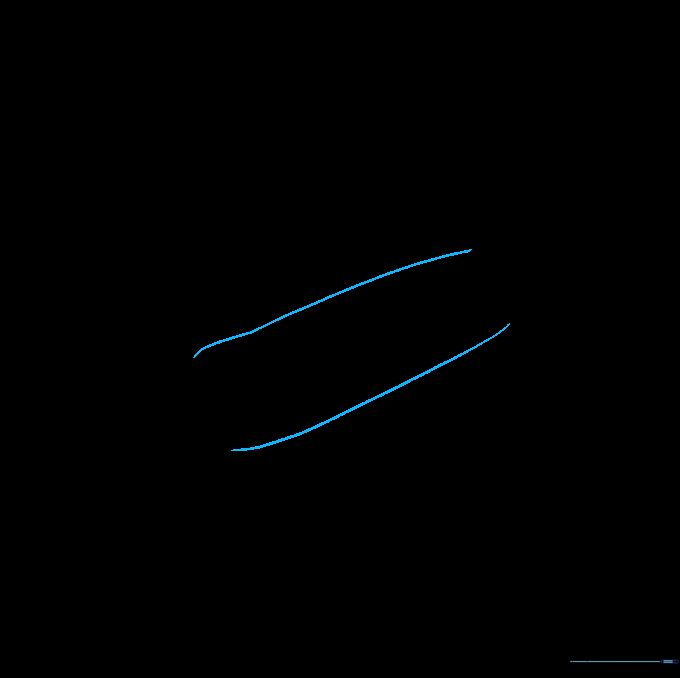
Draw two diagonally slanted curved lines that are roughly parallel. Teacher's Tip: Keep your pencil pressure light so you can easily adjust the angle if the body looks too steep or too flat.
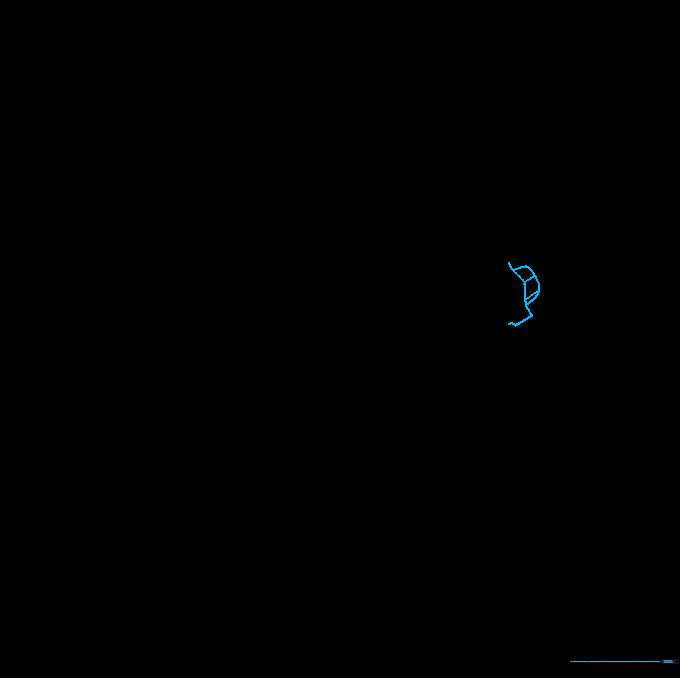
Step 2: Forming the Nose
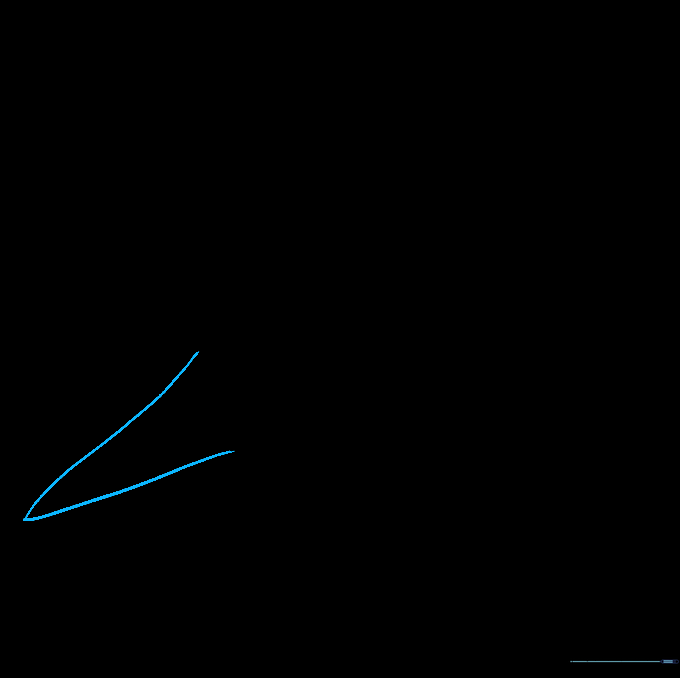
Connect your lines by drawing two long curves that meet at a sharp point. Teacher's Tip: Imagine you are drawing the tip of a carrot; keep it pointy to make the jet look aerodynamic and fast.
Step 3: Adding the Vertical Stabilizer
Draw two vertical slanted lines at the back of the jet and connect them to form the tail fin. Teacher's Tip: Use a ruler if you want perfectly straight edges, but freehand lines give it a more dynamic, 'in-motion' feel.
Step 4: Designing the Engine Nozzle
Enclose the rear fuselage with straight lines and add a rounded shape for the engine nozzle. Teacher's Tip: Add small, short lines across the nozzle to create the texture of a mechanical exhaust port.
Step 5: Sketching the Wing Bases
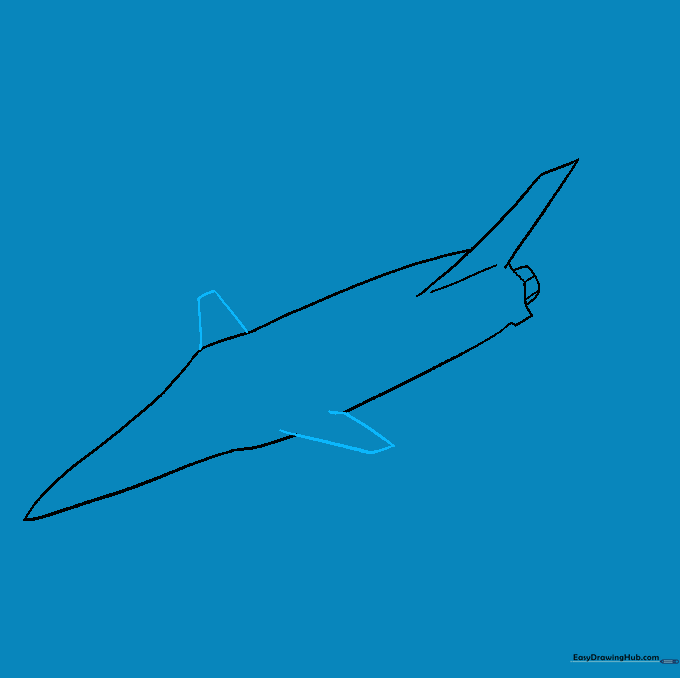
Extend two straight lines from the sides of the body to form the wing roots. Teacher's Tip: If you accidentally draw over the body lines, just use your eraser to clean up the overlapping marks.
Step 6: Completing the Wings
Use three straight lines on each side to create triangular-shaped wings. Teacher's Tip: Make sure both wings are roughly the same size to keep your jet looking balanced and symmetrical.
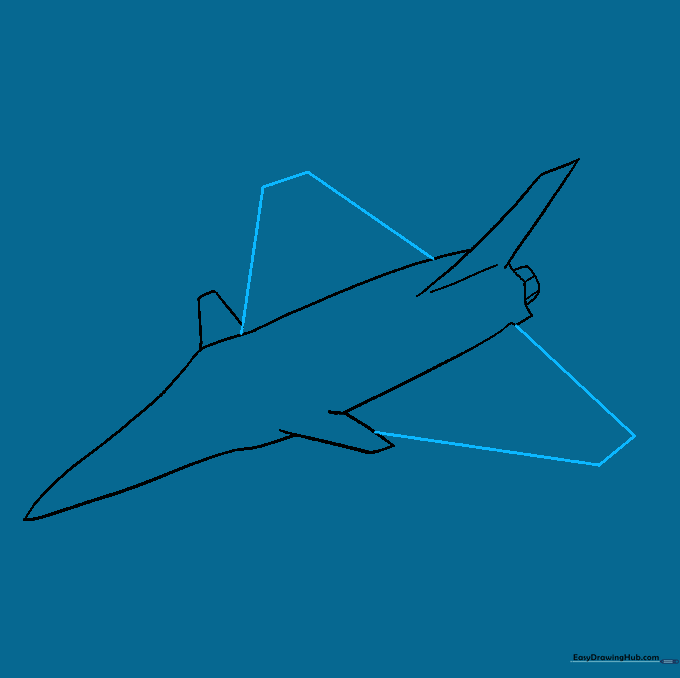
Step 7: Adding Winglets
Draw small, parallel lines at the tips of the wings to create winglets. Teacher's Tip: These small details make the jet look much more realistic and modern.
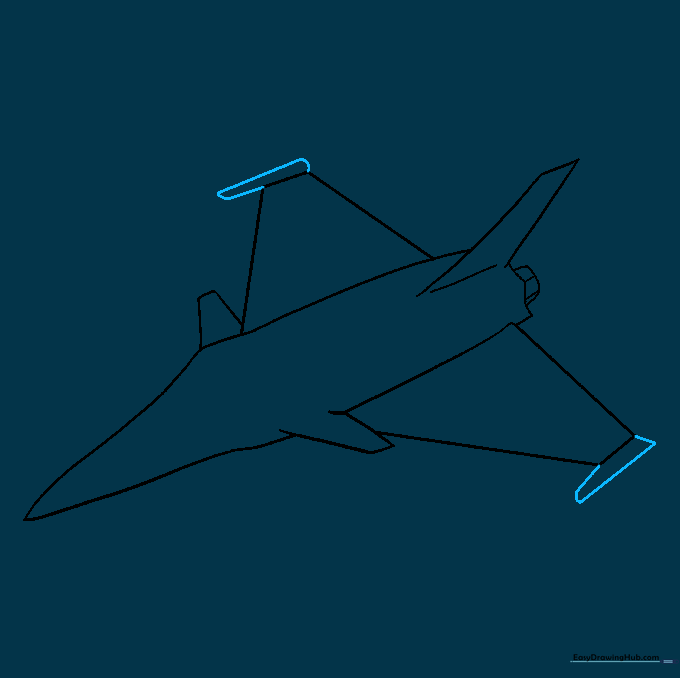
Step 8: Contouring the Body
Add long, curved lines down the center of the fuselage to give the jet a 3D look. Teacher's Tip: Follow the curve of the body to make the jet look sleek and rounded rather than flat.
Step 9: Drawing the Cockpit
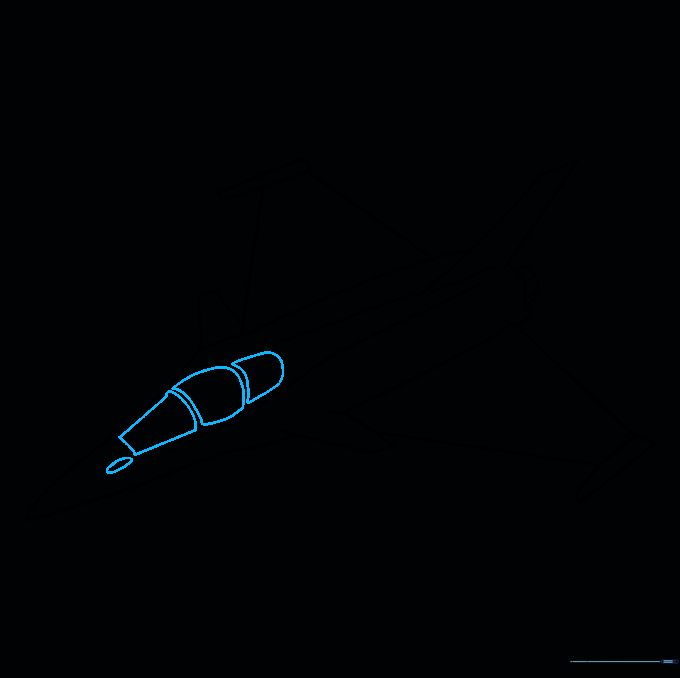
Sketch the cockpit windows using irregular shapes near the front. Teacher's Tip: Keep the shapes slightly rounded to mimic the glass canopy of a real pilot's seat.
Step 10: Coloring Your Jet
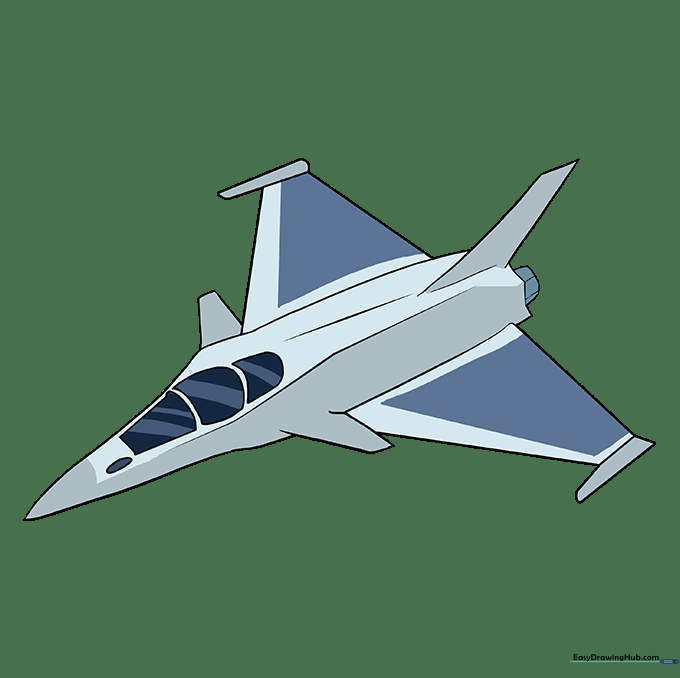
Time to bring your jet to life! Use silver or grey for a classic look, or try bold colors like the Blue Angels' blue and yellow. Teacher's Tip: Use colored pencils to add a metallic sheen by layering light grey over white highlights.
More Tutorials


