How to Draw a Jasmine Flower: Easy 9-Step Guide
Bring the elegance of nature to your sketchbook with this simple jasmine flower tutorial. Designed for ages 5 and up, this activity uses basic shapes to help young artists master floral symmetry and organic line work. Grab a pencil, an eraser, and your favorite coloring supplies to get started.
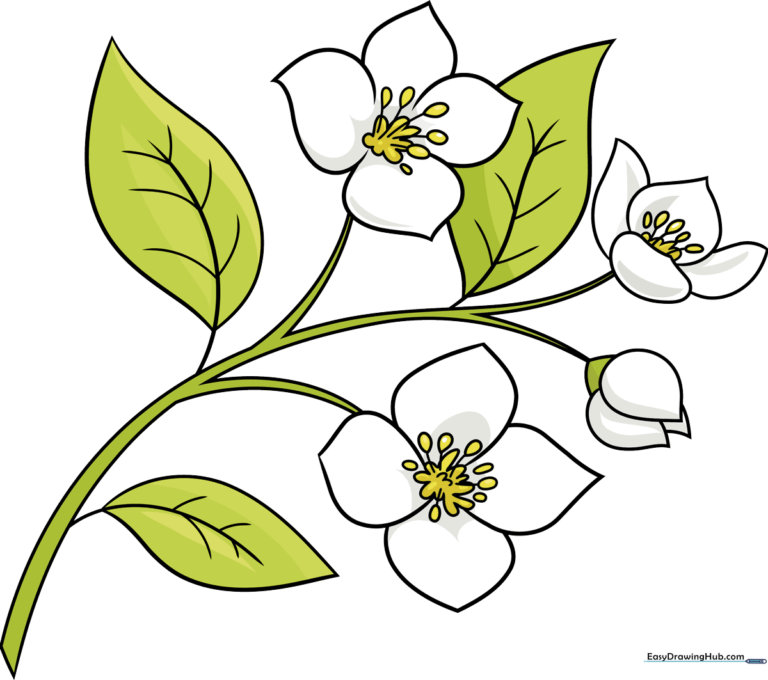
🎯 Final Result
Step-by-Step Instructions
Step 1: Sketching the Flower Center

Start by drawing the center of the flower. Use a series of small, narrow 'U' shaped lines to create a circular cluster. Teacher's Tip: Keep these shapes tight and close together to give the flower a realistic, dense center.
Step 2: Adding the First Petals
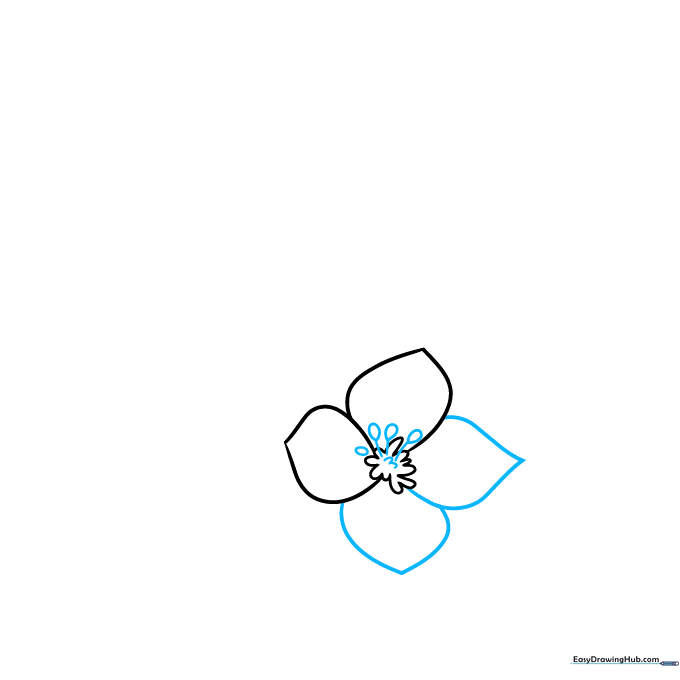
Draw four petals radiating from the center using curved lines. Add tiny teardrop shapes at the end of thin lines extending from the center to represent the pollen-bearing anthers. Teacher's Tip: Use a light touch for the anthers so they look delicate, not heavy.
Step 3: Creating the Stem and Bud
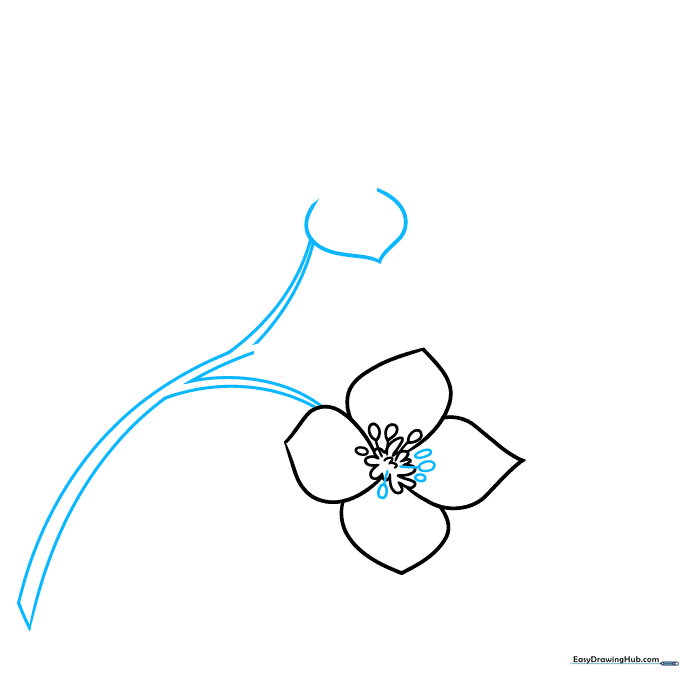
Draw a 'Y' shaped stem using two parallel curved lines. At the end of one branch, begin sketching a second, larger blossom. Teacher's Tip: Keep your stem lines smooth and flowing; imagine the stem is gently bending in the breeze.
Step 4: Detailing the Second Blossom
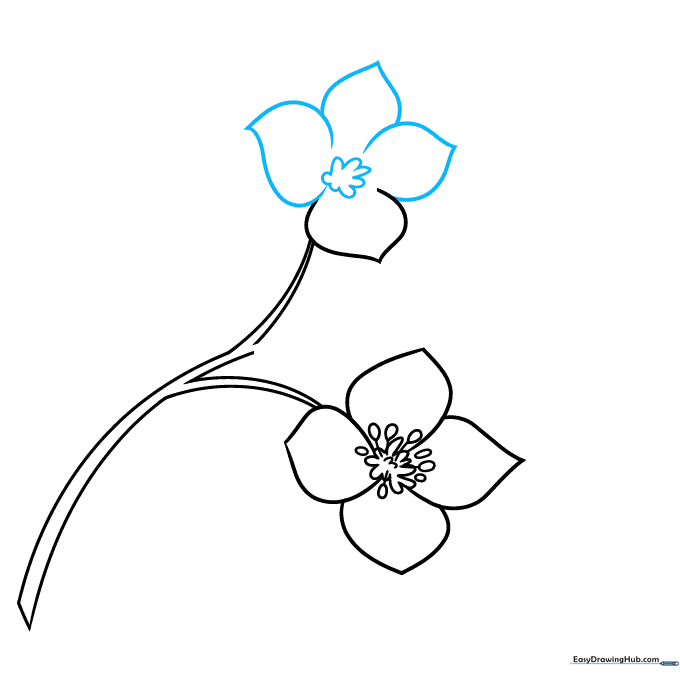
Define the center of the second flower with more 'U' shapes, then add three overlapping petals around it. Teacher's Tip: Overlapping lines create depth, making your drawing look 3D rather than flat.
Step 5: Extending the Stem
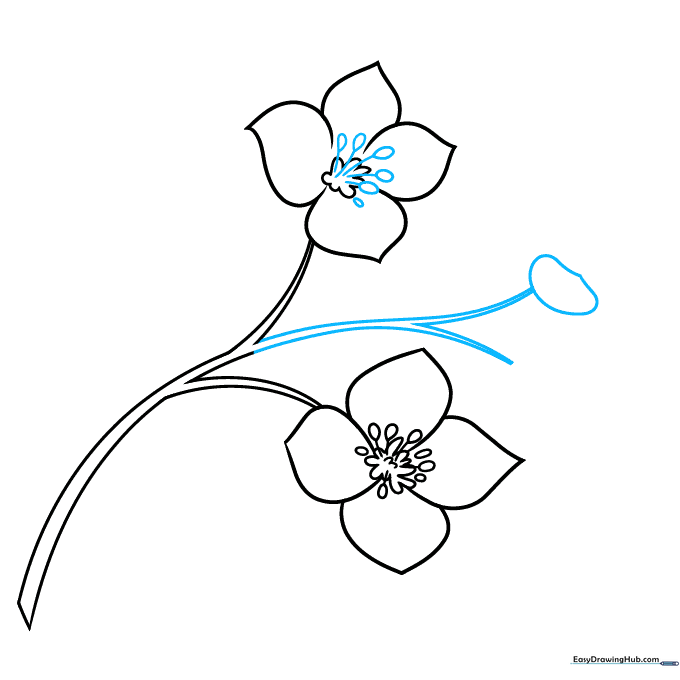
Add more anthers to the second flower and extend the stem further with another 'Y' junction. Add a single petal at the new tip. Teacher's Tip: Use a light, flicking motion with your pencil to create the pointed tips of the petals.
Step 6: Completing the Petals
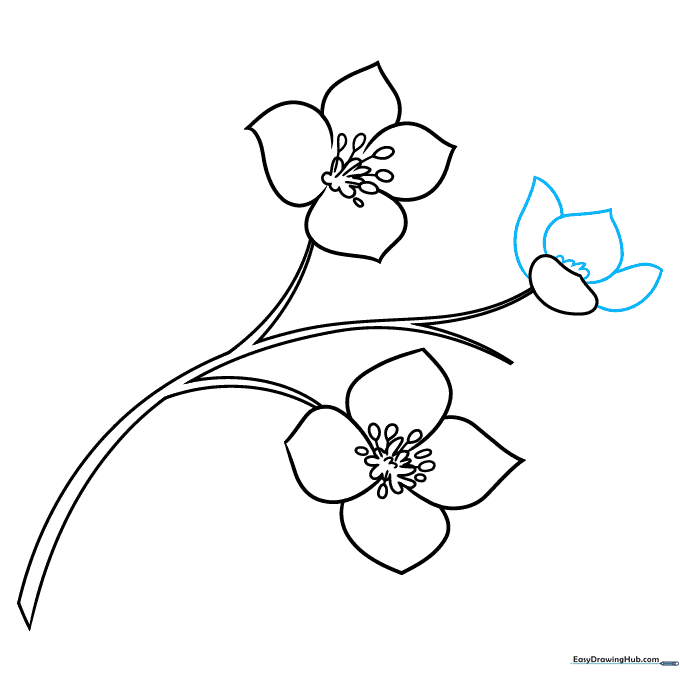
Add the remaining petals to the flower cluster using smooth, curved lines. Teacher's Tip: Ensure your petals vary slightly in size to make the flower look natural and organic.
Step 7: Adding a Flower Bud
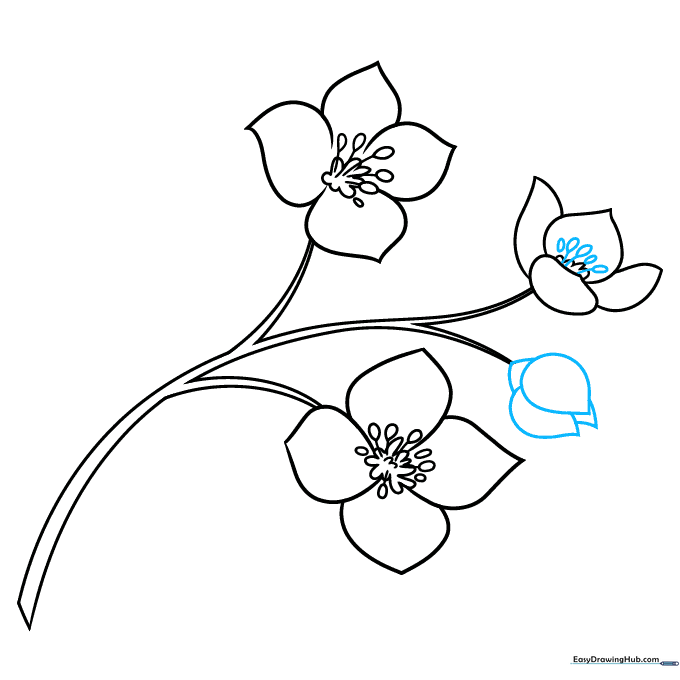
Draw the final anthers and sketch a small, closed flower bud at the end of the stem. Use overlapping curved lines to suggest the tightly packed petals. Teacher's Tip: A bud adds realism to your drawing, showing the life cycle of the plant.
Step 8: Drawing the Leaves
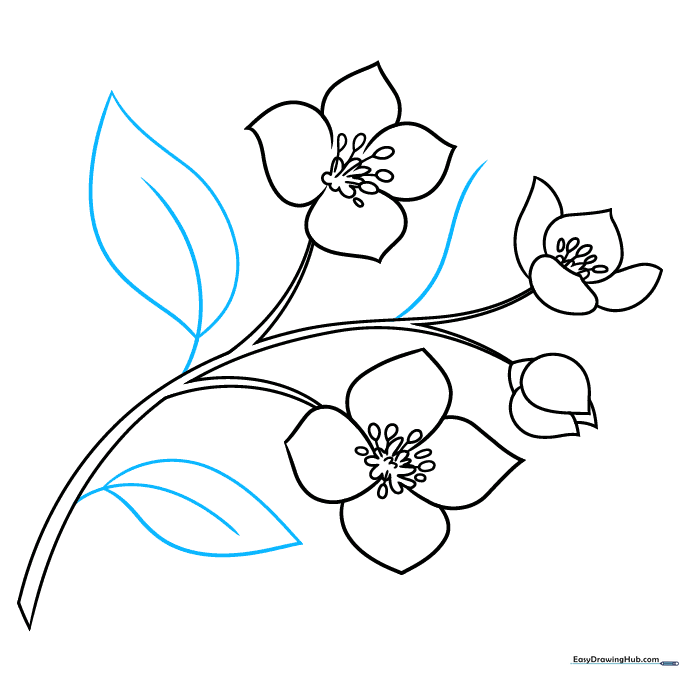
Extend lines from the stem to form the central veins of the leaves. Enclose them with two curved lines meeting at a point. Teacher's Tip: Jasmine leaves are typically oval-shaped and pointed, so keep your curves graceful.
Step 9: Adding Leaf Detail
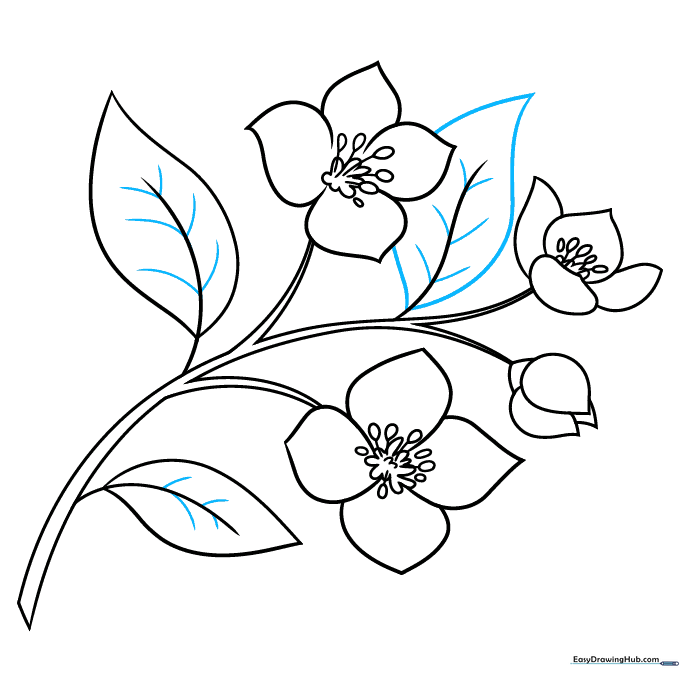
Complete the final leaf and add smaller veins branching off the main ones. Teacher's Tip: Adding these small details makes your drawing look much more professional and botanically accurate.
Step 10: Color Your Masterpiece
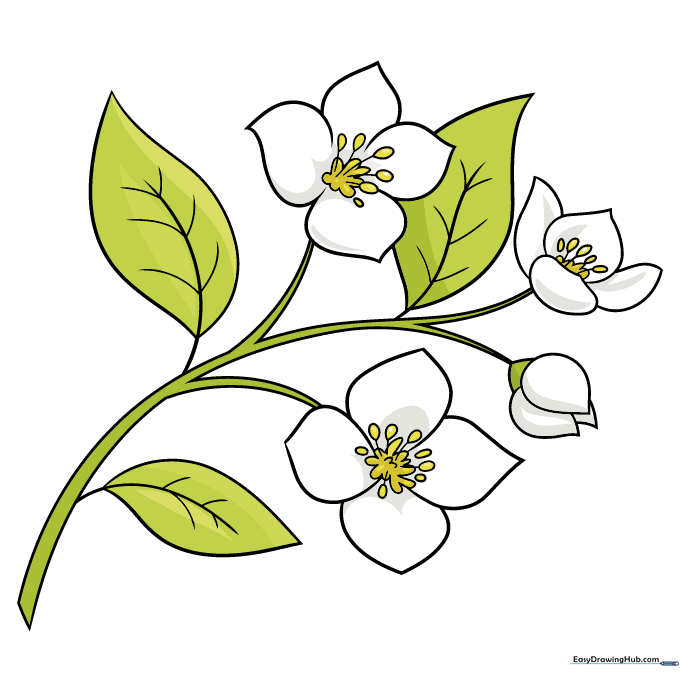
Your jasmine flower outline is ready! Use white or soft cream for the petals, and vibrant greens for the leaves. Teacher's Tip: Use a light grey or blue pencil to add subtle shadows under the petals to make them 'pop' off the page.
More Tutorials


