How to Draw a Jar of Love: Easy 10-Step Guide
Create a heartfelt gift that lasts! This tutorial is perfect for artists ages 5 and up, requiring only a pencil, paper, and your favorite markers. Follow these steps to practice layering shapes and lettering, resulting in a charming, personalized illustration.
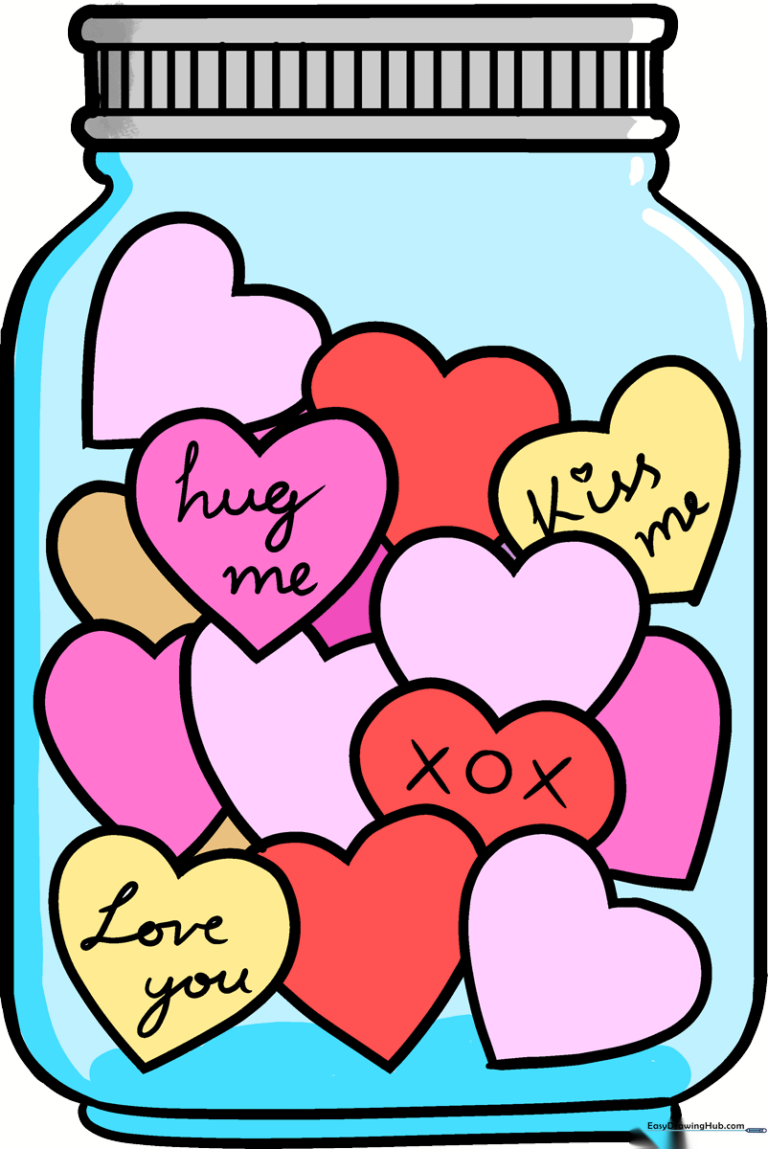
🎯 Final Result
Step-by-Step Instructions
Step 1: Sketching the Lid

Draw the lid by creating two long, horizontal lines connected by short curves at the ends. Tip: Keep your pencil pressure light so you can easily adjust the shape if it looks a bit lopsided.
Step 2: Adding Lid Texture

Add texture to the lid by drawing two horizontal lines across it, then filling the space with short vertical lines. Tip: Think of this as drawing the 'teeth' of a screw-top lid—keep the lines evenly spaced.
Step 3: Drawing the First Side
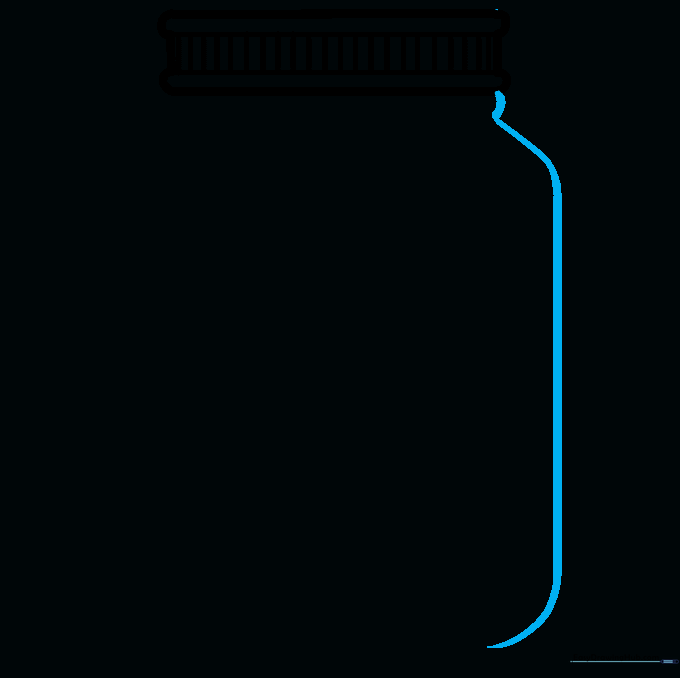
Draw the left side of the jar using a short curved line near the lid and a longer, sweeping curved line for the body. Tip: Use a fluid motion with your wrist to get a smooth, rounded curve.
Step 4: Mirroring the Side

Repeat the process on the right side to create a symmetrical jar body. Tip: If you struggle with symmetry, try drawing a faint vertical center line to use as a guide.
Step 5: Closing the Base

Connect the two sides at the bottom with two curved lines to form the base. Tip: A slightly rounded bottom makes the jar look like it has volume and depth.
Step 6: Starting the Hearts

Begin filling the jar with hearts. Draw two full hearts and a few that are partially cut off by the jar's edge. Tip: Varying the sizes of the hearts makes the drawing look more natural and 'full'.
Step 7: Layering Hearts

Continue adding more hearts, allowing them to overlap. Tip: When drawing overlapping shapes, draw the front-most heart first, then draw the ones behind it to avoid messy erasing.
Step 8: Filling the Space

Fill any remaining gaps with smaller hearts to make the jar look packed with love. Tip: Don't worry about perfect placement; a scattered look is often more charming.
Step 9: Adding Messages

Write sweet notes like 'Love You' or 'XOX' on the larger hearts. Tip: Use a fine-tip pen for the lettering and try to dot your 'i's with tiny hearts for an extra cute touch!
Step 10: Adding Color
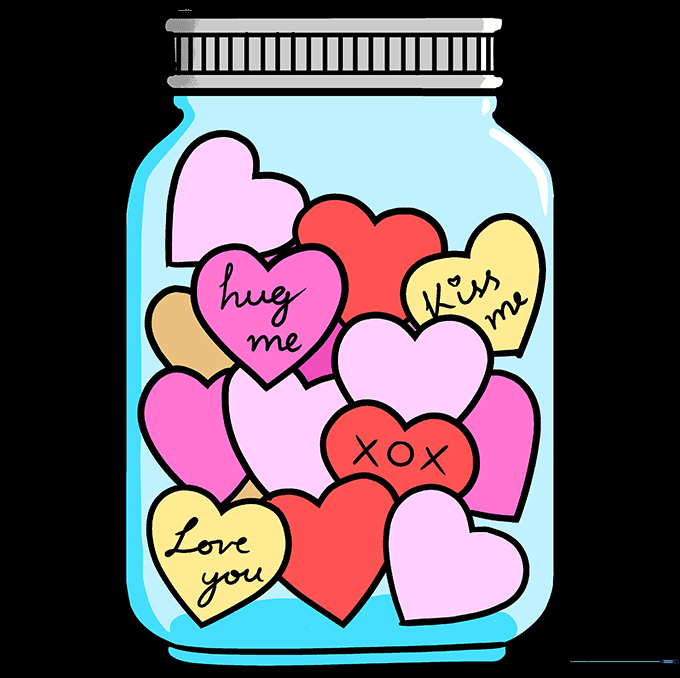
Bring your drawing to life with color! Use reds, pinks, and purples for the hearts. Tip: Leave a small white sliver on one side of the jar to simulate a glass reflection—it makes the jar look real!
More Tutorials


