How to Draw a Jaguar: Easy 10-Step Guide for Kids
Ready to bring a powerful jungle cat to life? This tutorial is perfect for young artists ages 7+ looking to master animal anatomy. Grab your pencil, eraser, and paper, and follow these steps to build your jaguar from simple shapes into a detailed masterpiece.
🎯 Final Result

Step-by-Step Instructions
Step 1: Sketching the Foundation

Start with light guide lines to map out the body. Draw a large horizontal oval for the torso and a smaller circle for the head. Add two overlapping circles on the body to mark where the shoulders and hips will sit. Teacher's Tip: Keep these lines faint—they are just a roadmap, not the final drawing!
Step 2: Shaping the Head and Face
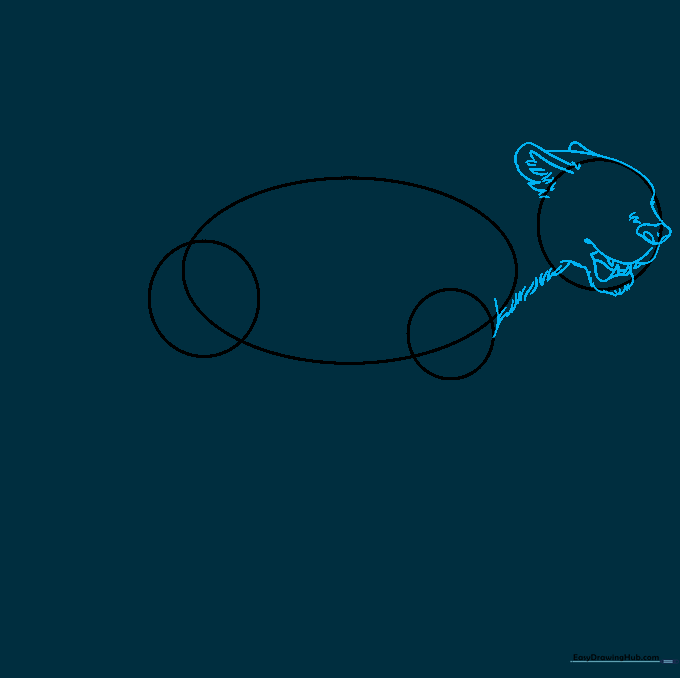
Let's give your jaguar some personality! Use short, jagged strokes to connect the head to the body, creating a furry neck. Outline the ears, nose, and open mouth. Teacher's Tip: Use quick, flicking motions with your pencil to mimic the texture of fur.
Step 3: Defining the Back and Neck
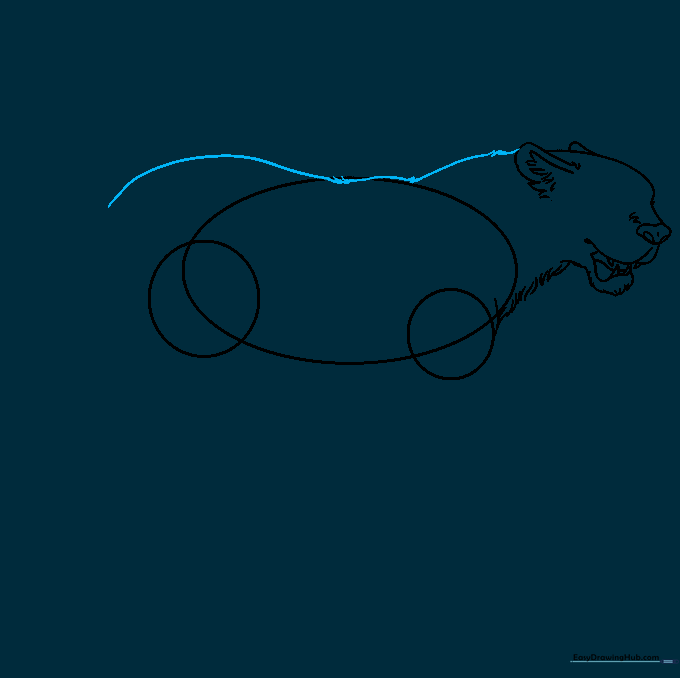
Connect the head to the body using a long, graceful curve for the back. Remember to use those short, jagged lines along the top of the neck to show where the fur sits. Teacher's Tip: Vary the length of your 'fur' strokes to make it look more natural.
Step 4: Drawing the Front Leg
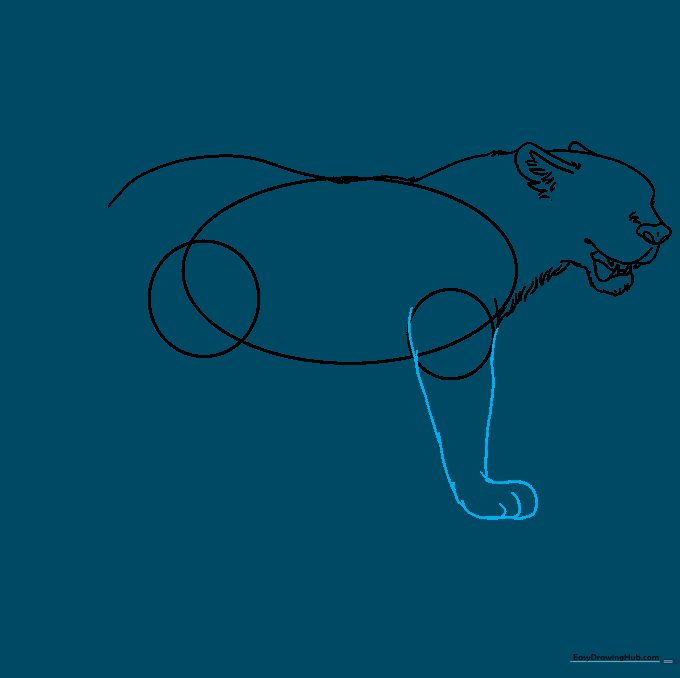
Focus on the front leg starting from the shoulder guide. Outline the leg with steady, slightly jagged lines. Use overlapping curves at the bottom to define the toes and paw. Teacher's Tip: Jaguars have powerful paws; make them look sturdy and thick.
Step 5: Adding the Rear Legs and Belly
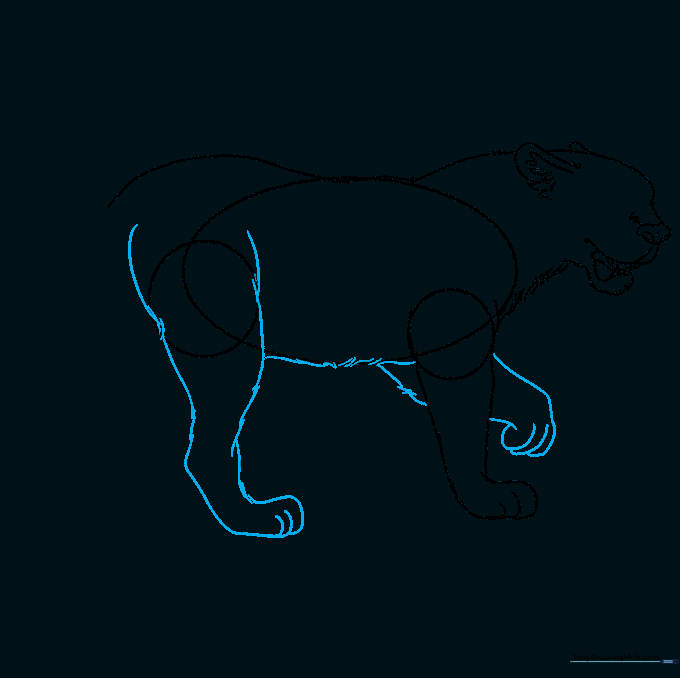
Draw the rear leg using the hip guide circle. Connect the front and rear legs with a curved line for the belly, then add the far foreleg behind the body. Teacher's Tip: Adding the far leg creates depth, making your drawing look 3D!
Step 6: Cleaning Up and Finalizing Legs
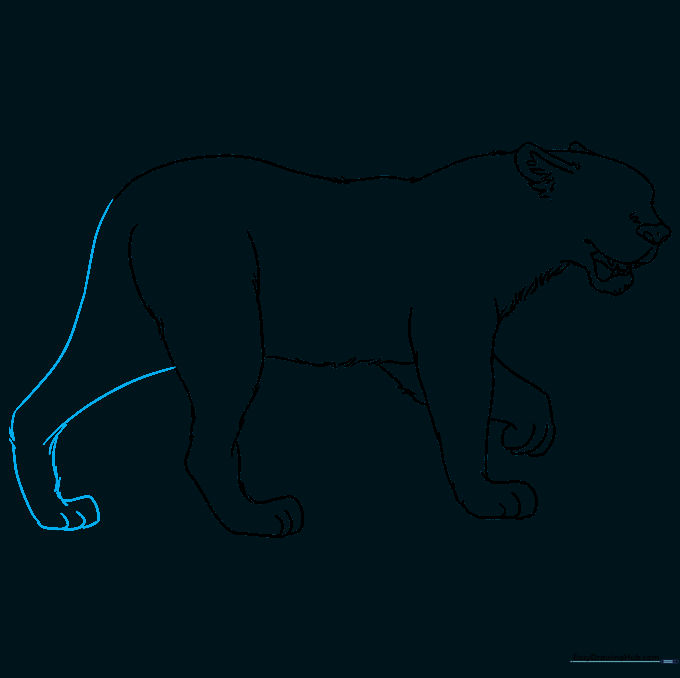
Gently erase your original guide lines. Now, draw the final rear leg using long, smooth curves for the thigh and jagged lines for the fur. Teacher's Tip: Use a soft eraser to avoid smudging your hard work.
Step 7: The Powerful Tail
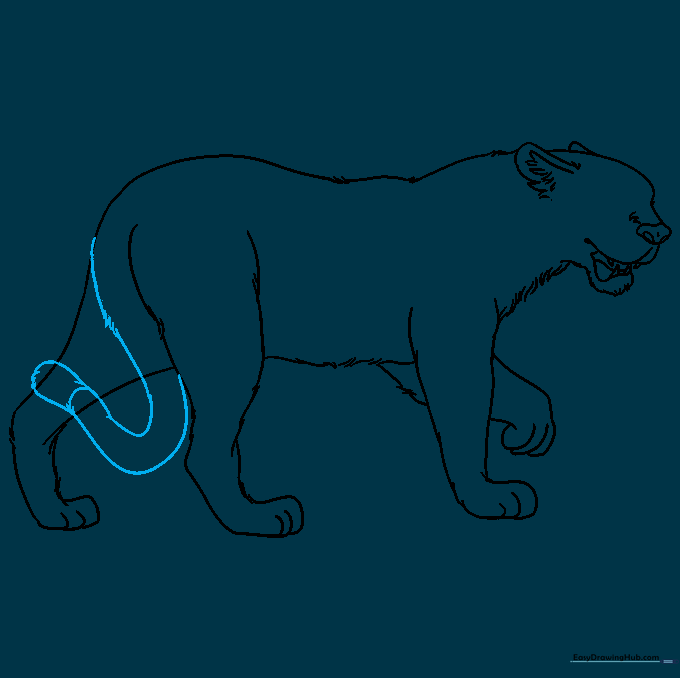
Draw a long, sweeping tail that doubles back on itself. Add a curved band near the tip to show the pattern. Teacher's Tip: A long tail helps the jaguar balance, so make sure it looks long and flexible.
Step 8: Facial Features and Whiskers
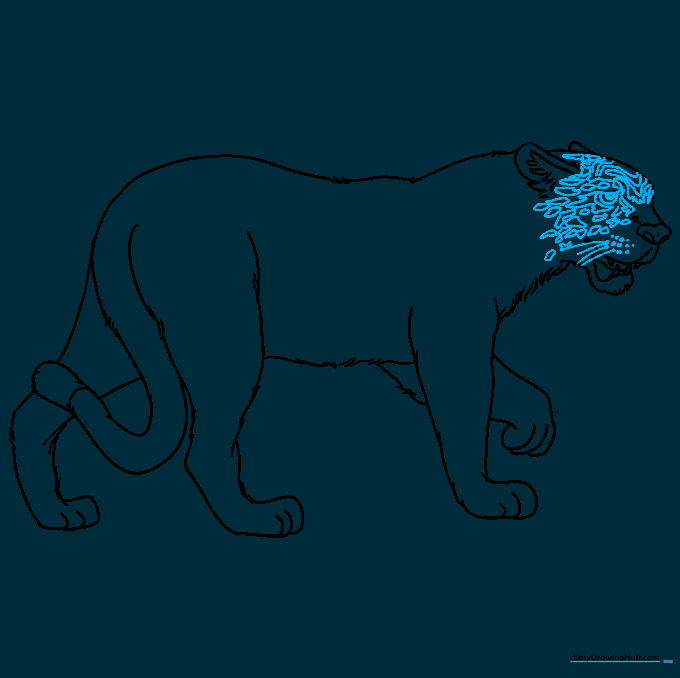
Add the eye and long, elegant whiskers. Start sketching the irregular spots on the face. Teacher's Tip: Don't make the spots perfect circles; nature is messy and irregular, which makes them look more realistic.
Step 9: Adding the Iconic Rosettes
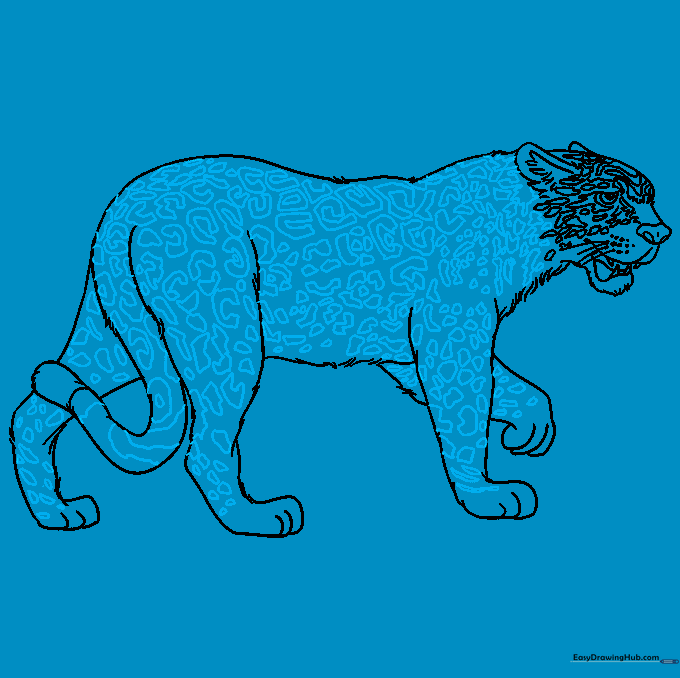
Fill the coat with 'rosettes'—these are the jaguar's signature spots. They look like little broken rings. Teacher's Tip: Scatter them unevenly across the body to mimic real fur patterns.
Step 10: Bringing it to Life with Color
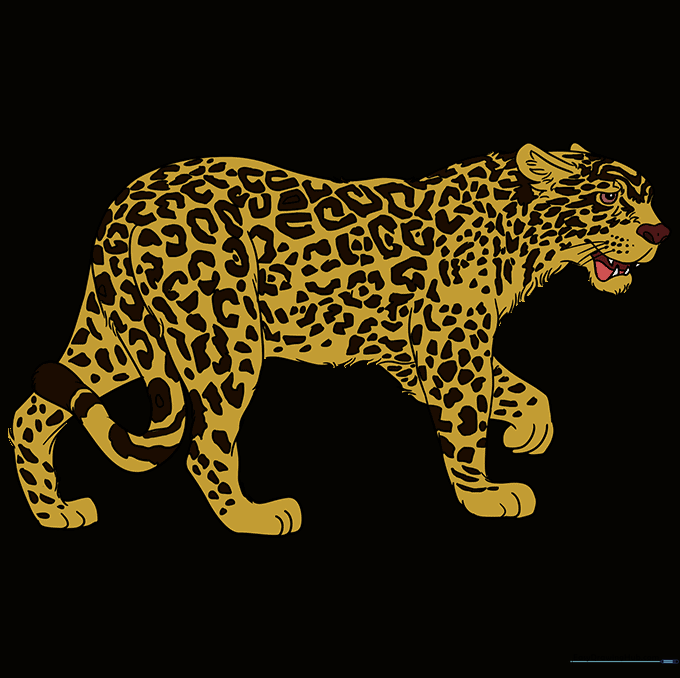
Time to color! Use warm oranges, yellows, or tans for the base, and dark brown or black for the spots. Fun Fact: Some jaguars are all black—these are called melanistic, and their spots are still visible if you look closely in the sunlight!
More Tutorials


