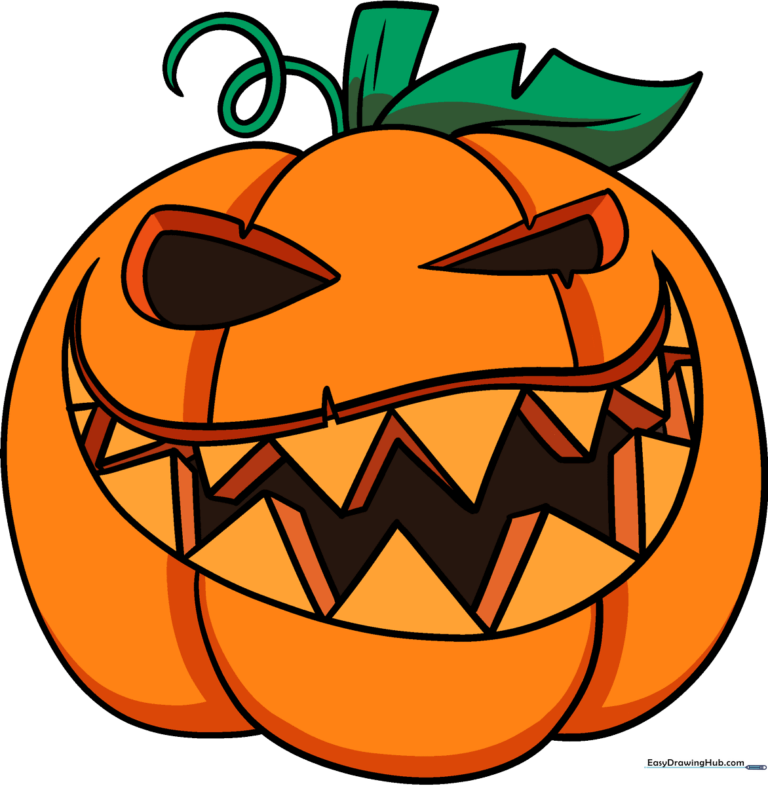
How to Draw a Jack-O’-Lantern: Easy 9-Step Guide
Ready to get into the Halloween spirit? This tutorial is perfect for artists ages 5 and up, requiring only a pencil, eraser, and paper. You will learn how to construct a friendly, expressive pumpkin face while practicing basic geometric shapes and symmetry.
🎯 Final Result
Step-by-Step Instructions
Step 1: Sketching the Eyes
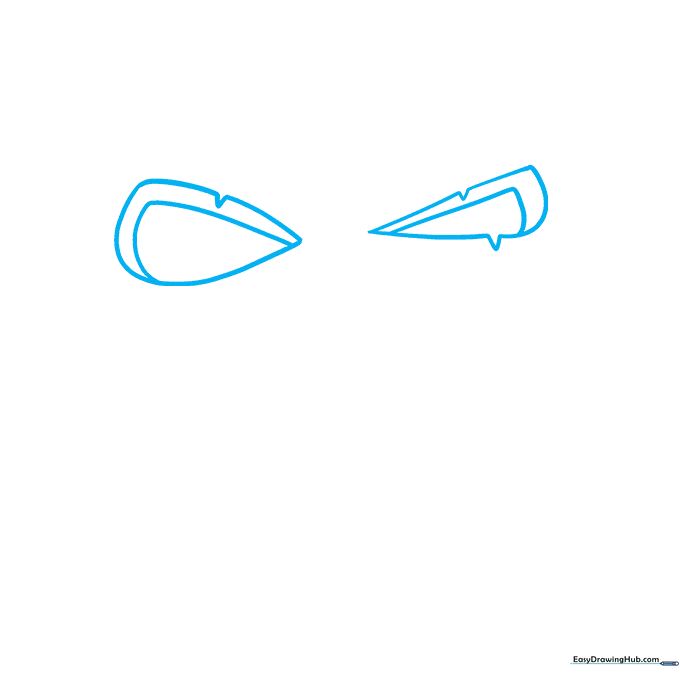
Draw two teardrop shapes for the eyes. Tip: Make one slightly narrower than the other to give your pumpkin personality. Add a smaller triangle inside each to create depth.
Step 2: Defining the Mouth
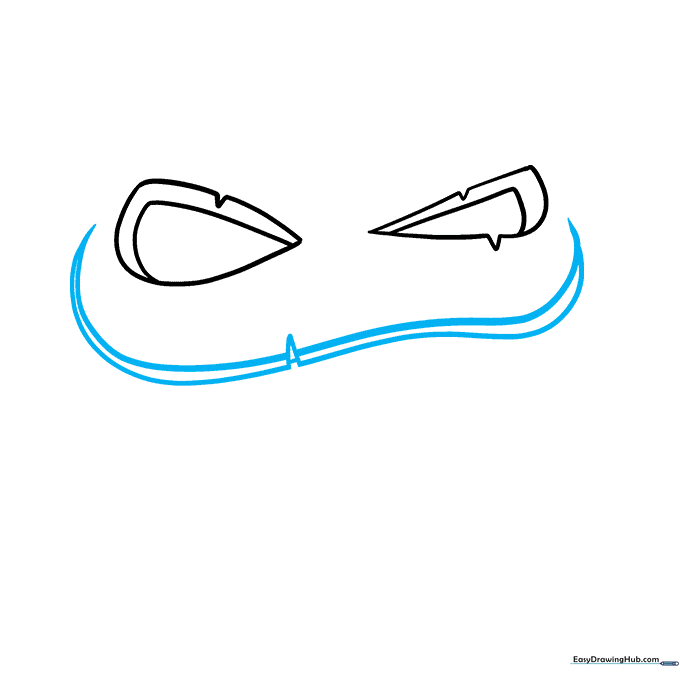
Sketch two long, parallel lines that curve to sharp points at the ends. Tip: Keep these lines light; they serve as the boundary for your pumpkin's grin.
Step 3: Adding the Lower Lip
Connect the corners of the mouth with a curved line to form the lower lip. Tip: A gentle curve makes the pumpkin look friendly rather than scary.
Step 4: Drawing Upper Teeth
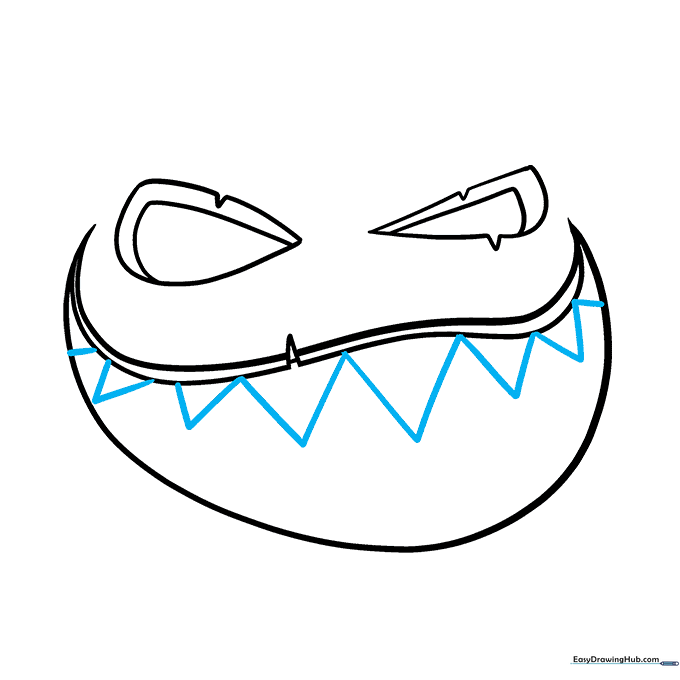
Add triangular 'V' shapes along the top of the mouth. Tip: Vary the sizes—make the middle teeth larger than the ones on the ends for a natural look.
Step 5: Adding Lower Teeth
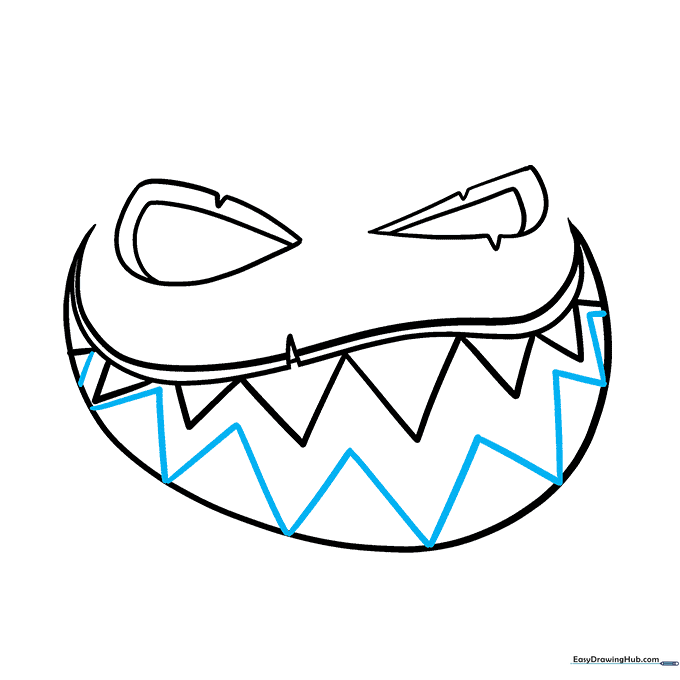
Repeat the process on the bottom of the mouth. Tip: Ensure the teeth don't perfectly align with the top ones so the mouth looks slightly jagged.
Step 6: Creating 3D Teeth
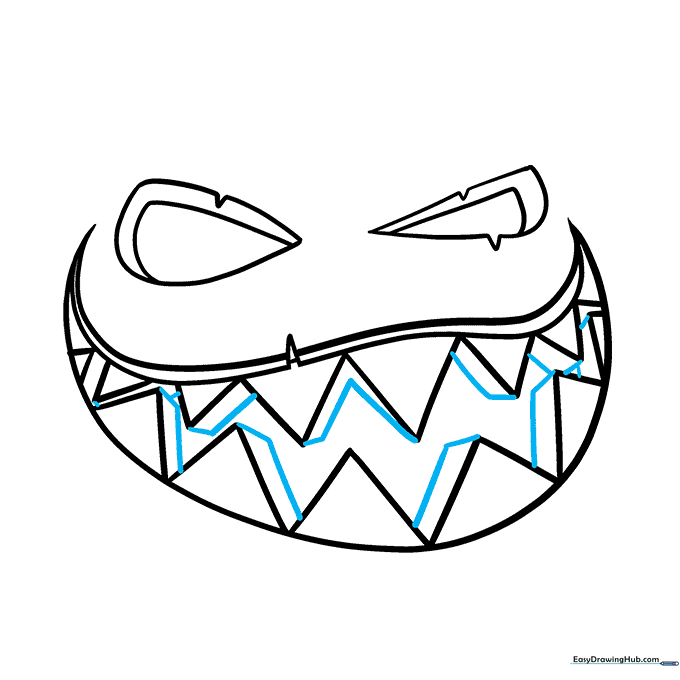
Add small 'L' shaped lines to the sides of the teeth. Tip: This simple shading trick creates a 3D effect, making the teeth look like they are carved into the pumpkin.
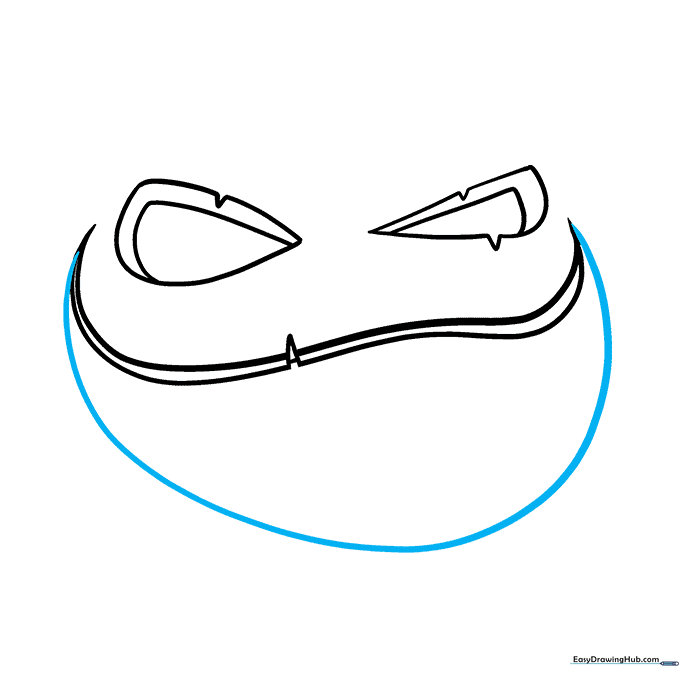
Step 7: Outlining the Pumpkin
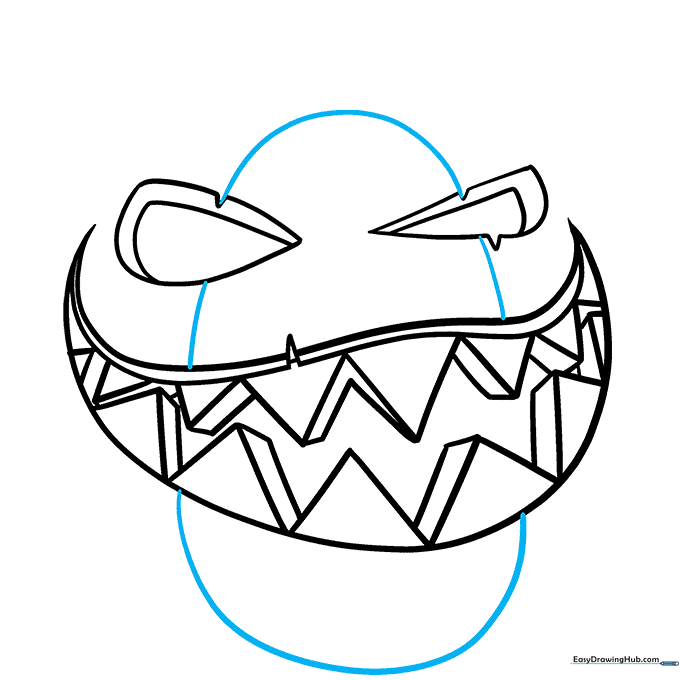
Draw a large oval that frames the eyes and mouth. Tip: Don't worry about making it a perfect circle; pumpkins are naturally lumpy and irregular!
Step 8: Adding Pumpkin Curves
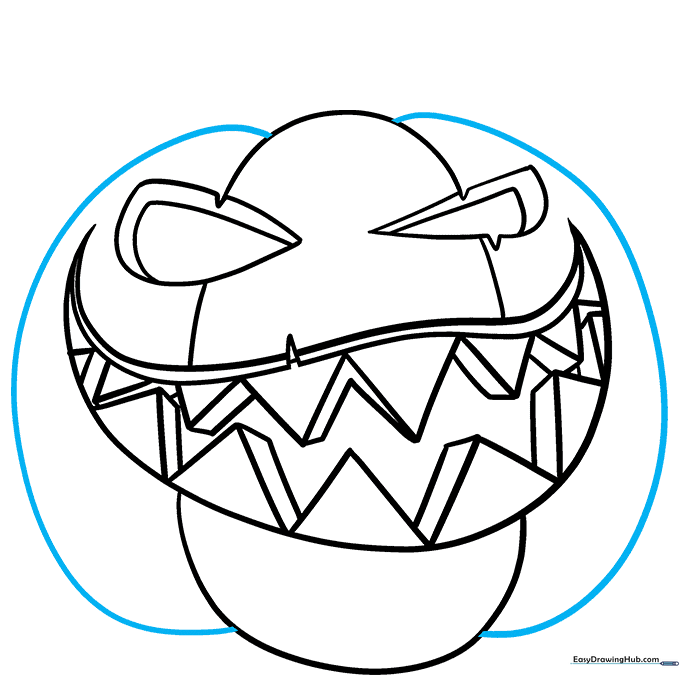
Add rounded shapes on the sides of the oval. Tip: These curves add volume and make your pumpkin look round and plump.
Step 9: Stem and Vine Details
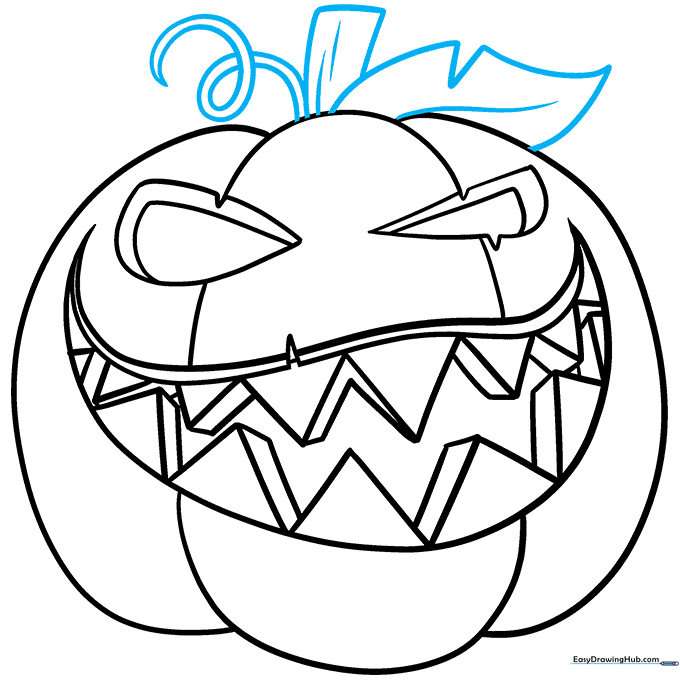
Draw a rectangular stem on top with a leaf and a curly vine. Tip: Use short, curved lines on the stem to give it a woody, textured appearance.
Step 10: Coloring Your Masterpiece
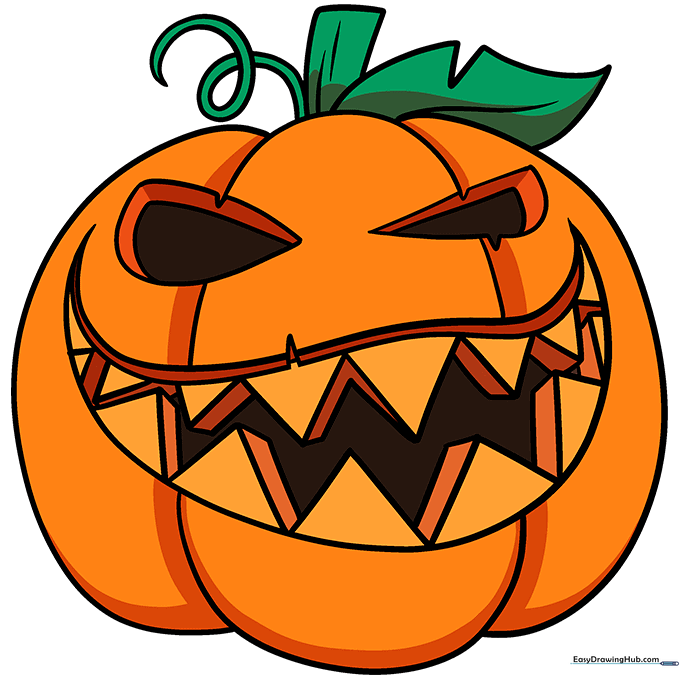
Time to color! Use bright orange for the pumpkin and deep green for the stem. Tip: Leave the eyes and mouth yellow to simulate the glow of a candle inside.
More Tutorials


