How to Draw a Husky Face: Easy 9-Step Guide for Kids
Ready to capture the spirit of a Siberian Husky? This tutorial is perfect for young artists ages 6+ who want to learn how to draw expressive animal features. All you need is a pencil, an eraser, and a piece of paper to bring this snowy-coated friend to life.
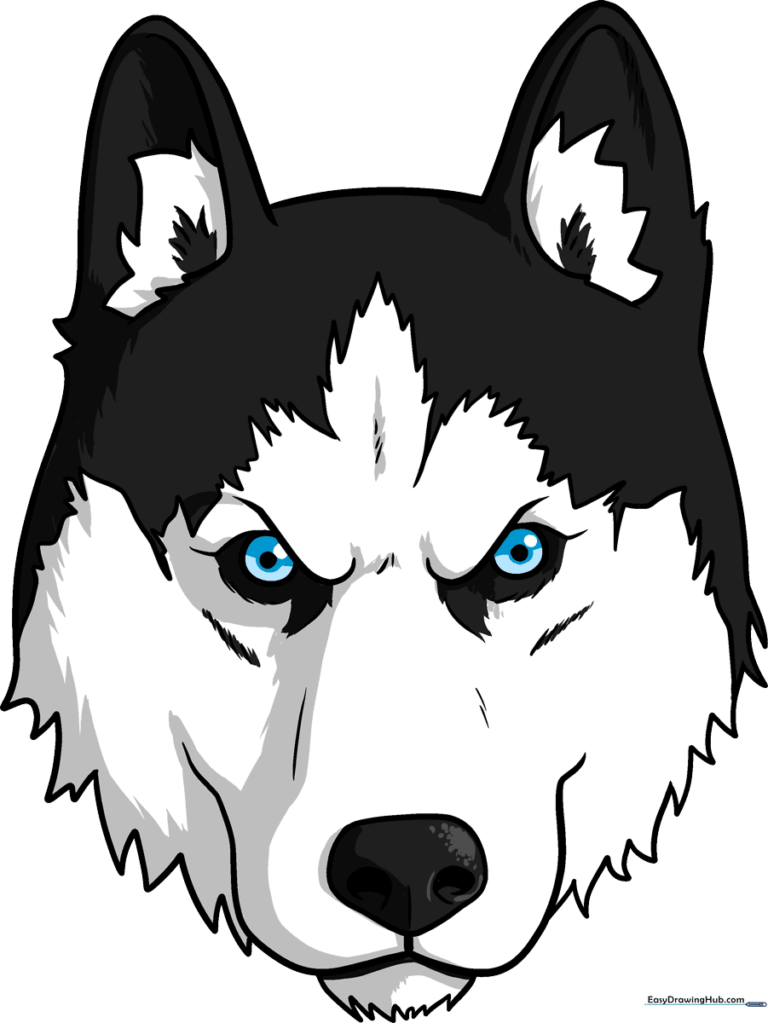
🎯 Final Result
Step-by-Step Instructions
Step 1: Sketching the Expressive Eyes

Start by drawing the husky’s intense, focused eyes. Use swooping curved lines for the furrowed brow, then enclose the circular eyes. Teacher's Tip: Keep your pencil pressure light here; if the eyes look a bit uneven, it's much easier to adjust them before you add the darker details.
Step 2: Defining the Nose
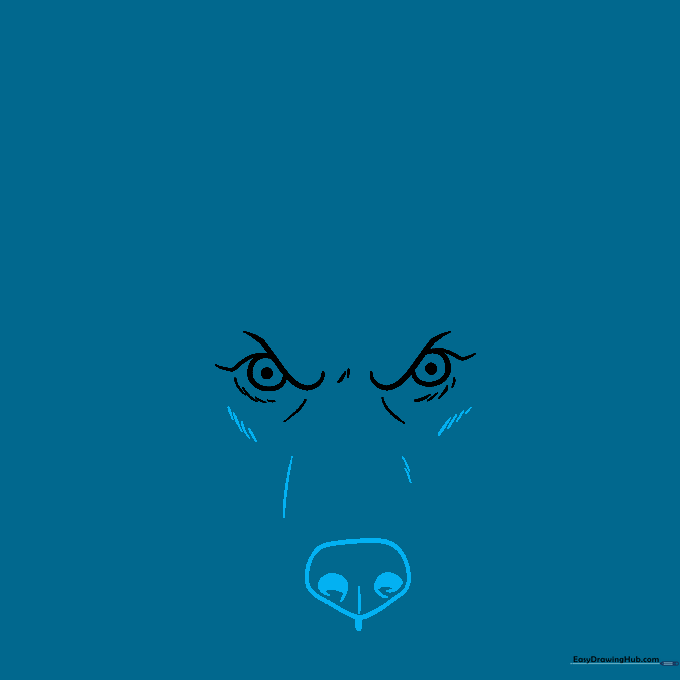
Draw an irregular, rounded shape for the nose. Add a vertical line beneath it, then two 'C' shaped curves for the nostrils. Teacher's Tip: Use short, quick strokes around the nose to mimic the texture of short fur—it adds a realistic touch to your drawing.
Step 3: Creating the Mouth and Chin
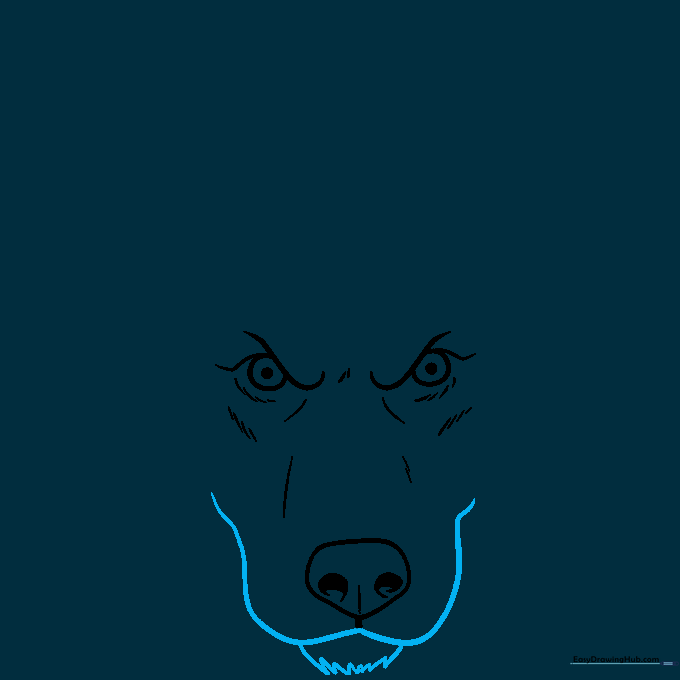
Use a long, soft curved line to sketch the upper lip, and a jagged line for the chin. Teacher's Tip: The jagged line is key! Huskies have fluffy coats, so avoid perfectly straight lines—let your hand be a little 'bouncy' to create that fur effect.
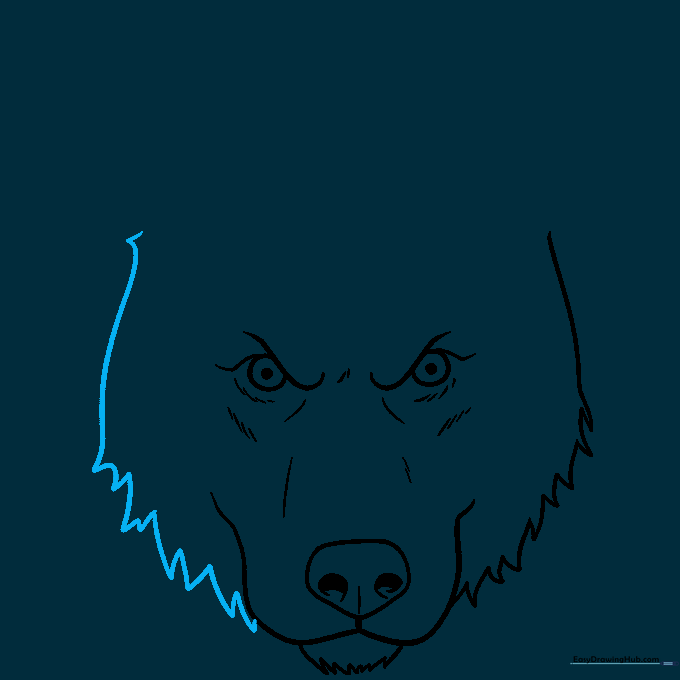
Step 4: Outlining the Left Side of the Face
Draw the left side of the head using a series of long and short curved lines that meet at jagged points. Teacher's Tip: Imagine you are grooming the dog with your pencil—use outward strokes to make the fur look thick and soft.
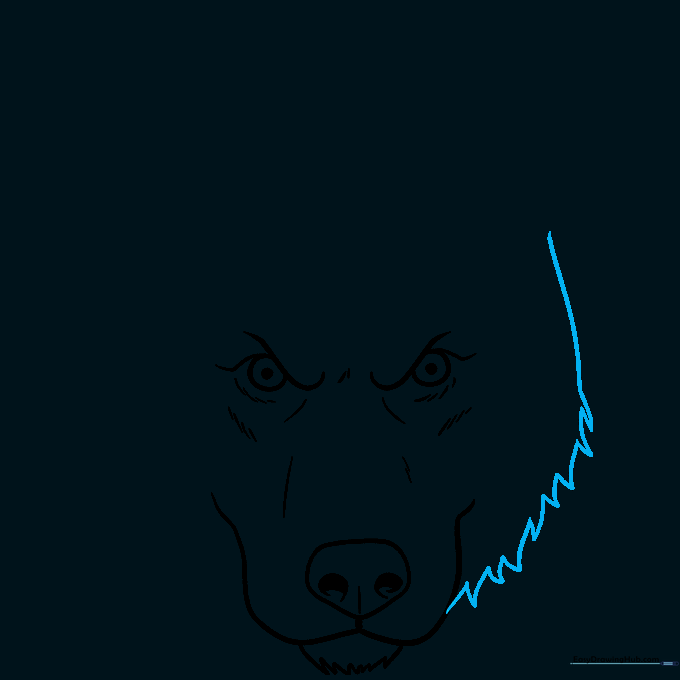
Step 5: Outlining the Right Side of the Face
Mirror your work from the previous step to draw the right side of the face. Teacher's Tip: Try to keep the jagged points consistent on both sides so your husky looks balanced and symmetrical.
Step 6: Drawing the First Ear
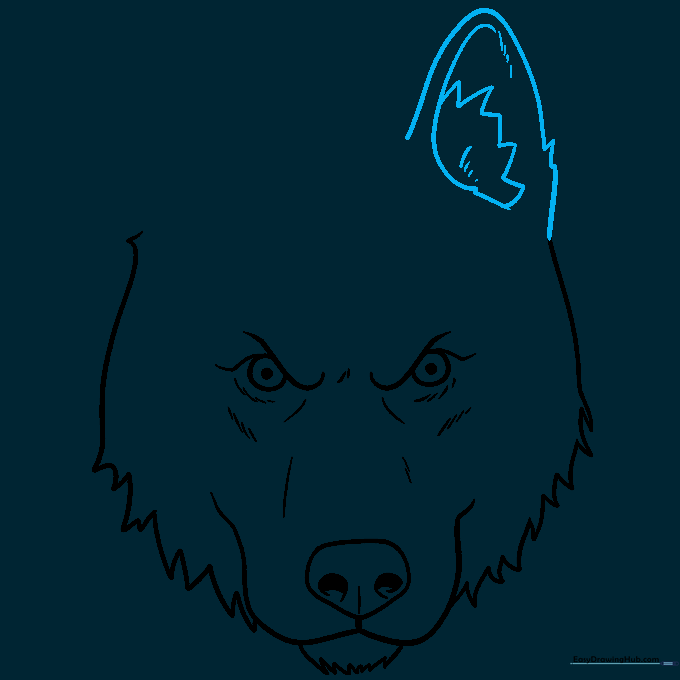
Sketch the erect ear using a long curved line and jagged edges. Add detail inside with hatching lines. Teacher's Tip: Husky ears are triangular and stand tall; make sure the base is wide to give it a sturdy look.
Step 7: Drawing the Second Ear
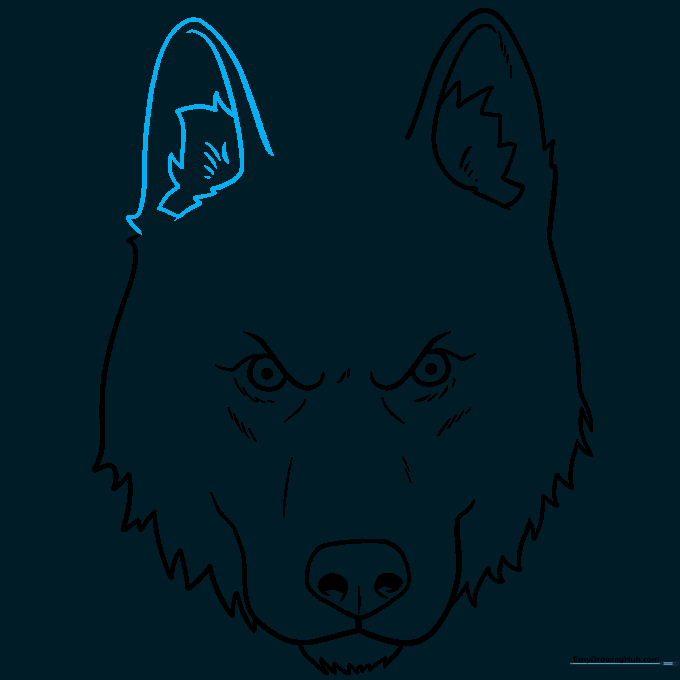
Repeat the process for the second ear. Teacher's Tip: If you want your husky to look alert, make sure both ears are pointing slightly outward at the tips.
Step 8: Adding the Head Pattern
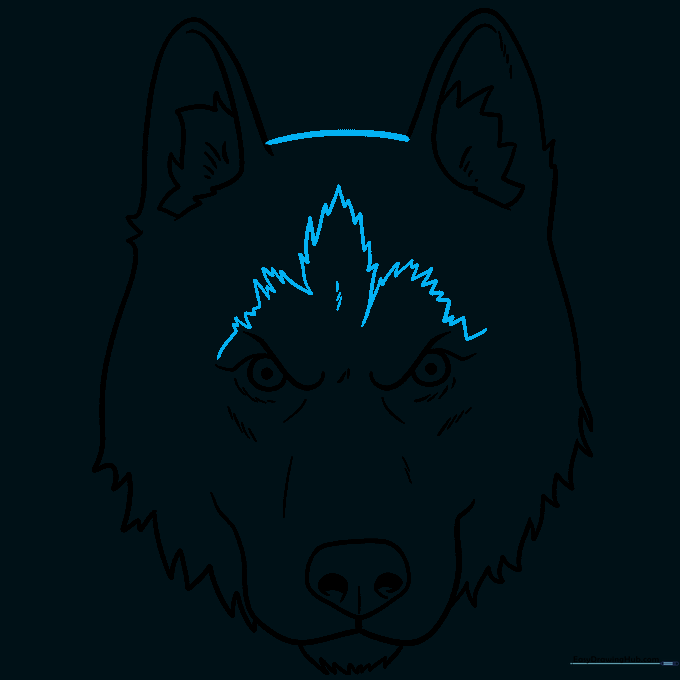
Connect the ears with a curved line and sketch the signature maple-leaf-like pattern on the forehead. Teacher's Tip: Use light, short strokes to map out the pattern before committing to darker lines.
Step 9: Finalizing Facial Markings
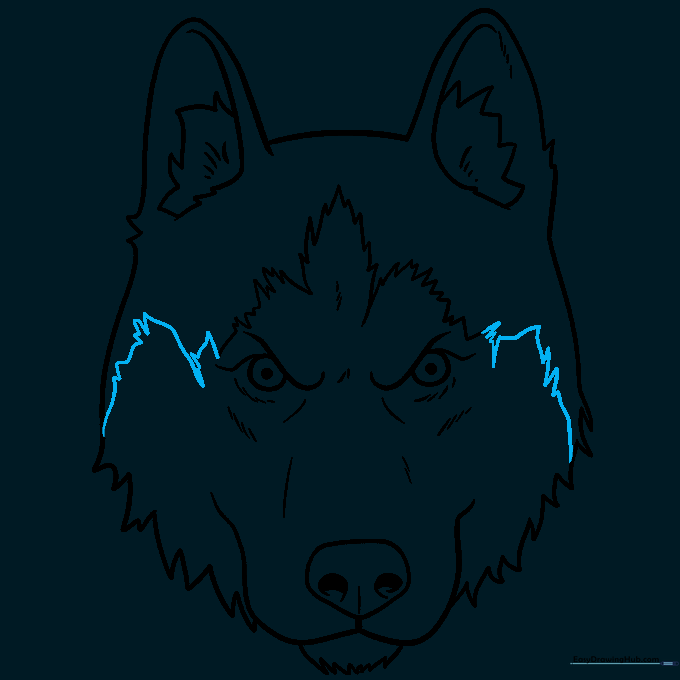
Connect the markings above the eyes to the sides of the face using jagged lines. Teacher's Tip: This is the final step of the outline—take a moment to erase any stray guidelines so your drawing looks clean and professional.
Step 10: Bringing Your Husky to Life with Color
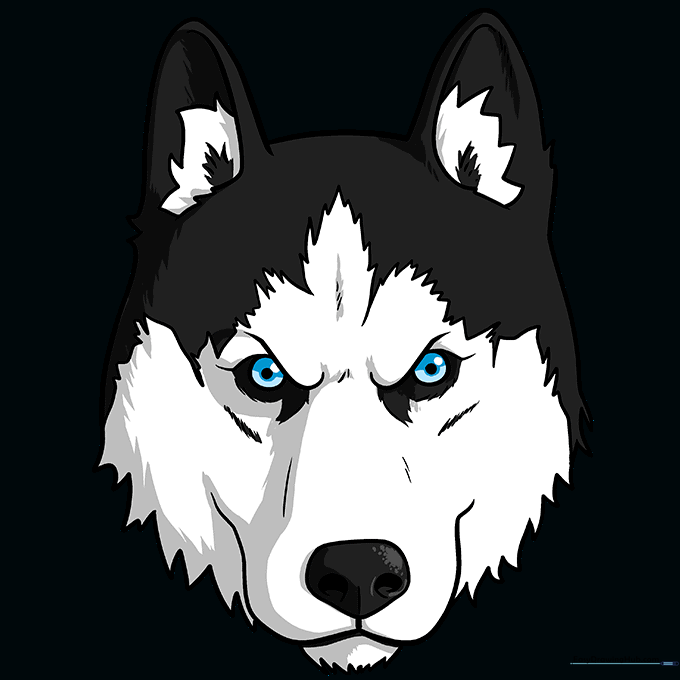
Time to color! We used classic black and white with icy blue eyes, but feel free to experiment with gray, tan, or copper tones. Teacher's Tip: Use light pressure with your colored pencils to create soft gradients in the fur.
More Tutorials


