How to Draw a Humpback Whale: Easy 10-Step Guide
Bring the ocean to life with this simple humpback whale drawing tutorial, perfect for young artists ages 5 and up. You will only need a pencil, an eraser, and a piece of paper to complete this marine masterpiece. Follow along to develop your sketching skills while learning about the unique features of these gentle giants.
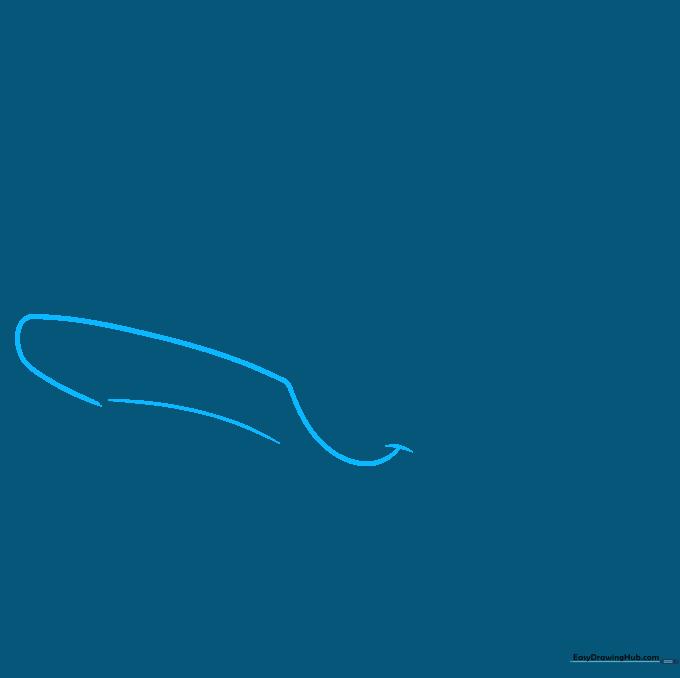
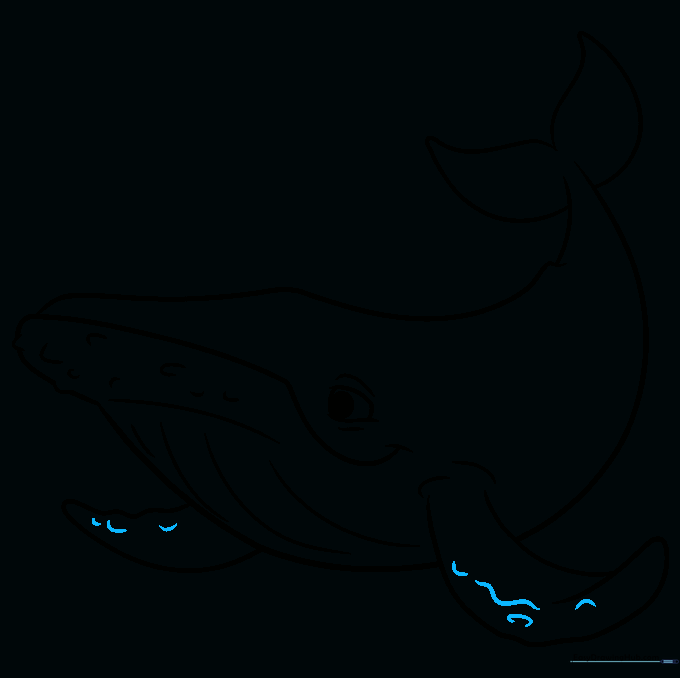
🎯 Final Result

Step-by-Step Instructions
Step 1: Sketching the Jawline
Start by drawing two long, gentle curved lines to form the whale's lower jaw. Add a small vertical line at the corner of the mouth to give it character. Teacher's Tip: Keep these lines soft and rounded to make the whale look friendly.
Step 2: Drawing the Eye
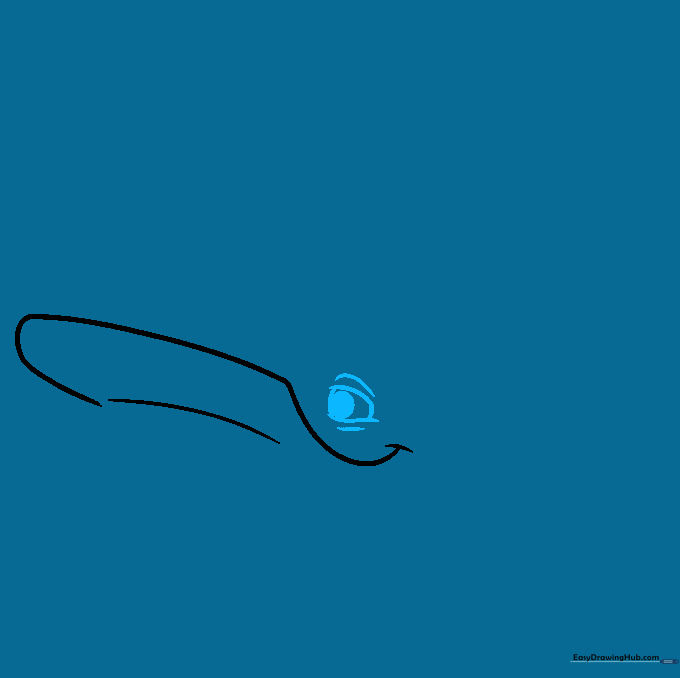
Draw a rounded square shape for the eye, then add a dark circle inside for the pupil. Use curved lines above and below to create the eyelids. Teacher's Tip: Adding a tiny white dot inside the pupil makes the eye look bright and expressive.
Step 3: Creating the Humpback
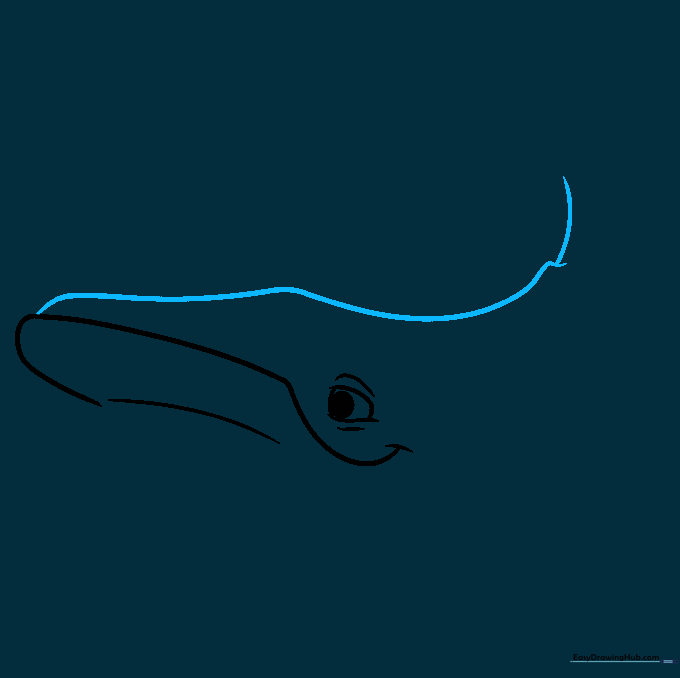
Extend a long, sweeping curved line from the mouth to trace the top of the head and back. Create a small 'V' shape for the dorsal fin. Teacher's Tip: This 'hump' is what gives the whale its name, so make it nice and visible!
Step 4: Adding the Pectoral Fin
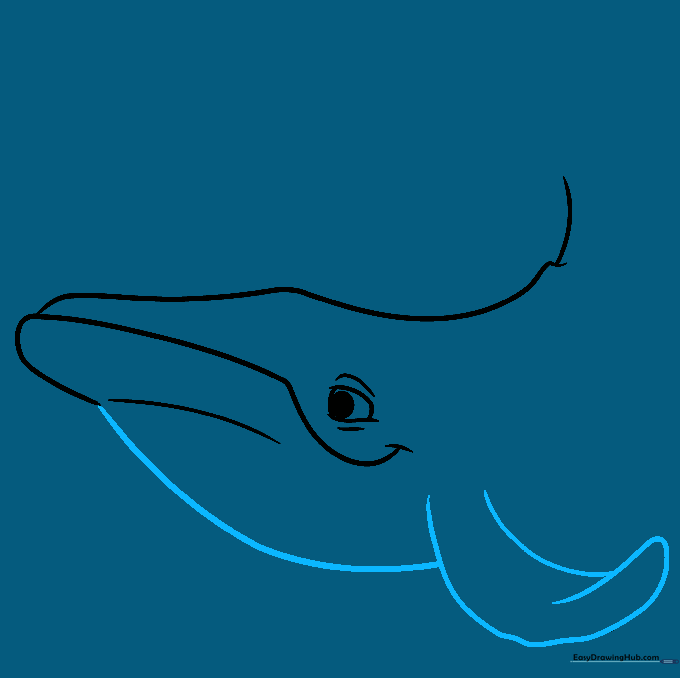
Draw a long curved line from the mouth to form the belly. Add the pectoral fin using overlapping curved lines. Teacher's Tip: Overlapping your lines helps create a sense of depth, making the fin look like it's attached to the side of the body.
Step 5: Completing the Body
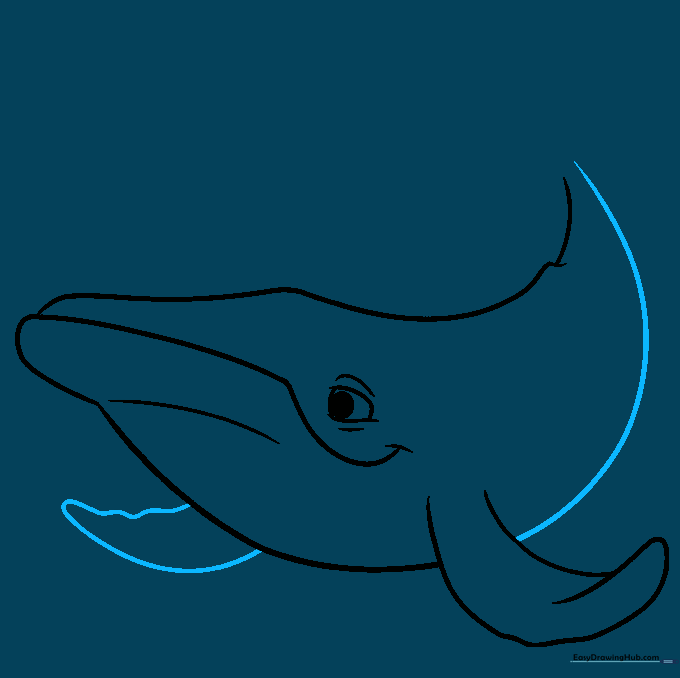
Add the second pectoral fin using a wavy, doubled-back line. Extend the belly line toward the tail. Teacher's Tip: Keep your pencil strokes fluid to mimic the graceful movement of a whale swimming.
Step 6: Drawing the Tail
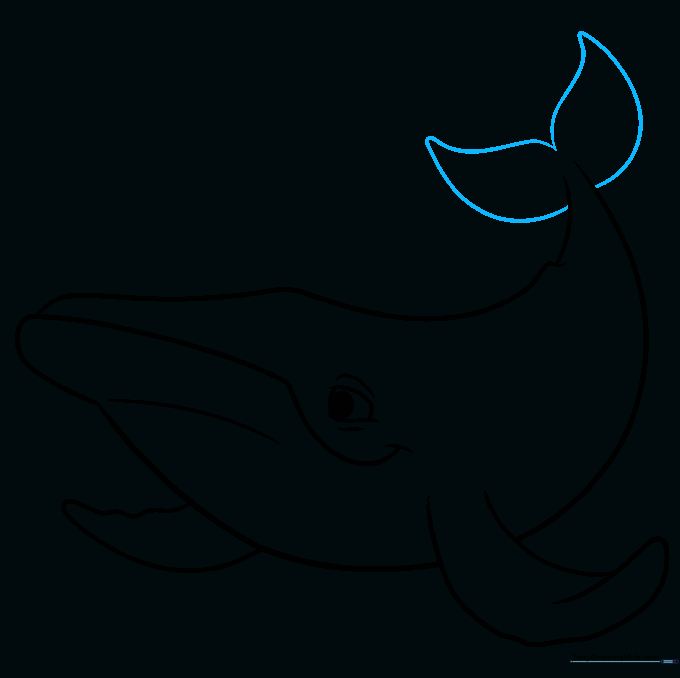
Draw the wide caudal fin (tail) by extending lines from the narrow tail base and connecting them with sharp, pointed curves. Teacher's Tip: The tail should be wide and powerful—don't be afraid to make it large!
Step 7: Adding Throat Grooves
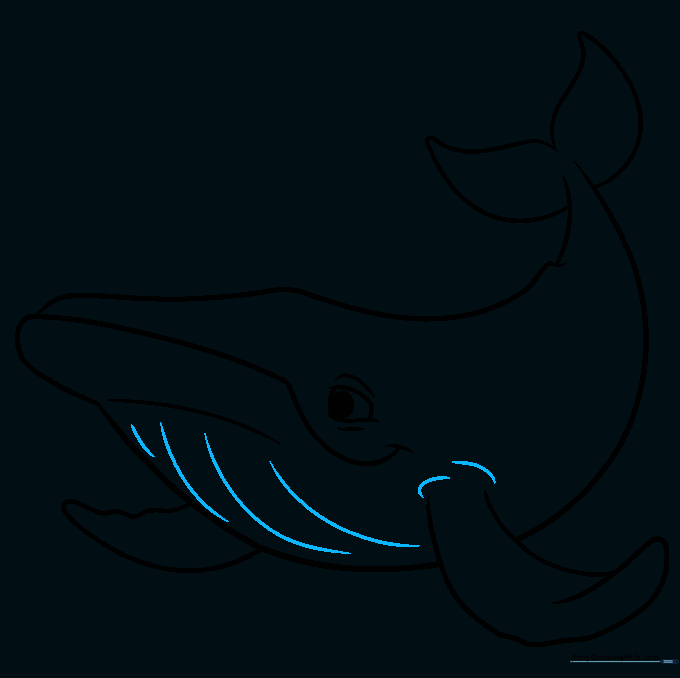
Add several curved lines along the throat. These represent the folds that allow the whale to expand its mouth for feeding. Teacher's Tip: Keep these lines parallel to each other for a clean, professional look.
Step 8: Adding Barnacles
Draw small 'U' shaped bumps along the jawline to represent barnacles. Teacher's Tip: Vary the size of the bumps to make them look natural and organic.
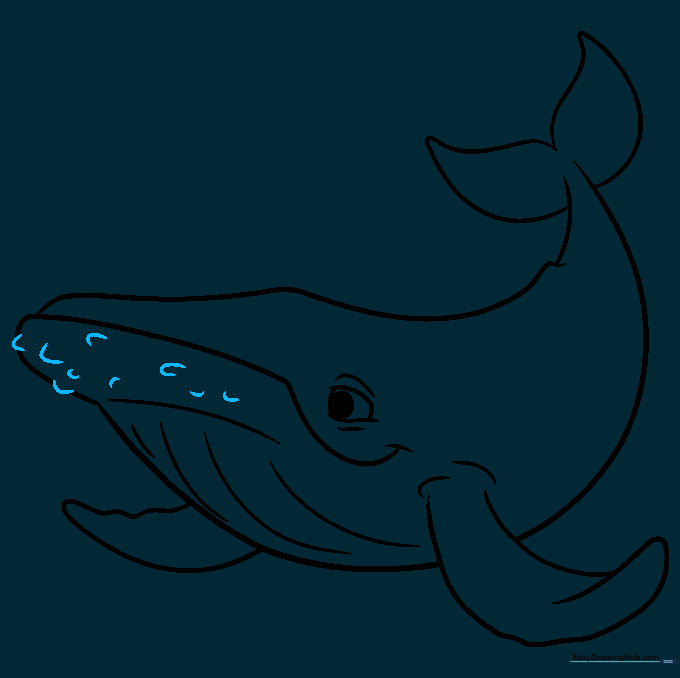
Step 9: Adding Texture
Add wavy lines to the flippers to give them texture. Teacher's Tip: Use short, quick strokes to create a more realistic, rugged appearance.
Step 10: Coloring Your Whale

Time to color! Use dark grey or black for the top and cream or white for the belly. This 'countershading' helps whales hide in the ocean. Teacher's Tip: Use light blue for the water background to make your whale pop!
More Tutorials


