How to Draw a Hummingbird: Easy 10-Step Guide for Kids
Bring nature to life with this simple hummingbird drawing tutorial, perfect for artists ages 5 and up. All you need is a pencil, an eraser, and a piece of paper to get started. Follow these steps to master the graceful curves of a hummingbird in flight.
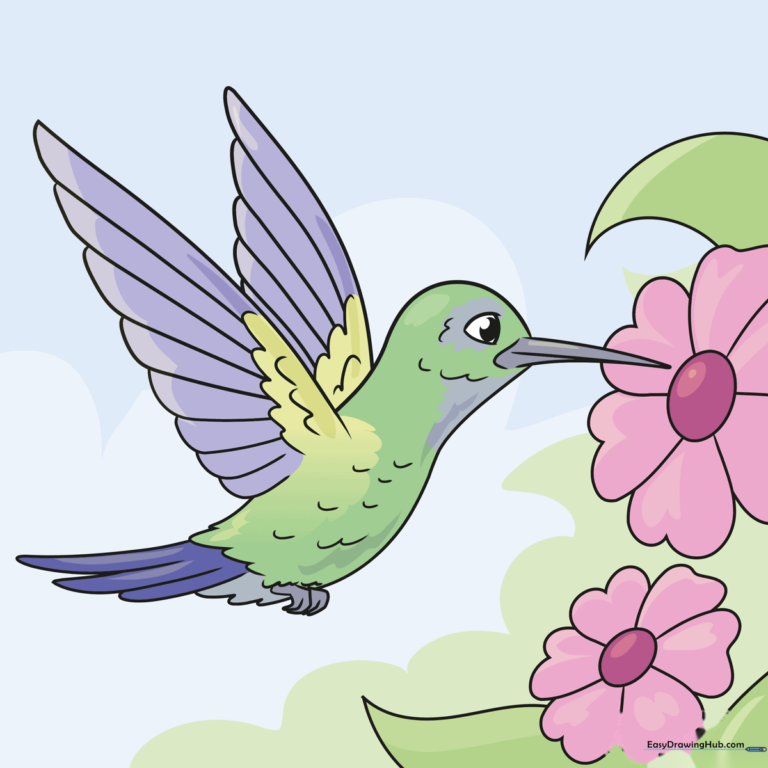
🎯 Final Result
Step-by-Step Instructions
Step 1: Sketching the Beak and Head
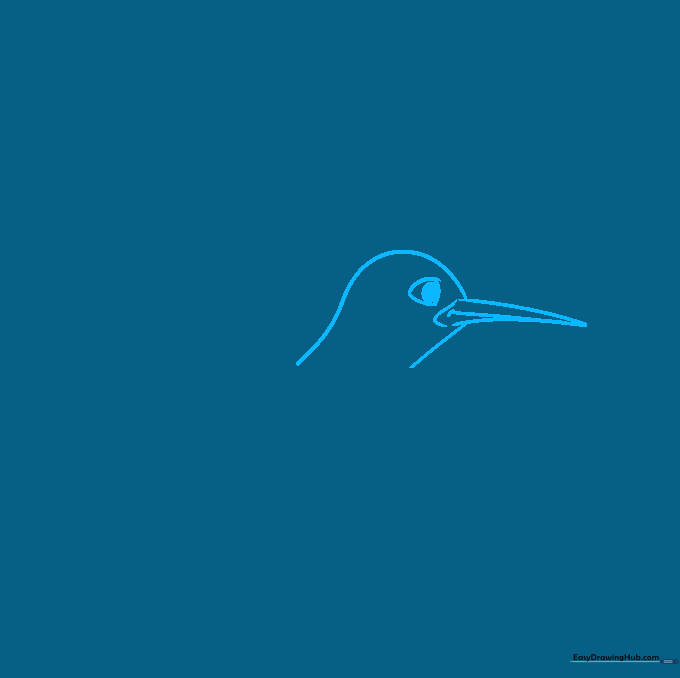
Draw two long, curved lines that meet at a sharp point to form the beak. Add a curved line down the center of the beak to define the upper and lower parts. Teacher's Tip: Keep your pencil lines light so you can easily erase the overlap later when you add the head shape.
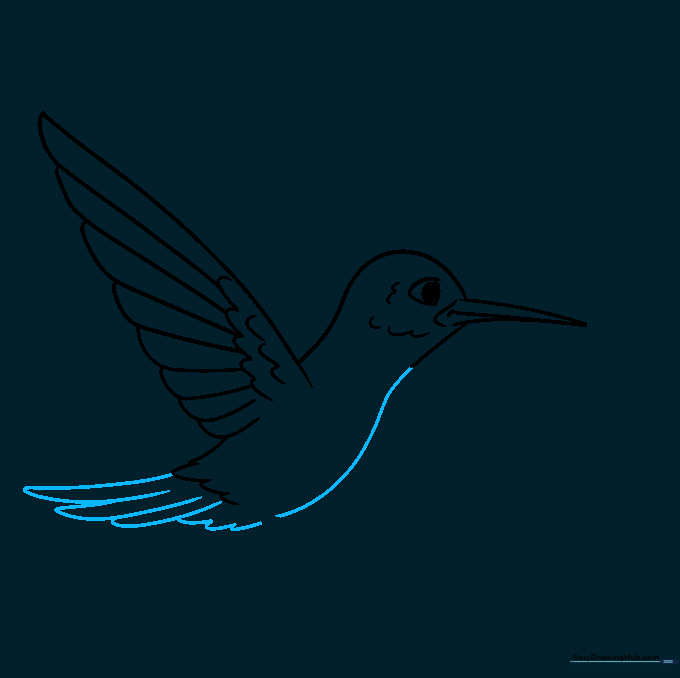
Step 2: Starting the Wing
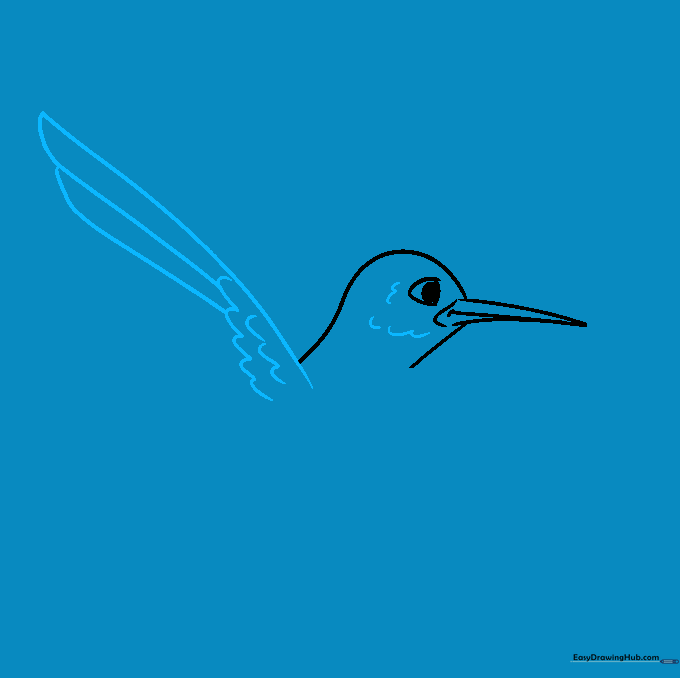
Sketch a long, curved line overlapping the neck area to create the leading edge of the wing. Add small 'U' shaped lines near the base to represent the start of the feathers. Teacher's Tip: Use short, rhythmic strokes to make the feathers look soft and natural.
Step 3: Defining Flight Feathers
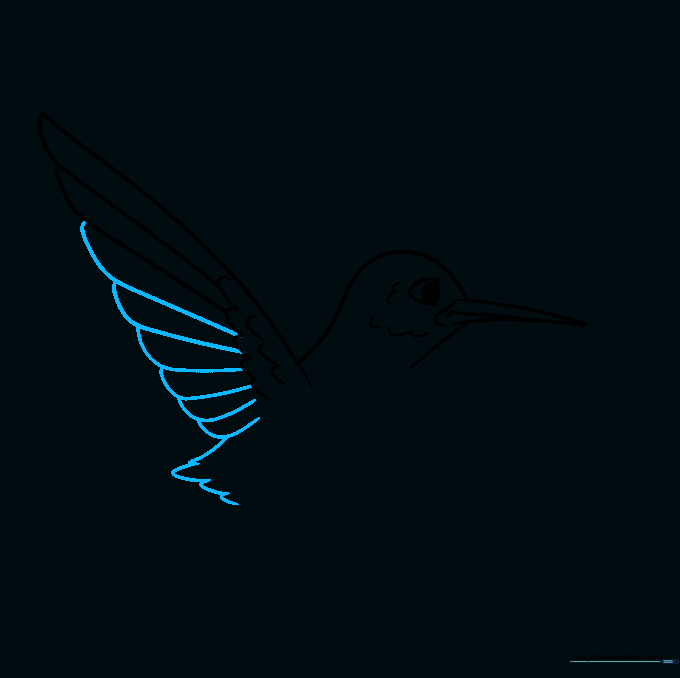
Continue adding flight feathers, making each one slightly smaller than the last to create a realistic wing shape. Use a series of connected curves to outline the base of the tail. Teacher's Tip: Don't worry about perfection; nature is full of unique shapes, so let your lines flow naturally.
Step 4: Drawing the Tail and Belly
Extend long, curved lines to create the tail feathers, doubling them back to show depth. Connect the tail to the neck with a curved line for the belly, leaving a small gap for the feet. Teacher's Tip: Leave that gap open—it makes drawing the tiny feet much easier in the next step!
Step 5: Adding Feet and Second Wing
Draw the legs using short, curved lines and add slender, overlapping toes. Start the second wing by extending a long, curved line from the back. Teacher's Tip: Hummingbird feet are very delicate, so use a sharp pencil tip for these tiny details.
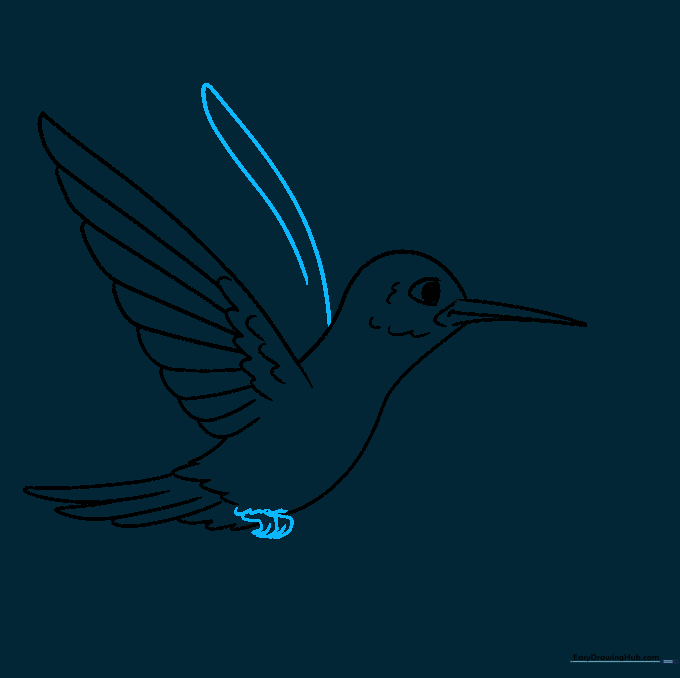
Step 6: Finishing the Second Wing

Complete the second wing by adding layers of 'U' shaped feathers near the base and long, overlapping lines for the flight feathers. Teacher's Tip: Ensure the feathers on this wing mirror the style of the first one to keep the bird looking balanced.
Step 7: Adding Texture and Flowers
Add short, curved lines to the body to represent soft feathers. Then, draw a circle for the center of a flower and sketch heart-shaped petals around it. Teacher's Tip: Hummingbirds love nectar, so drawing them near a flower adds a wonderful story to your artwork!
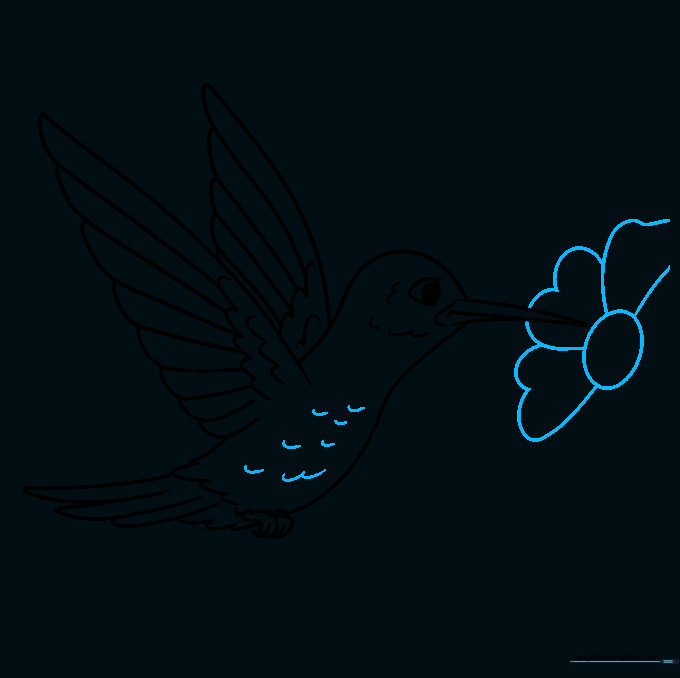
Step 8: Expanding the Garden
Complete the first flower and add a second one nearby, using the same circular center and heart-shaped petal technique. Teacher's Tip: Vary the size of your flowers to create depth in your drawing.
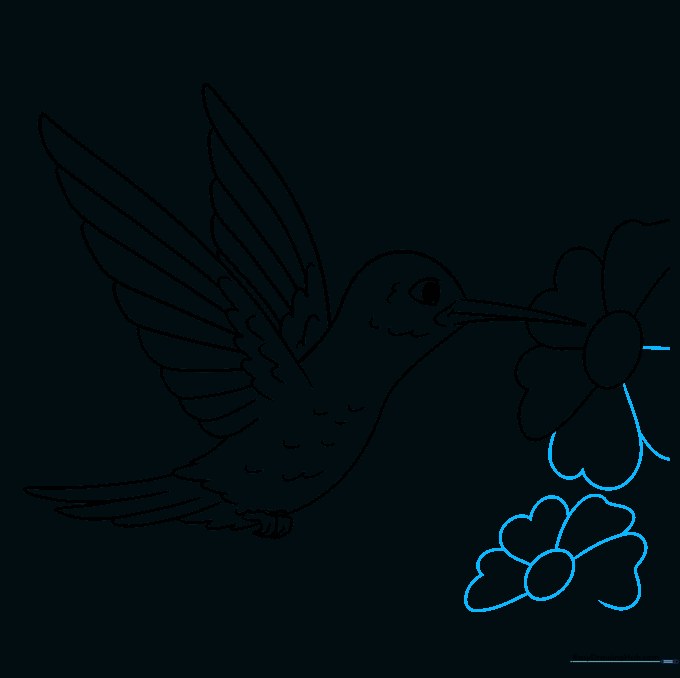
Step 9: Stems and Leaves
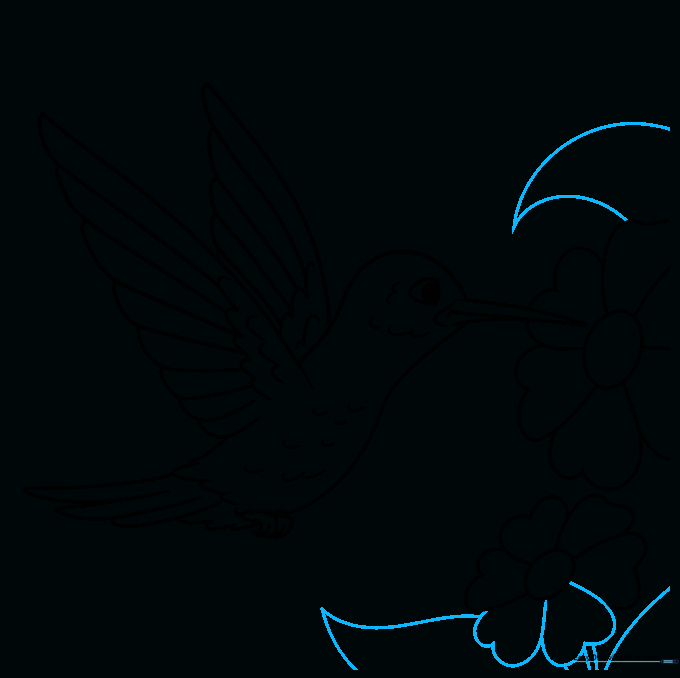
Finish any remaining petals and draw parallel lines beneath the flowers to create stems. Add leaves by drawing two curved lines that meet at a point. Teacher's Tip: Adding leaves helps ground your hummingbird in a natural setting.
Step 10: Bringing It to Life with Color
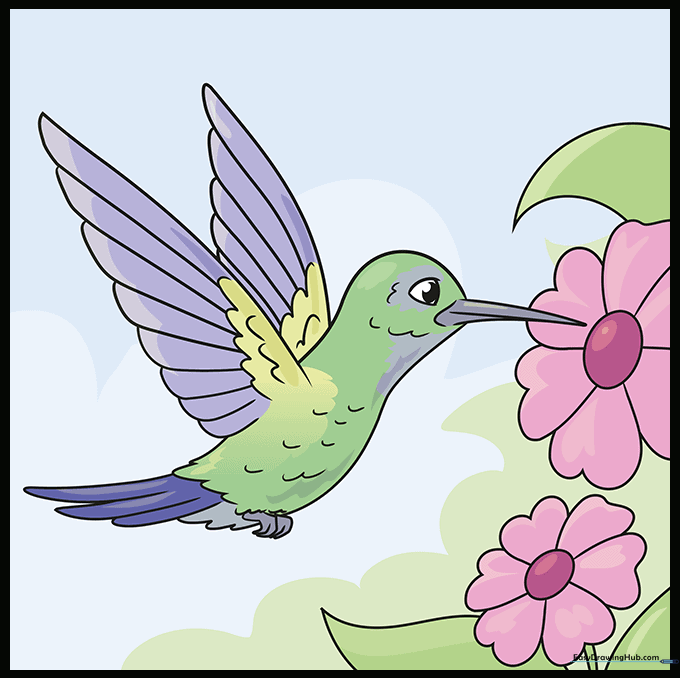
Time to color! Use vibrant greens for the back and a bright red for the throat if you're drawing a male ruby-throated hummingbird. Teacher's Tip: Use light pressure with your colored pencils to blend colors smoothly, just like the iridescent feathers of a real bird.
More Tutorials


