How to Draw a Hummingbird Feeder: Easy 10-Step Guide
Bring nature to your sketchbook with this fun, screen-free drawing activity! Designed for young artists and beginners, this guide uses simple shapes to build a detailed hummingbird feeder. Grab your pencil and paper to practice your line control and observation skills.
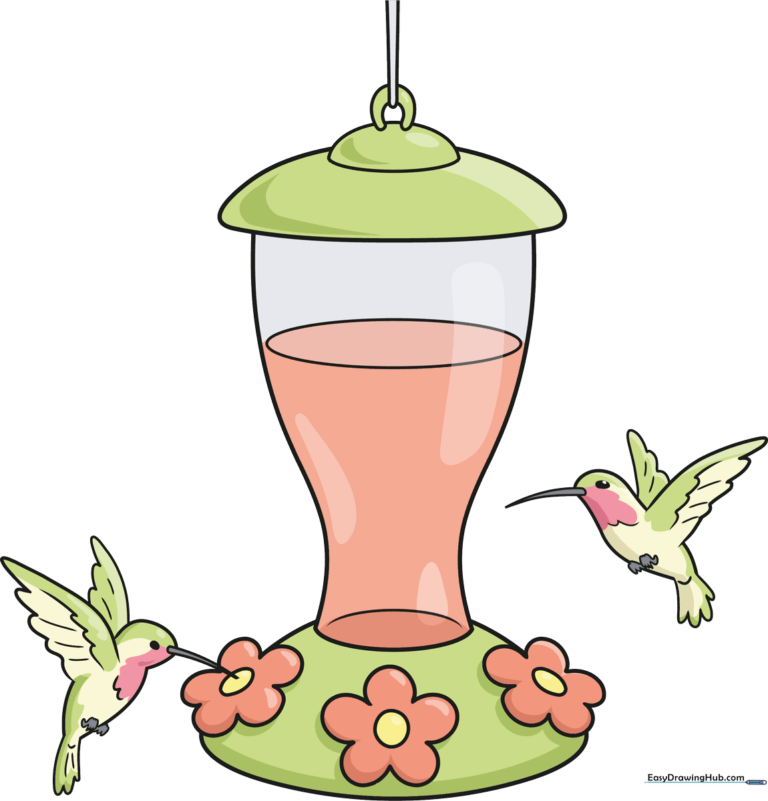
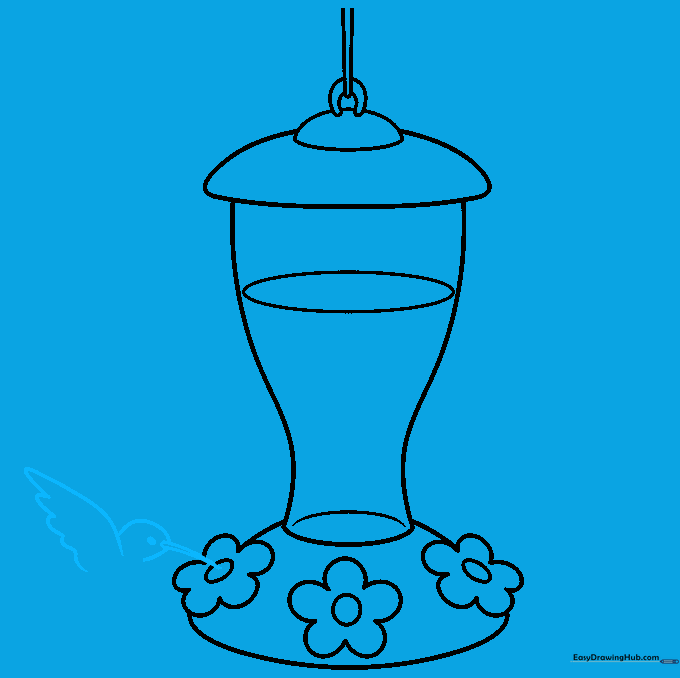
🎯 Final Result
Step-by-Step Instructions
Sketching the Hanger
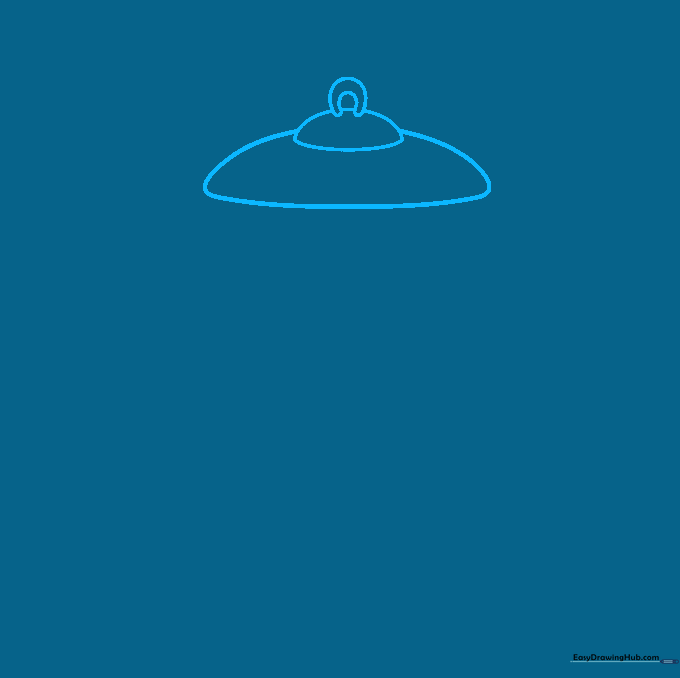
Start by sketching the top of the feeder. Draw a crescent moon shape for the hanger, then add a small semicircle below it. Teacher's Tip: Keep your pencil grip loose to ensure these curves stay smooth and fluid.
Forming the Nectar Bottle
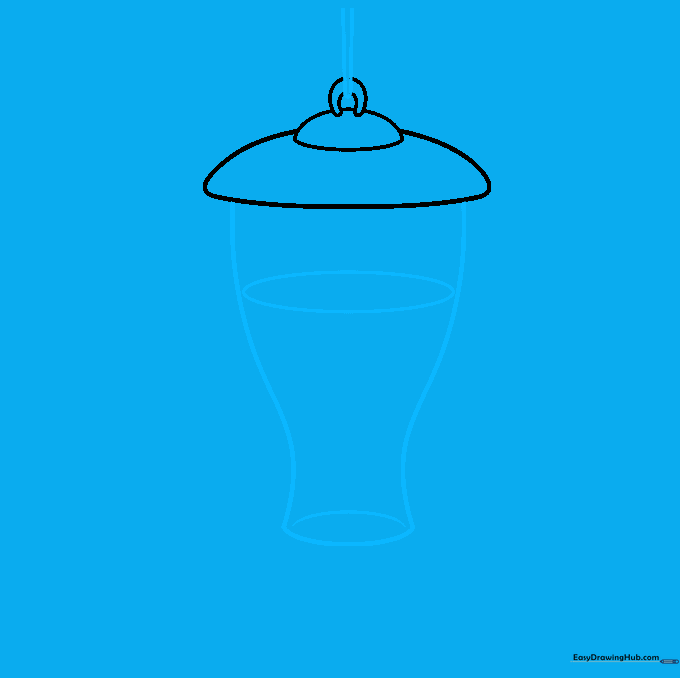
Draw two parallel lines extending upward for the wire. Below the hanger, sketch an inverted bottle shape to hold the nectar. Add a small oval in the center to represent the liquid level. Tip: Use a light touch for the liquid line so you can add texture later.
Adding the Feeding Port
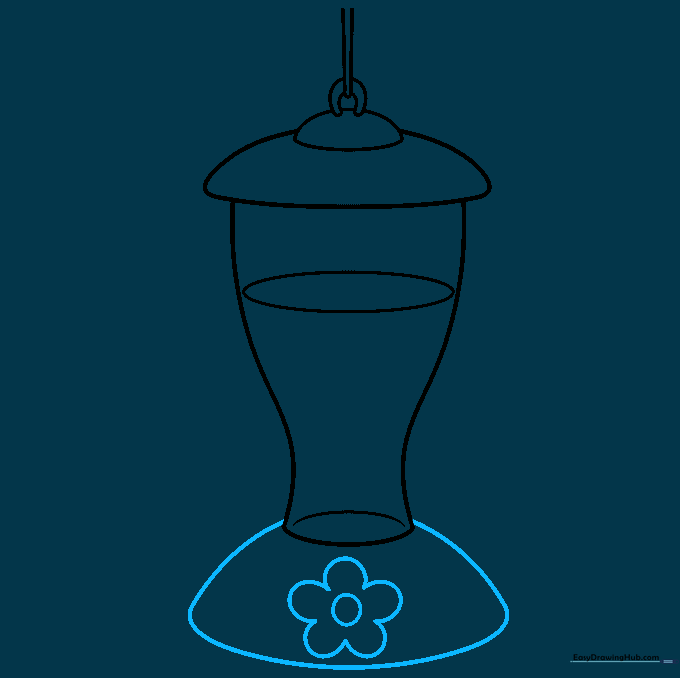
Enclose a half-circle at the bottom for the base. Add a daisy-like flower shape with a circle center and 'U' shaped petals. Tip: Hummingbirds love red, so visualize where you will add that color later!
Detailing the Base
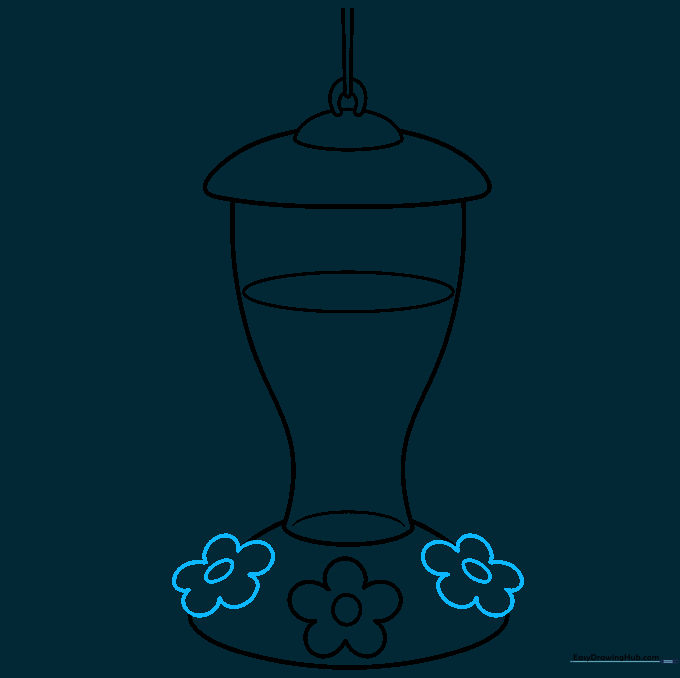
Add two more flower shapes to the base using the same 'U' petal technique. Tip: Vary the size of your petals slightly to make the flowers look more natural and less like a pattern.
Sketching the First Hummingbird
Draw the outline of a hummingbird using curved lines for the sharp beak and wings. Shade a small circle for the eye. Tip: Keep the beak long and thin to capture the bird's unique silhouette.
Refining the First Bird
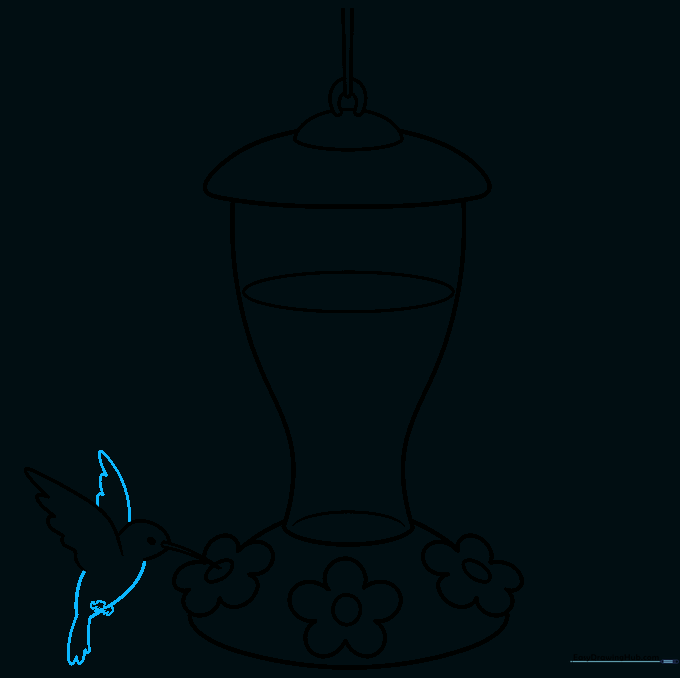
Finish the hummingbird by adding the belly, tail, and feet with soft, curved lines. Tip: Use short, quick strokes to suggest the texture of feathers on the wing.
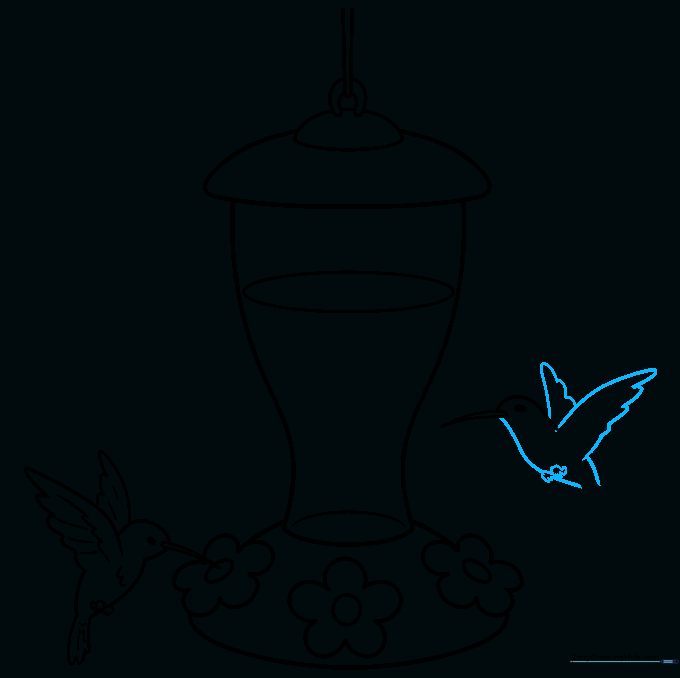
Adding a Second Hummingbird
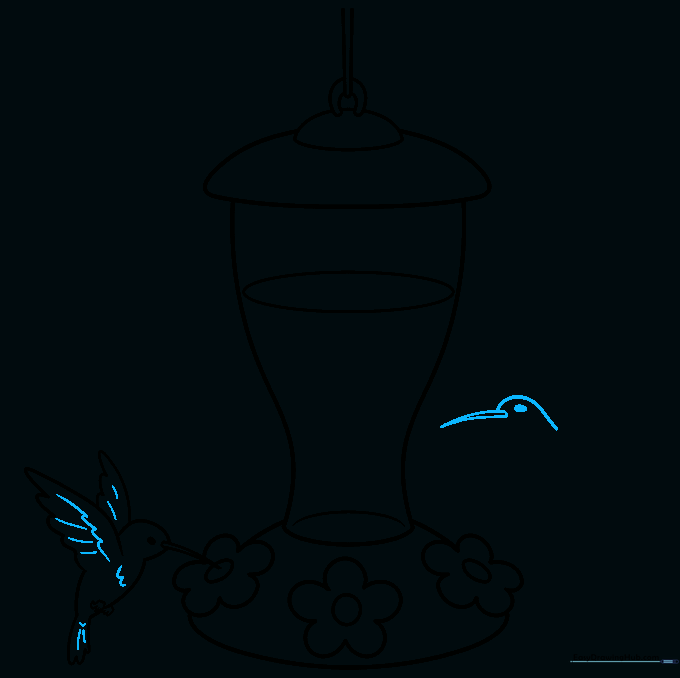
Draw a second hummingbird on the other side. Repeat the process: sharp beak, head, and eye. Tip: Try to make this bird look like it's hovering by angling the wings slightly differently.
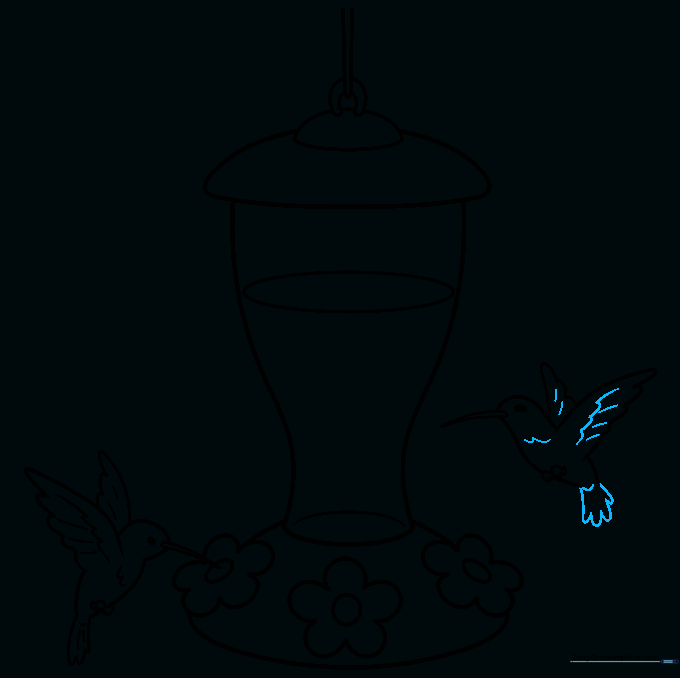
Detailing the Second Bird
Sketch the body, wings, and feet for the second bird. Tip: Use your eraser to clean up any overlapping lines where the bird meets the feeder.
Finalizing the Details
Complete the tail and add final feather textures to both birds. Tip: Check your drawing for any stray pencil marks and erase them now to prepare for coloring.
Coloring Your Masterpiece
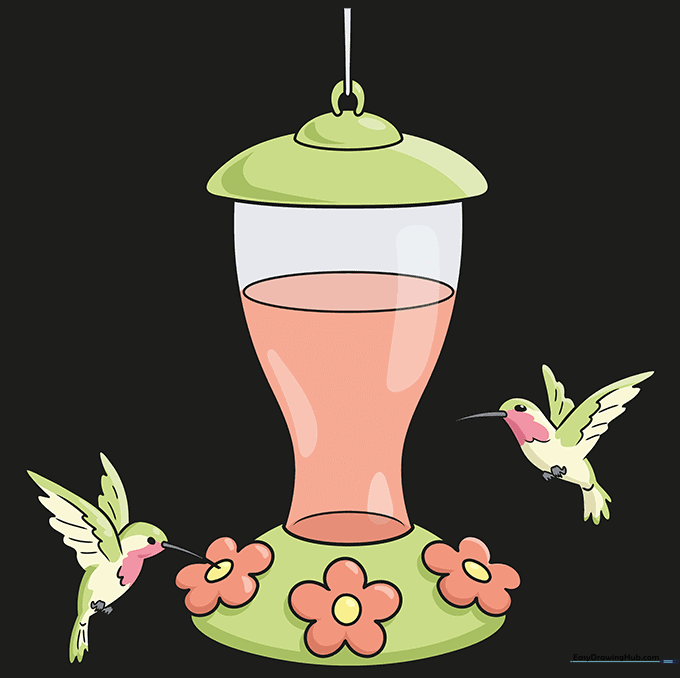
Bring your drawing to life! Use vibrant reds for the flowers and nectar to attract the birds. Add iridescent greens or blues for the hummingbird feathers. Tip: Use a light red for the throat patch to identify these as ruby-throated hummingbirds.
More Tutorials


