How to Draw a Horseshoe: Simple 10-Step Guide
Ready to draw a lucky horseshoe? This project is perfect for artists ages 5 and up, requiring only a pencil, paper, and an eraser. Follow these simple steps to master basic shapes and perspective while creating a fun, classic symbol.
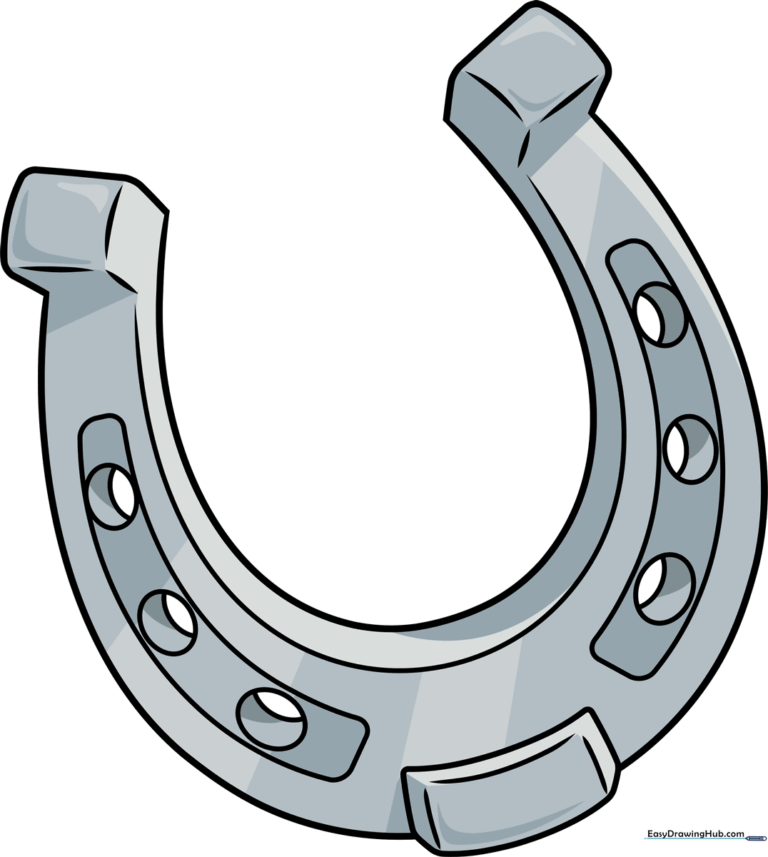
🎯 Final Result
Step-by-Step Instructions
Step 1: Sketching the Base

Draw a large, wide 'U' shape. Teacher's Tip: Keep your pencil pressure light; this is just the foundation for the horseshoe's frame.
Step 2: Adding the Toe Caulk
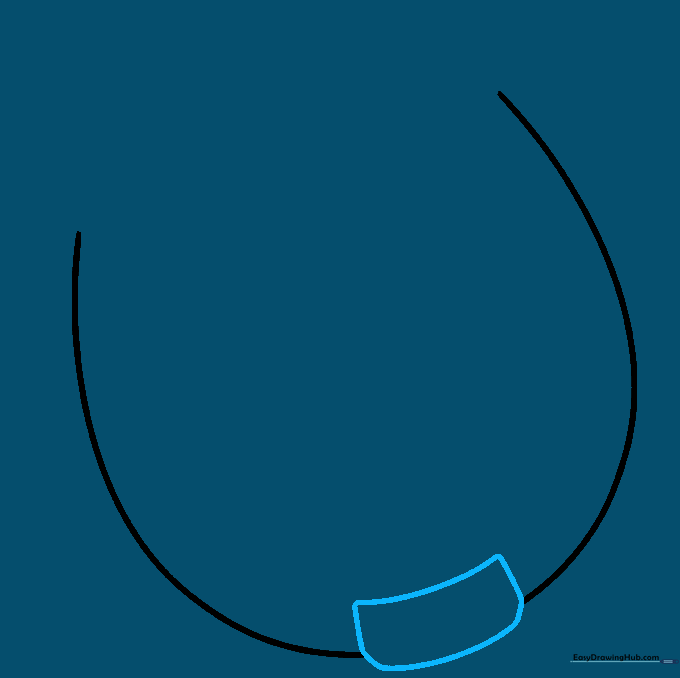
Erase a small gap at the bottom center and draw a curved rectangular shape. This 'toe caulk' helps horses grip the ground. Tip: Keep the corners rounded to match the horseshoe's curve.
Step 3: Defining the Inner Edge
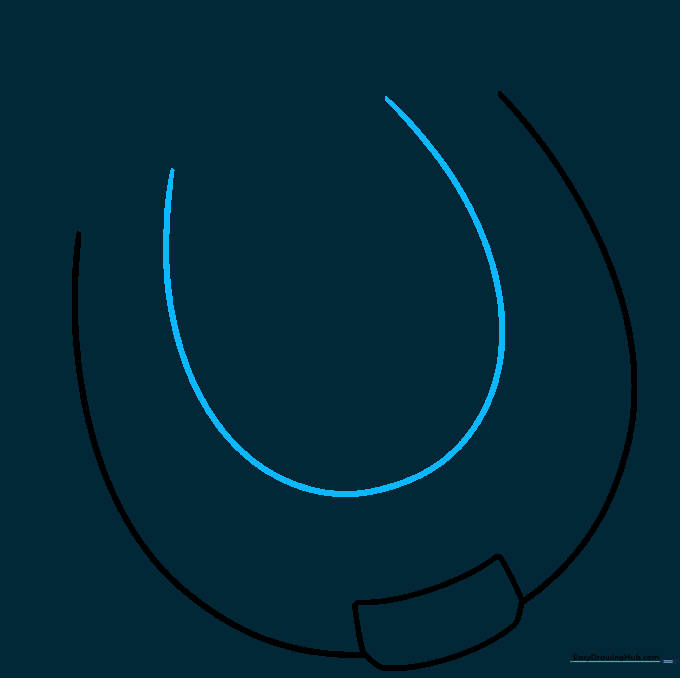
Draw a smaller 'U' shape inside the first one. This creates the thickness of the metal. Tip: Try to keep the distance between the two lines consistent for a professional look.
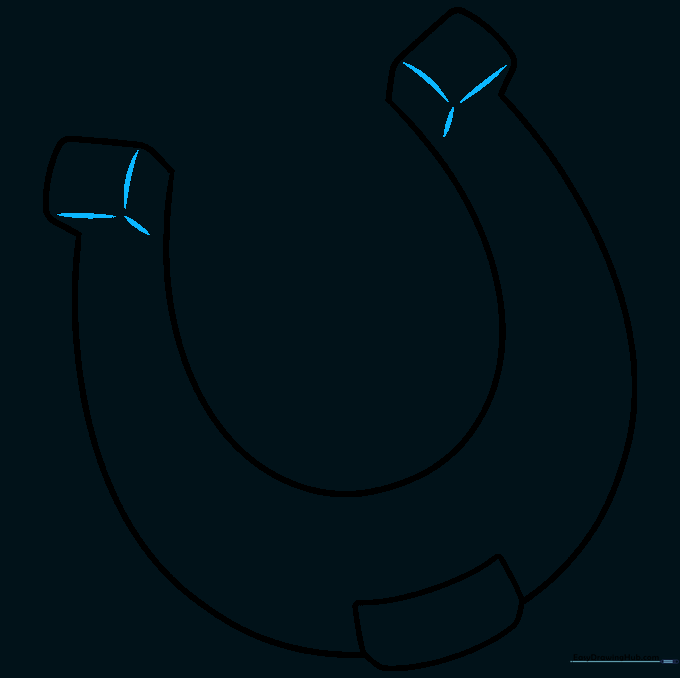
Step 4: Creating the Heel Depth
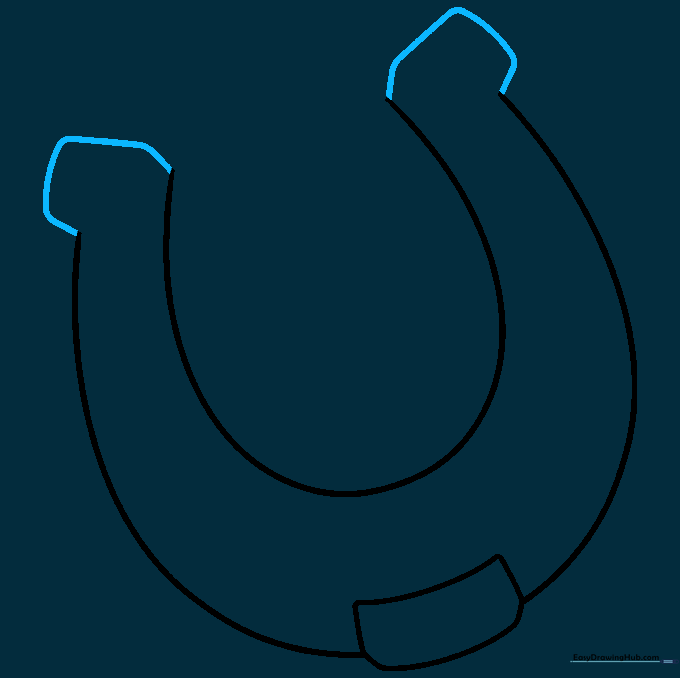
At the ends of the horseshoe, draw a disconnected 'Y' shape. This adds a 3D effect to the heels. Tip: Think of this as drawing the corner of a cube.
Step 5: Shaping the Ends
Sketch an irregular shape with rounded corners at the open ends of the horseshoe. Tip: Keep these shapes symmetrical to ensure your horseshoe looks balanced.
Step 6: Adding Inner Dimension
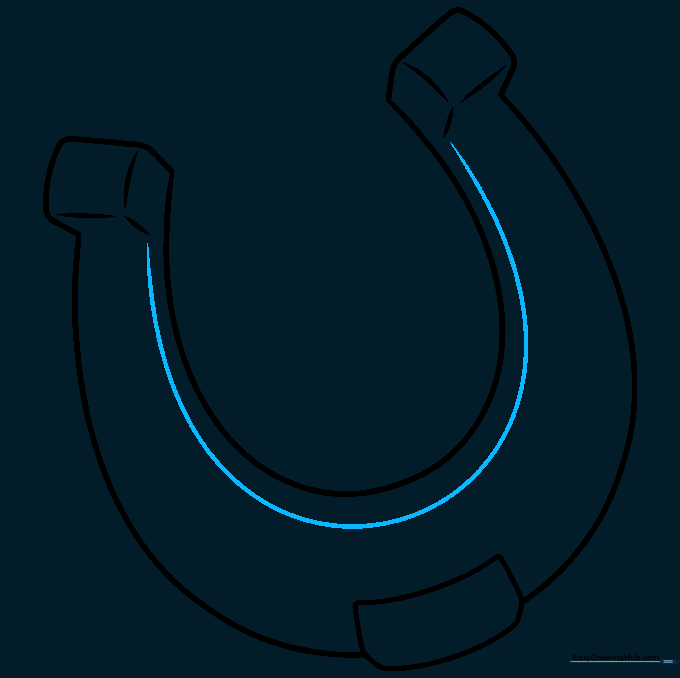
Draw another 'U' line along the inner edge. This creates the illusion of depth. Tip: Follow the curve of your original line carefully to maintain the shape.
Step 7: Detailing the Shanks

Use curved lines to enclose a rectangular shape within each shank. Tip: These lines should follow the curve of the horseshoe to look natural.
Step 8: Adding Nail Holes
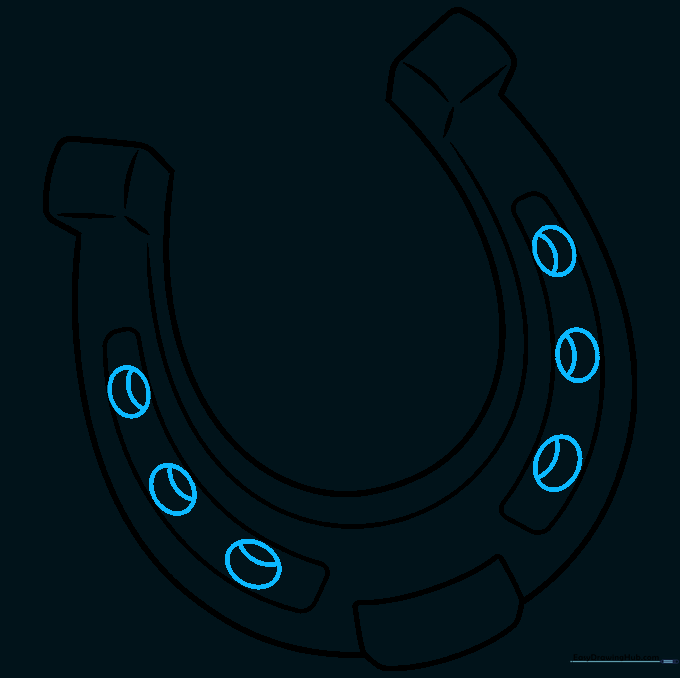
Draw three small ovals on each side. Add a tiny curved line inside each to give them depth. Tip: Keep the ovals evenly spaced for a realistic look.
Step 9: Final Touches

Add three curved lines inside the toe area to emphasize the curve. Tip: Use short, light strokes to avoid making the drawing look too heavy.
Step 10: Coloring Your Horseshoe
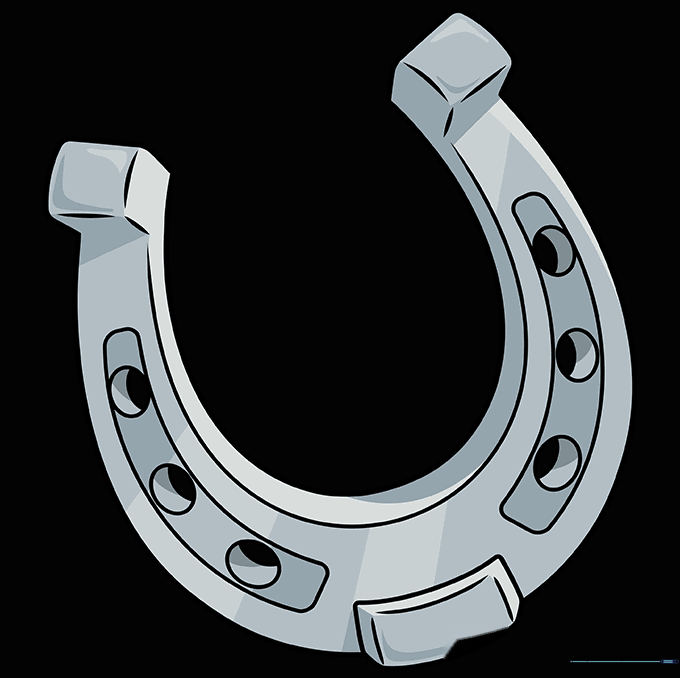
Time to color! Use silver or grey for a shiny metal look, or reddish-brown if you want a rustic, old horseshoe. Tip: Leave a small white space on the edge to create a 'shine' effect.
More Tutorials


