How to Draw a Running Horse: Easy 10-Step Guide
Capture the energy of a galloping horse with this simple, step-by-step tutorial designed for artists ages 5 and up. You will only need a pencil, an eraser, and a piece of paper to bring this majestic animal to life. Follow along to master basic shapes and fluid motion lines in your own cartoon style.
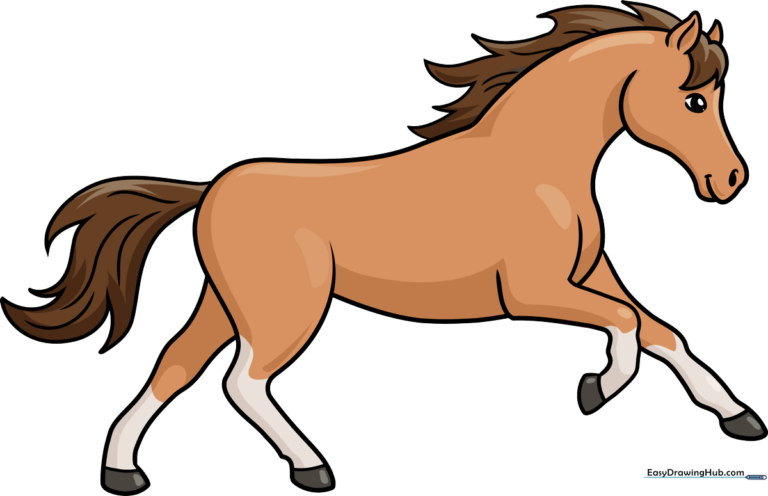
🎯 Final Result
Step-by-Step Instructions
Step 1: Sketching the Head and Muzzle

Draw a gentle curve on the right side of your paper to form the top of the head, then bring it down into a loose S-shape. Add a small loop for the nose and a walnut shape for the eye. Teacher's Tip: Keep the eye simple—a small oval with a tiny white dot inside makes it look bright and alive!
Step 2: Defining the Neck and Ears
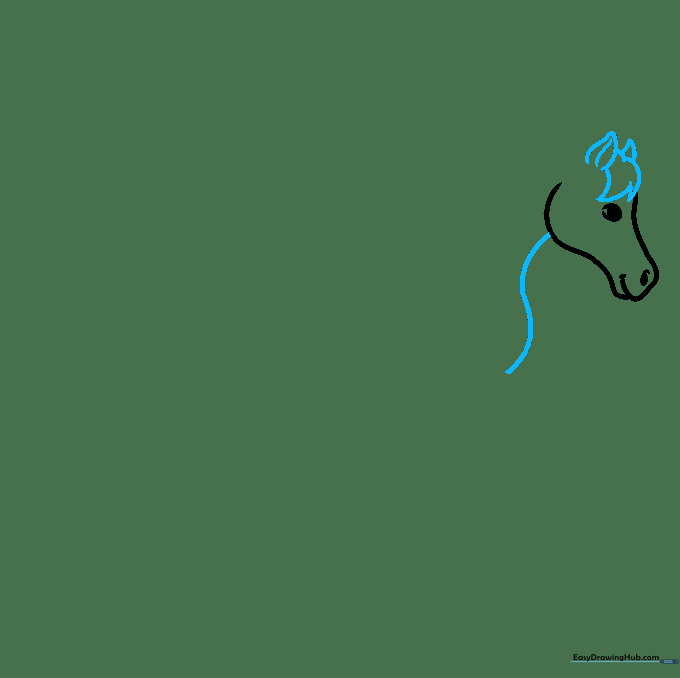
Extend the neck using a long, graceful S-curve. Add two leaf-shaped triangles for the ears and a few swooping lines for the forelock of hair. Teacher's Tip: Think of the ears as soft triangles; don't press too hard, as these are delicate features.
Step 3: Starting the Front Legs
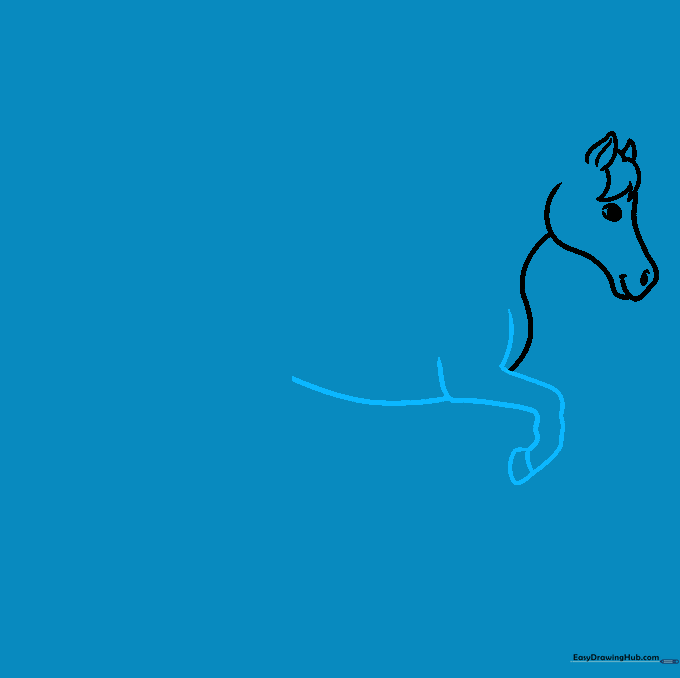
Draw two L-shapes to represent the top of the front legs, spacing them about an inch apart. Use slightly wobbly parallel lines to give the legs a sense of movement. Teacher's Tip: Imagine the horse is mid-stride; the slight wobble in your lines helps convey that energy.
Step 4: The Back and Lower Legs
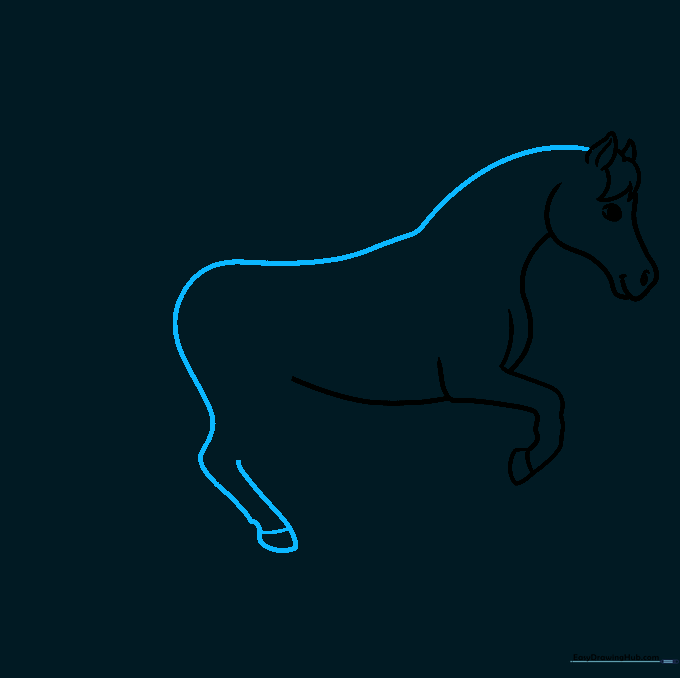
Draw a smooth, flattened curve from the top of the head to form the horse's back. Continue the front legs downward with parallel lines, capping them with small curves for the hooves. Teacher's Tip: Keep the back line flat to show the horse is leaning into its run.
Step 5: Adding the Second Leg
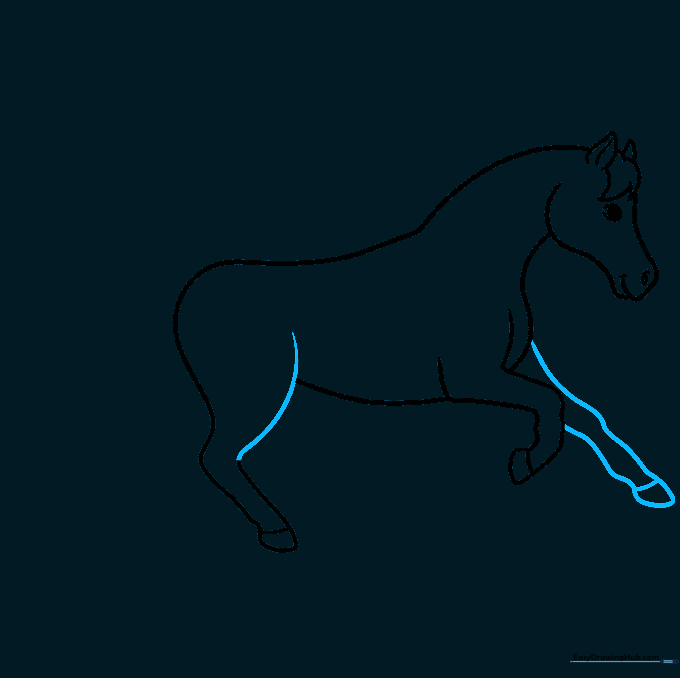
Complete the first leg with an upward swoop, then sketch the second front leg using wobbly lines. Add the hoof at the bottom. Teacher's Tip: The second leg should look slightly behind the first to create depth.
Step 6: Drawing the Fourth Leg
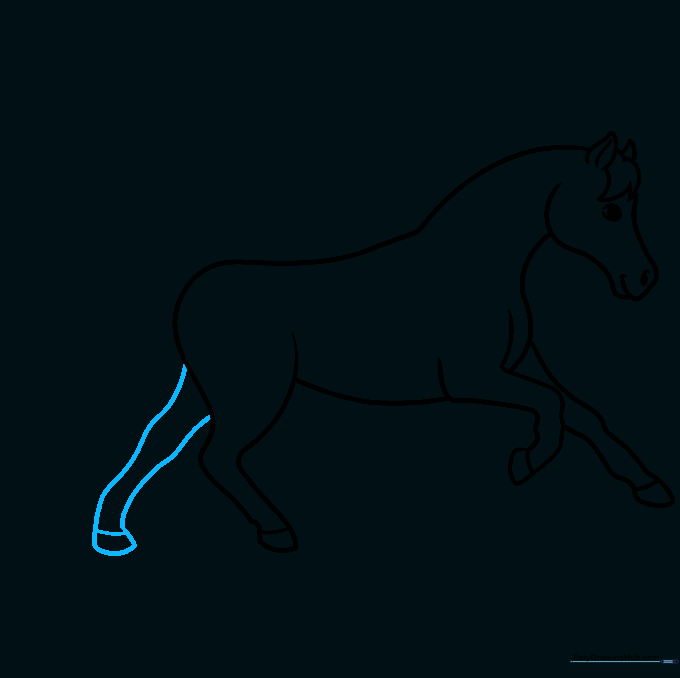
Add the final leg using two parallel wavy lines. Draw the hoof with two curved lines and a straight base, resembling a small skirt. Teacher's Tip: Don't worry if the legs aren't perfectly straight; horses have muscular, curved legs when they run!
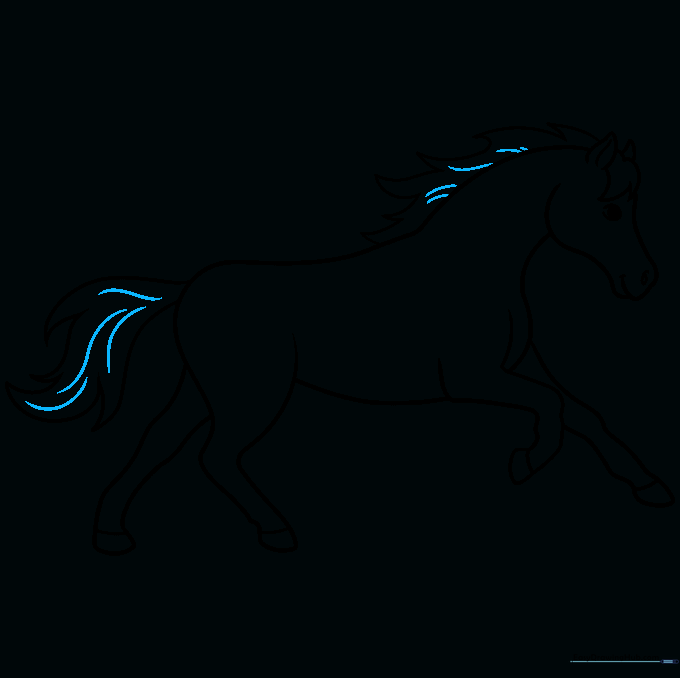
Step 7: Styling the Mane
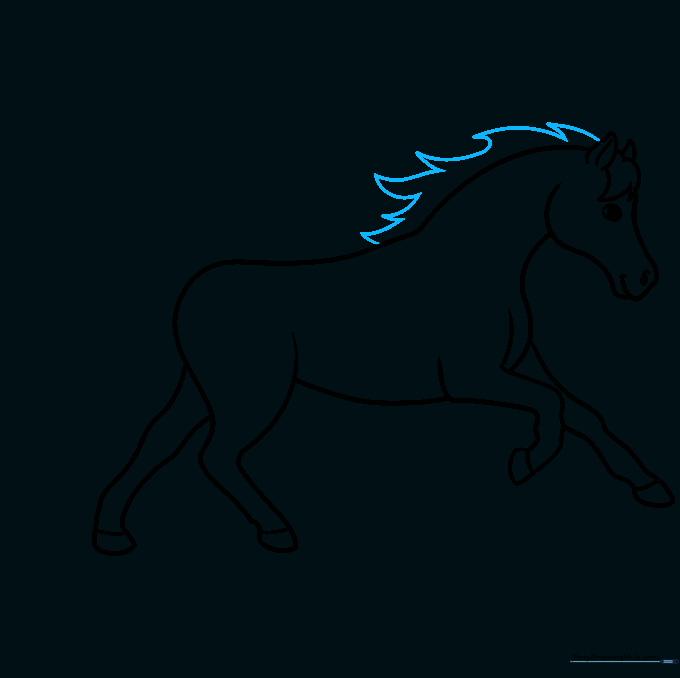
Use sharp points and triangle shapes to create a flowing mane that looks like flames. Teacher's Tip: Vary the length of the points to make the hair look like it's blowing in the wind.
Step 8: Adding the Tail
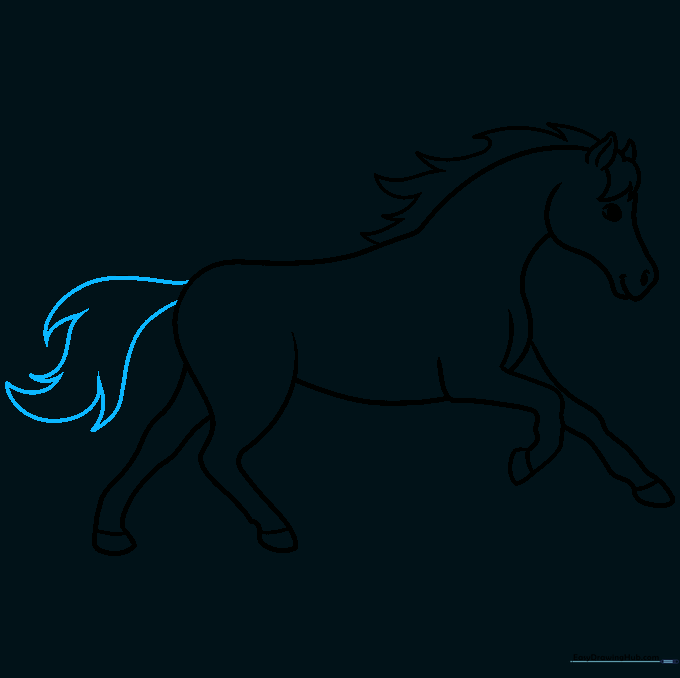
Draw a curved line for the tail, then add sweeping, pointed curves that trail behind. It should look like a crackling flame. Teacher's Tip: A long, flowing tail adds to the sense of speed.
Step 9: Final Details and Outlining
Add texture lines inside the mane and tail. Finally, trace your pencil lines with a black pen or marker to make the drawing pop. Teacher's Tip: Use a steady hand when outlining to keep your lines clean and bold.
Step 10: Bringing Your Horse to Life with Color
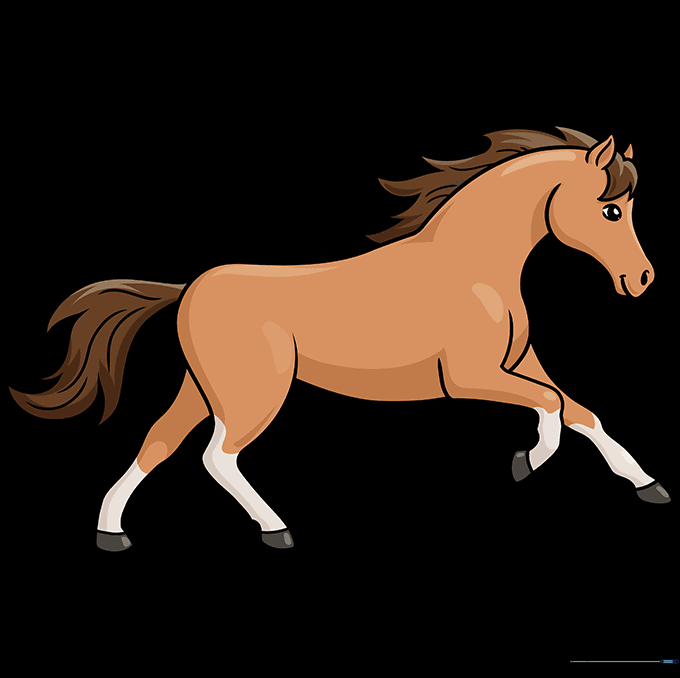
Use reddish-brown for the body, off-white for the legs, and dark brown for the mane. Add grey to the hooves. Teacher's Tip: Try coloring the mane slightly darker than the body to create a nice contrast.
More Tutorials


