How to Draw a Rearing Horse: Easy 10-Step Guide
Capture the energy and power of a horse mid-rearing with this simple, step-by-step tutorial. Designed for young artists and beginners, this activity requires only a pencil, paper, and an eraser. Follow along to build confidence in your sketching skills while creating a dynamic animal portrait.
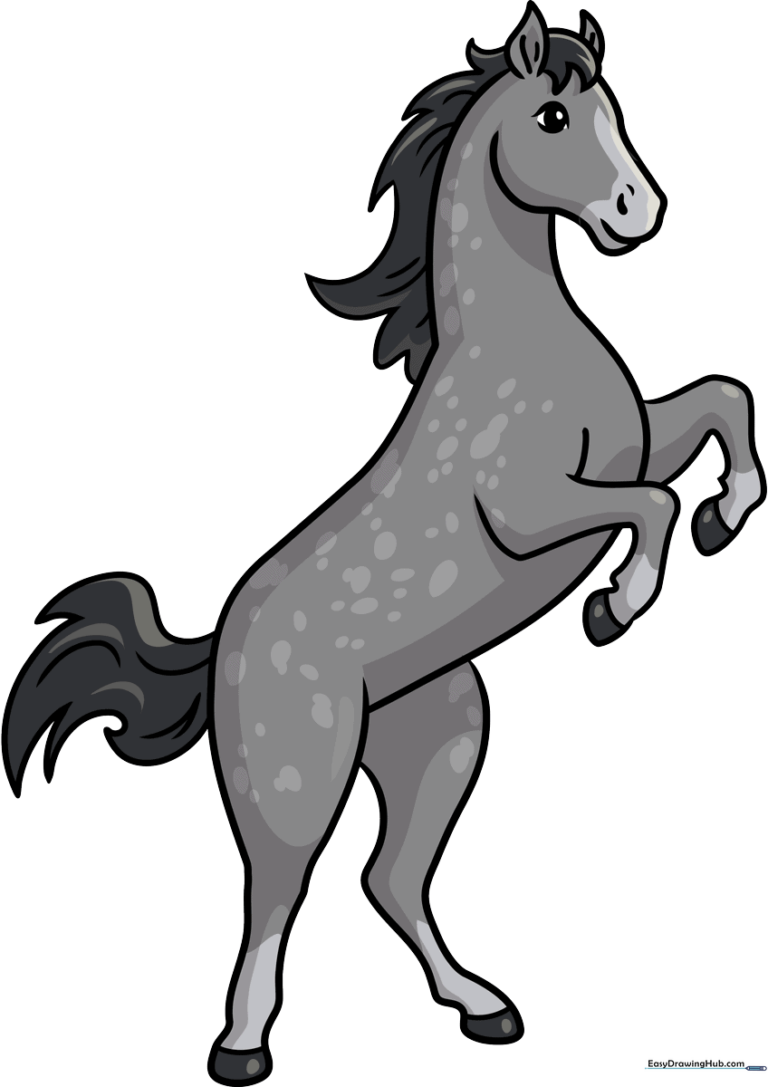
🎯 Final Result
Step-by-Step Instructions
Step 1: Sketching the Head

Start by drawing the horse's head using a gentle curved line for the nose and face. Add a small comma-shaped mark for the nostril and two curved lines for the eye. Teacher's Tip: Keep the eye shape pointed at the corners to give your horse a lively, alert expression.
Step 2: Adding Ears and Jaw
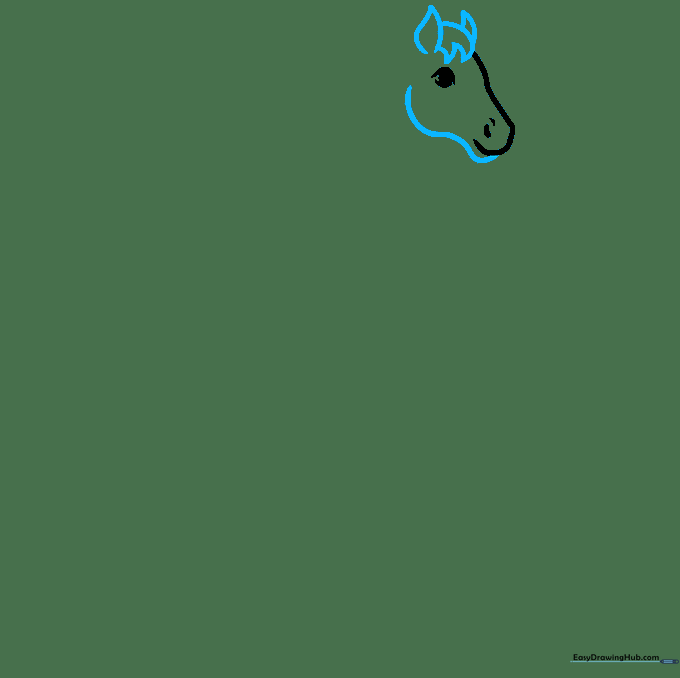
Sketch the lower jaw with a smooth curve and add two pointed ears at the top of the head. Add a jagged line between the ears for the forelock. Teacher's Tip: Use short, quick strokes for the hair to make it look soft and textured.
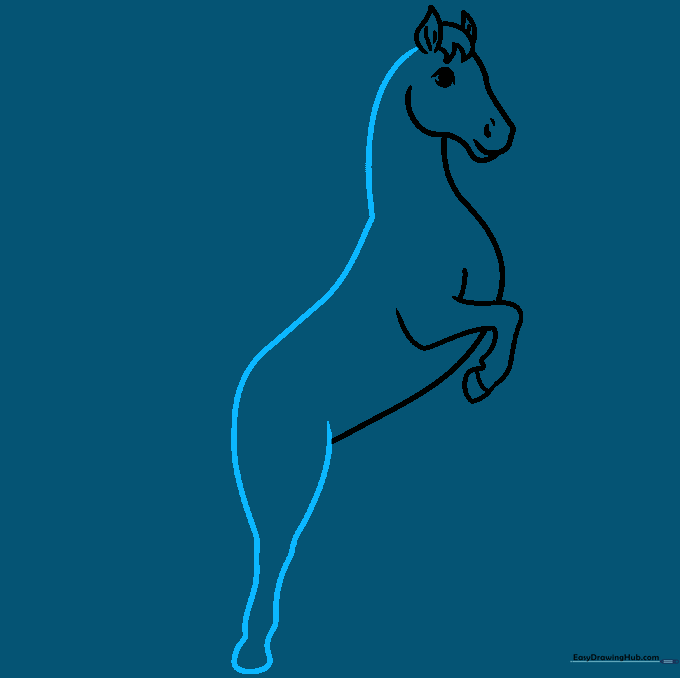
Step 3: Defining the Neck and Chest
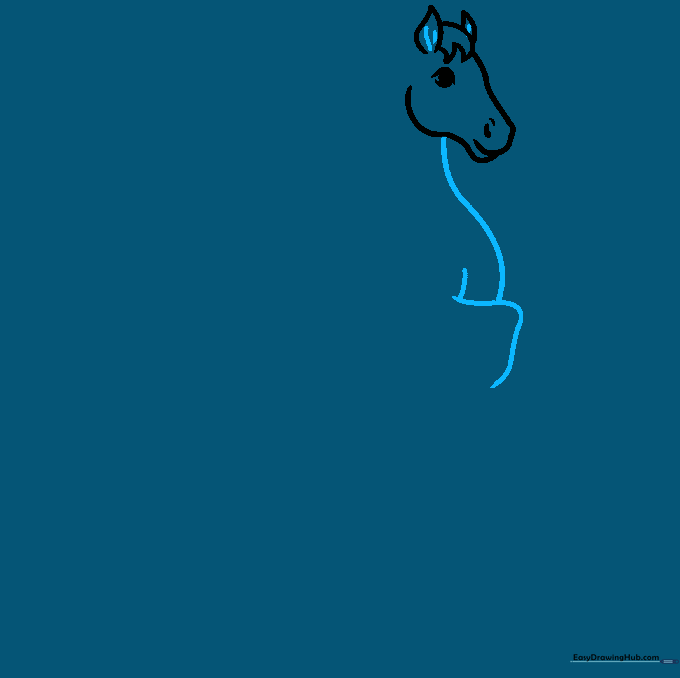
Extend a long, graceful curved line from the head to form the neck and chest. Add overlapping curves to suggest the front leg. Teacher's Tip: Think of the neck as a strong, thick column to show the horse's power.
Step 4: Shaping the Belly
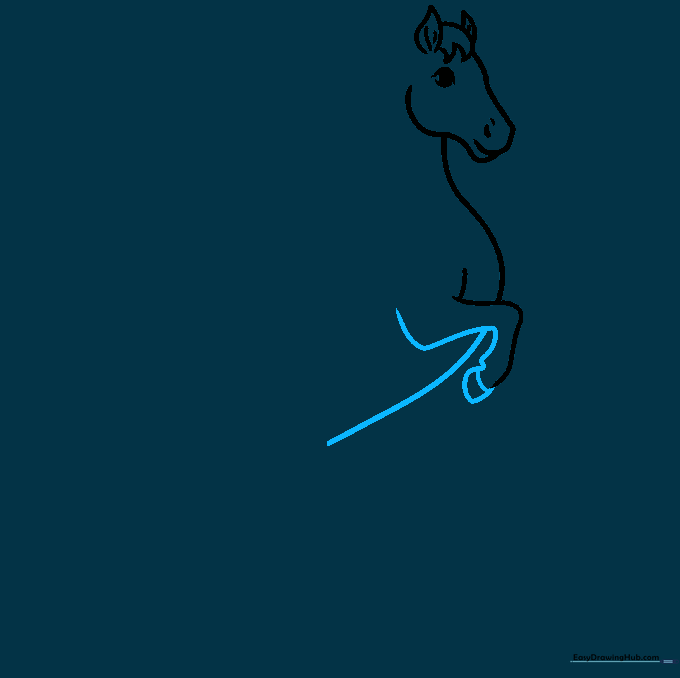
Draw the back of the front leg and add a horizontal band for the hoof. Continue the chest line downward to create the belly. Teacher's Tip: Keep the hoof band small so it looks proportional to the leg.
Step 5: The Back and Rear Leg
Draw a long, sweeping line from the head down the back to the rear leg. Double the line back to enclose the leg shape. Teacher's Tip: This long line creates the 'rearing' motion, so make it smooth and continuous.
Step 6: The Second Foreleg
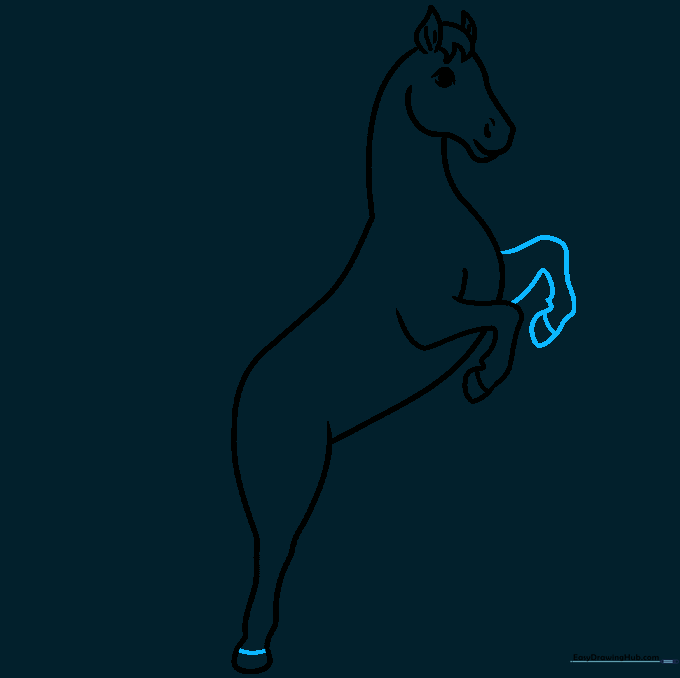
Draw the second foreleg by mirroring the shape of the first, adding a hoof band at the bottom. Teacher's Tip: Slightly overlapping the legs creates a sense of depth in your drawing.
Step 7: The Final Leg
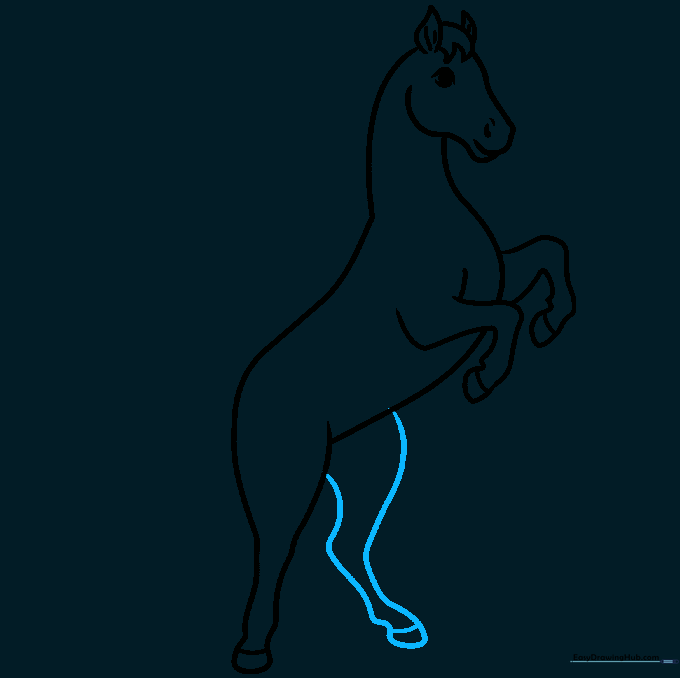
Draw the final rear leg extending from the belly, enclosing it with a hoof band. Teacher's Tip: Ensure all hooves are roughly the same size for a balanced look.
Step 8: Adding the Mane
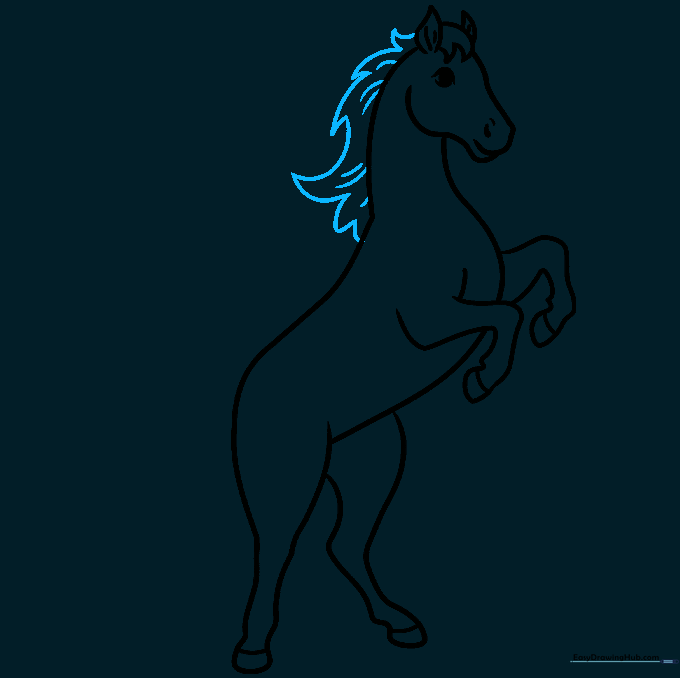
Draw the mane using flowing, jagged curved lines of varying lengths. Add small lines along the neck to show hair texture. Teacher's Tip: Varying the length of the lines makes the mane look like it's blowing in the wind.
Step 9: Drawing the Tail
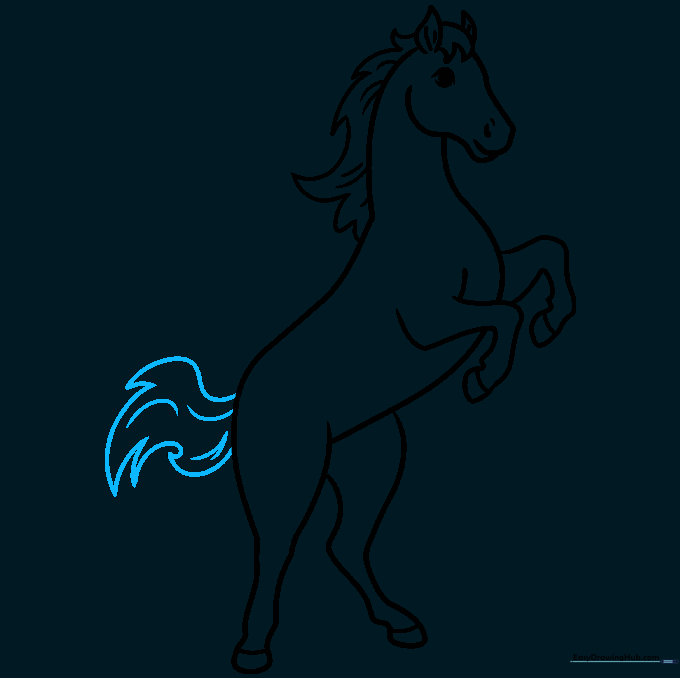
Finish the outline by drawing a bushy tail with long, curved, jagged lines. Add texture lines throughout the tail. Teacher's Tip: Make the tail look full by drawing the lines in different directions.
Step 10: Coloring Your Masterpiece
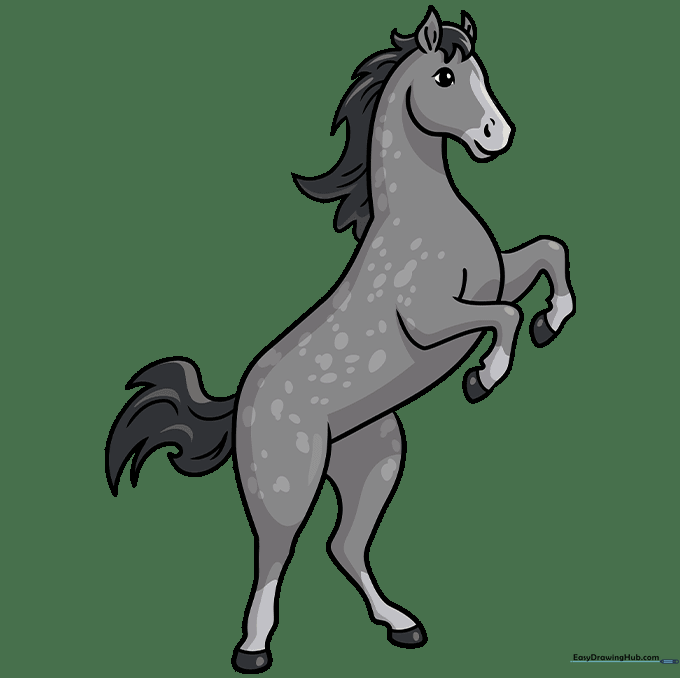
Bring your horse to life with color! Try a dappled grey or chestnut pattern. Teacher's Tip: Use light pressure with your colored pencils to create soft shading, or press harder for bold, vibrant colors.
More Tutorials


