How to Draw a Horse: Easy 9-Step Guide for Beginners
Ready to bring a majestic horse to life on paper? This tutorial is perfect for young artists ages 5+ and beginners looking to master basic animal shapes. All you need is a pencil, an eraser, and a piece of paper to get started.
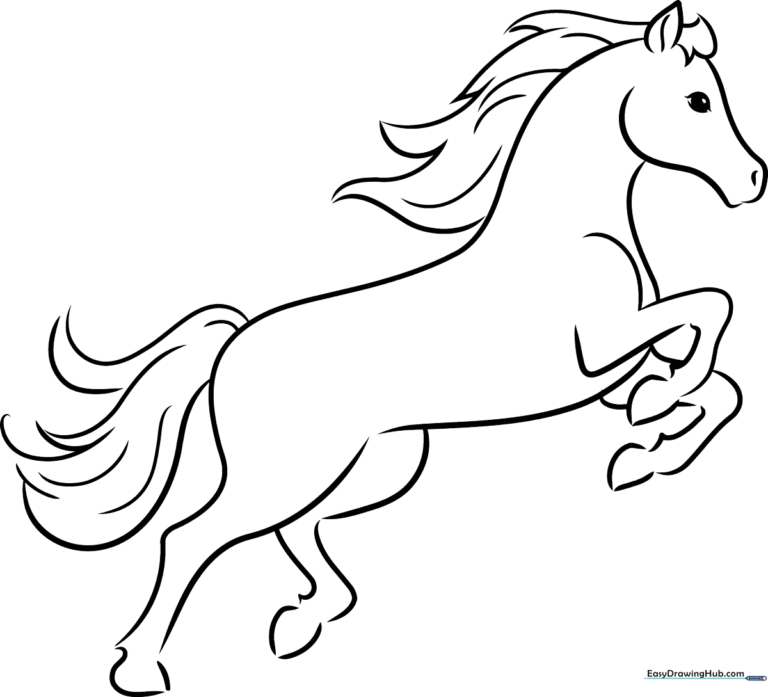
🎯 Final Result
Step-by-Step Instructions
Step 1: Sketching the Face and Eye

Draw a gentle curve for the horse's snout and a soft line for the jaw. Add a small nostril and a circular eye. Teacher's Tip: Keep the eye simple—a small circle inside a larger one—and leave a tiny white dot unshaded to give your horse a 'sparkle' of life.
Step 2: Adding the Ear and Mane
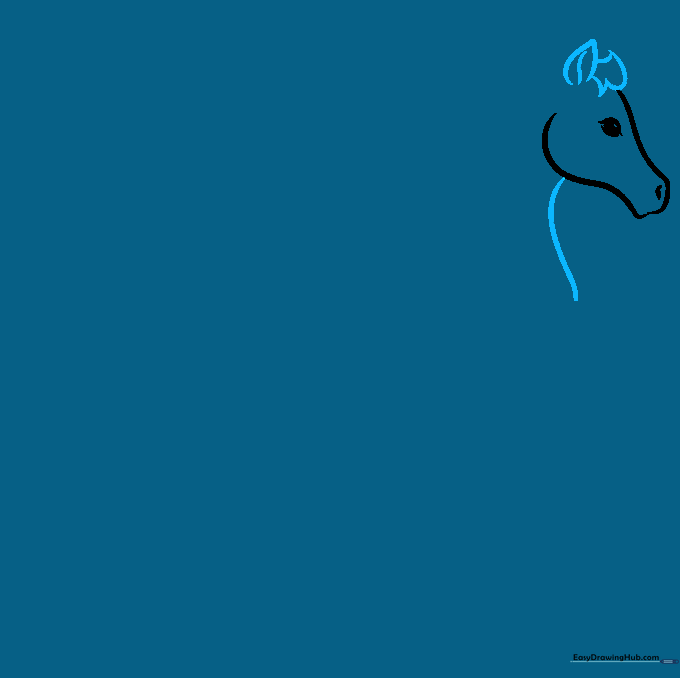
Extend a curved line for the neck and draw a pointed ear on top of the head. Add a few jagged, curved lines behind the ear to represent the mane. Teacher's Tip: Use short, quick strokes for the mane to make it look like soft, flowing hair.
Step 3: Sketching the Front Leg

Draw the first front leg extending down from the chest area. Use smooth curves for the shoulder and a flat line for the bottom of the hoof. Teacher's Tip: Think of the leg as a long, slightly bent rectangle to keep your proportions balanced.
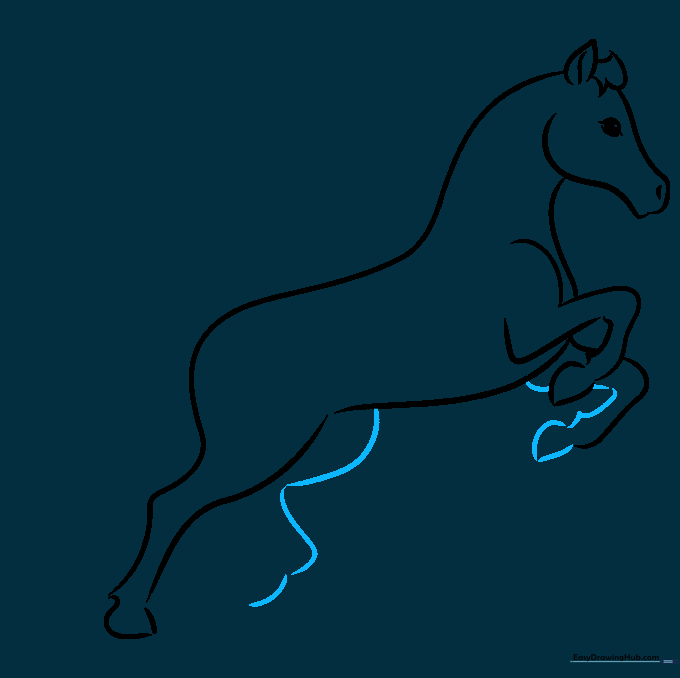
Step 4: Defining the Belly and Rear Leg
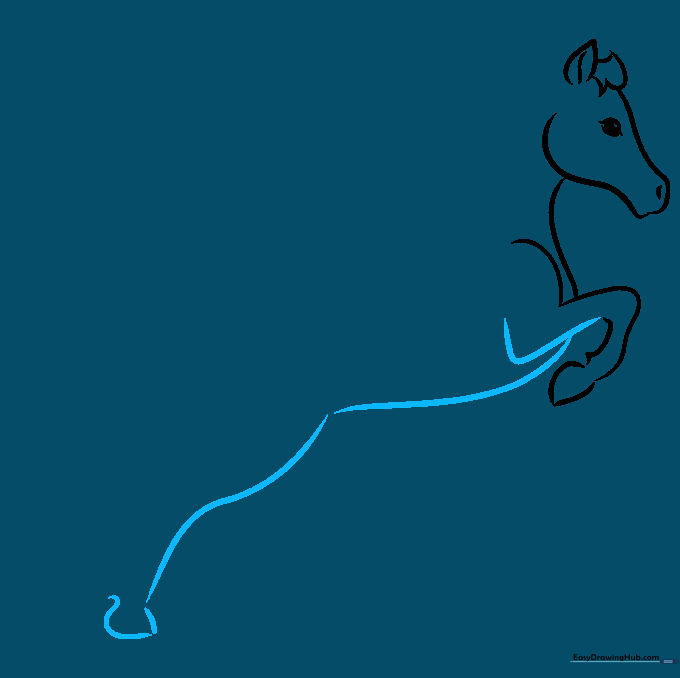
Draw a long, sweeping line for the horse's belly and start the outline of the back leg. Teacher's Tip: The belly line should be slightly curved, not perfectly flat, to give your horse a natural, sturdy look.
Step 5: Connecting the Back and Neck
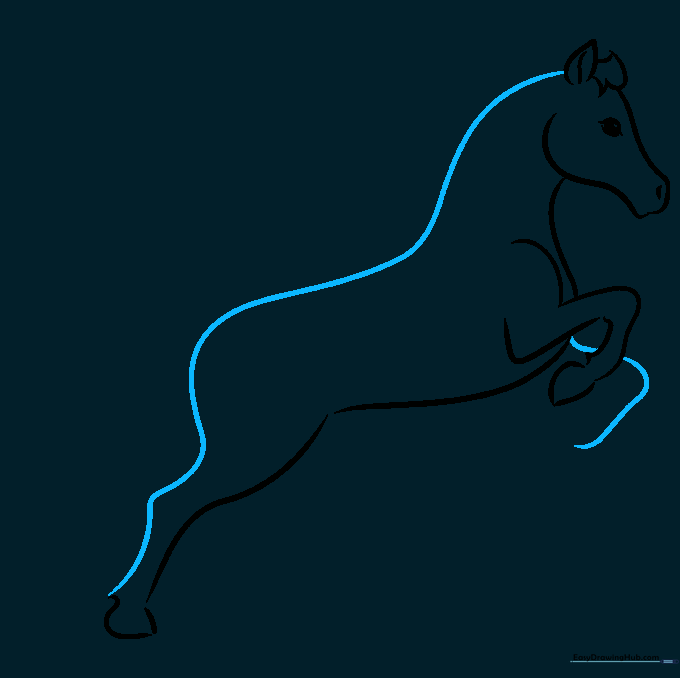
Connect the ear to the back with a long, graceful curve. This line defines the horse's spine and neck. Teacher's Tip: Use a fluid motion with your wrist to get a smooth, continuous line.
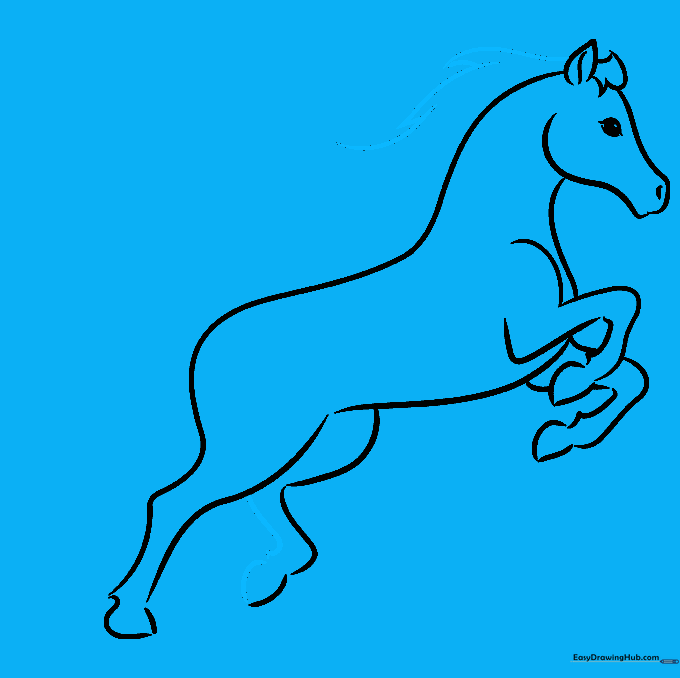
Step 6: Adding the Remaining Legs
Draw the second front leg and the second rear leg slightly behind the first ones. Teacher's Tip: Drawing them slightly offset creates a 'perspective' effect, making your horse look like it's standing in 3D space.
Step 7: Refining the Hooves and Mane
Add detail to the hooves and continue building the mane with longer, flowing lines. Teacher's Tip: Vary the length of your lines to make the mane look natural and wind-blown.
Step 8: Drawing the Tail
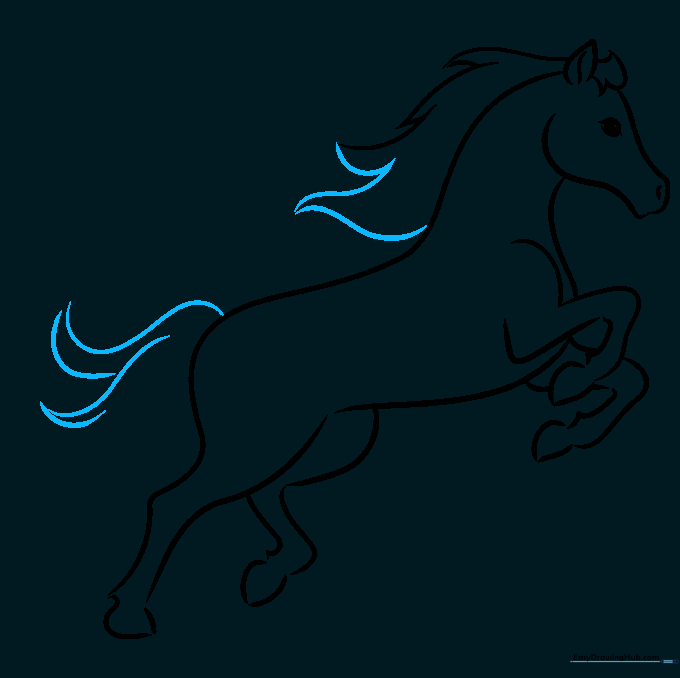
Sketch a long, flowing tail using curved lines that taper to a point. Teacher's Tip: Start the tail from the top of the rear and let it curve down toward the ground for a graceful look.
Step 9: Final Touches
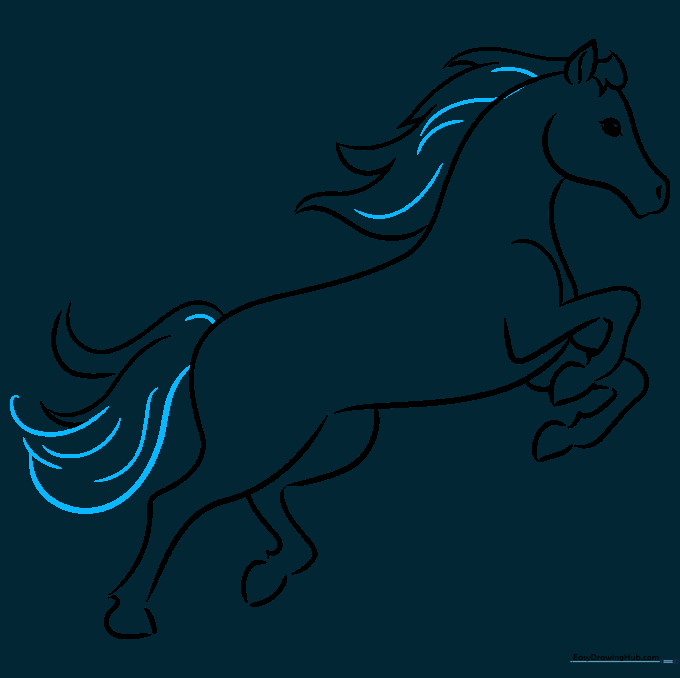
Clean up your lines and add any final details to the mane and tail. Teacher's Tip: Use a darker pencil to go over your final outline, making the horse pop off the page!
Step 10: Color Your Masterpiece

Bring your horse to life with color! Use browns, blacks, or even creative colors like purple or blue. Teacher's Tip: Try shading the edges of the legs and neck to give your horse a more realistic, rounded appearance.
More Tutorials


