How to Draw a Hoodie: Easy 10-Step Guide for Beginners
Ready to design your own streetwear? This tutorial is perfect for artists ages 5 and up who want to practice drawing fabric folds and clothing shapes. All you need is a pencil, an eraser, and a piece of paper to get started on this cozy masterpiece.
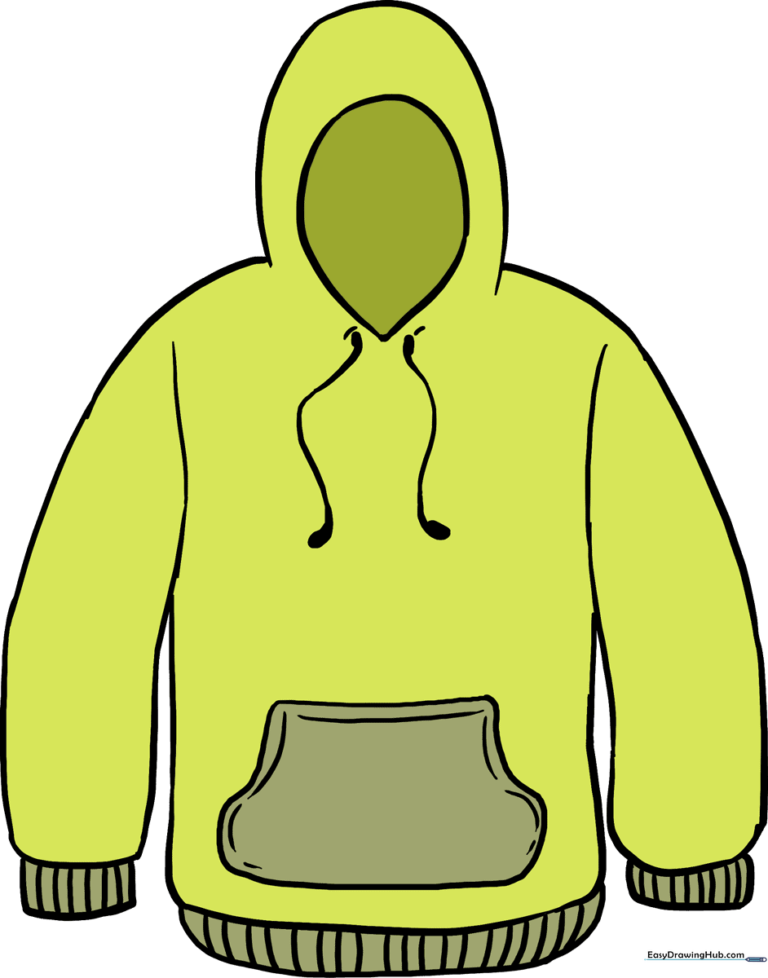
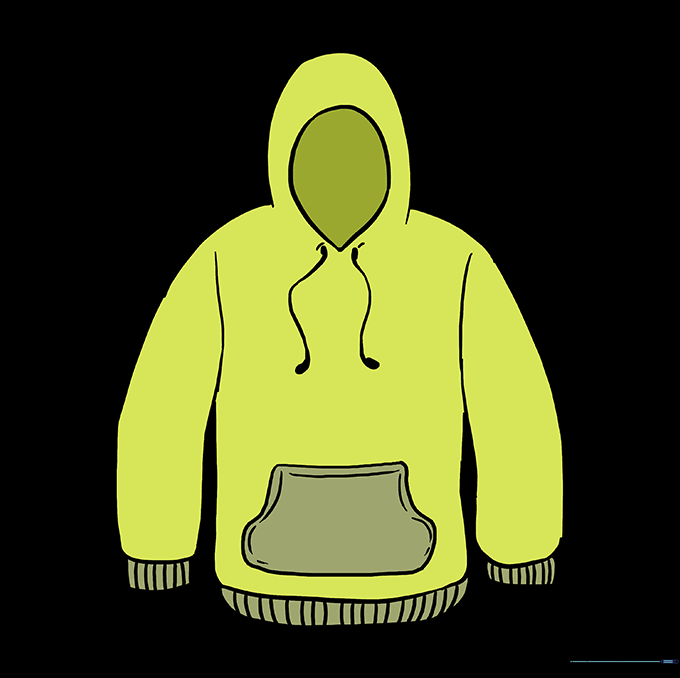
🎯 Final Result
Step-by-Step Instructions
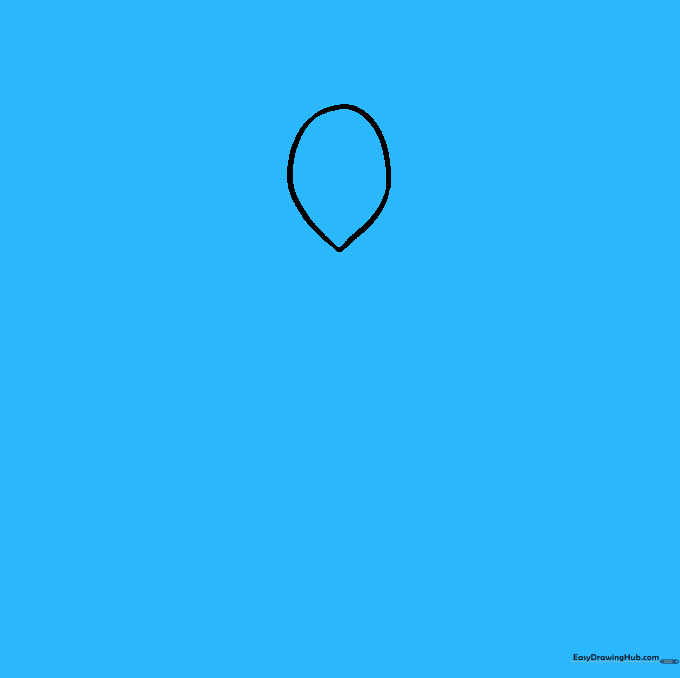
Step 1: Sketching the Hood Opening

Draw an upside-down teardrop shape with the point facing down. Teacher's Tip: Keep this shape centered on your paper to leave plenty of room for the sleeves later.
Step 2: Defining the Hood
Draw a curved line over the top of your teardrop to create the hood's structure. Tip: Imagine the shape of a real hood resting on someone's head to get the curve just right.
Step 3: Drawing the First Sleeve
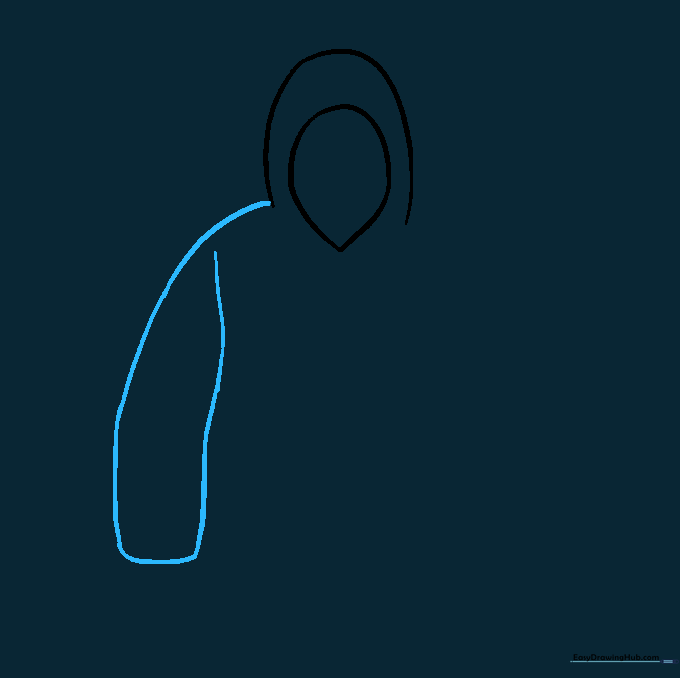
Extend a long, curved line from the side of the hood, curving it horizontally and doubling it back to create a sleeve. Tip: Keep the line fluid to make the fabric look soft and natural.
Step 4: Adding the Second Sleeve
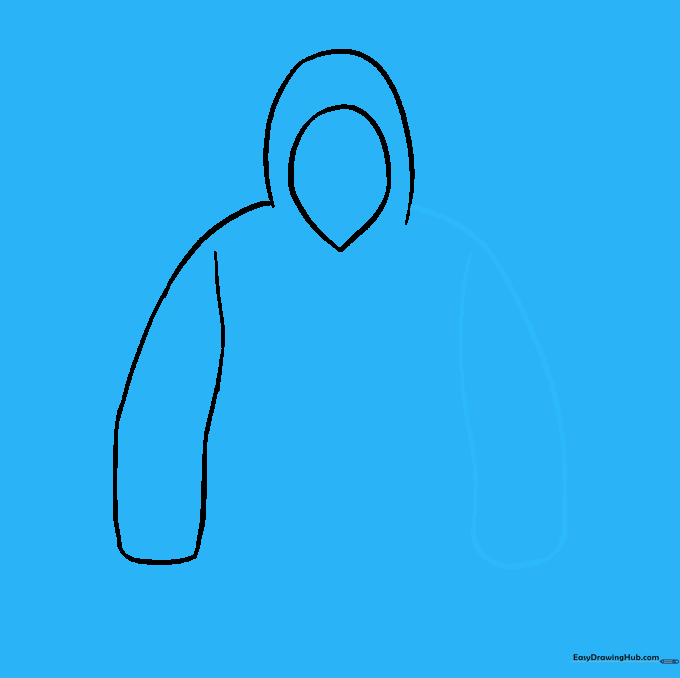
Repeat the process on the other side to create a mirror-image sleeve. Tip: Try to match the length and thickness of the first sleeve for a balanced look.
Step 5: Adding Cuffs

Draw a rounded rectangle at the end of each sleeve to represent the ribbed cuffs. Tip: Adding these small details makes your drawing look much more professional.
Step 6: Outlining the Body
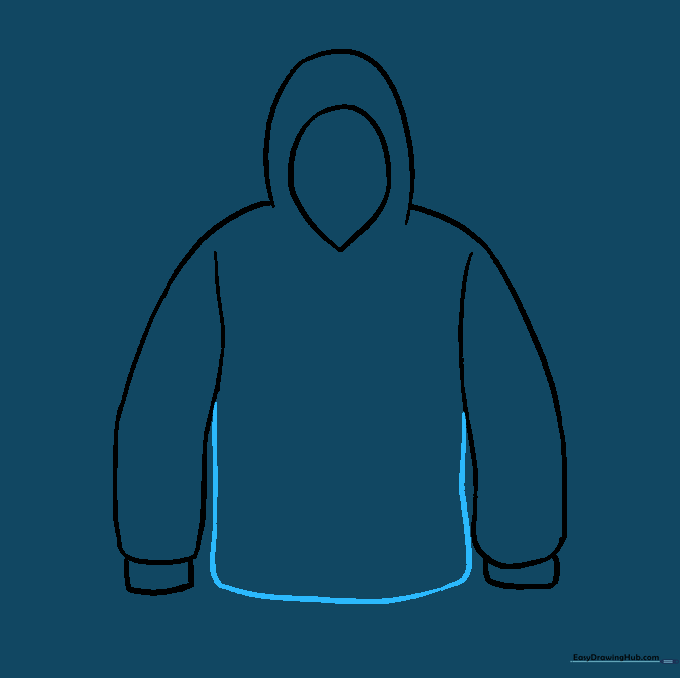
Connect the sleeves with a curved line that forms the bottom hem of the hoodie. Tip: Ensure the line curves slightly to show the natural drape of the fabric.
Step 7: Adding Hem Texture
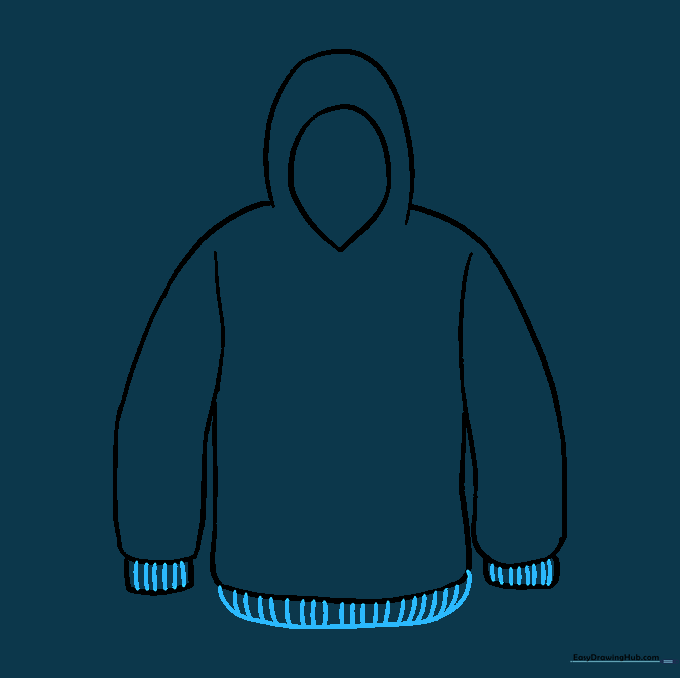
Draw a curved line at the bottom hem and add short vertical lines to simulate the ribbed texture of the fabric. Tip: Keep these lines evenly spaced for a clean, tidy look.
Step 8: Drawing the Pocket
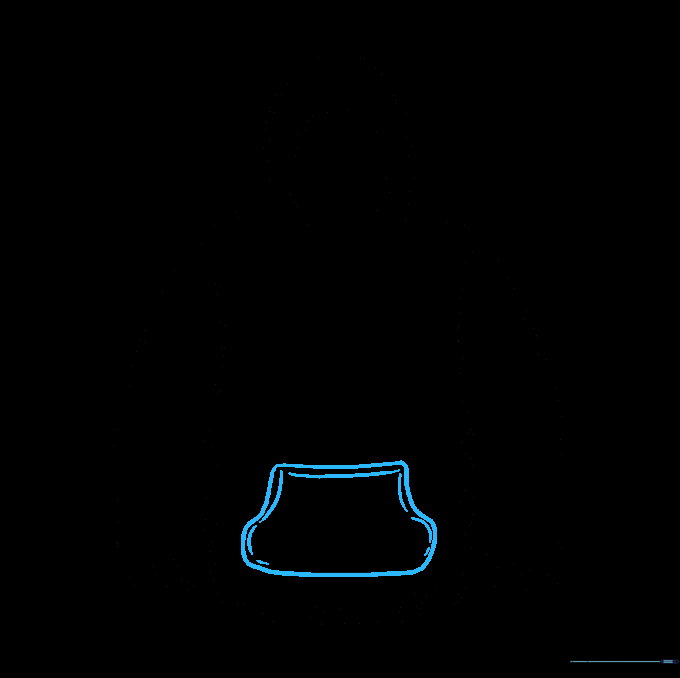
Draw a large, irregular shape in the center of the hoodie for the front pocket. Add parallel curved lines inside to give it depth. Tip: Make the pocket wider at the bottom to look realistic.
Step 9: Adding Drawstrings
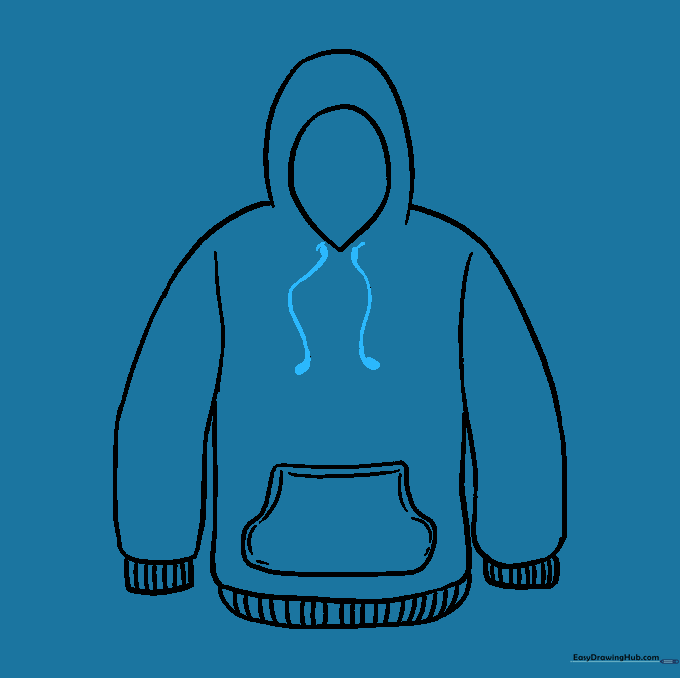
Draw two small ovals near the hood opening and add lines extending down with small ovals at the ends. Tip: These drawstrings add a great sense of realism to your clothing design.
Step 10: Final Coloring
Bring your hoodie to life with your favorite colors! Tip: Use light and dark shades of the same color to create shadows, making your hoodie look 3D.
More Tutorials


