How to Draw a Hippo: Easy 10-Step Guide for Beginners
Ready to bring a friendly hippo to life? This tutorial is perfect for young artists ages 5 and up. All you need is a pencil, an eraser, and a piece of paper to practice these basic shapes and build your confidence as an illustrator.
🎯 Final Result

Step-by-Step Instructions
Step 1: Sketching the Head Base

Draw a light, irregular rounded shape with two bulbous sections—make the bottom one slightly larger than the top. Teacher's Tip: Keep your pencil pressure very light here so you can easily erase these guidelines later.
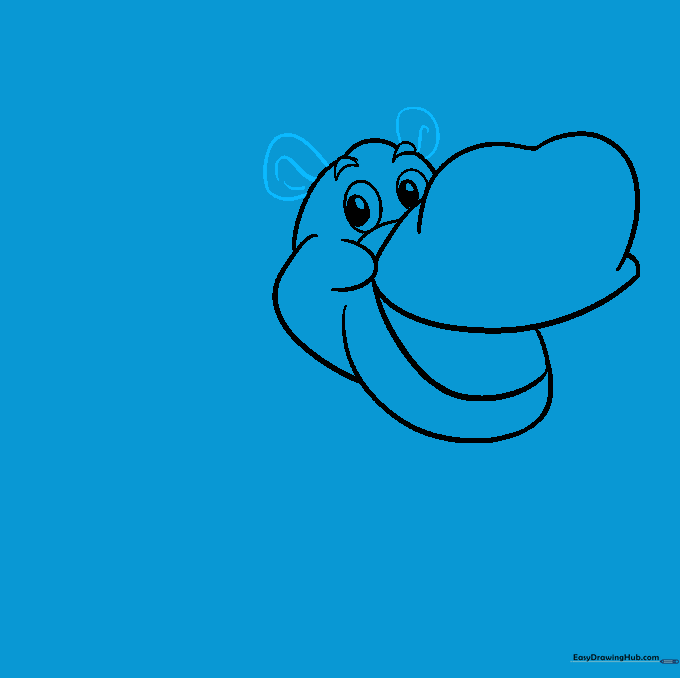
Step 2: Defining the Snout

Sketch the snout using a long curved line across the head, topping it off with a rounded 'M' shape. Tip: Imagine the hippo is sniffing the air to help you get that gentle curve just right.
Step 3: Shaping the Jaw

Connect the upper snout to the interior of the head with a curved line, then add another line to define the inside of the mouth. Tip: Keep your lines smooth to give the hippo a friendly, happy expression.
Step 4: Cleaning Your Sketch

Gently erase the overlapping guide lines inside the head shape. Tip: Use a clean eraser and brush away the crumbs with your hand—this keeps your paper tidy for the final details.
Step 5: Eyes and Cheeks

Add a 'C' shaped cheek, then draw the eyes using three nested ovals. Shade the center for the pupil. Tip: Drawing eyes can be tricky; take your time to make them symmetrical so your hippo looks balanced.
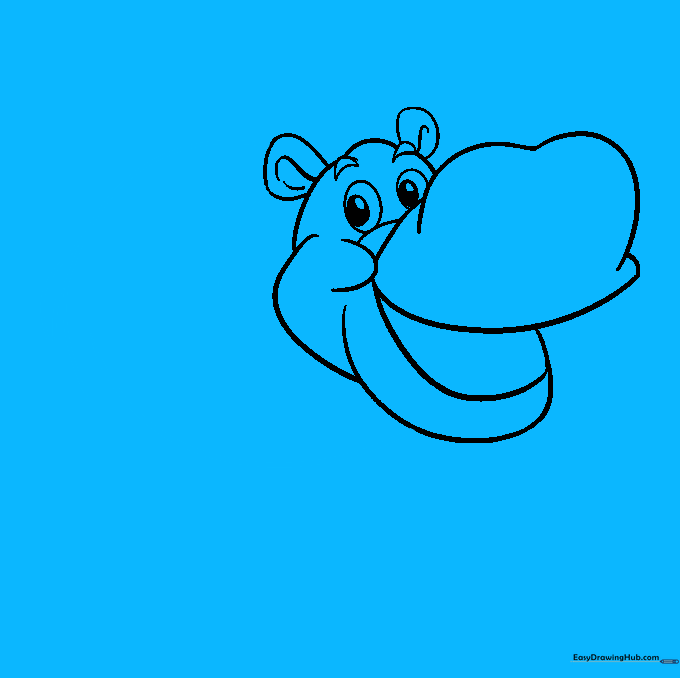
Step 6: Adding Ears
Draw small 'C' shaped ears on the sides of the head and add a curved line inside each for depth. Tip: Keep the ears small; hippos have surprisingly tiny ears compared to their large heads!
Step 7: Sketching the Body
Use two long, parallel curved lines to outline the large, oval-shaped body and add a small tail. Tip: Don't worry if the lines aren't perfect; hippos are round and chunky, so a little wobble in your line adds character.
Step 8: Drawing the Legs
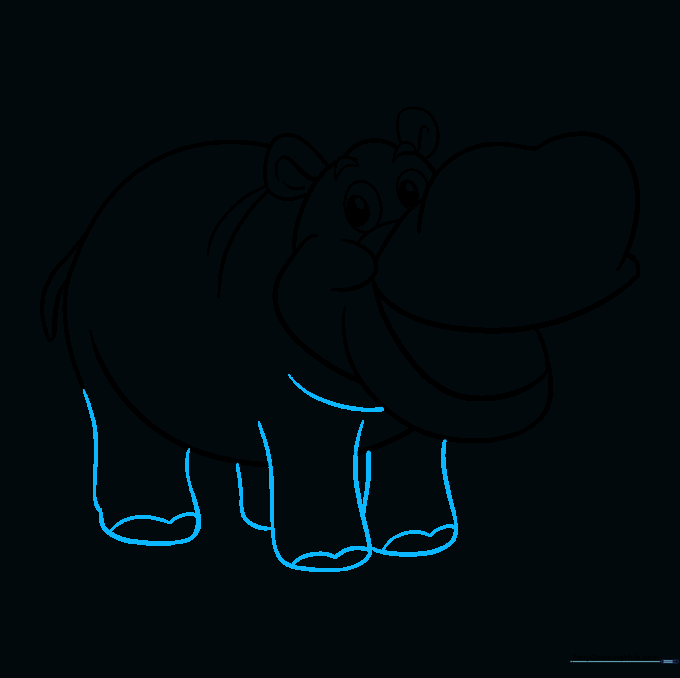
Extend two parallel lines for each leg, diverging slightly at the feet. Add a rounded 'M' shape for the toes. Tip: Make sure the legs look sturdy to support your hippo's heavy body.
Step 9: Final Facial Details

Add nostrils, teeth, and a tongue to the mouth. Use small curved lines to give the teeth a 3D look. Tip: Adding a tongue makes the hippo look like it's smiling at you!
Step 10: Color Your Hippo

Bring your drawing to life with color! Use soft greys or browns for a realistic look, or go wild with purple for a fun cartoon style. Tip: Use light pressure with your colored pencils to blend colors smoothly.
More Tutorials


