How to Draw a Hill: Easy Landscape Drawing Guide for Kids
This landscape drawing guide is perfect for young artists ages 5 and up. You will only need a pencil, an eraser, and your favorite coloring supplies to bring this scene to life. Follow along to master the art of drawing rolling hills, trees, and wildflowers in a few simple steps.
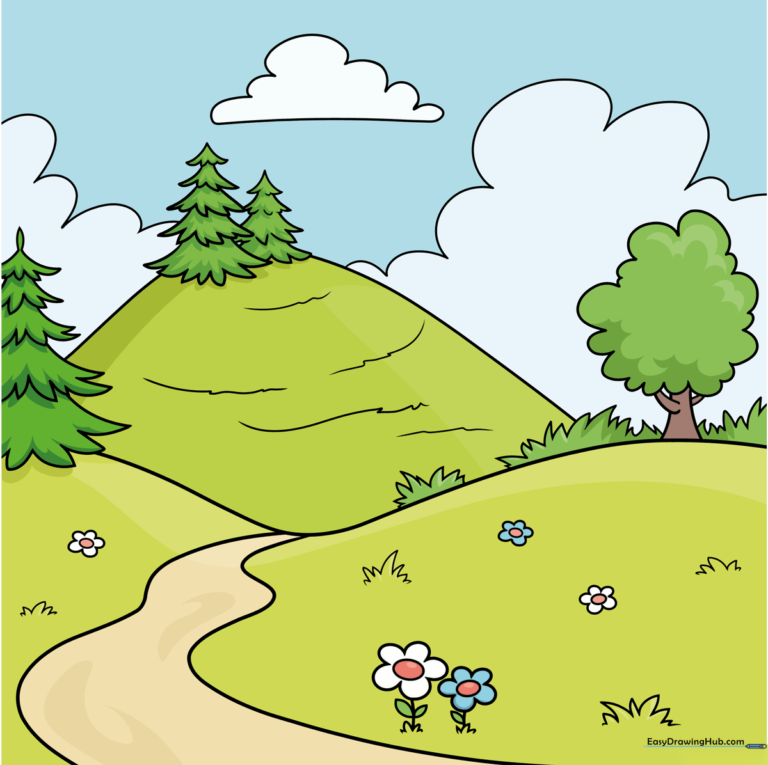
🎯 Final Result
Step-by-Step Instructions
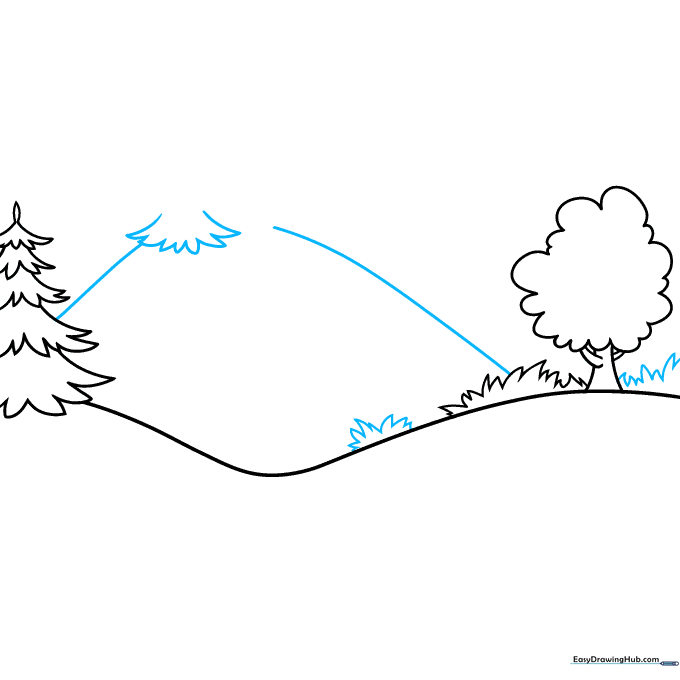
Step 1: Sketching the Horizon
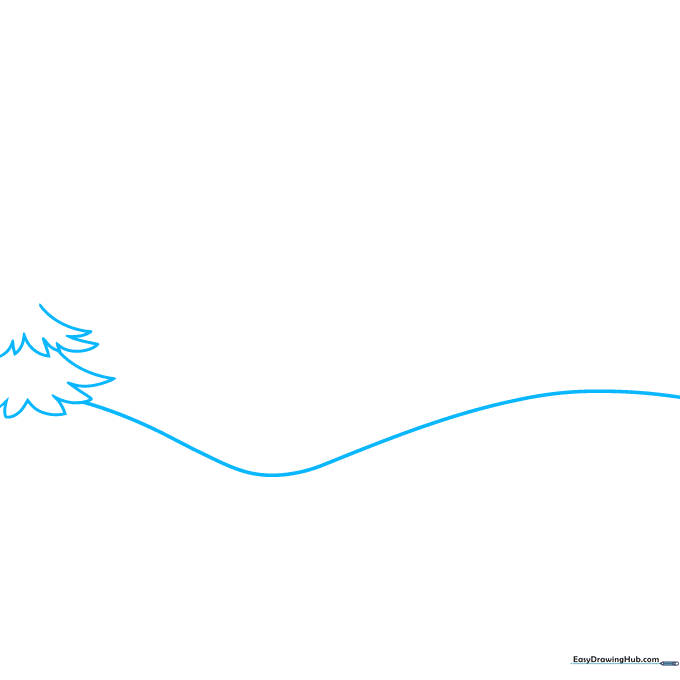
Draw a long, gentle wavy line across your paper to create the horizon. On one side, start your first evergreen tree using jagged, triangular shapes. Teacher's Tip: Keep your pencil pressure light so you can easily adjust the curve of the hill if it looks too steep!
Step 2: Adding Forest Details
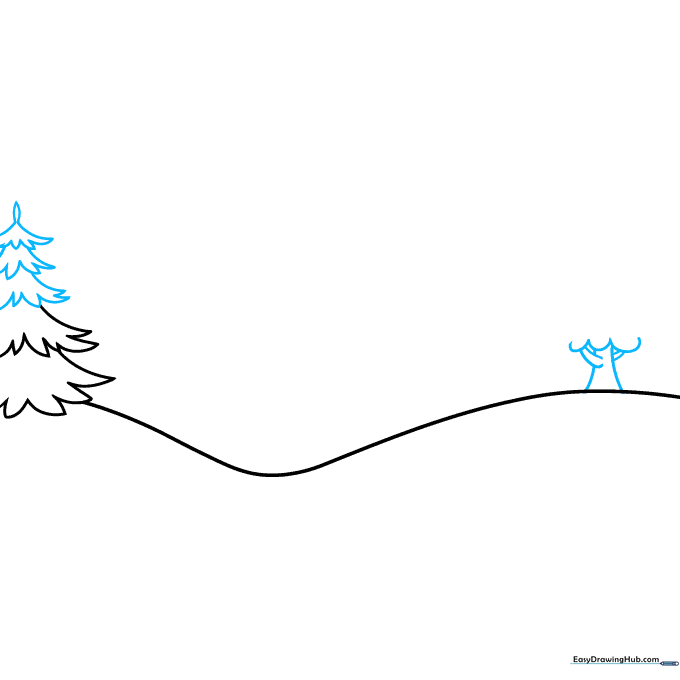
Continue building your evergreen by adding smaller jagged layers toward the top. On the opposite hill, sketch a deciduous tree using two curved lines for the trunk and 'U' shapes for the leafy crown. Teacher's Tip: Varying the tree shapes makes your landscape look more natural and less like a pattern.
Step 3: Grass and Foliage
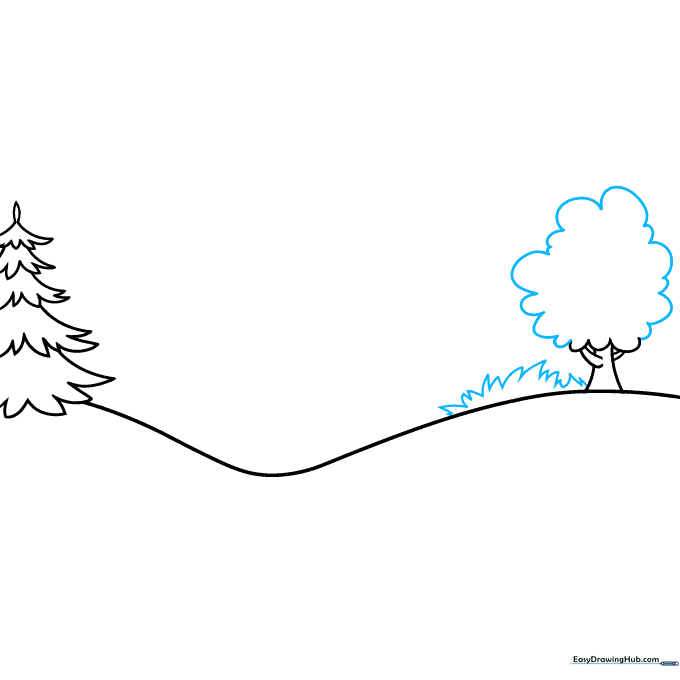
Finish the leafy crown of your deciduous tree with more connected curved lines. Add a patch of tall grass beside it using short, jagged strokes. Teacher's Tip: Don't worry about making the grass perfect; real grass grows in messy, uneven clumps!
Step 4: Creating Depth
Draw a larger, taller hill in the background to create a sense of distance. Add another evergreen tree on this new hill. Teacher's Tip: Objects higher up on the page often look further away, which helps create a 3D effect in your drawing.
Step 5: Refining the Trees
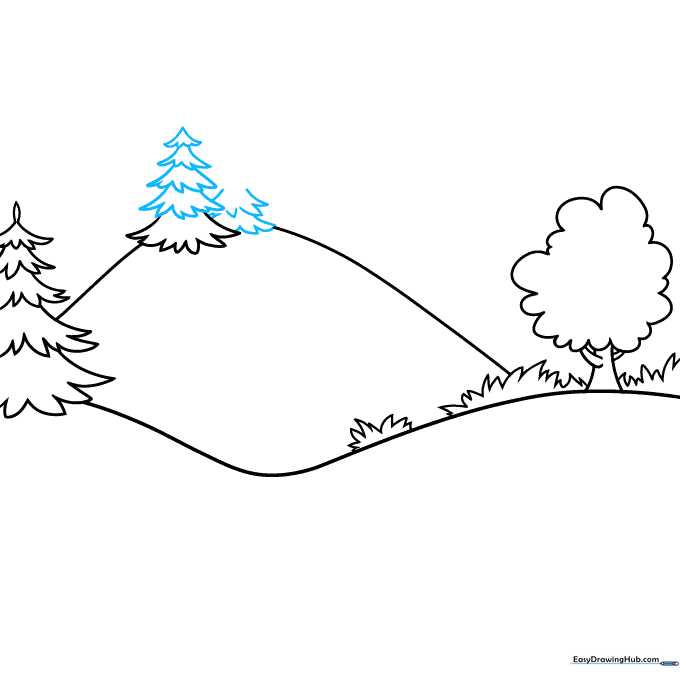
Complete the pine tree by adding smaller triangular sections toward the top. Add a second, smaller pine tree behind it to show depth. Teacher's Tip: Overlapping your shapes is the secret to making a flat drawing look like a real landscape.
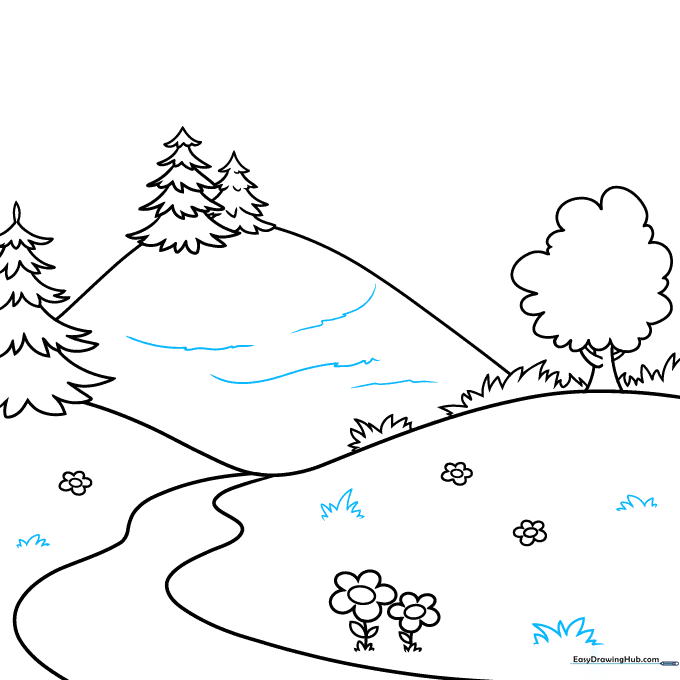
Step 6: Adding a Stream and Flowers
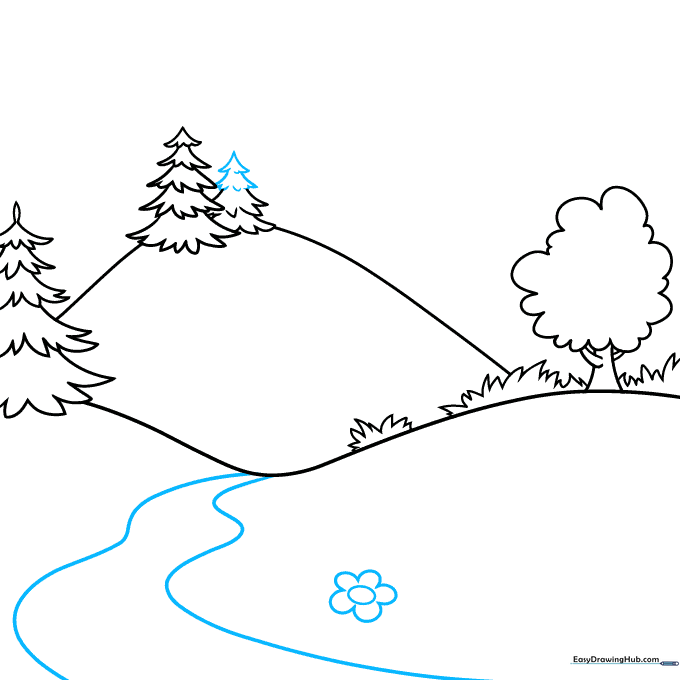
Draw a winding stream between the hills using two long, parallel curved lines. Add a daisy by drawing an oval center and 'U' shaped petals. Teacher's Tip: Make the stream lines slightly wobbly to mimic the natural flow of water.
Step 7: Filling the Meadow
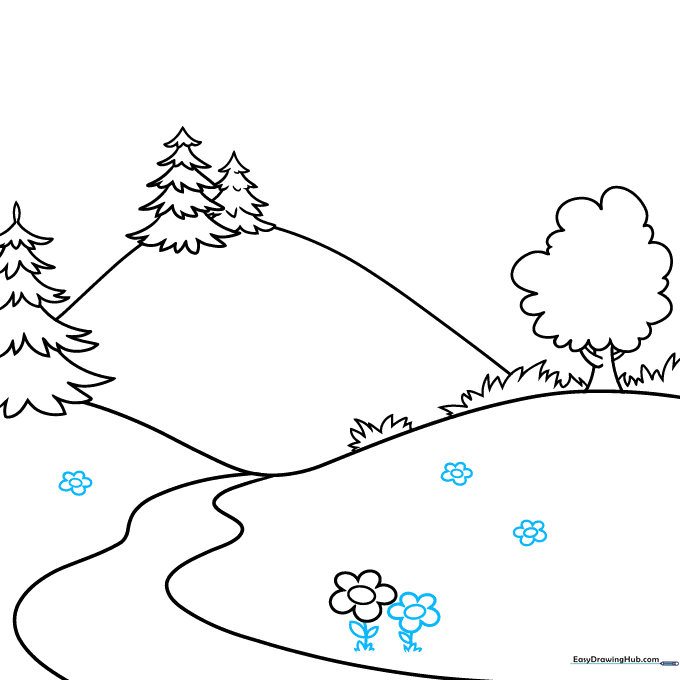
Add more daisies across the foreground. Give them stems and double-pointed leaves. Teacher's Tip: Grouping flowers in small clusters of two or three makes your drawing look more intentional and professional.
Step 8: Adding Texture
Add more grass patches along the hillsides using jagged lines. Use wavy lines on the distant hill to suggest texture. Teacher's Tip: Use short, quick strokes for grass to give it a lively, energetic feel.
Step 9: Final Touches
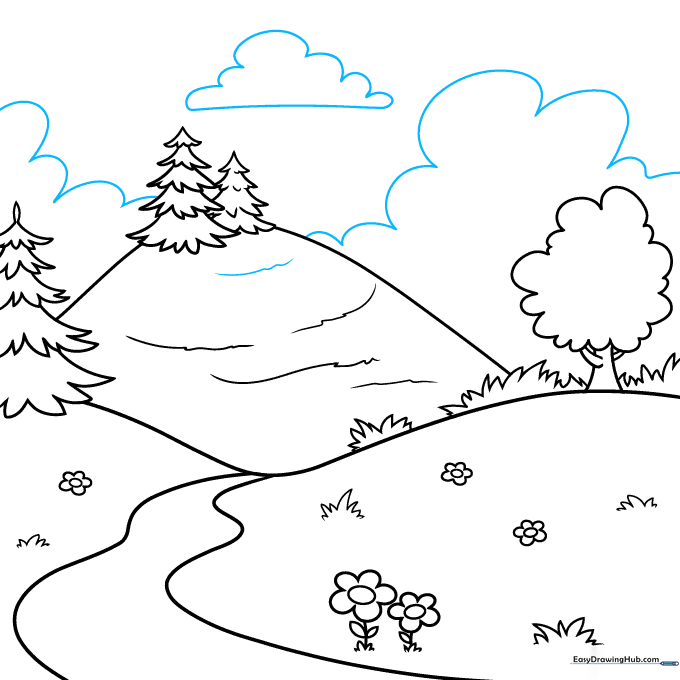
Add fluffy clouds in the sky using connected 'U' shapes. Keep the bottoms of the clouds relatively straight. Teacher's Tip: Clouds are great for filling empty sky space, making your drawing feel complete.
Step 10: Bring It to Life with Color
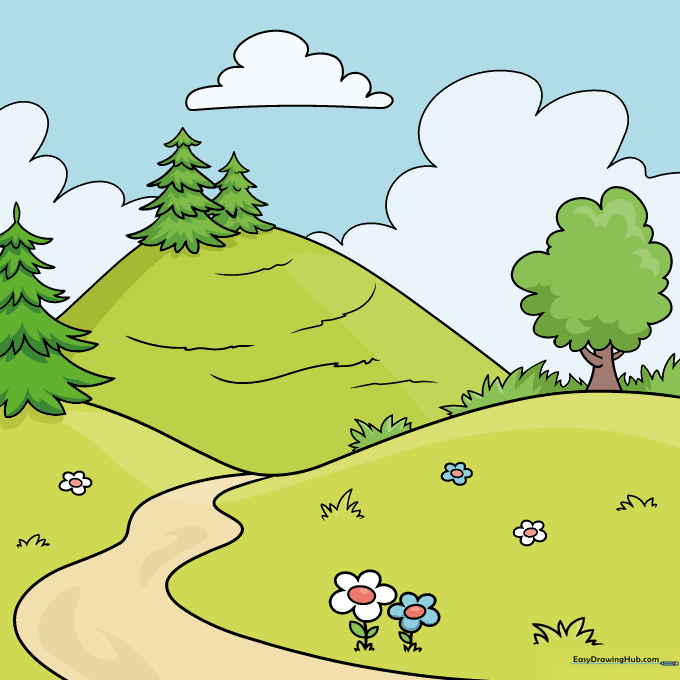
Your outline is complete! Now, use vibrant greens for the grass, blues for the water and sky, and bright colors for your flowers. Teacher's Tip: Try using different shades of green to show where the sun hits the hills versus where the shadows fall.
More Tutorials


