How to Draw a Heron: Easy 10-Step Guide for Kids
Bring a majestic heron to life with this beginner-friendly drawing tutorial. Designed for ages 5 and up, this activity requires only a pencil, paper, and an eraser. Follow these steps to develop your observation skills and learn how to capture the elegant, S-shaped neck of this iconic water bird.
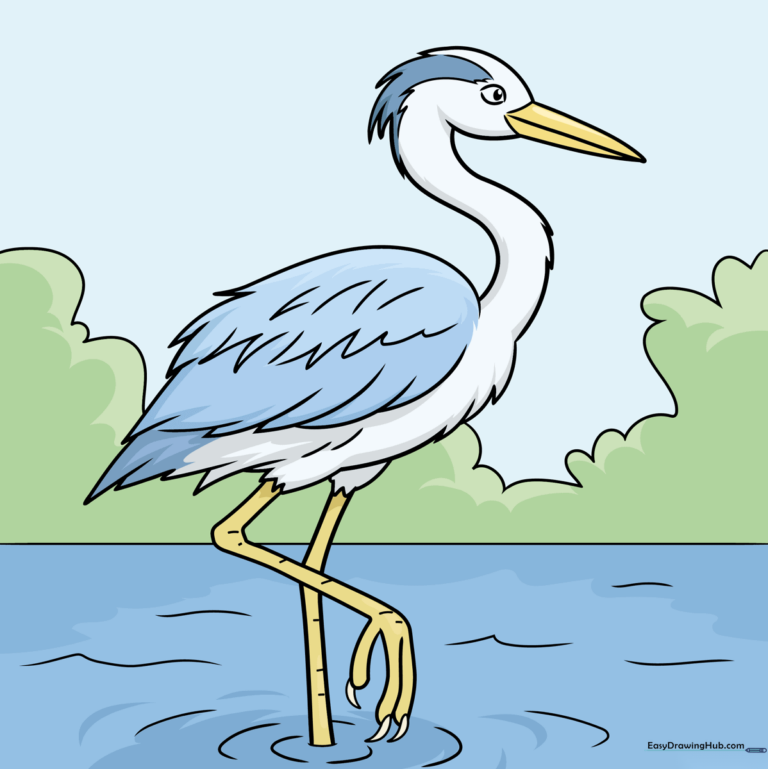
🎯 Final Result
Step-by-Step Instructions
Step 1: Sketching the Head and Beak
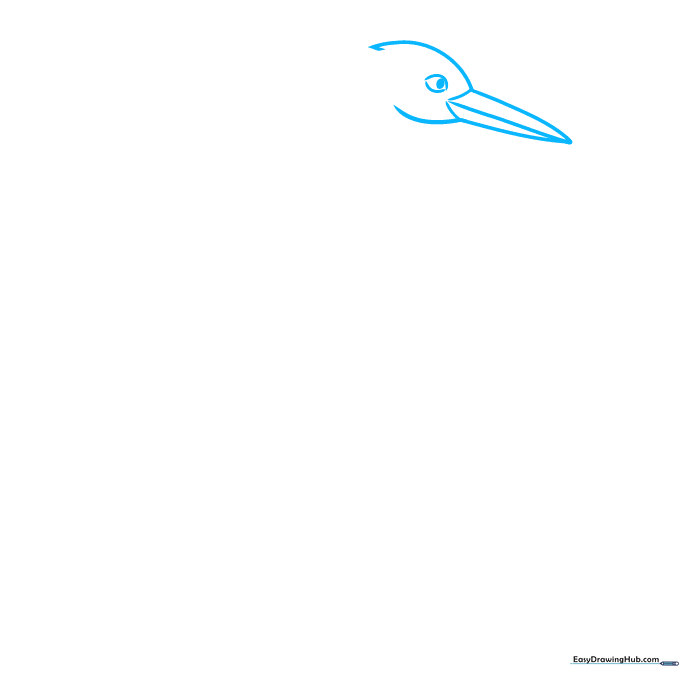
Draw a small, rounded shape for the head and a long, pointed beak. Tip: Keep the beak sharp and slender to give the heron its characteristic look. Add a small circle for the eye and a tiny dot inside for the pupil.
Step 2: Forming the S-Curve Neck
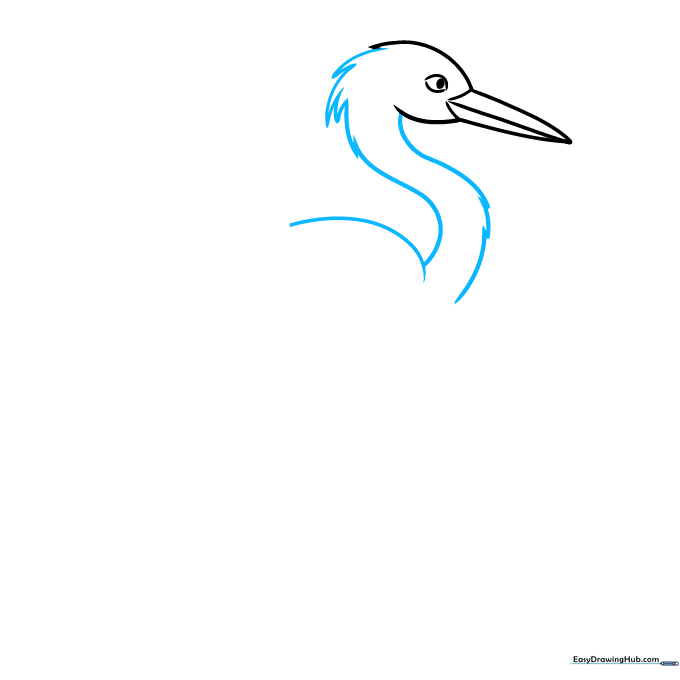
Draw the long, elegant neck using a flowing 'S' shape. Use short, jagged lines to suggest feathers. Tip: Don't worry about making it perfectly smooth; the jagged edges make it look more natural and textured.
Step 3: Outlining the Wing
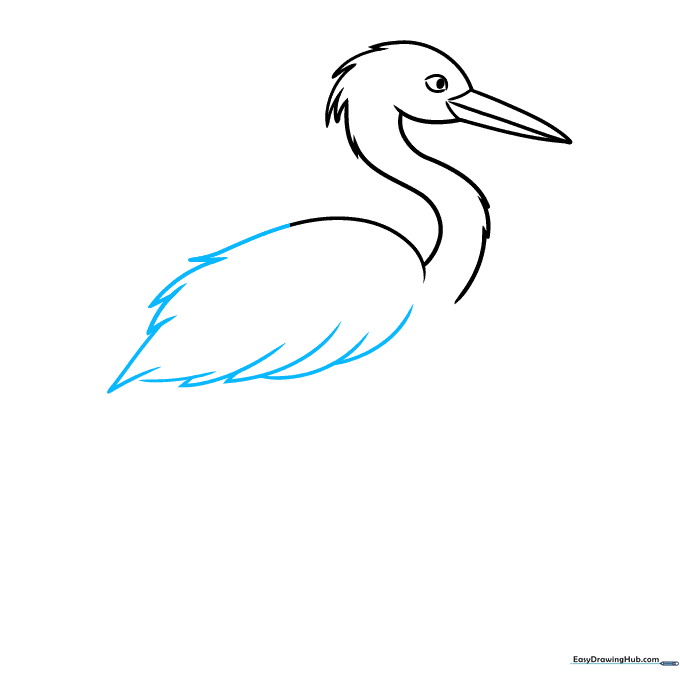
Sketch a large, teardrop-shaped wing on the side of the body. Use overlapping lines to create a layered feather effect. Tip: Vary the length of your lines to make the wing look soft and realistic.
Step 4: Drawing the Chest and Leg
Draw the chest using curved lines and begin the upper part of the leg. Tip: Herons have very distinct 'knees' that bend backward; focus on that sharp angle to make your bird look anatomically correct.
Step 5: Adding Toes and Claws
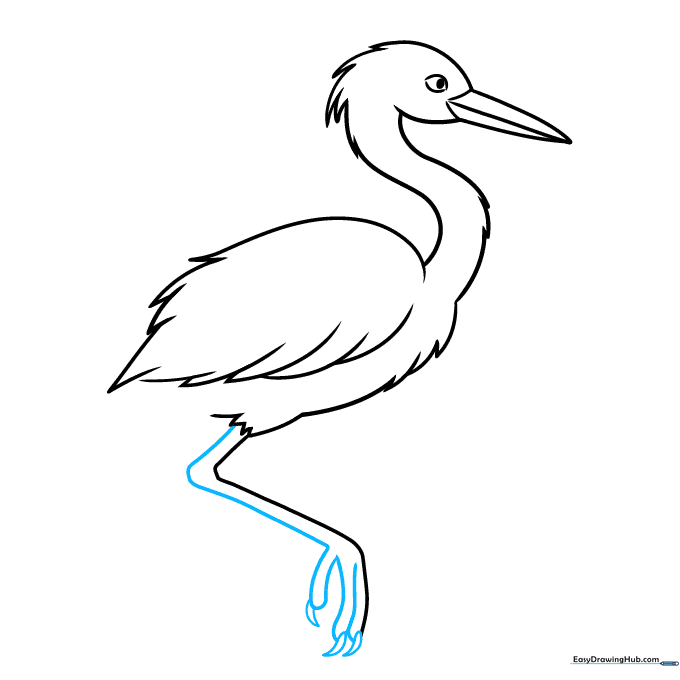
Extend the leg downward and add the toes using 'U' shaped lines. Finish each toe with a small, sharp claw. Tip: Keep the toes long and thin to represent the heron's ability to wade in water.
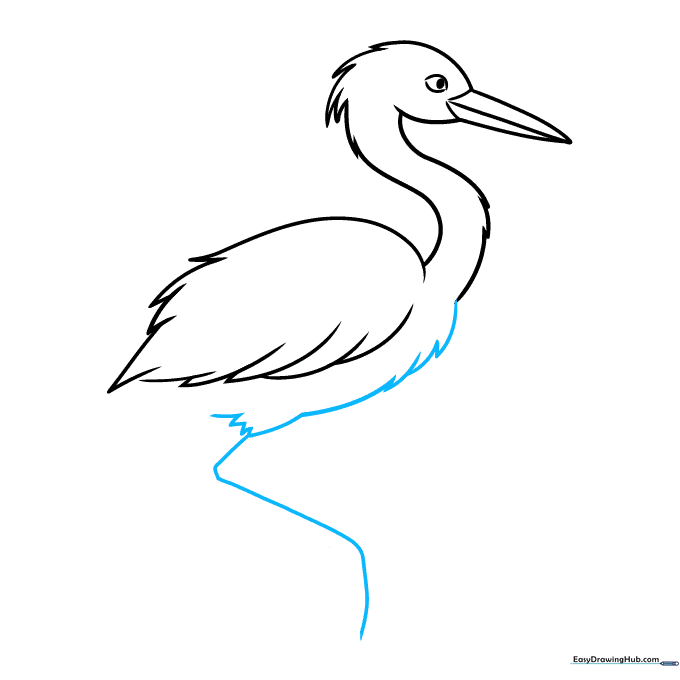
Step 6: Completing the Legs and Tail
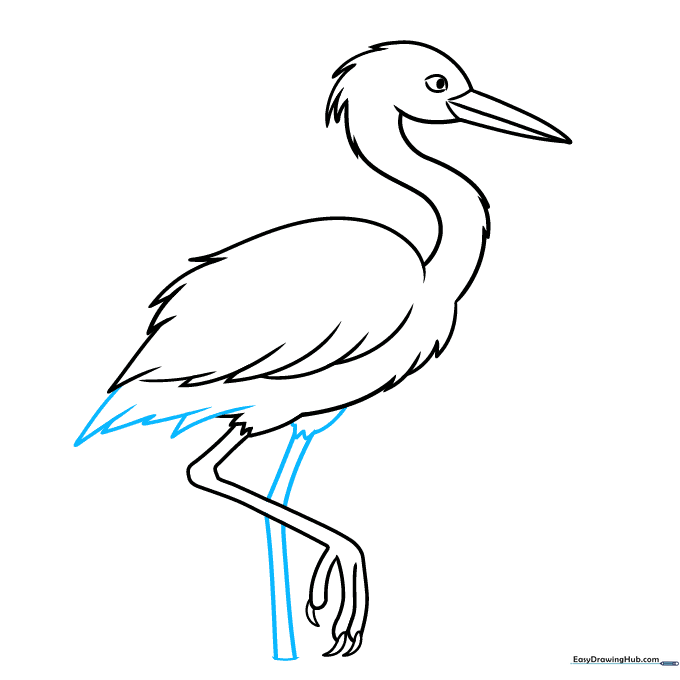
Draw the second leg behind the first and add a short, jagged tail. Tip: Use parallel lines for the lower legs to keep them looking sturdy but slender.
Step 7: Adding Feather Texture
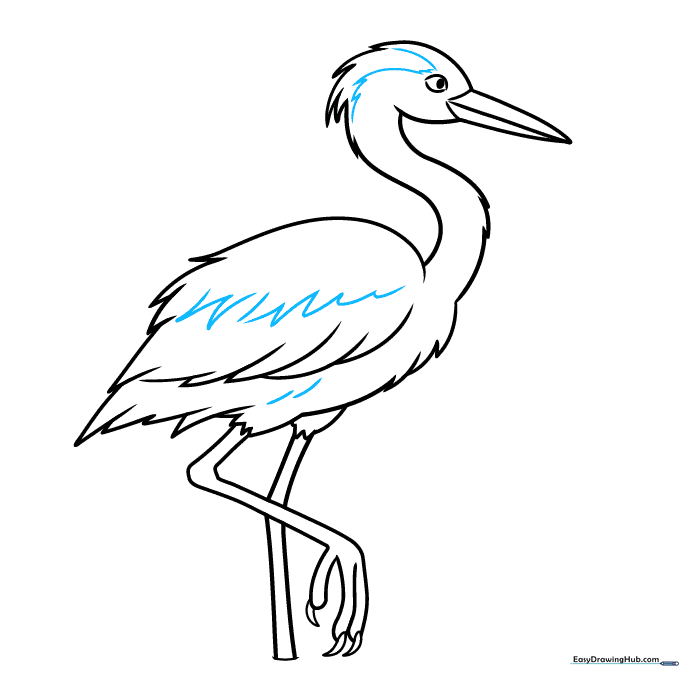
Add small, jagged lines across the head, wing, and stomach to represent feathers. Tip: Vary the size of your 'v' shapes to create a realistic, fluffy texture.
Step 8: Setting the Scene
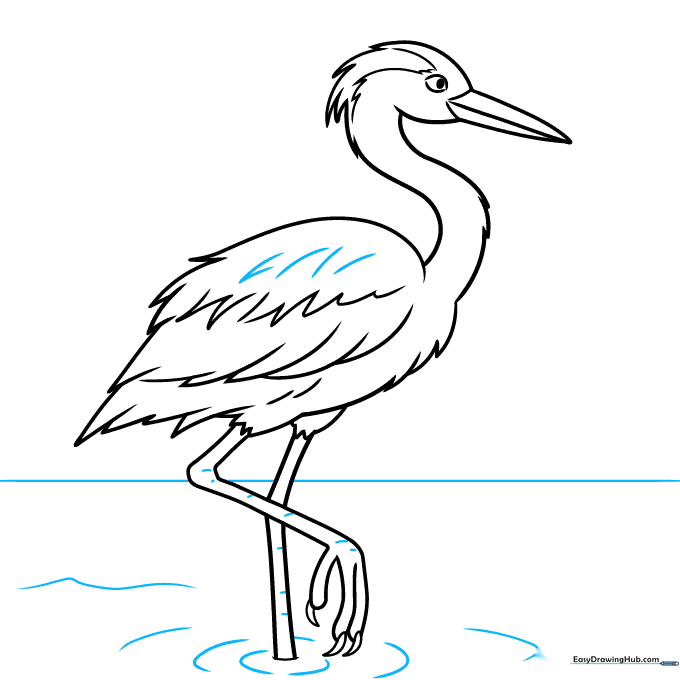
Draw a horizontal line behind the heron to create the horizon. Add ripples in the water around the feet. Tip: Use gentle, wavy lines to make the water look calm and still.
Step 9: Adding Background Details
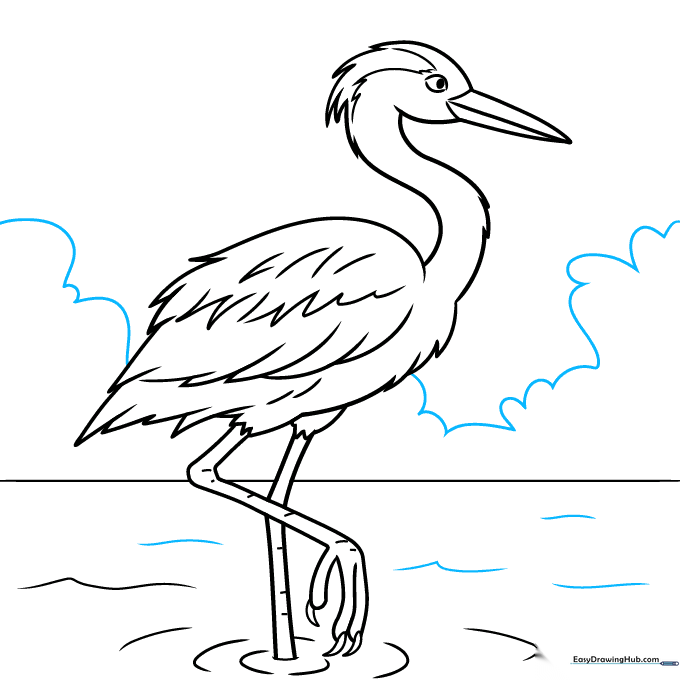
Draw cloud-like shapes for bushes or reeds in the background. Tip: Keep these shapes simple and loose so they don't distract from your main heron drawing.
Step 10: Bringing it to Life with Color
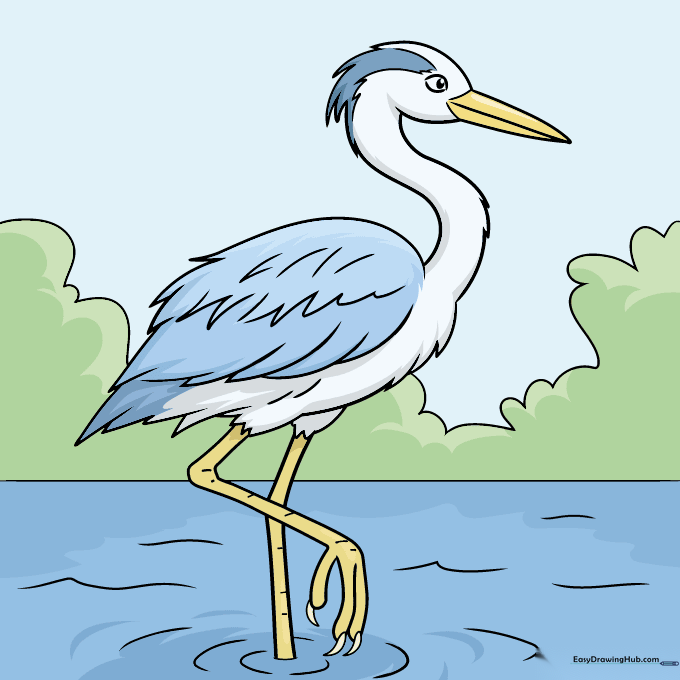
Color your heron using natural tones like slate grey, white, or soft brown. Tip: Use a light blue for the water to make the bird stand out!
More Tutorials


