How to Draw a Helicopter: Easy 10-Step Guide for Kids
Ready to take flight? This tutorial is perfect for young artists ages 5 and up. All you need is a pencil, an eraser, and a piece of paper to bring this cheerful helicopter to life while practicing basic geometric shapes.
🎯 Final Result

Step-by-Step Instructions
Step 1: Sketching the Main Body

Draw two curved lines to form the main cabin. Make them like two half-circles that don't quite touch, then connect them with a short straight line. Teacher's Tip: Keep your pencil pressure light here so you can easily adjust the shape if needed.
Step 2: Drawing the Tail Boom
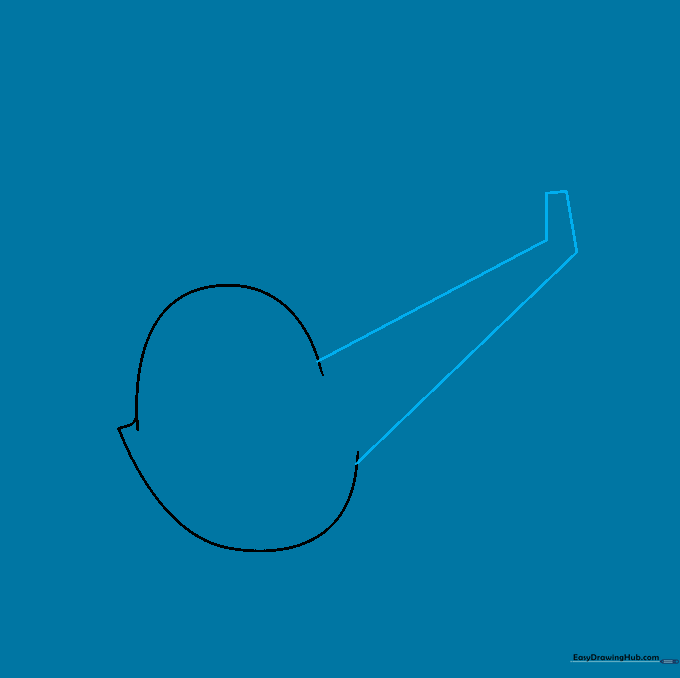
Extend two long, slanted lines from the back of the cabin to create the tail. Connect them at the end with three short lines to form a rectangle. Teacher's Tip: Use a ruler if you want perfectly straight lines, or go freehand for a more organic, cartoon look.
Step 3: Adding Structural Lines
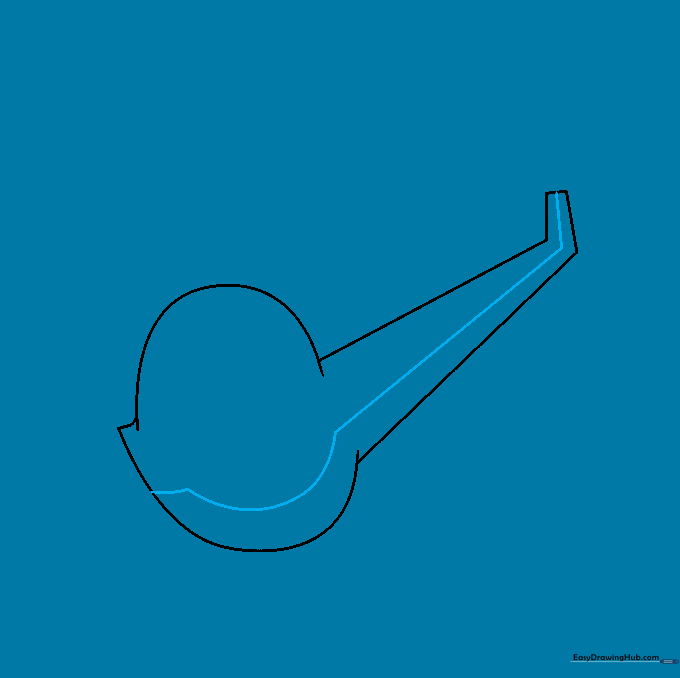
Draw a series of lines down the center of the body and tail. Keep the lines straight on the tail and slightly curved on the body to show the roundness of the cabin. Teacher's Tip: These lines act as 'seams' for your helicopter, making it look more realistic.
Step 4: Creating the Cockpit Window

Draw a large, curved window on the front of the cabin, which will also serve as the helicopter's eye. Add a 'U' shape above it and a curved line for the nose. Teacher's Tip: Think of this as the helicopter's 'face'—the bigger the window, the friendlier it looks!
Step 5: Adding Personality
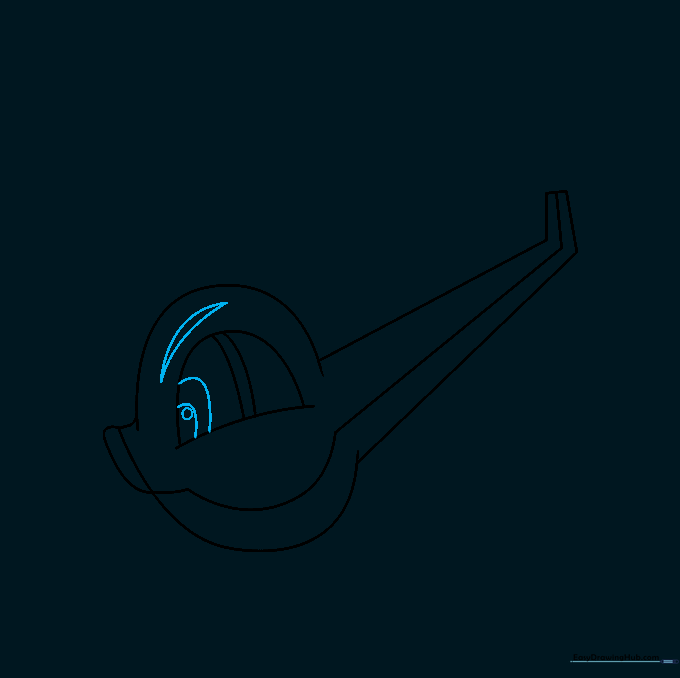
Draw a pupil and iris inside the window, and add a curved eyebrow above it. Teacher's Tip: By tilting the eyebrow, you can change the helicopter's expression from happy to surprised or determined!
Step 6: Rotor Mast and Stabilizers
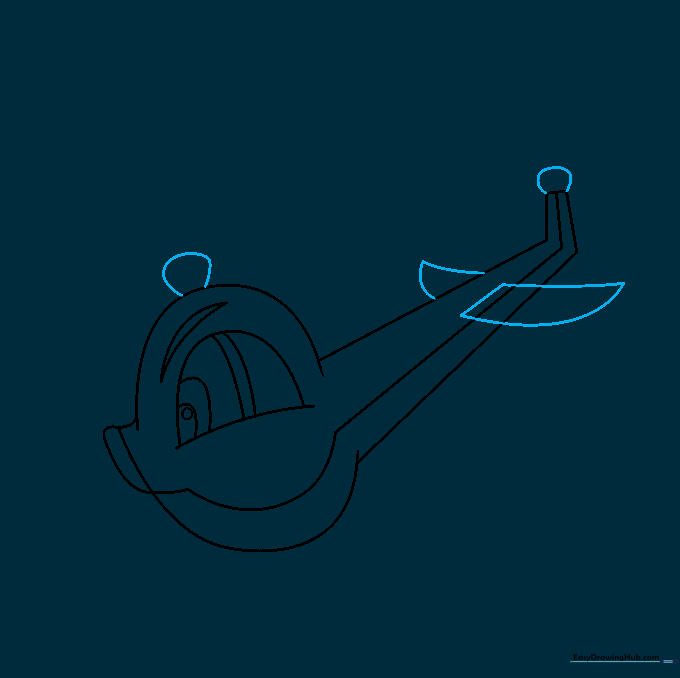
Draw a rounded shape on top for the rotor mast and another on the tail. Add small wings (horizontal stabilizers) to the tail boom. Teacher's Tip: Keep these shapes symmetrical to help the helicopter look balanced.
Step 7: Drawing the Rotor Blades
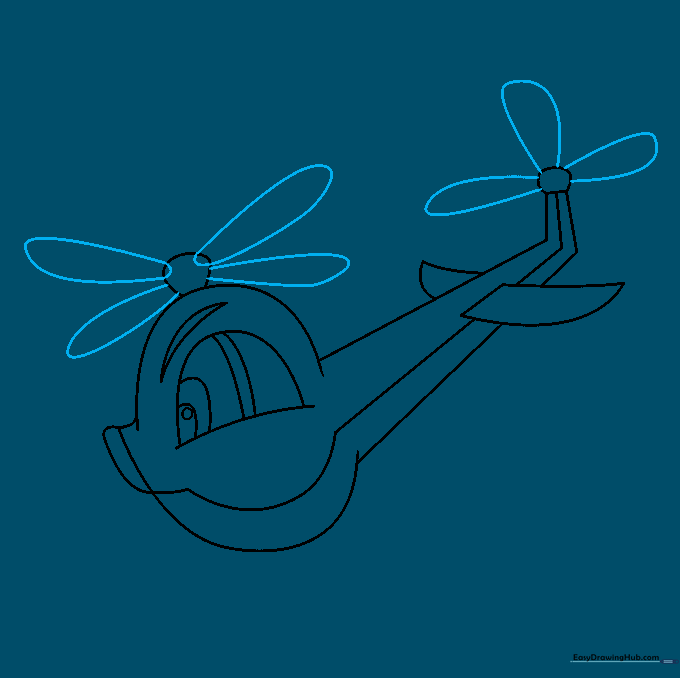
Add petal-shaped rotor blades to the top mast and the tail. Teacher's Tip: Draw them long and thin to make them look like they are spinning fast.
Step 8: Landing Skids
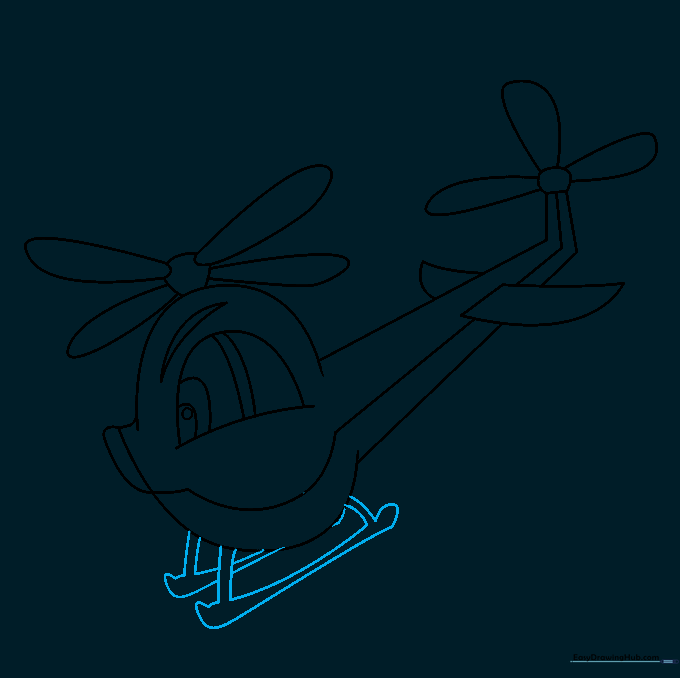
Draw the landing skids underneath the body using curved lines. Teacher's Tip: Make sure the skids look sturdy so your helicopter has a safe place to 'land' on the paper.
Step 9: Final Details
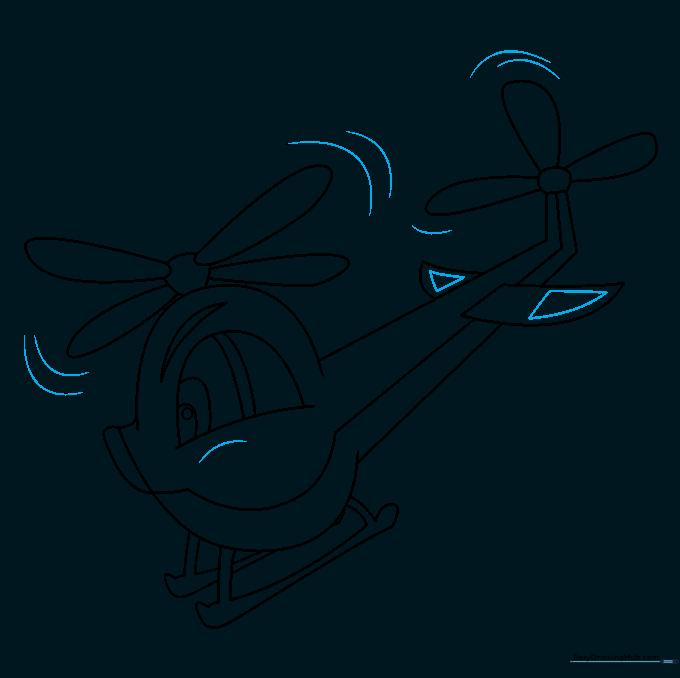
Add small triangles to the stabilizers and motion lines around the rotors. Teacher's Tip: Motion lines are just simple curved strokes—they really help make your drawing look dynamic and active!
Step 10: Color Your Helicopter
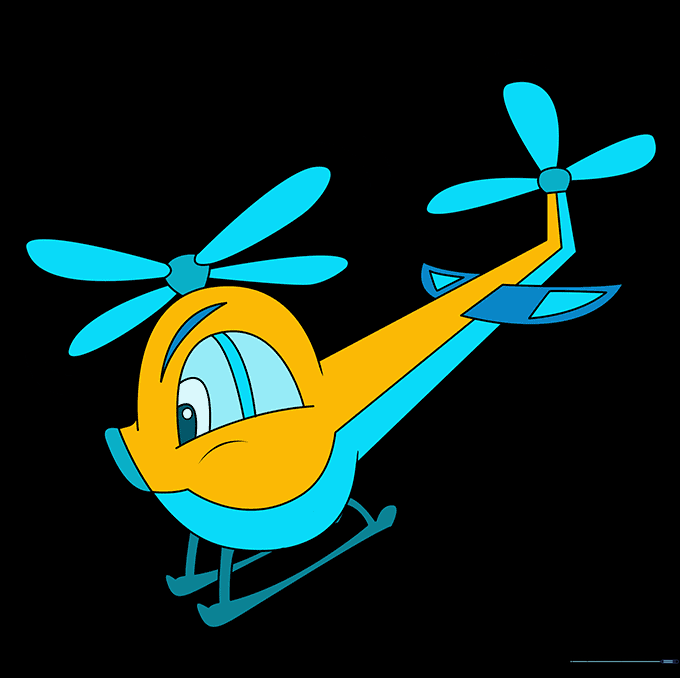
Bring your helicopter to life with your favorite bright colors! Use bold markers or soft crayons to fill in the body. Explore our other vehicle drawing guides to build your own fleet.
More Tutorials


