How to Draw a Hedgehog: Easy 10-Step Guide for Kids
Looking for a fun, screen-free activity? This step-by-step guide is perfect for budding artists ages 5 and up. All you need is a pencil, an eraser, and a piece of paper to bring this prickly friend to life while practicing your line control and shape recognition.
🎯 Final Result

Step-by-Step Instructions
Sketching the Snout and Face

Start by drawing the side profile of the face. Use soft, curved lines to create the snout and jaw. Teacher's Tip: Keep your pencil pressure light so you can easily adjust the shape if it looks a bit too pointy!
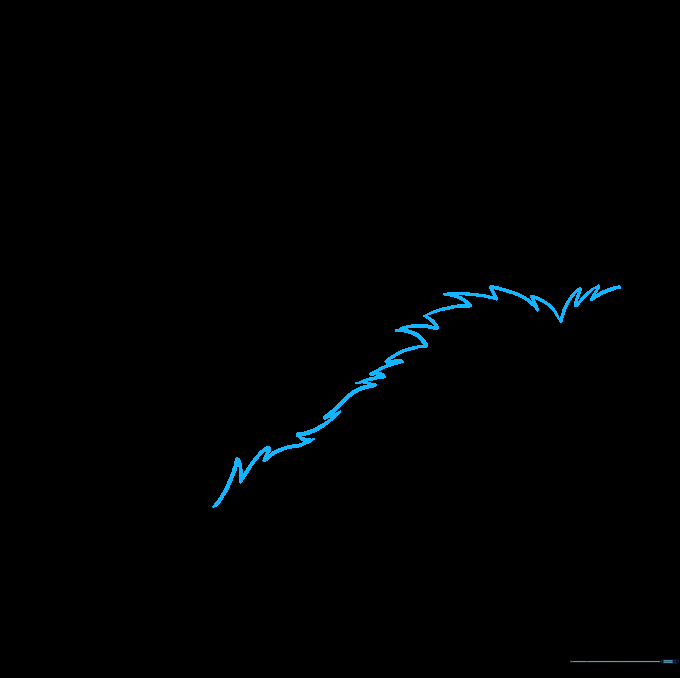
Adding the First Layer of Fur

Draw short, jagged lines above and below the head to represent the hedgehog's shaggy coat. Teacher's Tip: Don't worry about making these lines perfect; hedgehogs have messy, natural fur, so variety in your line length makes it look more realistic.
Defining the Spiny Body
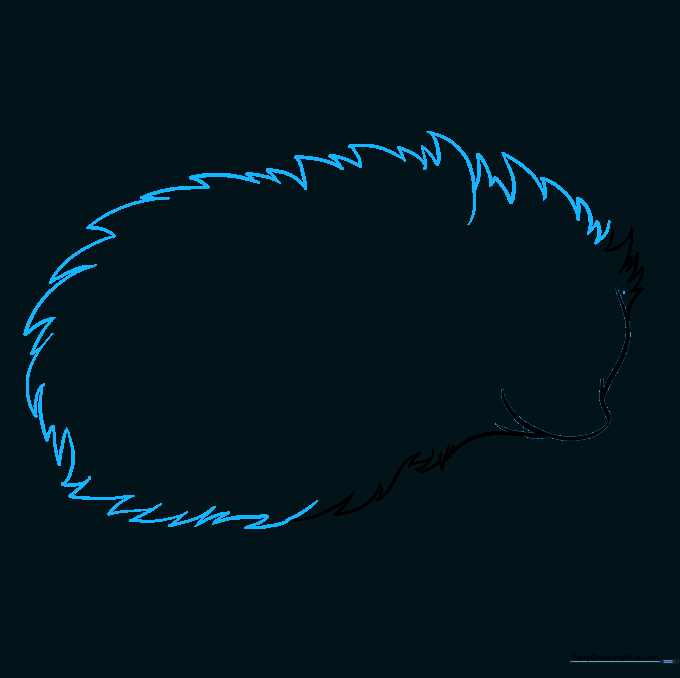
Continue using short, overlapping strokes to enclose the entire body shape. Teacher's Tip: Imagine you are drawing little triangles or 'V' shapes to give the impression of sharp quills.
Drawing the Eyes and Nose
Add a large, circular eye with a smaller pupil inside, leaving a tiny white dot for a 'sparkle.' Draw a small oval at the tip of the snout for the nose. Teacher's Tip: Adding that tiny white highlight in the eye is the secret to making your drawing look friendly and alive!
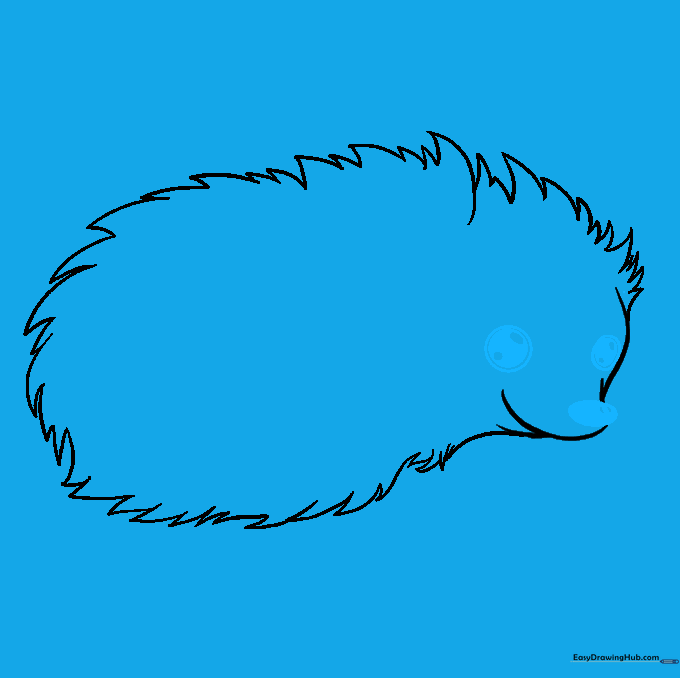
Separating Spines from Fur
Draw a curved line of jagged points across the back to distinguish the sharp spines from the soft fur on the face. Teacher's Tip: This creates a nice visual texture contrast that makes your drawing look professional.
Adding Texture to the Spines

Fill in the back area with 'V' shaped lines to represent the quills. Teacher's Tip: Vary the direction of your 'V's so they don't look like a uniform pattern—nature is rarely perfectly symmetrical!
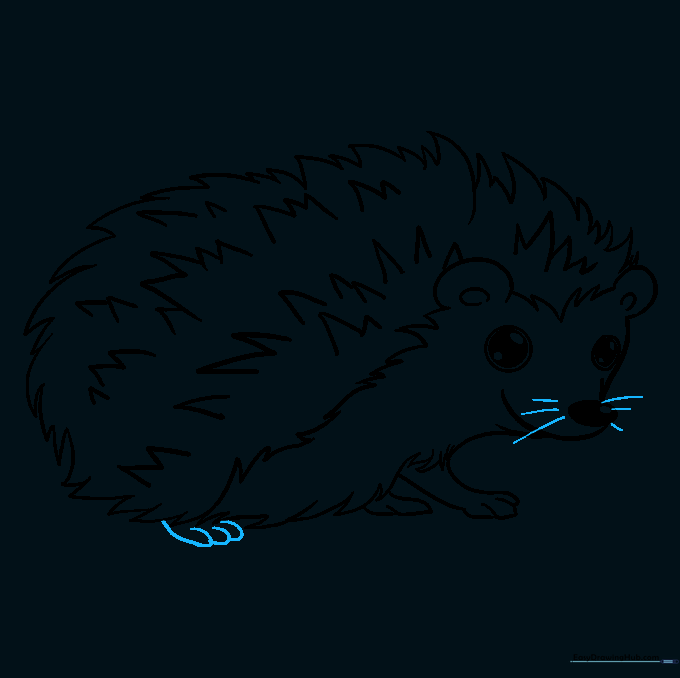
Sketching the Feet
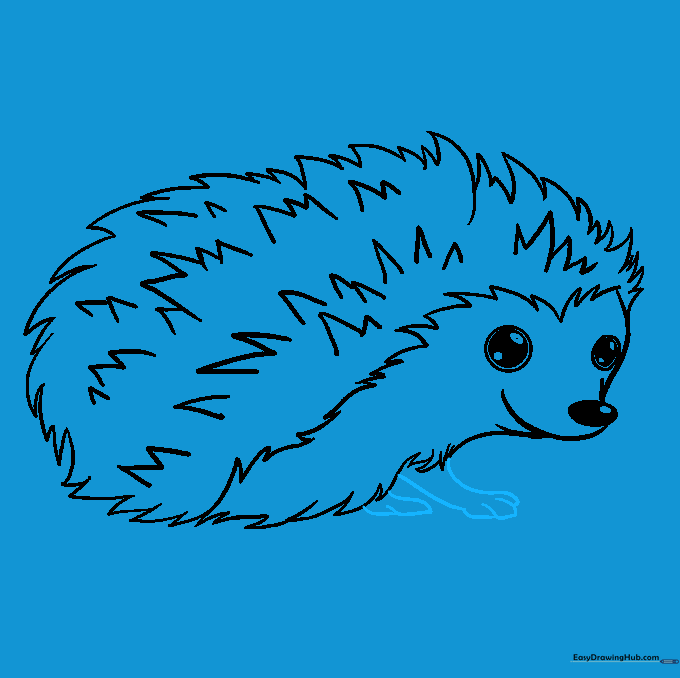
Draw the feet using small, overlapping curved lines. Teacher's Tip: Overlapping the lines is the trick to showing where the toes are without needing to draw every single digit in detail.
Adding the Ears

Draw a small 'C' shape inside a larger 'C' shape on the side of the head. Teacher's Tip: Erase any overlapping lines from the body that pass through the ears to make them look like they are sitting on top of the head.
Final Touches and Whiskers
Add the rear foot and draw a few delicate, curved lines near the nose for whiskers. Teacher's Tip: Use a very sharp pencil for the whiskers so they look thin and dainty.
Coloring Your Hedgehog

Time to bring your drawing to life! Use earthy browns, tans, and greys for a realistic look, or get creative with bright colors if you're drawing a fantasy hedgehog. Teacher's Tip: Try using light brown for the belly and a darker, textured brown for the spines to show depth.
More Tutorials


