How to Draw a Heart with Ribbon: Easy 10-Step Guide
Create a beautiful, personalized heart with a ribbon banner, perfect for ages 5 and up. All you need is a pencil, an eraser, and your favorite coloring tools. Follow these simple steps to build your confidence and create a heartfelt design for cards or art projects.
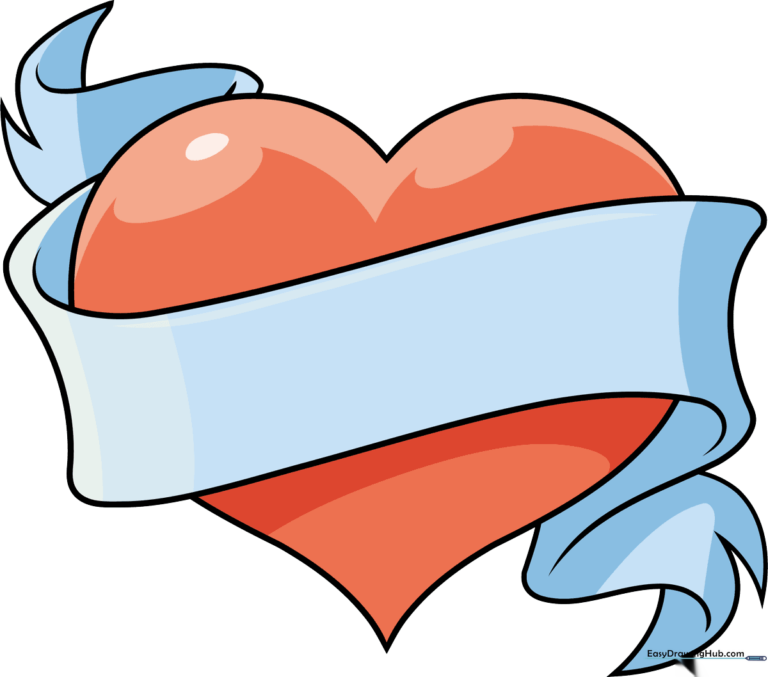
🎯 Final Result
Step-by-Step Instructions
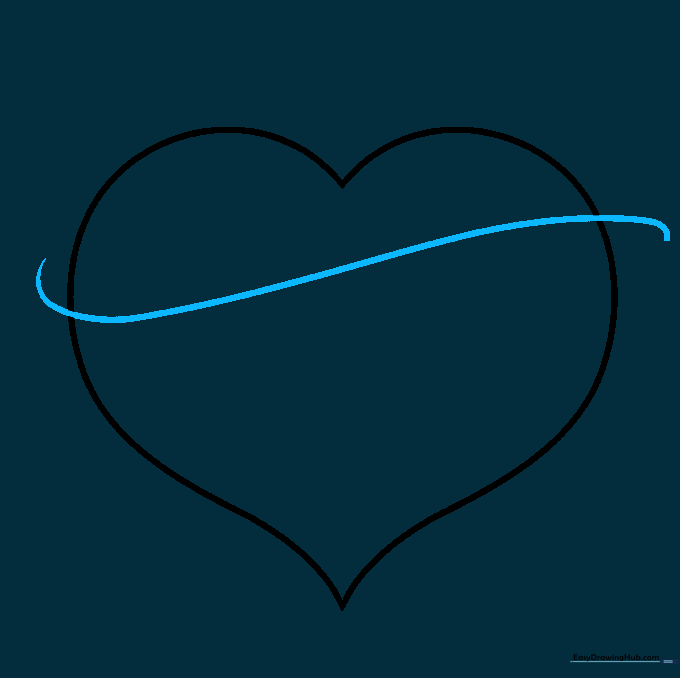
Step 1: Sketching the Left Heart Curve

Start by drawing the left side of the heart using a long, smooth curved line. Tip: Keep your pencil pressure light so you can easily adjust the shape if it feels a bit lopsided.
Step 2: Completing the Heart Shape

Draw the right side of the heart to mirror the first. Tip: Try to make the two curves meet at a sharp point at the bottom to give your heart a classic, balanced look.
Step 3: Adding the Top Ribbon Layer
Draw a long, sweeping curved line across the top of the heart. Let the ends extend outward and curl slightly. Tip: Imagine the ribbon is floating gently over the heart.
Step 4: Defining the Ribbon Width

Draw a second 'S' shaped line parallel to the first to create the ribbon's thickness. Carefully erase the heart lines hidden behind the ribbon. Tip: Use a clean eraser to keep your drawing smudge-free.
Step 5: Extending the Ribbon Ends
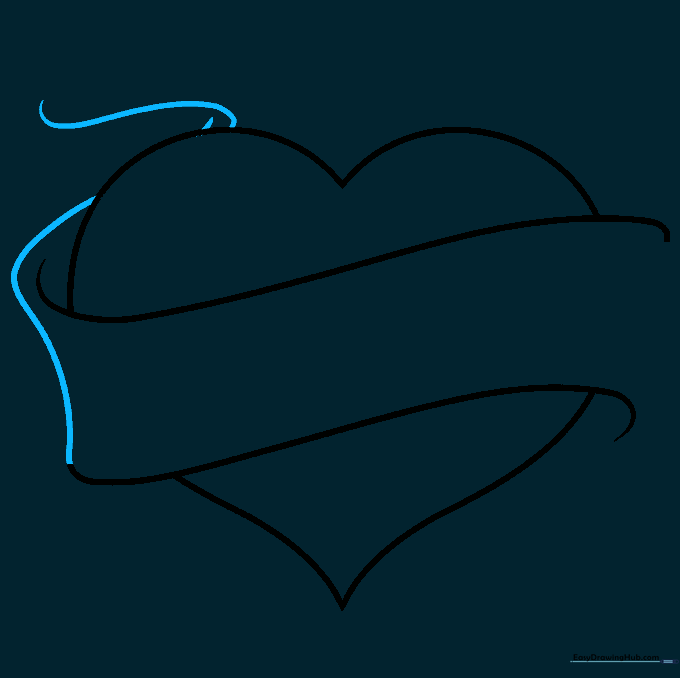
Extend curved lines from the heart lobes to show the ribbon wrapping around. Tip: Keep your lines fluid to make the ribbon look like it is made of soft fabric.
Step 6: Adding Jagged Ribbon Details
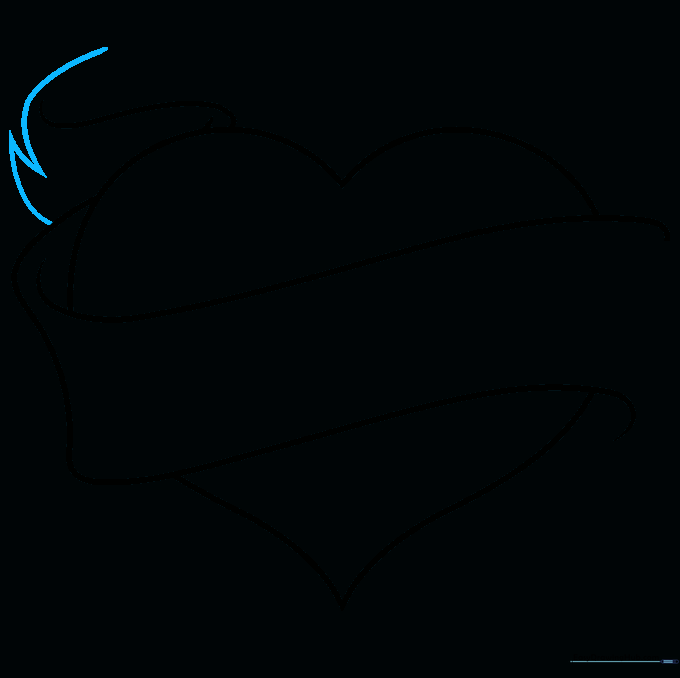
Draw the side of the banner using short, jagged lines that meet at points. This creates the look of a folded or cut ribbon end. Tip: Don't worry if the points aren't perfect; ribbons are naturally irregular!
Step 7: Creating the Ribbon Fold

Connect the ribbon end to the main body with a split-tail design. Extend the line across to the other side to maintain symmetry. Tip: A split-tail looks like an upside-down triangle cut into the fabric.
Step 8: Refining the Ribbon Ends
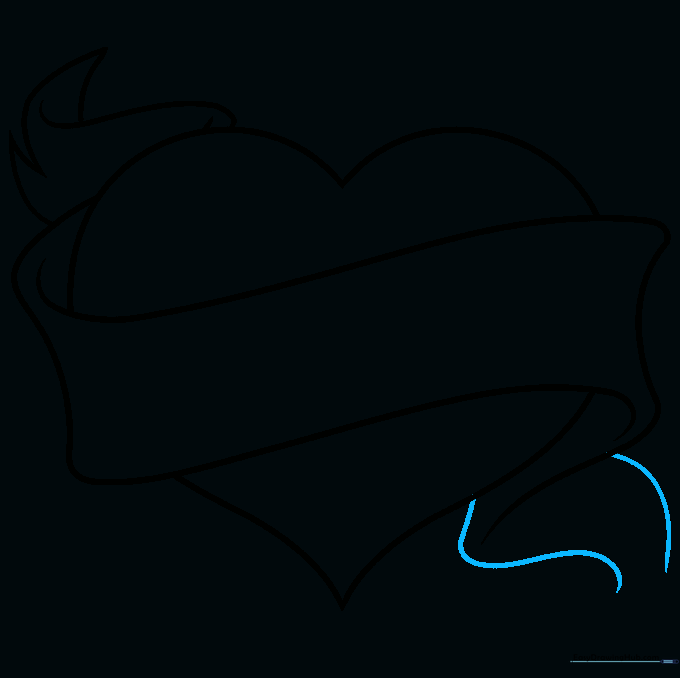
Use pairs of curved lines to finish the second end of the ribbon. Tip: Ensure the curves follow the same direction as the first side to keep the drawing consistent.
Step 9: Finalizing the Outline

Complete the ribbon by drawing the final sharp points on the second tail. Double-check your lines and darken them for a clean finish. Tip: Use a darker pencil or fine-liner to make your final lines pop.
Step 10: Adding Color
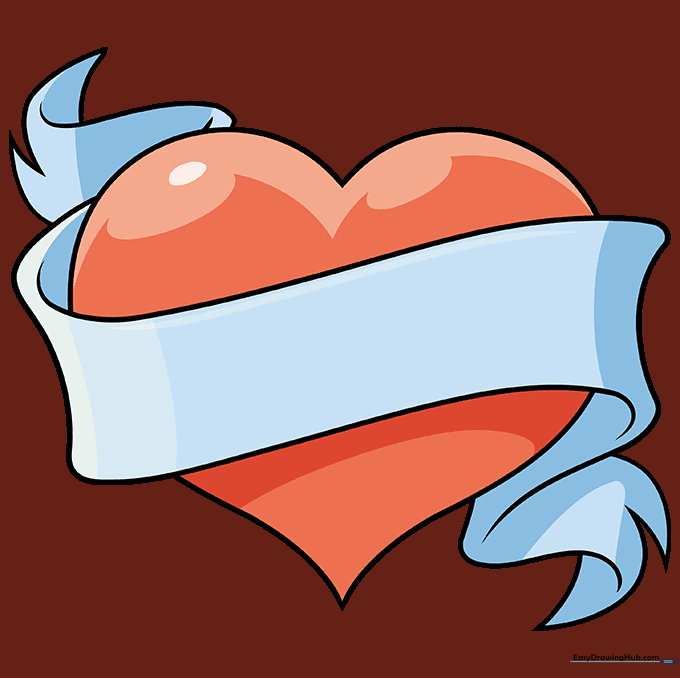
Bring your drawing to life! We used classic red for the heart and soft blue for the ribbon. Tip: Use the ribbon space to write a special message for a friend or family member.
More Tutorials


