How to Draw a Heart Carved in a Tree: Easy 10-Step Guide
This drawing tutorial is perfect for artists ages 6 and up looking to add a touch of nature and sentiment to their sketchbook. All you need is a pencil, an eraser, and a piece of paper to get started. By the end of this lesson, you will master the art of drawing organic tree textures and balanced heart shapes.
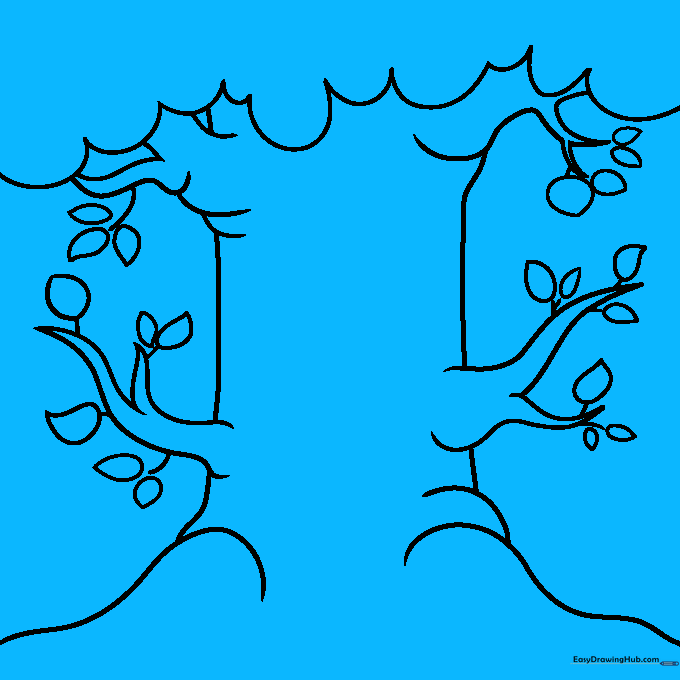
🎯 Final Result

Step-by-Step Instructions
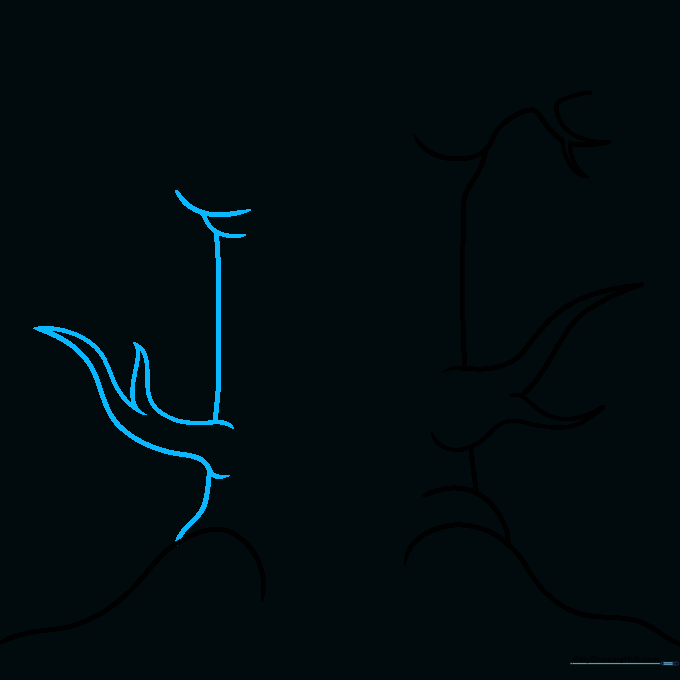
Step 1: Sketching the Base Branches

Start by sketching two uneven hook shapes to form the main branch structure. Add a curved line on top to bridge them. Teacher's Tip: Keep your pencil lines very light so you can easily adjust the branch thickness later.
Step 2: Defining the Branch Structure

Draw a narrow, elongated triangle pointing upward, then add two more triangles nearby. Connect these with a smooth, curved line. Teacher's Tip: Trees aren't perfectly straight, so don't worry if your lines look a bit wobbly!
Step 3: Adding Branch Detail
Sketch two more wavy, elongated triangles on the left side. Connect them with curved lines and add a wavy line at the base to suggest the trunk's start. Teacher's Tip: Use short, quick strokes to make the bark look natural.
Step 4: Creating the Canopy

Draw loose, rounded 'hill' shapes at the top to represent the foliage. Below these, continue your branch lines. Teacher's Tip: Think of these as fluffy clouds sitting on top of your branches.
Step 5: Adding Leaves
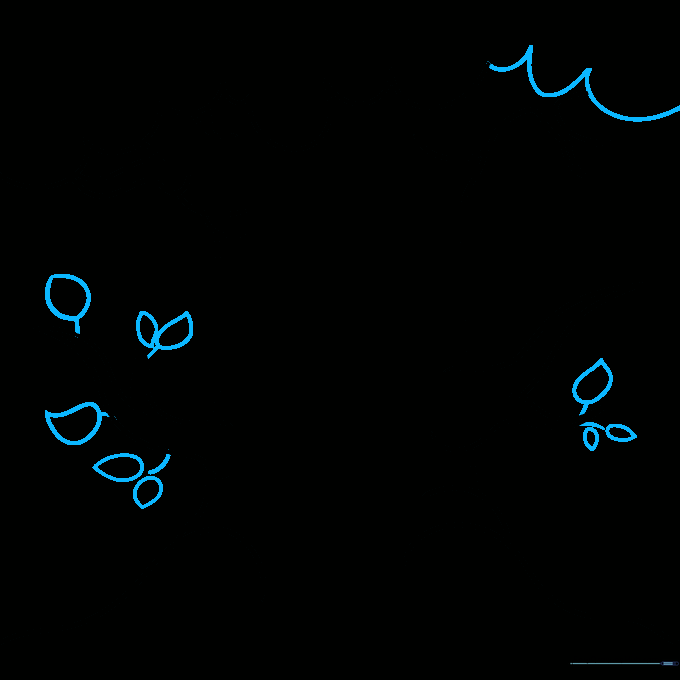
Add more hill shapes on the right and fill in the canopy with loose teardrop shapes for leaves. Teacher's Tip: Vary the size and angle of your teardrops to make the tree look full and alive.
Step 6: Filling the Canopy
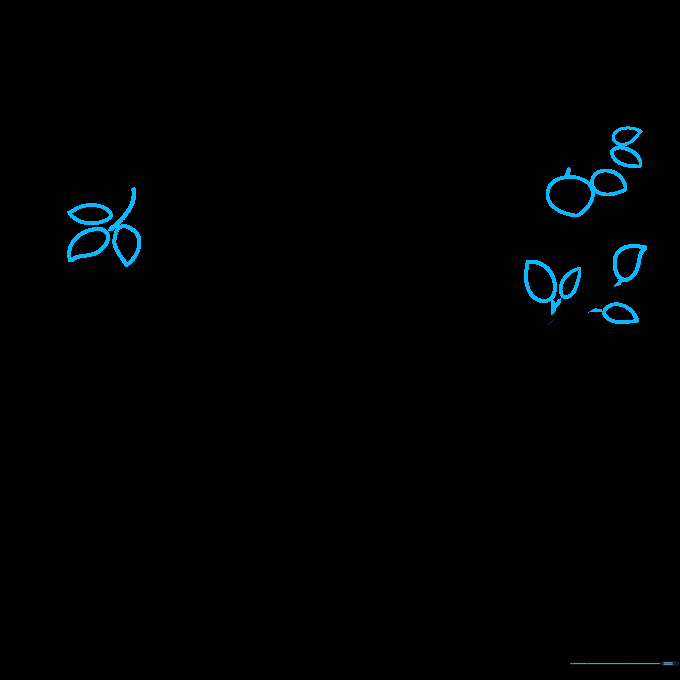
Continue adding teardrop shapes across the rest of the canopy until it looks dense. Teacher's Tip: Don't overthink the placement; nature is random and beautiful!
Step 7: Carving the Heart
Draw a heart in the center of the trunk. Add a smaller heart inside, then sketch an arrow tip and diamond-shaped feathers at the top. Teacher's Tip: Use a light touch for the heart so it looks like it's etched into the wood.
Step 8: Adding Personal Details
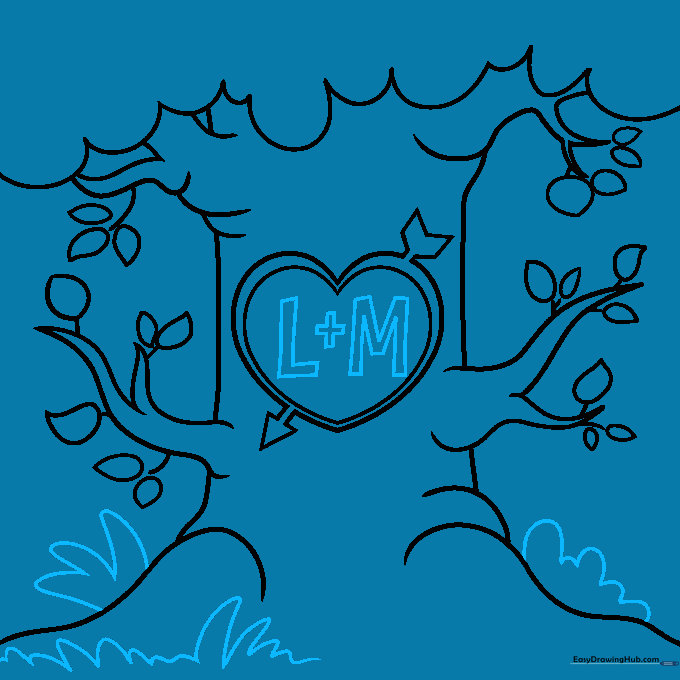
Sketch two initials inside the heart. Add wavy lines at the base to represent grass and shrubs. Teacher's Tip: Make the grass lines vary in height to create a realistic ground effect.
Step 9: Adding Texture
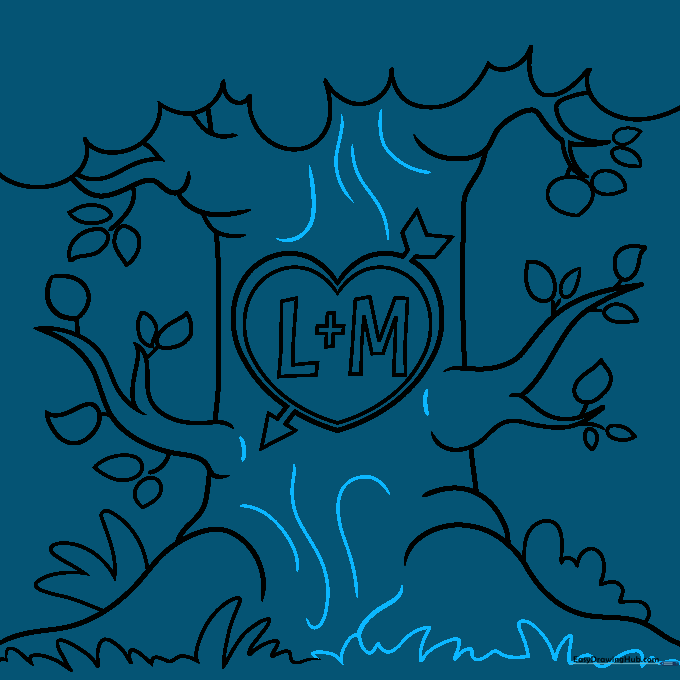
Finish the grass and add vertical lines inside the tree trunk to give it a woody, textured appearance. Teacher's Tip: Keep these lines slightly curved to follow the shape of the trunk.
Step 10: Final Touches and Color

Outline your drawing with a pen and erase your pencil marks. Color the trunk brown, the leaves and grass green, and add a bright blue sky. Teacher's Tip: Use light brown for the trunk and darker brown for the shadows to make it pop!
More Tutorials


