How to Draw a Heart Balloon: Easy 10-Step Guide
Looking for a fun, screen-free activity? This heart balloon tutorial is perfect for artists ages 5 and up. All you need is a pencil, an eraser, and some paper to bring this festive design to life while practicing your curved line control.
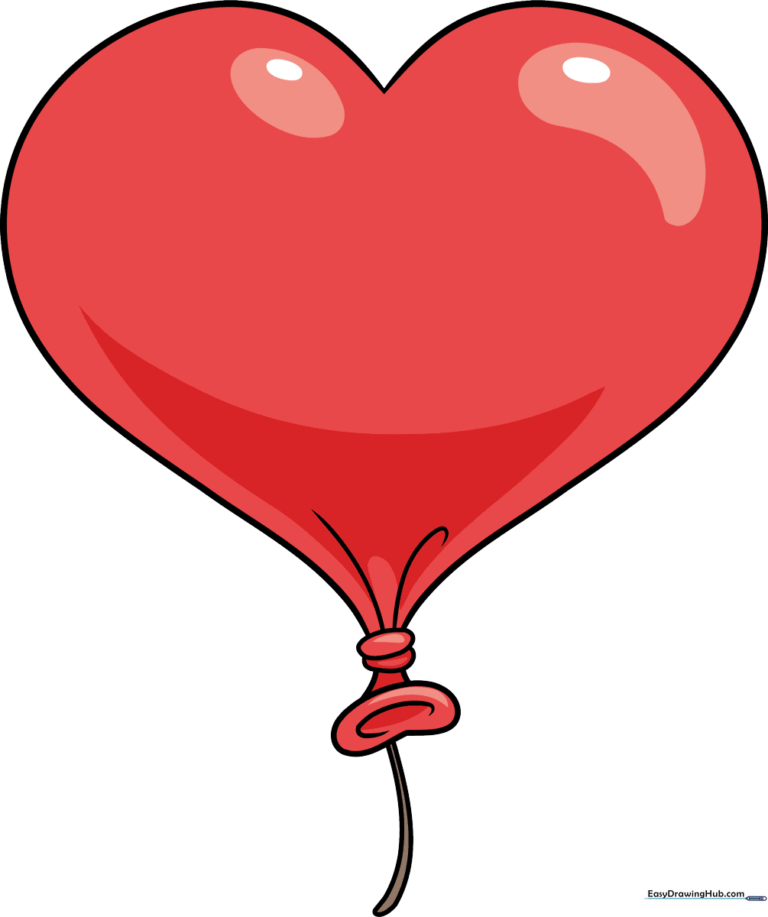
🎯 Final Result
Step-by-Step Instructions
Step 1: Sketching the First Curve
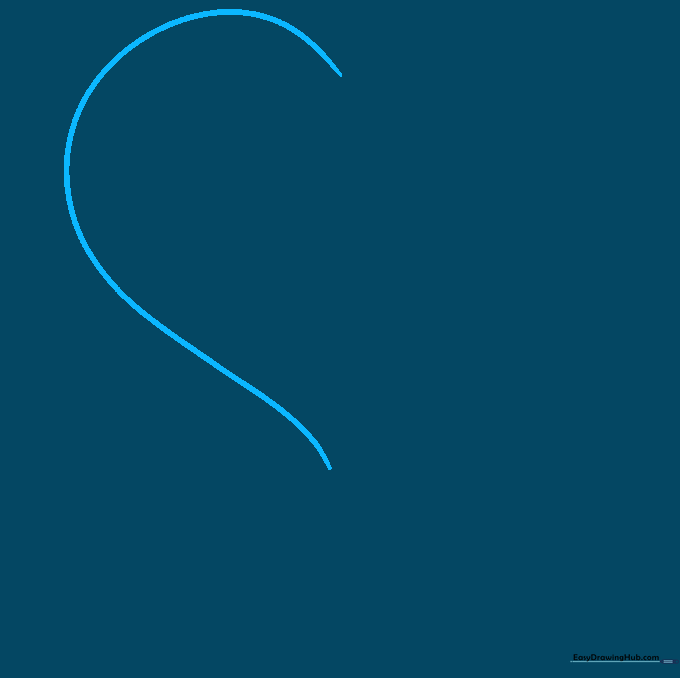
Start by drawing one side of the heart shape using a long, graceful curved line. Teacher's Tip: Keep your pencil grip loose and light so you can easily adjust the shape if it feels a bit lopsided.
Step 2: Closing the Heart Shape
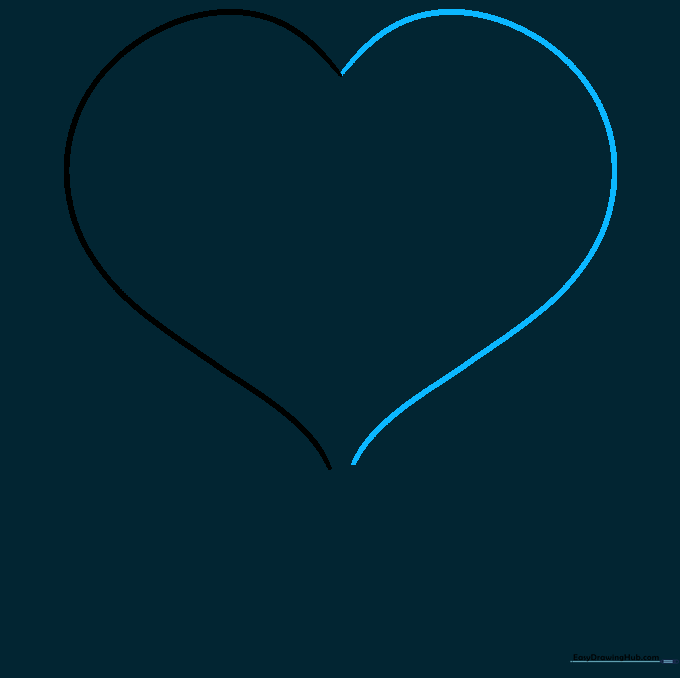
Draw the opposite side of the heart with a matching curve. Leave a tiny gap at the very bottom point. Teacher's Tip: Try to mirror the first curve to keep your heart symmetrical.
Step 3: Drawing the Balloon Knot
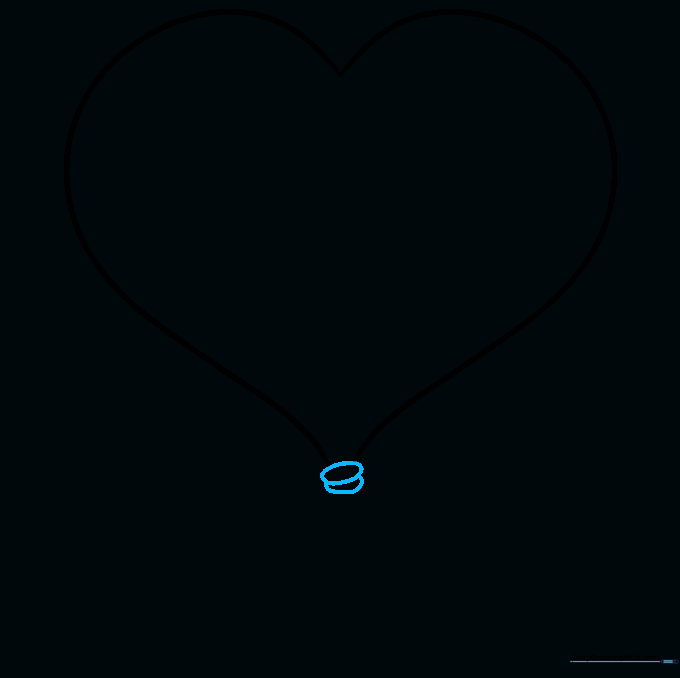
Add two small, overlapping ovals at the bottom gap. This represents the knot that keeps the air inside. Teacher's Tip: Think of these as two tiny bubbles tucked under the heart.
Step 4: Adding Dimension
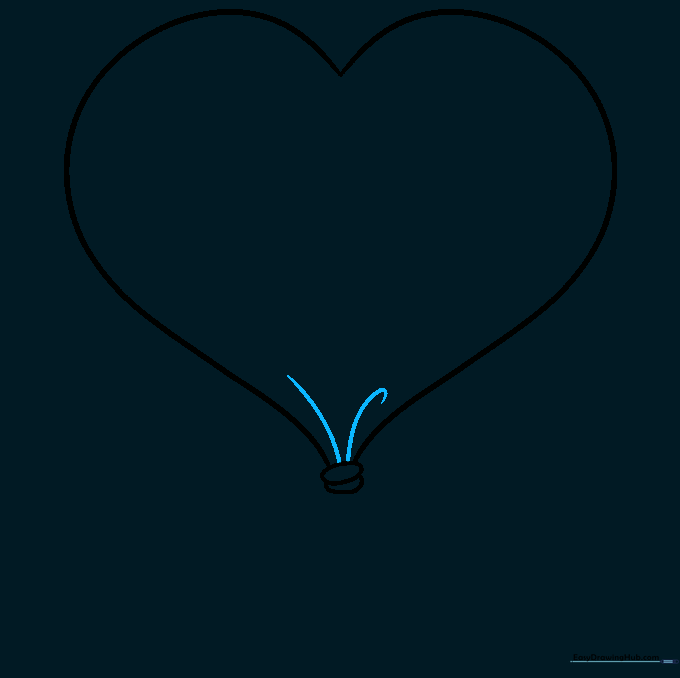
Draw two curved lines extending upward from the knot into the heart. Teacher's Tip: These lines create the illusion of a rounded, inflated surface.
Step 5: The Balloon Opening
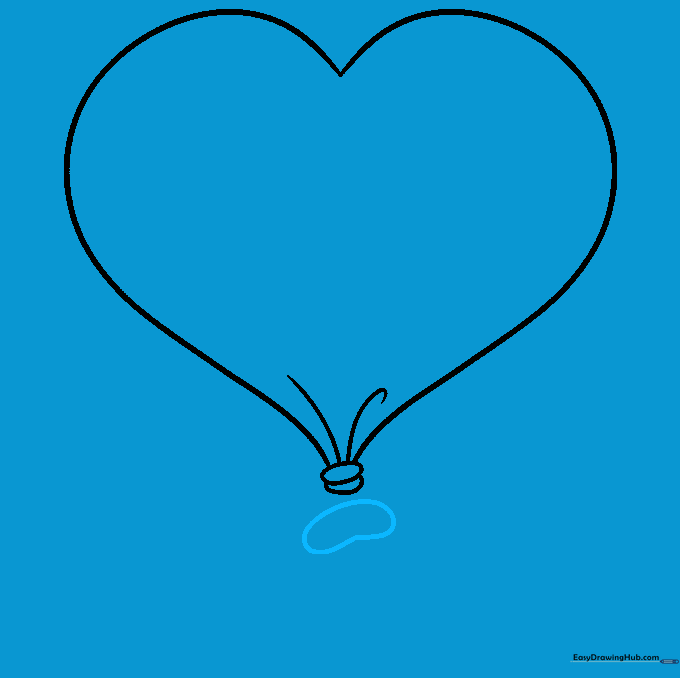
Sketch a small, flattened oval shape beneath the knot. This is the base of the balloon's neck. Teacher's Tip: Keep this shape small so the balloon looks balanced.
Step 6: Connecting the Neck
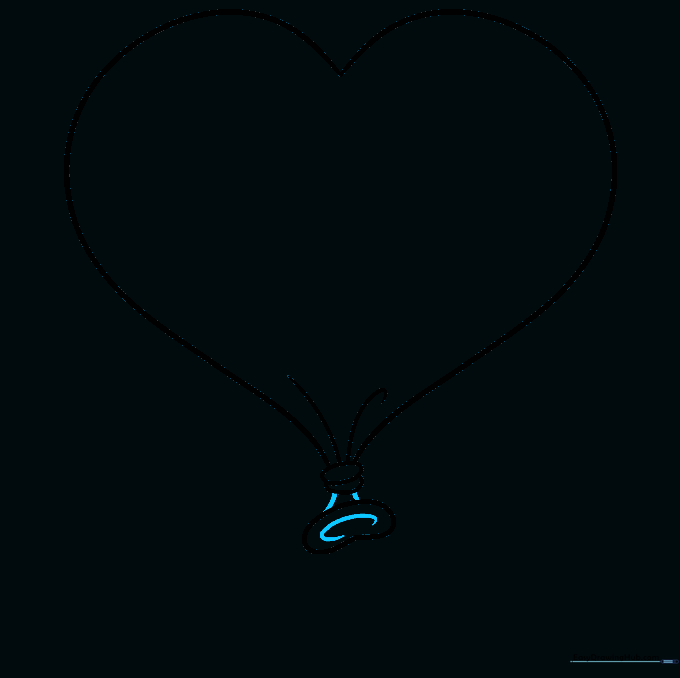
Connect the knot to the neck with two short lines, and add a 'C' shape at the bottom for the opening. Teacher's Tip: This detail makes the balloon look like it's ready to be inflated.
Step 7: Adding the String
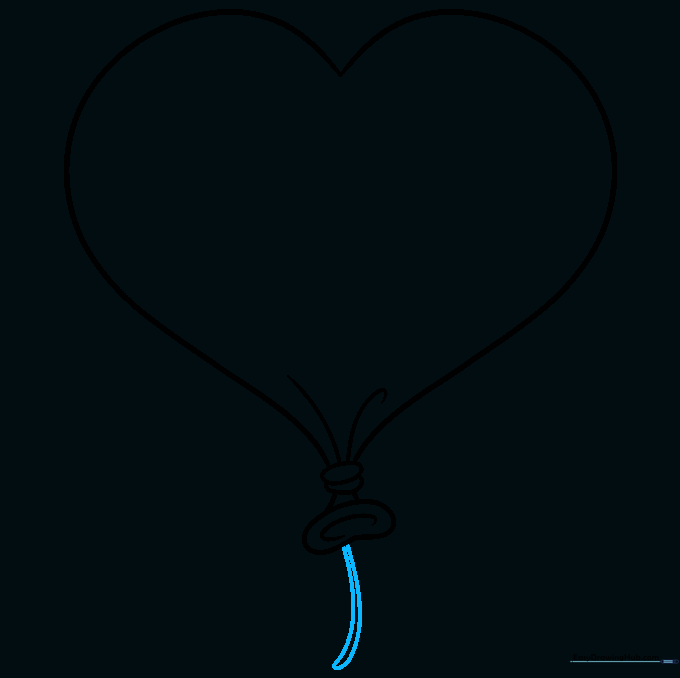
Draw two parallel curved lines extending downward from the opening. Teacher's Tip: Make the string look like it's gently swaying in the wind by adding a slight curve to the lines.
Step 8: Adding Highlights
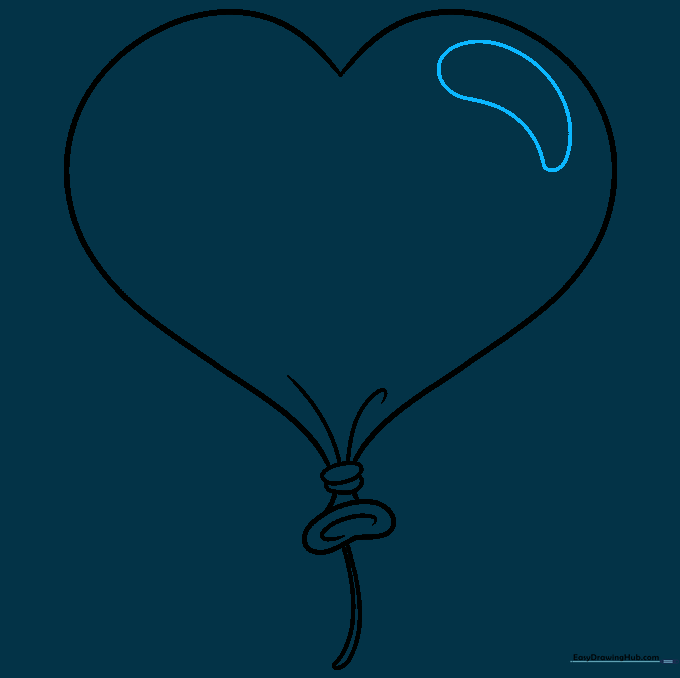
Draw a curved shape at the top of one lobe to represent a reflection. Teacher's Tip: A highlight makes the balloon look shiny and smooth, like real latex.
Step 9: Finalizing Highlights
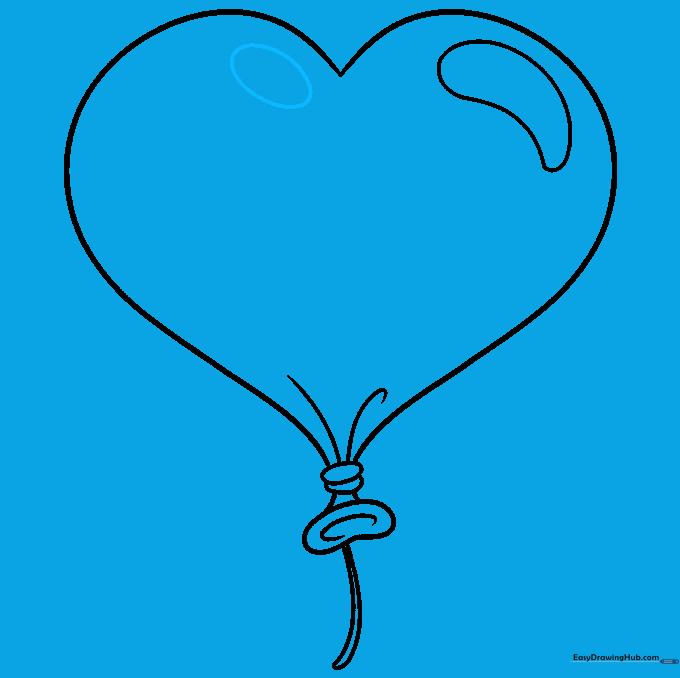
Add a smaller oval reflection on the opposite lobe. Teacher's Tip: Varying the size of your highlights adds depth and realism to your drawing.
Step 10: Adding Color
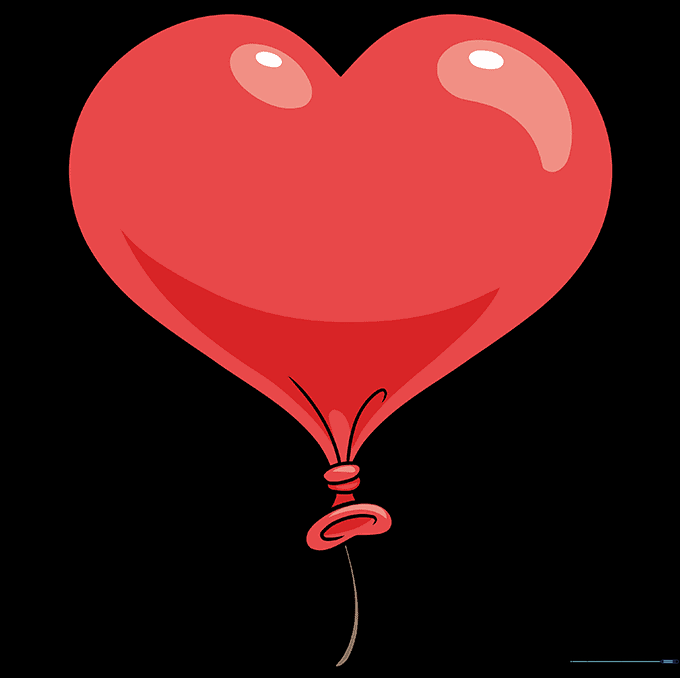
Bring your balloon to life with color! Use red for a classic look. Teacher's Tip: Leave the highlight areas white to make the balloon look glossy and three-dimensional.
More Tutorials


