How to Draw a Hatchimal: Easy Step-by-Step Guide
Bring your favorite magical creature to life! This tutorial is perfect for young artists ages 5 and up. All you need is a pencil, an eraser, and some paper to practice these simple shapes that build a complete, adorable Hatchimal.
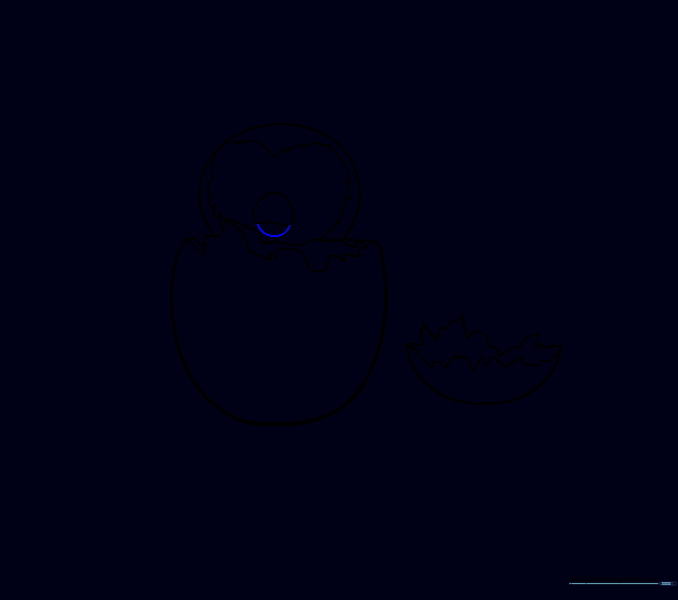
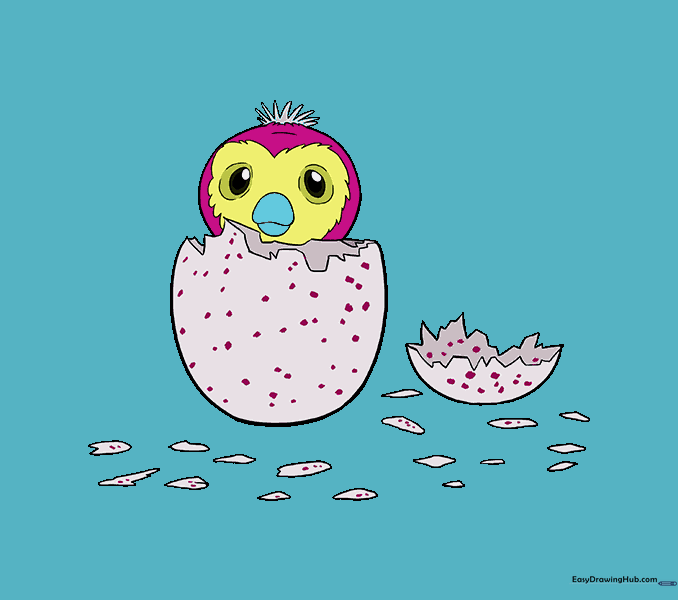
🎯 Final Result

Step-by-Step Instructions
Sketching the Head
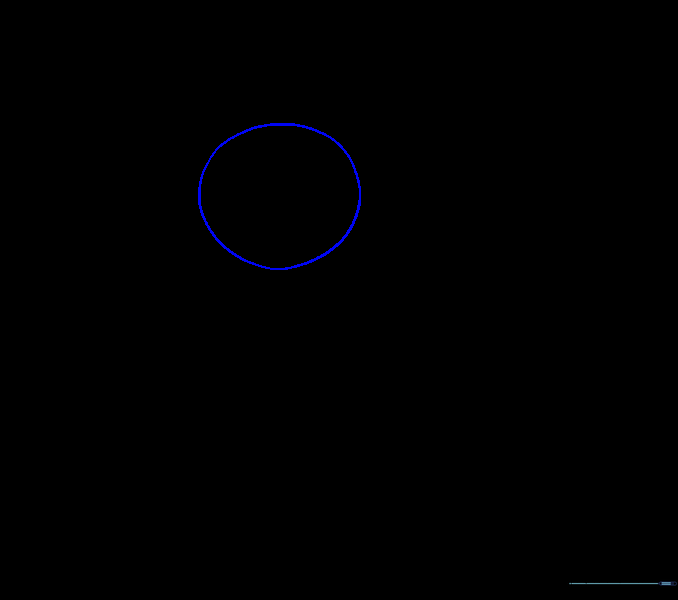
Draw a light circle to serve as the base for the Hatchimal's head. Teacher's Tip: Keep it about the size of a quarter so you have plenty of room for the eggshell later.
Outlining the Egg Top
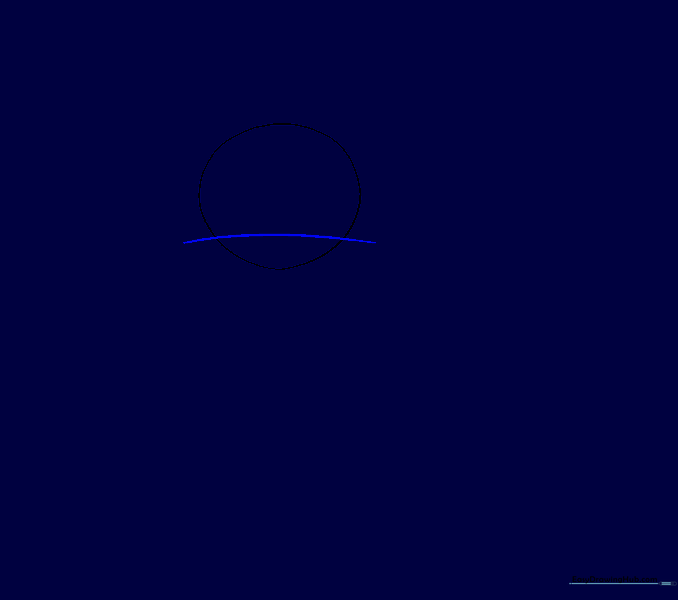
Draw a curved line across the bottom of your circle, extending slightly past the edges. This creates the top rim of the eggshell.
Forming the Egg Base
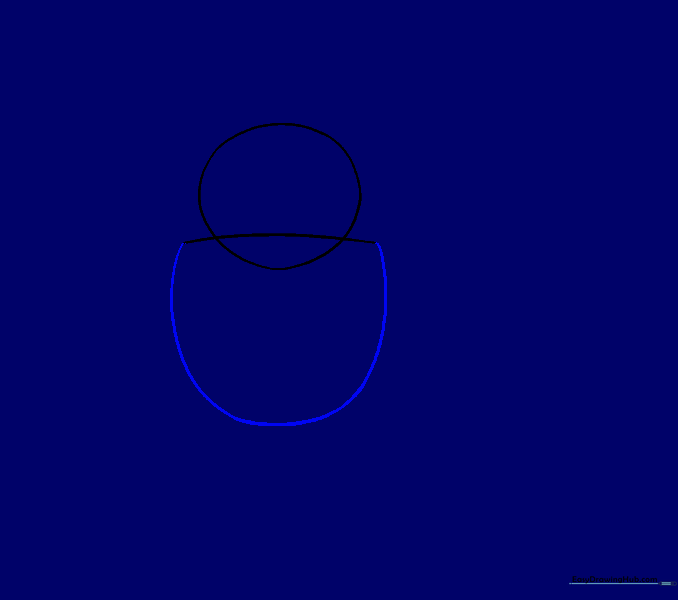
Connect the ends of your curved line with a wide 'U' shape. This creates the bottom half of the egg. Teacher's Tip: Make sure your 'U' is symmetrical for a balanced look.
Adding the Egg Cap
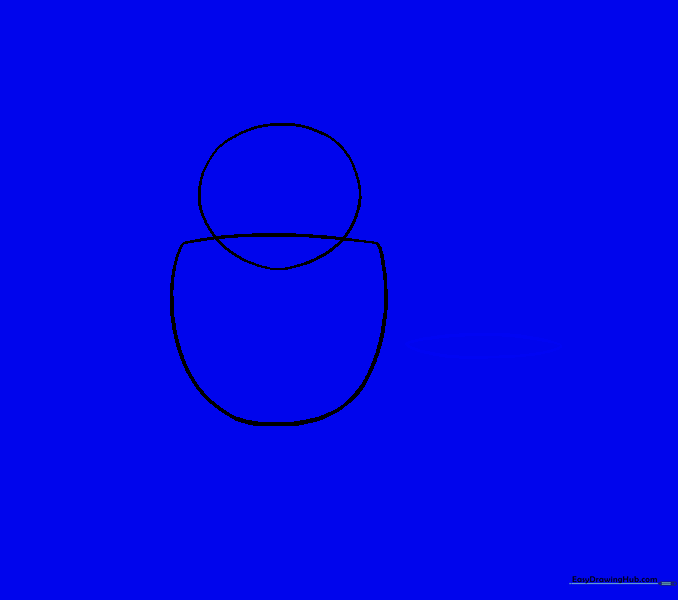
Draw a narrow horizontal oval beside the main egg. This represents the top piece of the shell that has cracked off.
Completing the Cap
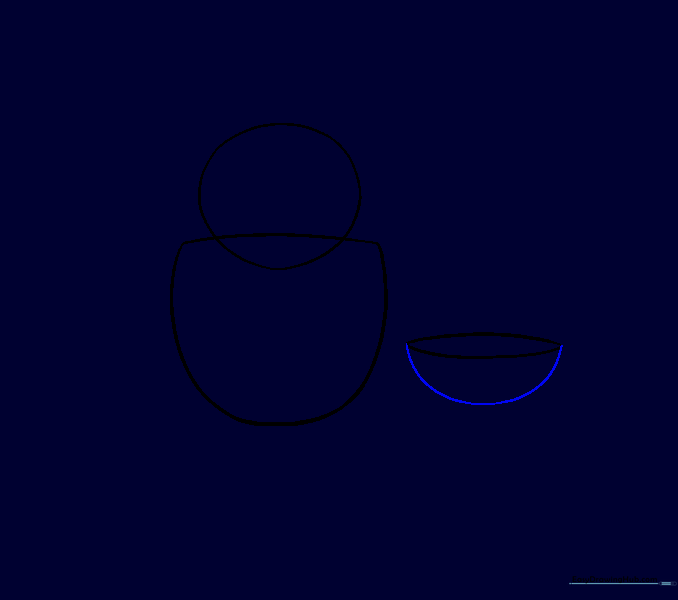
Connect the sides of the oval with another 'U' shape to give the cap depth.
Creating Jagged Edges
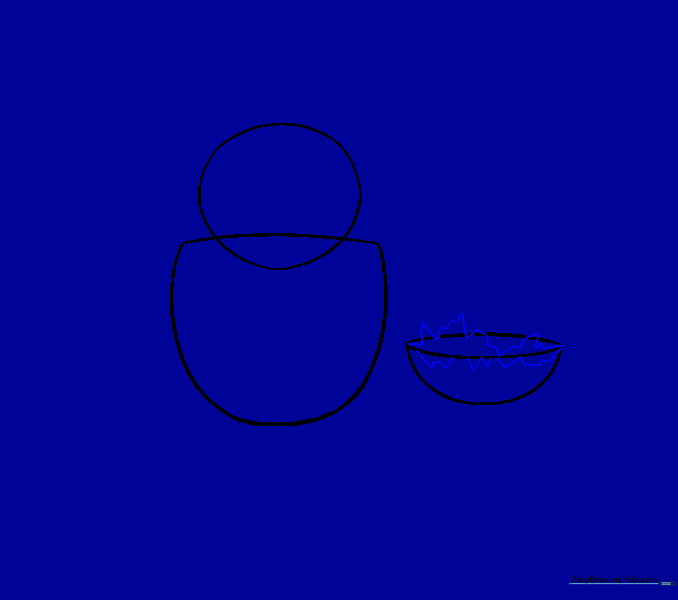
Draw jagged, zigzag lines along the edges of the cap. This makes the shell look freshly broken. Teacher's Tip: Vary the size of your zigzags to make it look more natural.
Cleaning the Lines

Carefully erase the inner guide lines of the oval, leaving only the clean, jagged outline of the shell.
Detailing the Main Shell

Add jagged lines along the top opening of the main egg piece to match the broken texture of the cap.
Refining the Shell

Erase any overlapping guide lines inside the main egg piece for a clean look.
Drawing the Face
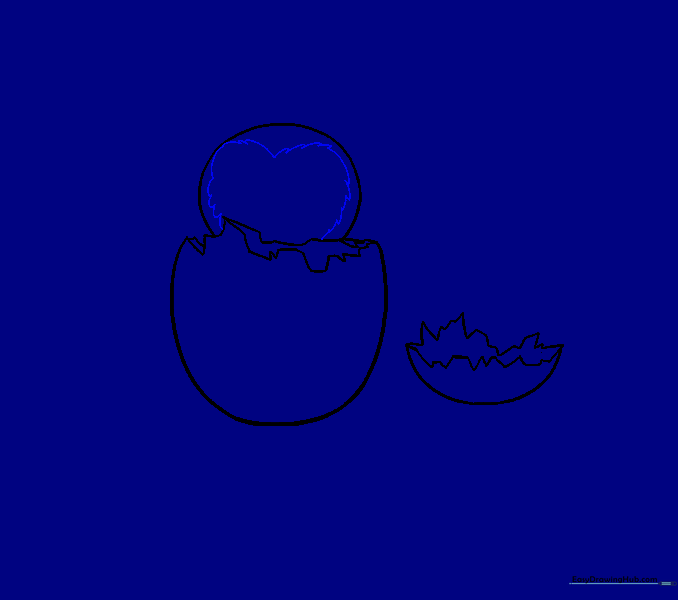
Inside the head circle, draw a soft heart shape. This is where the face will be. Teacher's Tip: Use light pressure so you can adjust the shape if needed.
Adding the Beak
Draw an irregular shape in the center of the heart for the upper part of the beak.
Completing the Beak
Add a curved line underneath to finish the lower part of the beak.
Sketching the Eyes
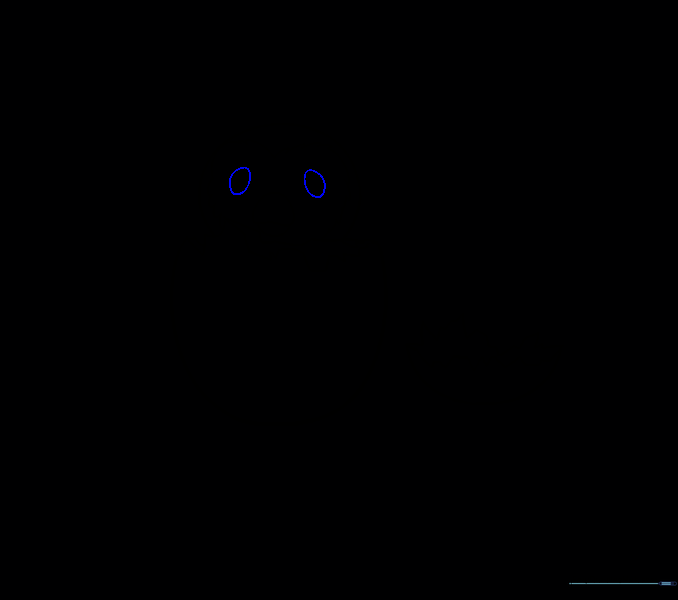
Draw two small ovals above the beak. These will be the eyes. Teacher's Tip: Keep them level with each other for a friendly expression.
Adding Eye Highlights

Draw a smaller circle inside each eye, positioned to the right. This creates a cute 'glint' in the eyes.
Shading the Pupils

Fill in the rest of the eye area around your highlight circle to create dark, expressive pupils.
Adding Fur Tuft

Draw a series of small, pointed curves on top of the head to represent a tuft of fur.
Adding Texture
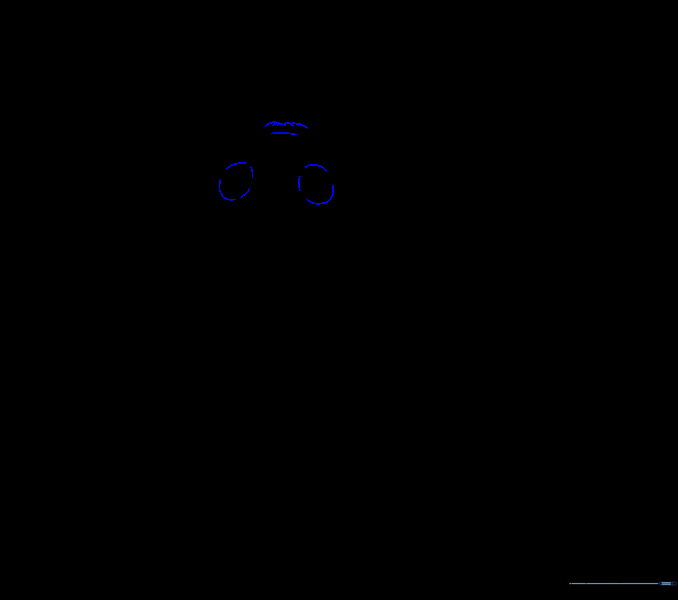
Erase parts of the head circle and replace them with small, curved lines to make the head look soft and furry. Contour around the eyes for extra detail.
Scattering Shell Pieces
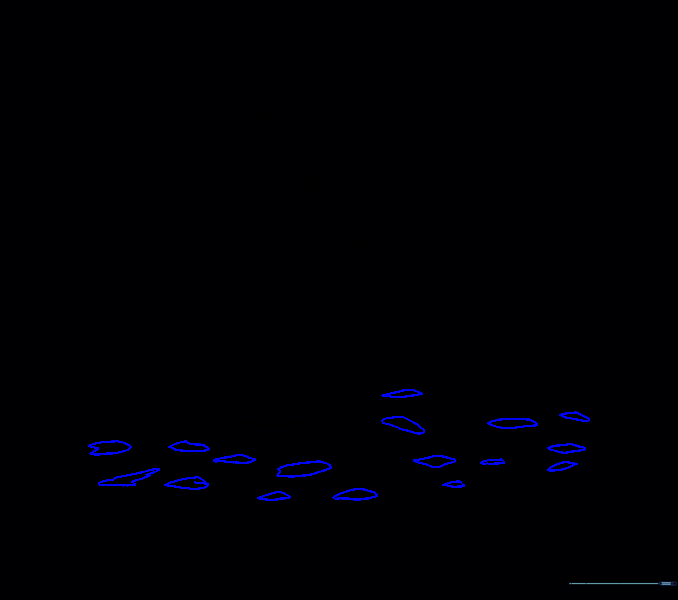
Draw small, jagged shapes on the ground around the egg to show where the shell has cracked and fallen.
Adding Shell Texture
Add small dots of varying sizes to the egg and shell pieces to give them a speckled, realistic texture.
Final Coloring
Bring your Hatchimal to life with bright, fun colors! Use your favorite markers or colored pencils to fill in your masterpiece.
More Tutorials


