How to Draw a Happy Dog: Easy 10-Step Guide for Kids
Bring a cheerful cartoon puppy to life with this step-by-step drawing guide, perfect for artists ages 5 and up. All you need is a pencil, an eraser, and a piece of paper to get started. By the end of this lesson, you'll master the art of drawing expressive facial features and dynamic movement.
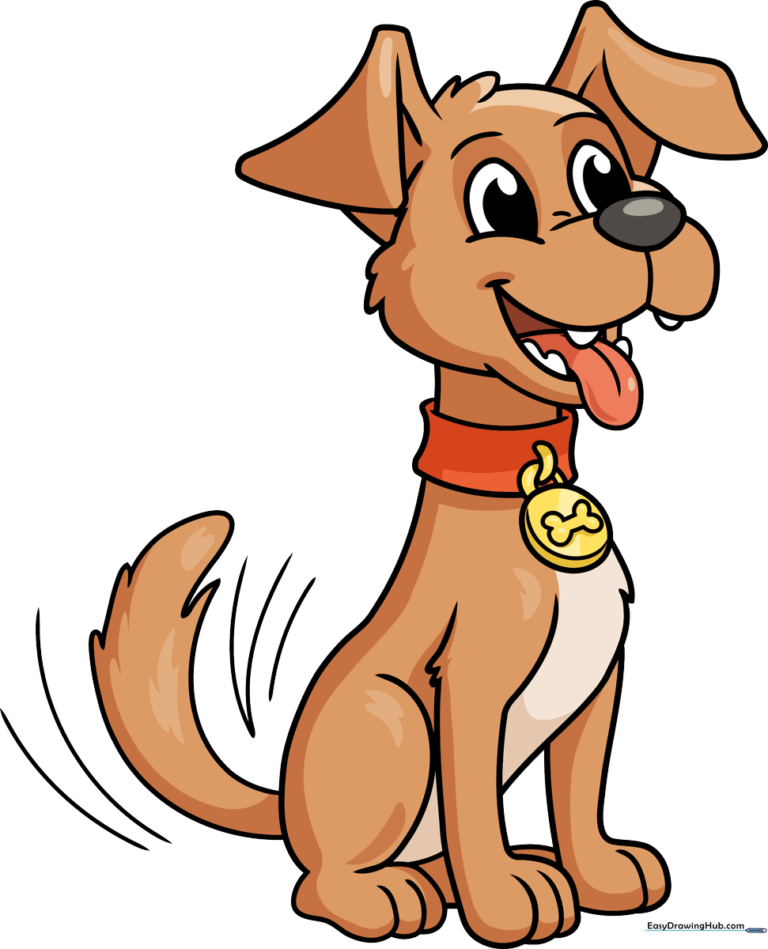
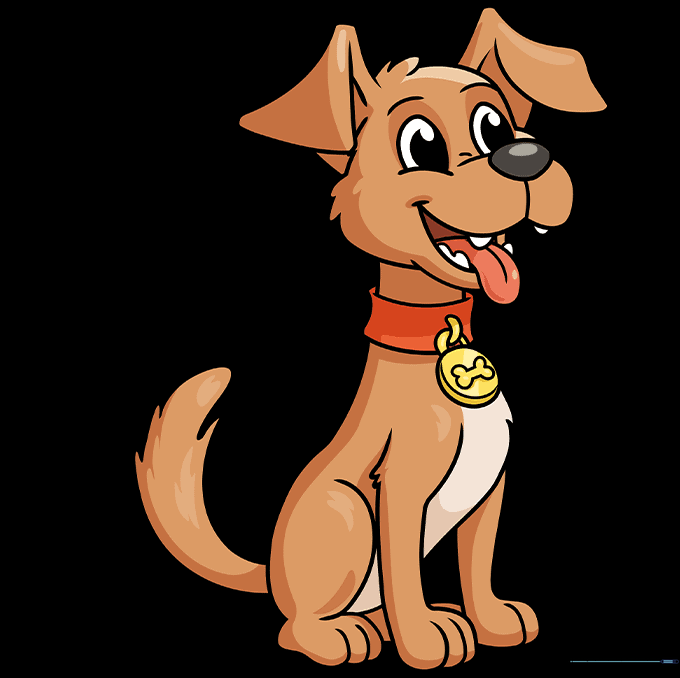
🎯 Final Result
Step-by-Step Instructions
Step 1: Sketching the Face and Eyes

Start by drawing the pup's face using light, rounded lines for the snout and eyes. Teacher's Tip: Keep your pencil pressure very light here so you can easily erase any stray marks later as you refine the expression.
Step 2: Adding the Happy Mouth

Draw an open, joyful mouth with a lolling tongue. Teacher's Tip: Use a 'U' shape for the tongue and add a small line down the center to give it a realistic, 3D look.
Step 3: Shaping the Furry Face
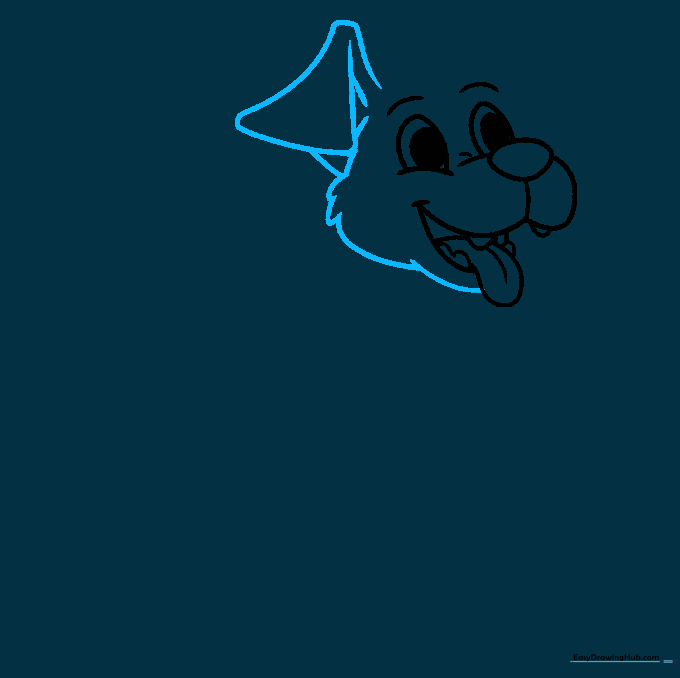
Use short, overlapping curved lines to create the sides of the face, giving it a soft, furry texture. Add one floppy ear using an inverted triangle shape. Teacher's Tip: Don't worry about making the fur lines perfect; the slight irregularity makes the dog look more natural.
Step 4: Completing the Head and Neck
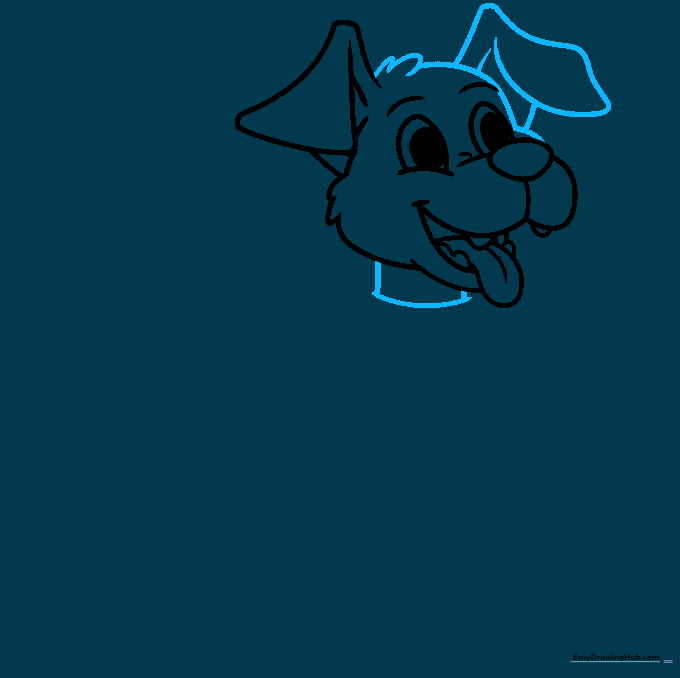
Draw the second ear and a small tuft of fur on top of the head. Extend two lines downward to create the neck. Teacher's Tip: Keep the neck lines parallel to ensure the head looks balanced on the body.
Step 5: Adding the Collar and Tag
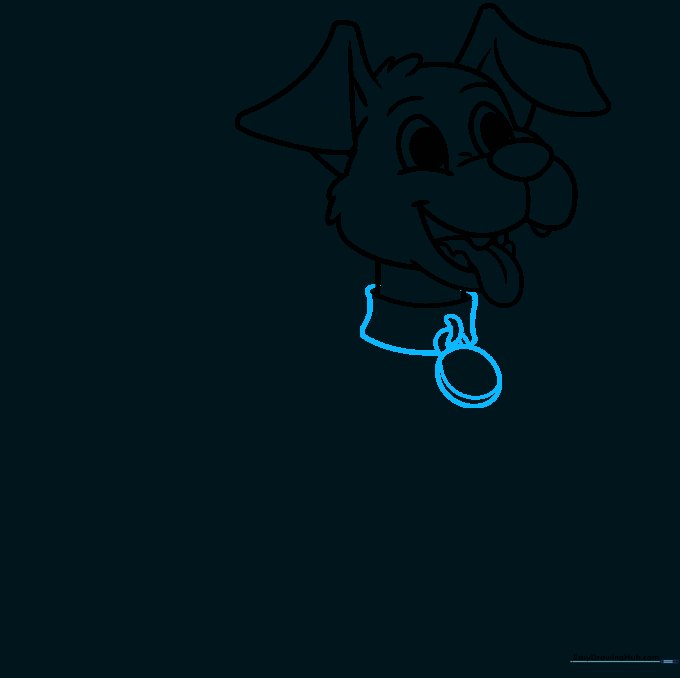
Draw a curved rectangle for the collar and a circle for the ID tag. Teacher's Tip: Add a tiny curved line inside the tag to give it a metallic, rounded shine.
Step 6: Drawing the Front Leg
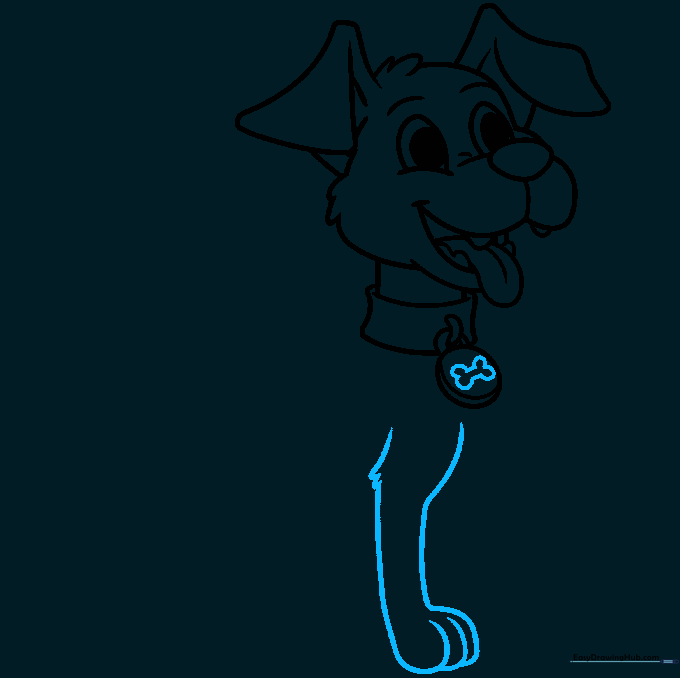
Sketch a small bone on the tag, then draw the first front leg. Teacher's Tip: Use overlapping lines at the paw to create the appearance of individual toes.
Step 7: Adding the Sitting Pose
Draw the second front leg and a 'C' shaped line for the rear leg to show the dog is sitting. Teacher's Tip: The 'C' shape helps ground the character, making the pose look stable.
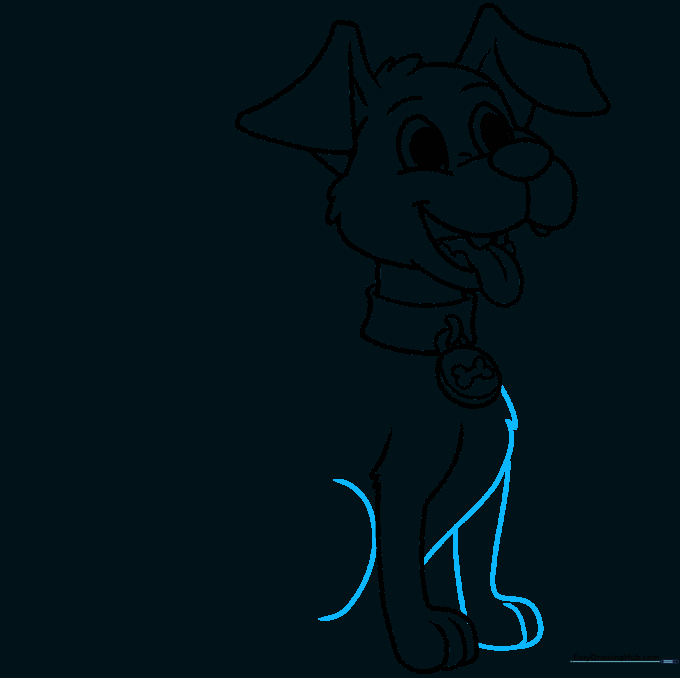
Step 8: Defining the Body
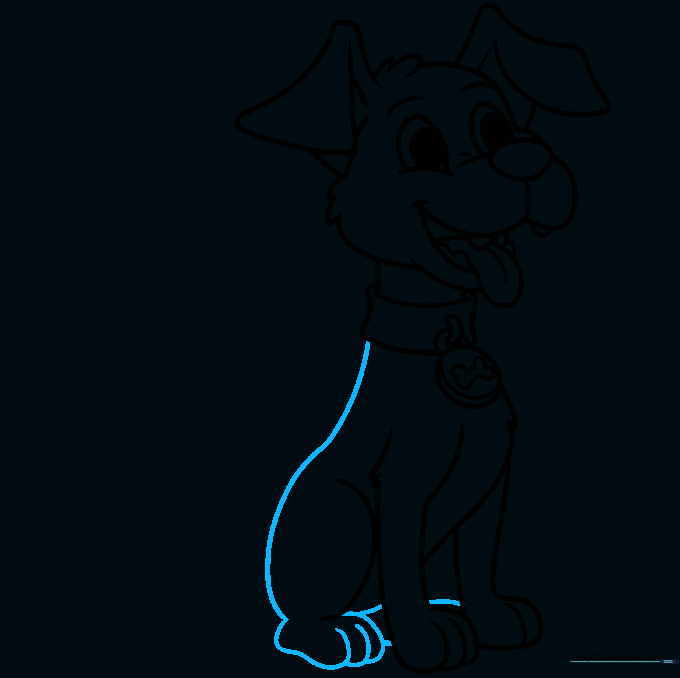
Complete the back and feet with smooth, curved lines. Teacher's Tip: Ensure the back line flows naturally from the neck to create a cohesive silhouette.
Step 9: Adding the Wagging Tail
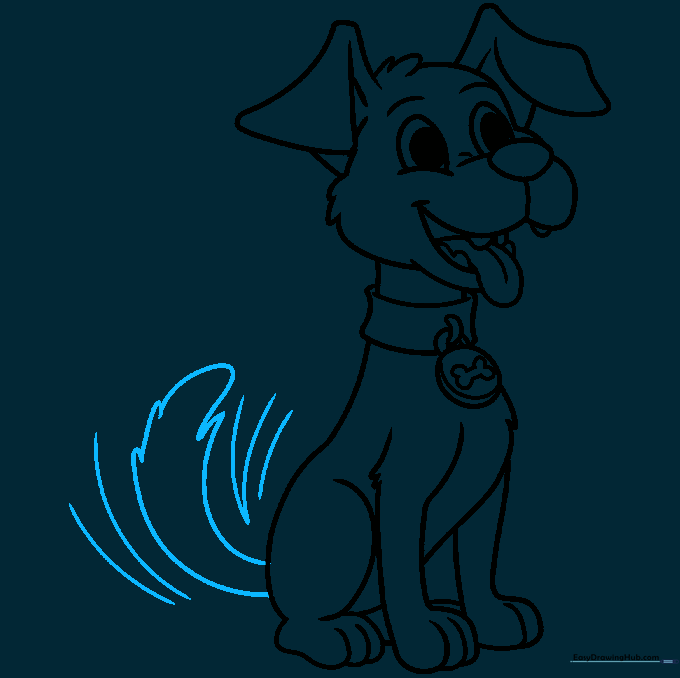
Draw a bushy, furry tail. Add small curved lines around it to show movement. Teacher's Tip: The 'motion lines' are the secret to making the drawing look active and happy!
Step 10: Bringing Your Dog to Life with Color
Time to color! Use your favorite shades to bring your puppy to life. Teacher's Tip: Try using two different shades of brown to create a 'brindle' effect, or keep it simple with solid colors for a classic cartoon look.
More Tutorials


