How to Draw a Happy Clown: Easy 10-Step Guide for Kids
Bring a circus performer to life with this fun, step-by-step tutorial designed for ages 5 and up. You will only need a pencil, an eraser, and some markers or crayons to complete this character. Follow along to practice basic shapes and expressive facial features while building your drawing confidence.
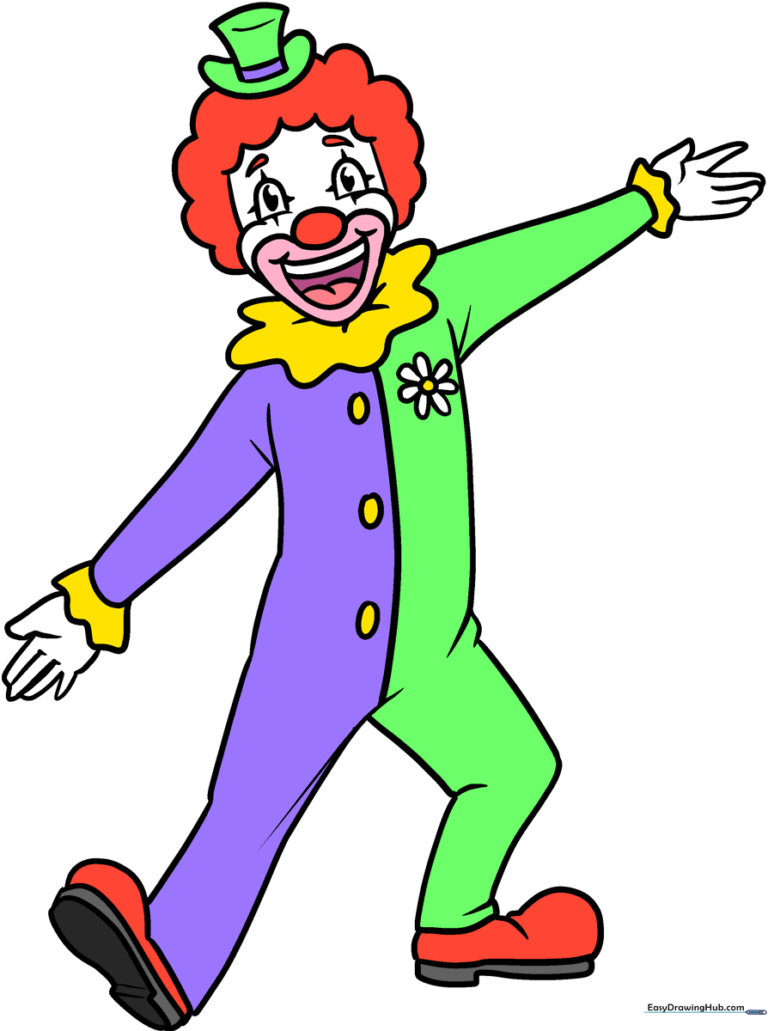
🎯 Final Result
Step-by-Step Instructions
Step 1: Sketching the Nose and Mouth

Start with a small oval for the nose. Below it, draw an inverted triangle with rounded corners for the mouth. Add curved lines inside for the teeth and tongue, and finish with two small curves at the corners to create a wide, happy smile. Teacher's Tip: Keep the mouth shape symmetrical to make the clown look friendly!
Step 2: Defining the Eyes and Face
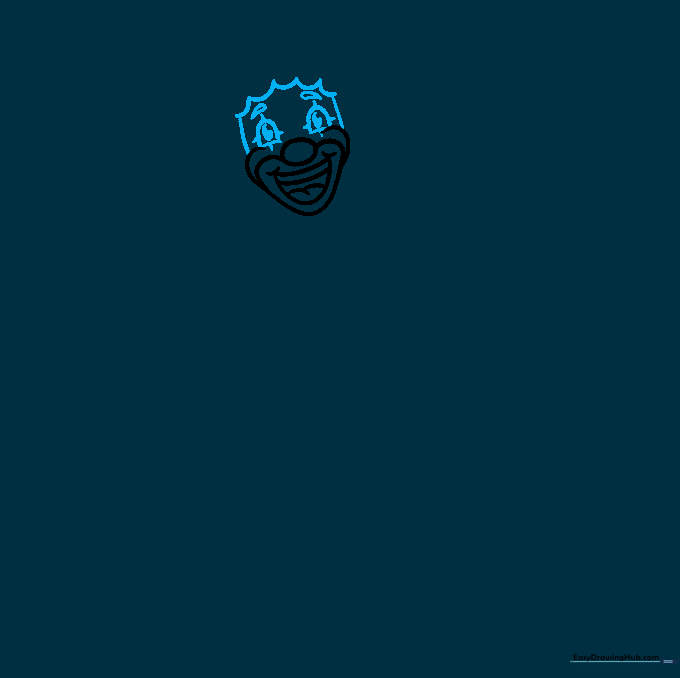
Outline the face using 'U' shaped curves at the top for hair and straight lines for the sides. Draw two half-oval eyes with pupils inside. Add small triangles around the eyes for makeup and curved eyebrows above. Teacher's Tip: Use a light touch for the eye makeup triangles so they look like painted accents.
Step 3: Adding Hair and Hat
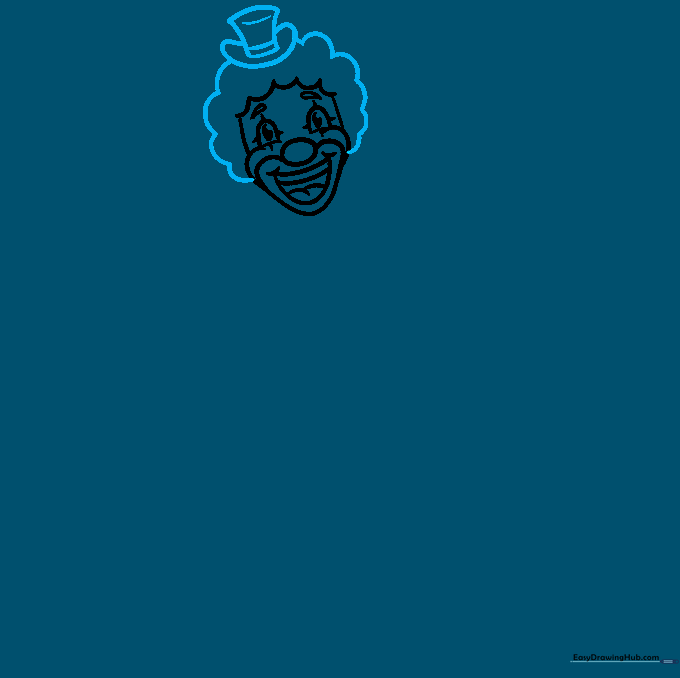
Use connected curved lines to create a fluffy, wig-like hairstyle around the head. On top, draw a classic top hat by outlining the crown, brim, and a horizontal band. Teacher's Tip: Make the hair look 'bouncy' by varying the size of your curves.
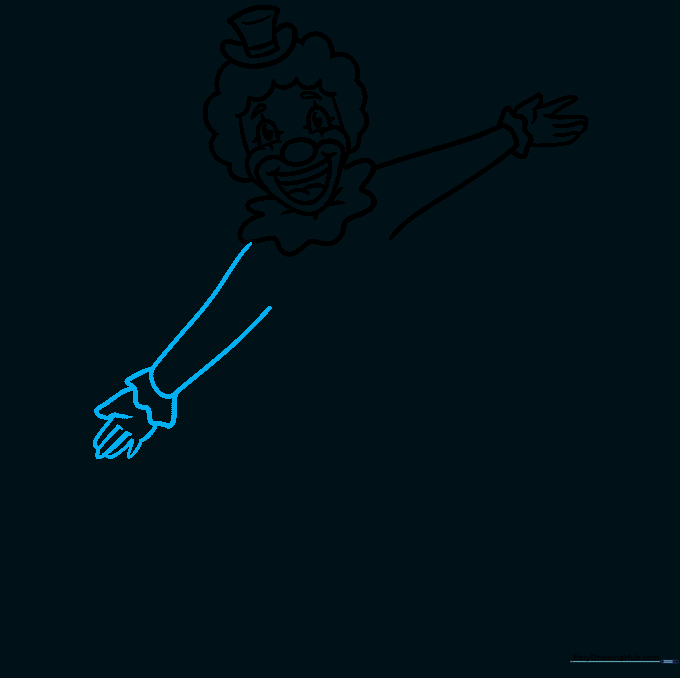
Step 4: Drawing the Collar and First Arm
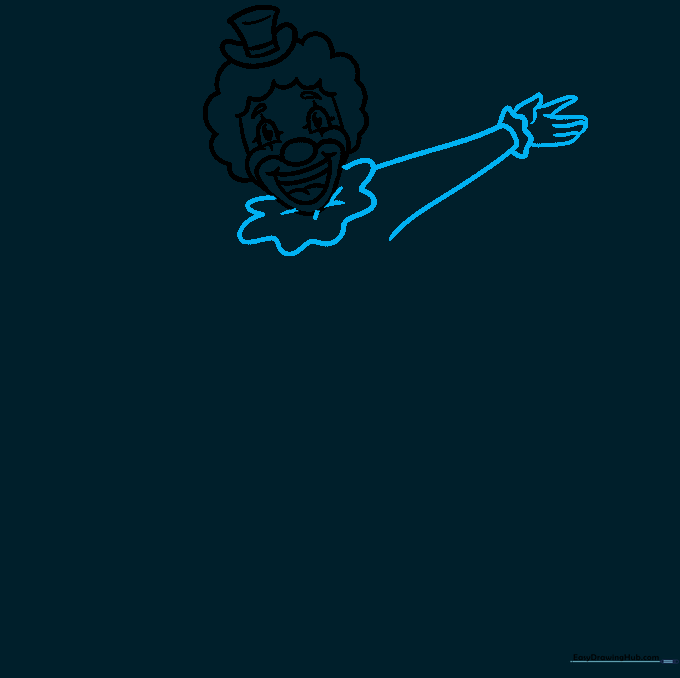
Draw a wavy, oversized collar around the neck. Extend a curved line to form the arm, ending in a wavy cuff and a hand with fingers. Teacher's Tip: The wavy lines for the collar help create the illusion of fabric folds.
Step 5: Adding the Second Arm
Repeat the process from Step 4 to draw the second arm. Ensure the arm matches the length and style of the first one. Teacher's Tip: If the arms look a bit stiff, add a slight curve to the elbow area to make the pose more natural.
Step 6: Sketching the Torso
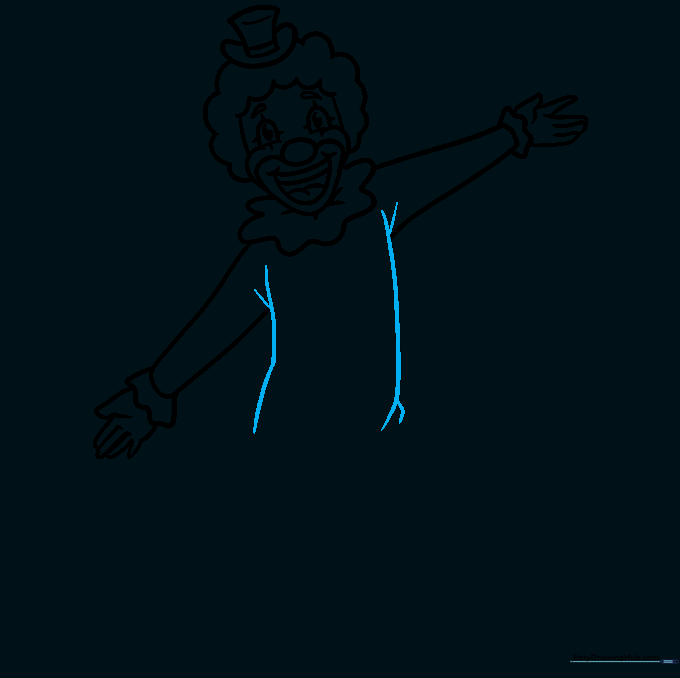
Use overlapping curved lines to draw the body of the jumper. The 'Y' shape near the arms and hips adds texture and shows where the fabric bunches up. Teacher's Tip: Keep your lines fluid to make the clothing look soft and baggy.
Step 7: Adding Buttons and Details
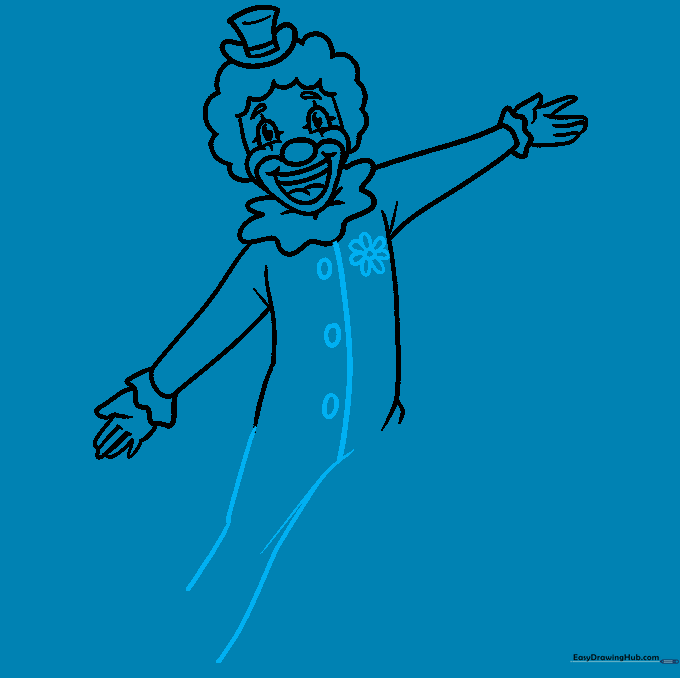
Draw a line down the center of the jumper and add a daisy shape on the chest. Add small circles for buttons. Teacher's Tip: A daisy is a classic clown detail—try drawing the petals evenly around a center circle.
Step 8: Drawing the Legs
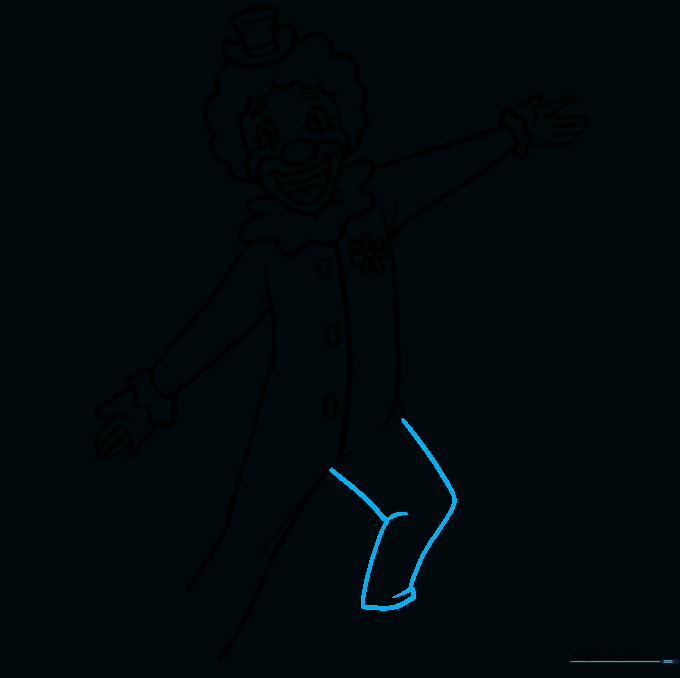
Use curved lines to draw the legs, showing one bent at the knee to give the clown a playful, dancing pose. Teacher's Tip: Bending one leg creates a sense of movement and energy.
Step 9: Adding Oversized Boots
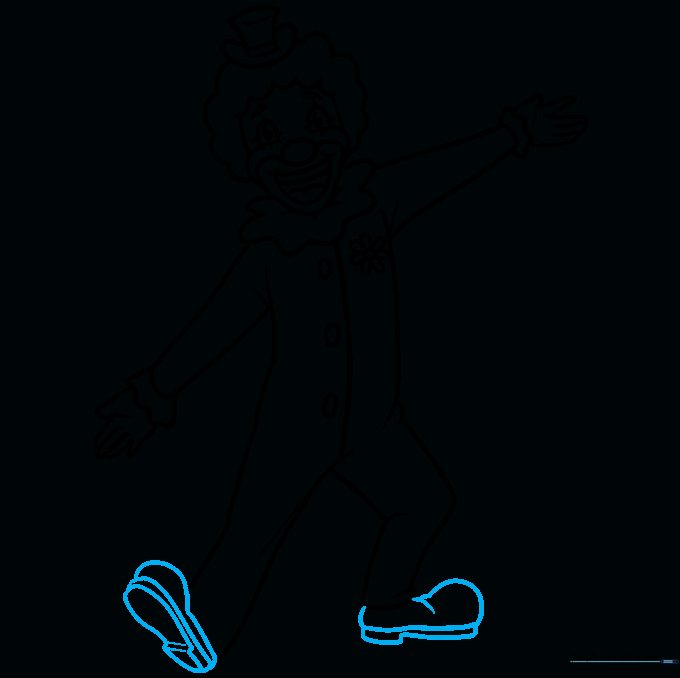
Finish the outline by drawing the clown's signature oversized, rounded boots. Teacher's Tip: Make the boots look extra big to emphasize the 'clown' style!
Step 10: Adding Color
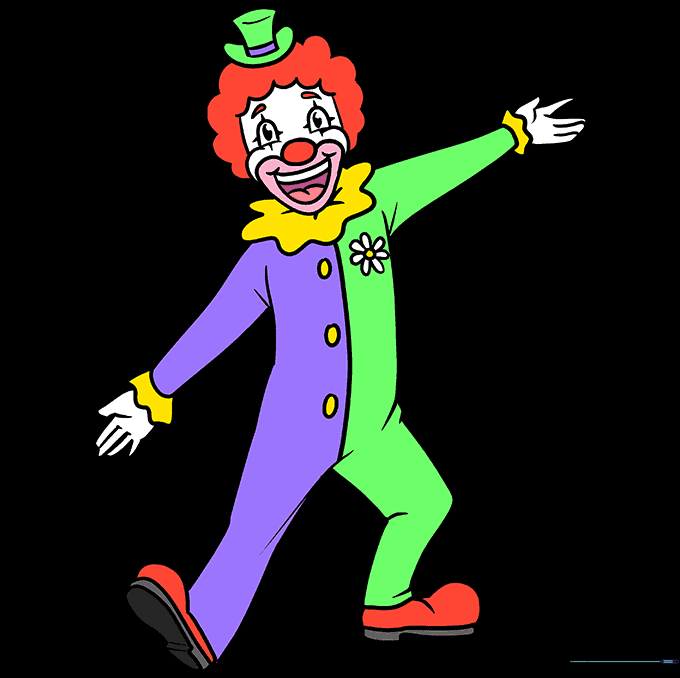
Bring your clown to life with bright, cheerful colors. Use red for the nose and a variety of primary colors for the jumper and hat. Teacher's Tip: Use light pressure with your crayons to blend colors smoothly.
More Tutorials


