How to Draw a Hand: Easy 10-Step Guide for Beginners
Drawing hands is a classic challenge for every young artist, but this simplified outline method makes it approachable for ages 5 and up. You only need a pencil, an eraser, and a piece of paper to get started. By breaking the hand down into basic shapes, you will build the confidence to draw more complex human figures.
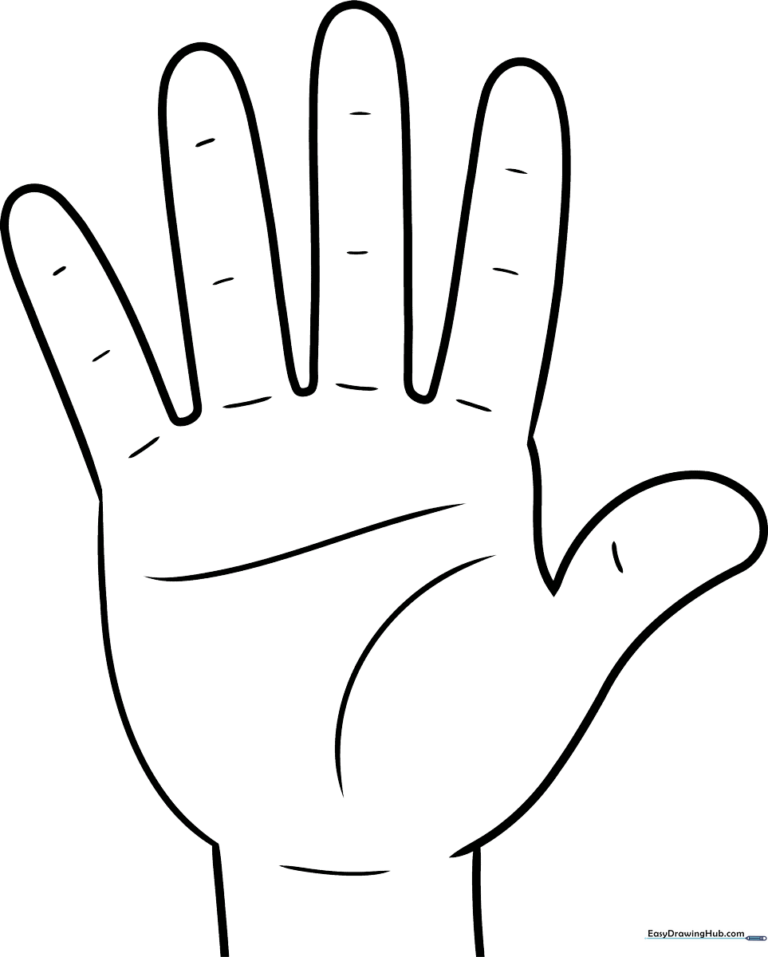
🎯 Final Result
Step-by-Step Instructions
Step 1: Establishing the Wrist

Draw two parallel vertical lines to represent the wrist. Tip: Keep these lines close together; they act as the anchor for the entire hand structure.
Step 2: Shaping the Palm
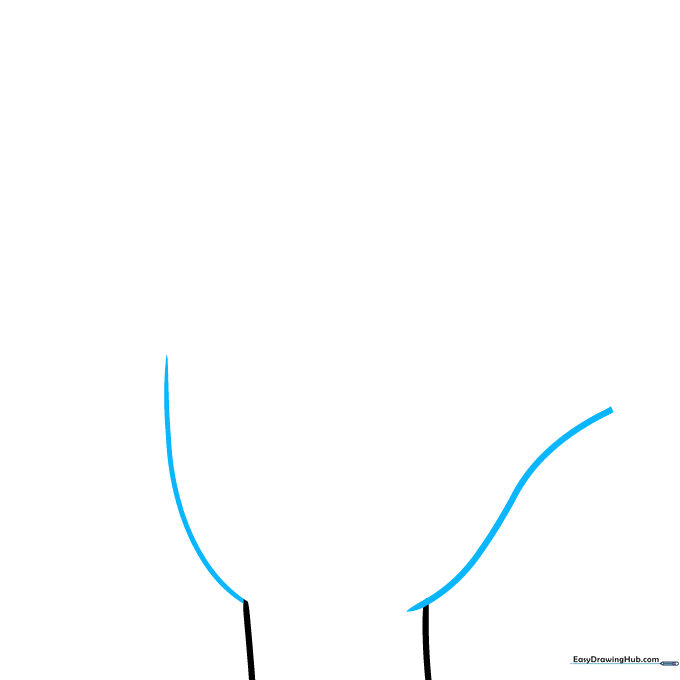
Draw a curved line from each side of the wrist. One side should have a steeper angle than the other, creating a natural overlap. Tip: Don't worry about perfection; this is just the foundation for the palm.
Step 3: Defining the Thumb

Extend the steep line and double it back to form a 'V' shape. This creates the thumb and the side of the palm. Tip: Imagine the thumb as a small, rounded triangle attached to the side of the hand.
Step 4: The Pointer Finger

Draw a long, curved line from the top of the palm and double it back to create the index finger. Tip: Keep the tip of the finger rounded, not pointy, to make it look more natural.
Step 5: Middle and Ring Fingers

Extend lines to form the middle finger, then continue into the ring finger. Tip: The middle finger is usually the longest, so make sure it stands out compared to the others.
Step 6: Adding the Pinky
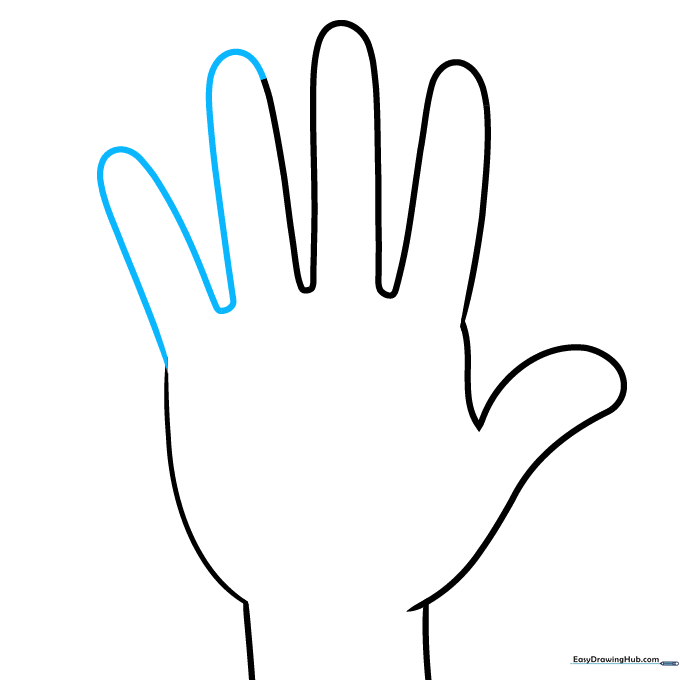
Continue the line from the ring finger to form the small pinky finger. Tip: The pinky is significantly shorter than the other fingers—keep it small to maintain proportion.
Step 7: Palm Details
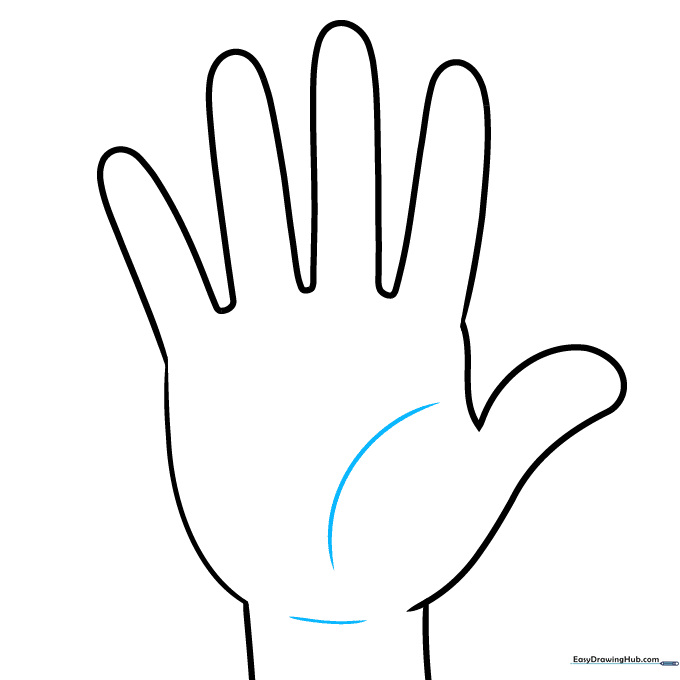
Add a curved line near the thumb base and another at the wrist. Tip: These lines represent the natural folds of the skin, which adds realism to your drawing.
Step 8: Refining the Hand
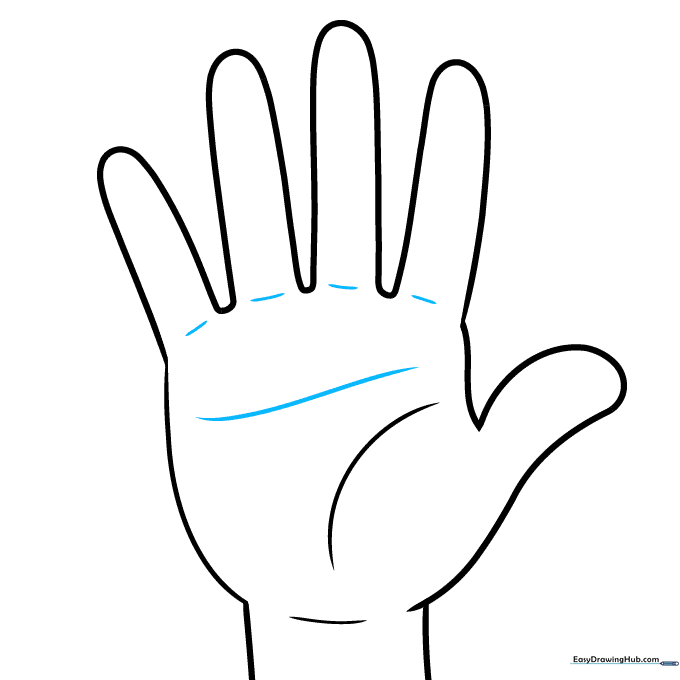
Draw a long curved line across the top of the palm and short lines at the base of each finger. Tip: These lines help define where the fingers connect to the hand.
Step 9: Adding Joint Details
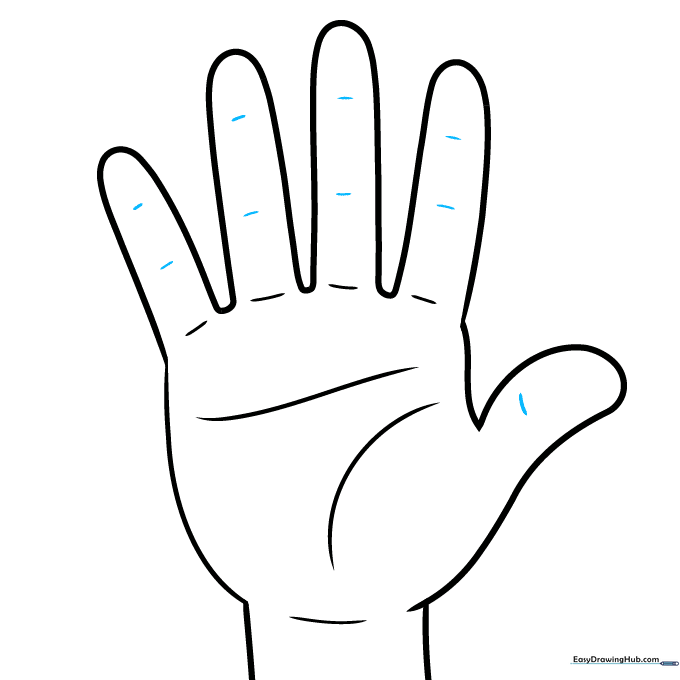
Draw two short lines on each finger and one on the thumb to represent the joints. Tip: Keep these lines light so they don't look like deep cuts, just subtle creases.
Step 10: Final Coloring
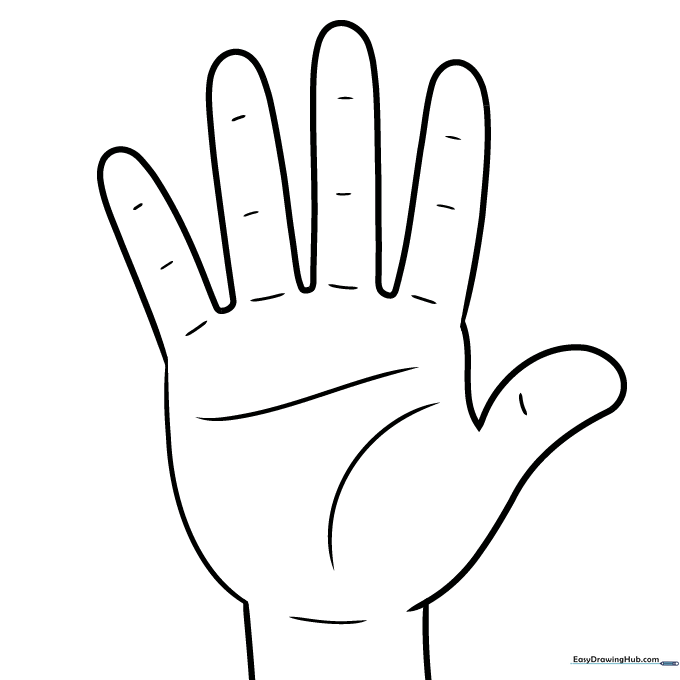
Your hand outline is complete! Now, add your favorite colors. Tip: Use a light peach or brown for the skin, and try adding a slightly darker shade in the creases for a 3D effect.
More Tutorials


