How to Draw a Hand Holding a Sword: Easy Step-by-Step Guide
Ready to bring your fantasy characters to life? This tutorial is perfect for young artists ages 7+ looking to master the tricky art of drawing hands in action. All you need is a pencil, an eraser, and a piece of paper to get started on this heroic sketch.
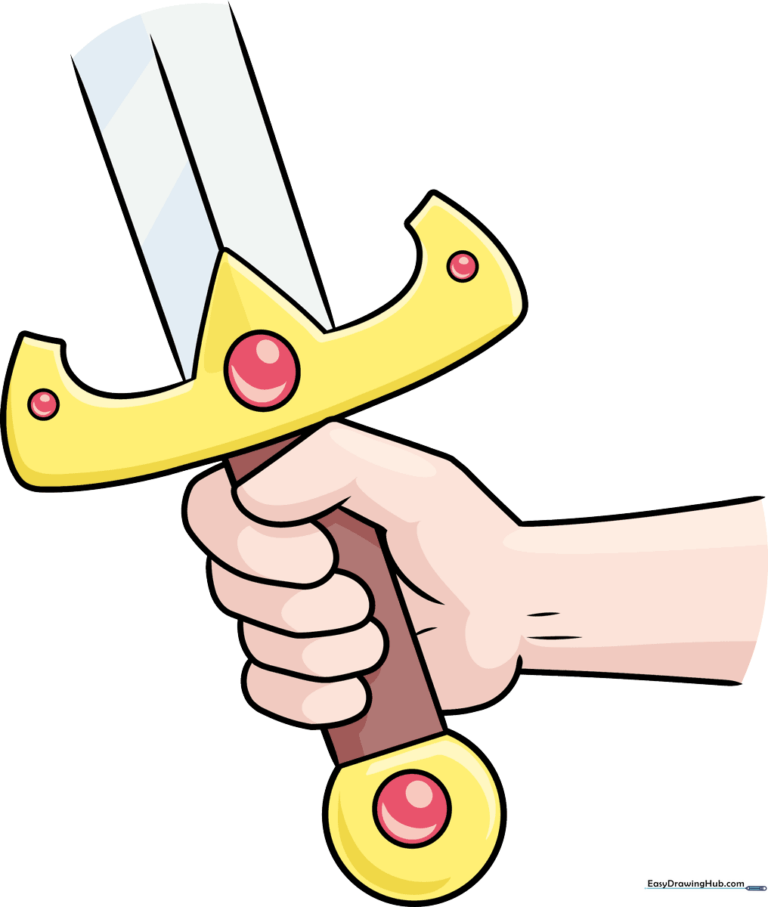
🎯 Final Result
Step-by-Step Instructions
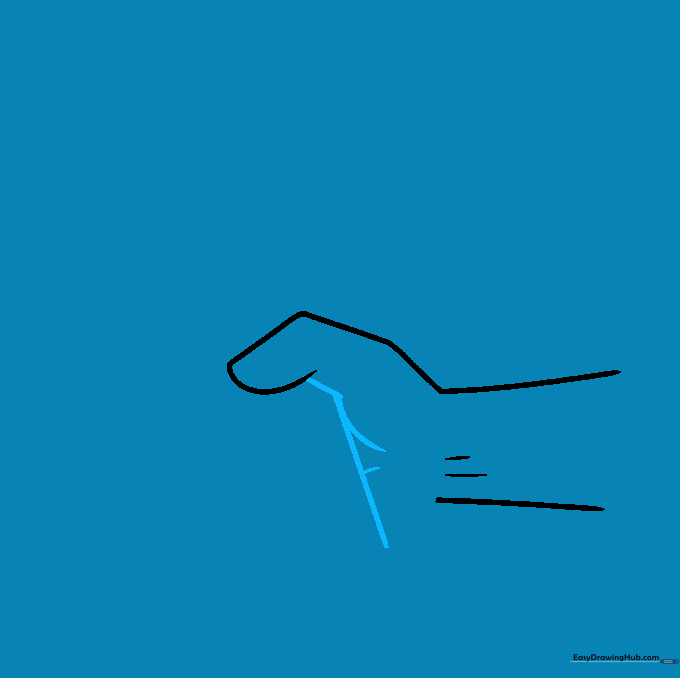
Step 1: Sketching the Arm

Draw two gentle, curved lines to form the forearm. Add two small, short lines to suggest the tendons. Teacher's Tip: Keep your pencil strokes very light here so you can easily adjust the shape later if needed.
Step 2: Shaping the Thumb

Sketch the thumb using a series of connected curves. Focus on the knuckle and the tip. Teacher's Tip: Think of the thumb as a rounded 'bean' shape attached to the side of the hand.
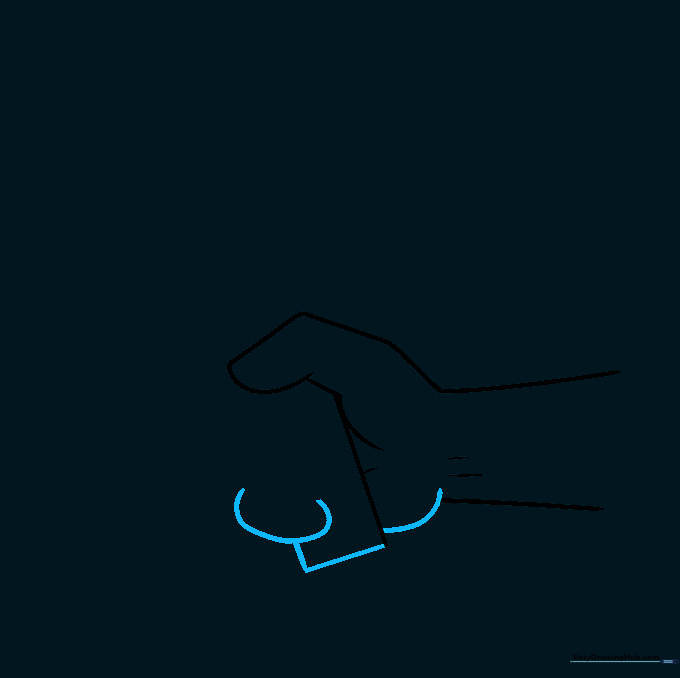
Step 3: Defining the Palm and Hilt
Draw the fleshy base of the palm with a curved line, then add a straight line to start the sword's hilt. Teacher's Tip: Ensure the hilt line is straight to contrast with the organic curves of the hand.
Step 4: Sketching the First Finger
Use a 'C' shaped line to draw the first finger wrapping around the handle. Connect it to the hilt with an 'L' shaped line. Teacher's Tip: Imagine the finger is hugging the handle tightly.
Step 5: Adding More Fingers

Add two more 'C' shaped lines below the first finger to complete the grip. Teacher's Tip: Keep these lines overlapping slightly to show the fingers are bunched together.
Step 6: Drawing the Crossguard
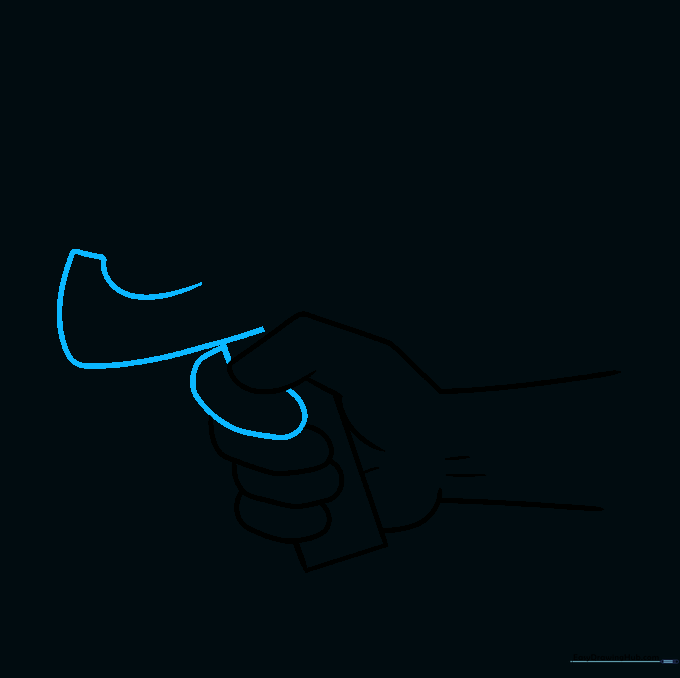
Enclose the final finger and extend a curved line at the top to form the crossguard. Teacher's Tip: The crossguard is the 'T' shape that protects the hand; make sure it looks sturdy.
Step 7: Completing the Crossguard
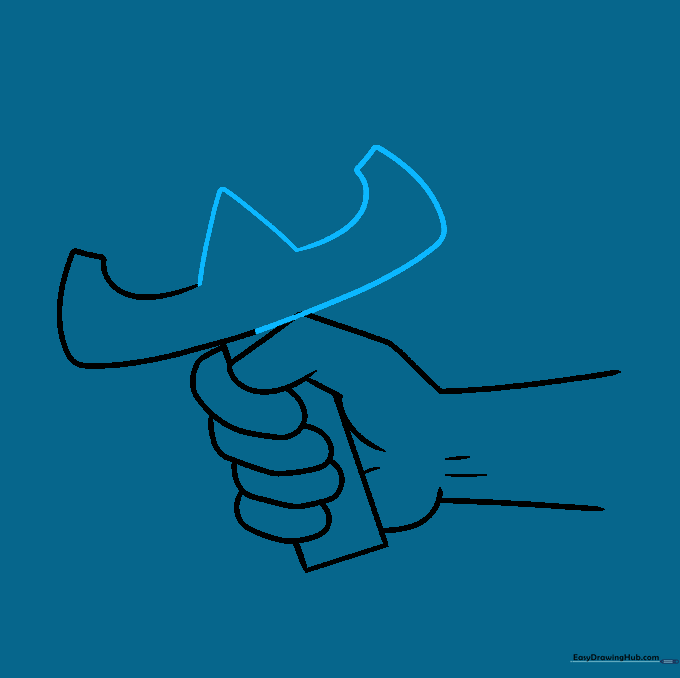
Mirror the curved lines on the other side of the hilt and draw a small triangle in the center. Teacher's Tip: Symmetry is key here, so take your time to match the curves on both sides.
Step 8: Adding the Blade
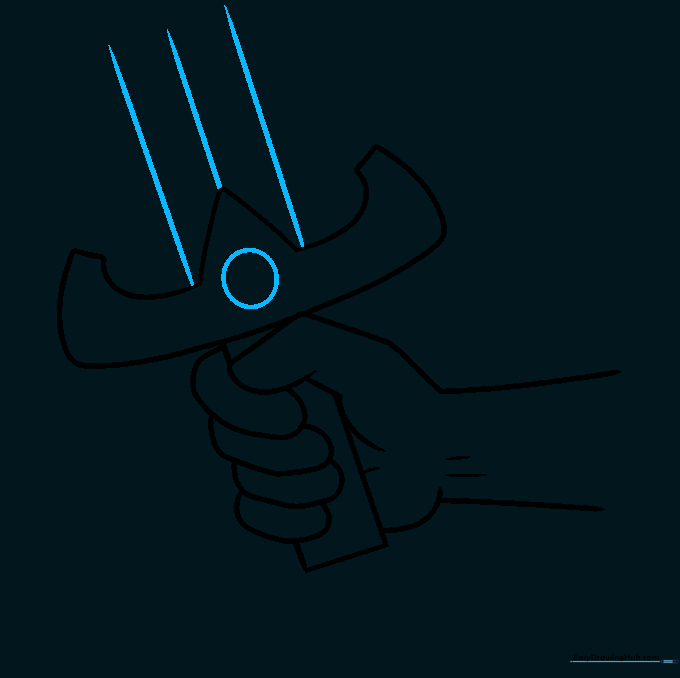
Add a circle to the center of the crossguard and extend three parallel lines upward for the blade. Teacher's Tip: Use a ruler if you want the blade to look extra sharp and straight!
Step 9: Final Details
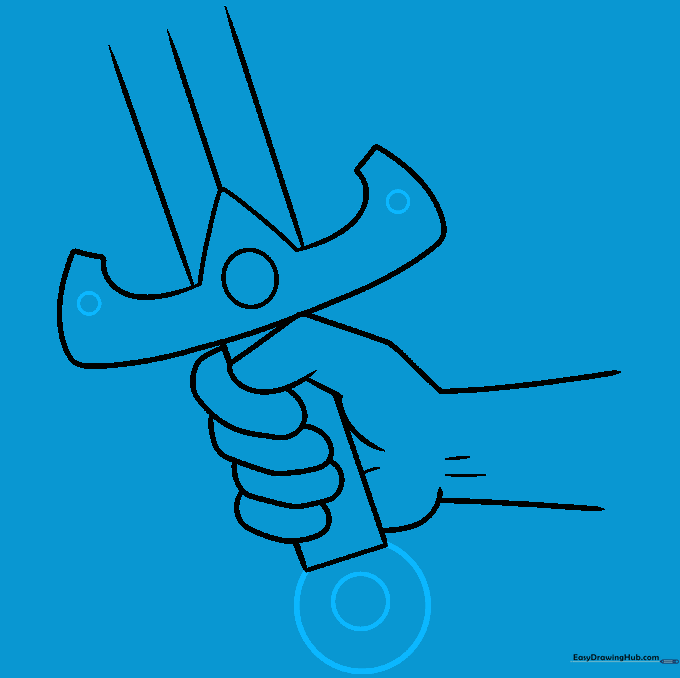
Add small circles to the ends of the crossguard and a pommel (a circle within a circle) at the bottom of the hilt. Teacher's Tip: These details make the sword look like a real medieval weapon.
Step 10: Color Your Masterpiece
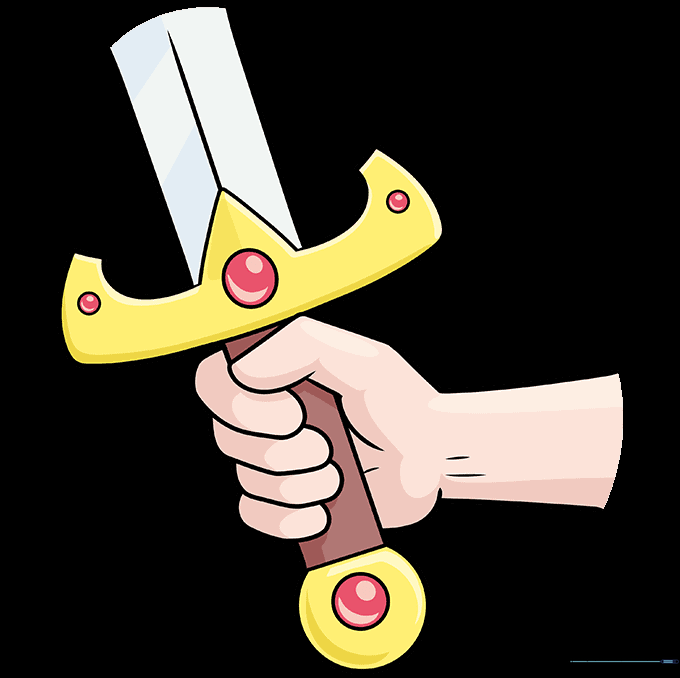
Time to bring it to life! Use metallic grays for the blade and warm browns for the hilt. Teacher's Tip: Try adding a little shading on one side of the blade to make it look shiny.
More Tutorials


