How to Draw a Hammer and Saw: Easy 10-Step Guide
Ready to build your drawing skills? This project is perfect for young artists ages 6+ who want to learn how to illustrate common tools. All you need is a pencil, an eraser, and a piece of paper to get started on this classic construction-themed drawing.
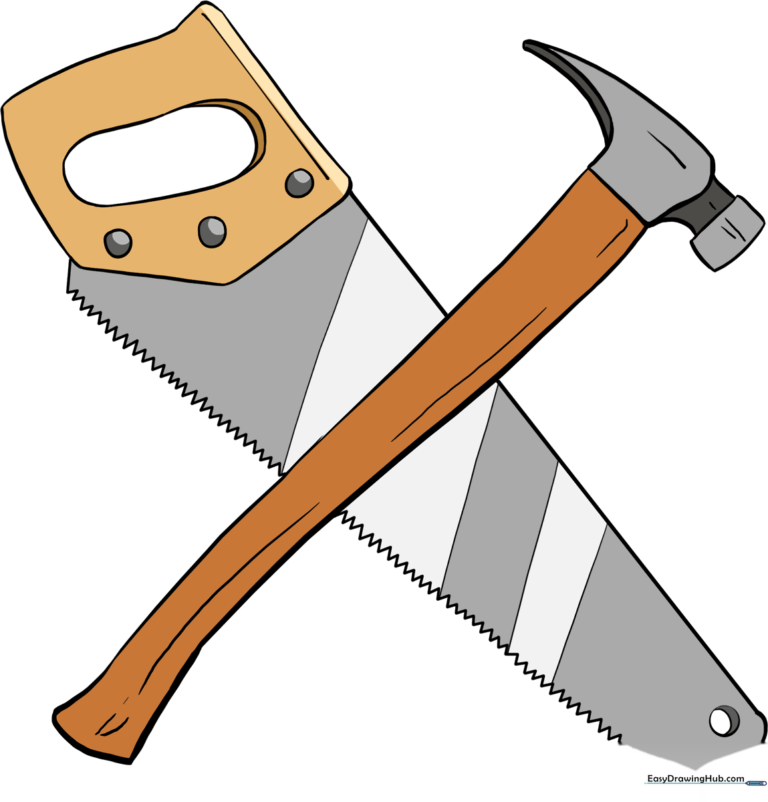
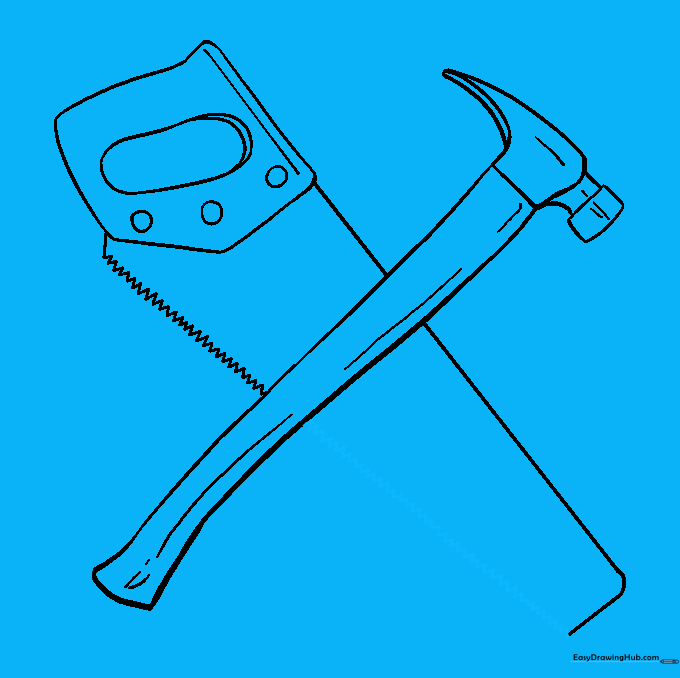
🎯 Final Result
Step-by-Step Instructions
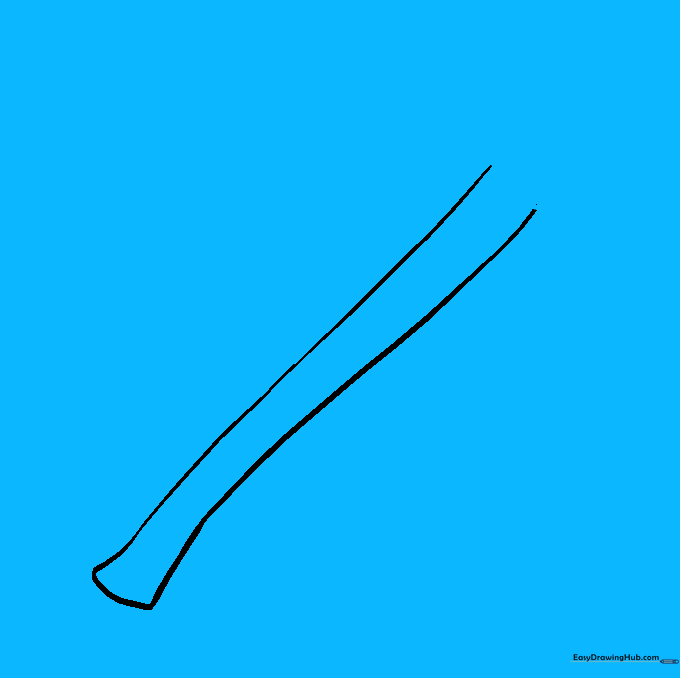
Step 1: Sketching the Hammer Handle

Draw two long, slightly curved parallel lines. Connect them at the bottom with a small curve. Teacher's Tip: Keep your pencil pressure light so you can easily adjust the shape if the handle looks a bit wobbly.
Step 2: Shaping the Hammer Head
Cap the handle with a straight line, then extend curved lines outward to form the cheek and the claw. Teacher's Tip: The claw should look like a V-shape; imagine it's a bird's beak to help you get the angle right.
Step 3: Refining the Hammer Details
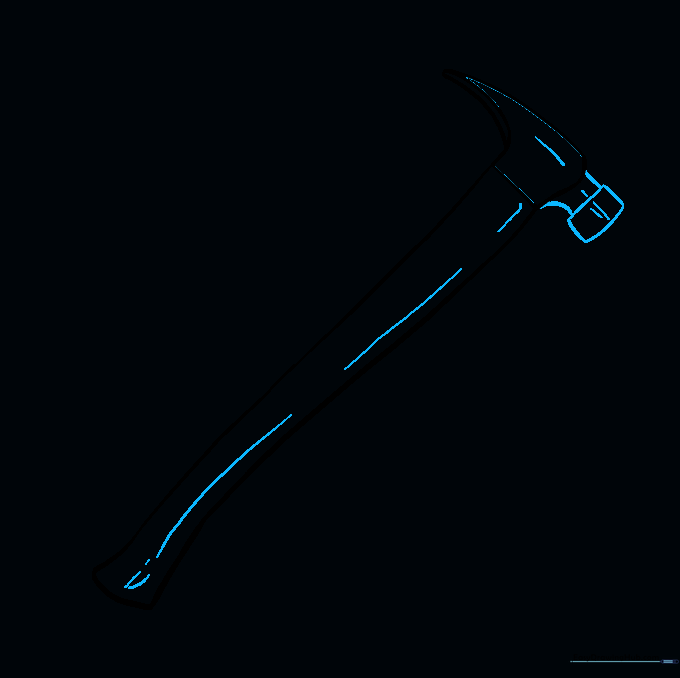
Extend lines from the cheek to create the neck, then add the bell (the striking face). Teacher's Tip: Add small curved lines along the handle to give it a realistic, rounded wooden texture.
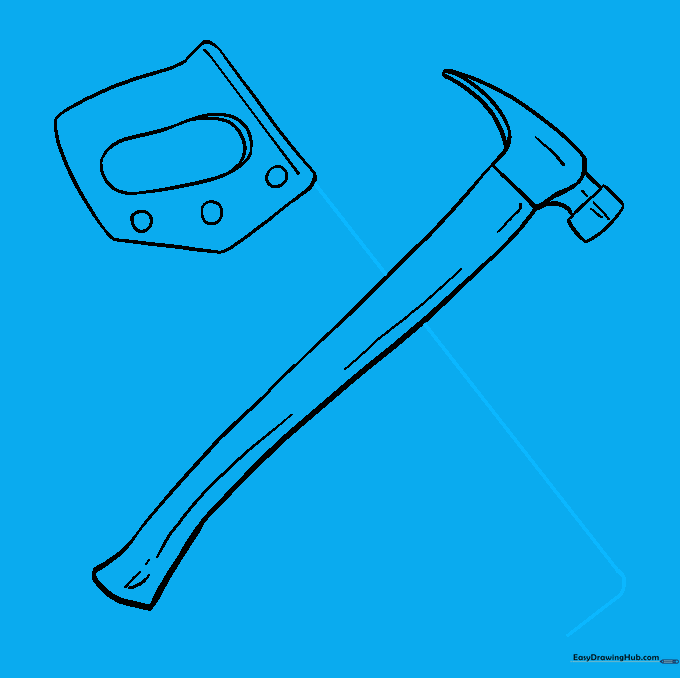
Step 4: Outlining the Saw Handle

Draw an irregular shape for the saw handle. Teacher's Tip: Use a ruler if you want the top edge to look extra straight and professional!
Step 5: Adding Handle Bolts

Add a rounded shape inside the handle and draw three small circles at the base. Teacher's Tip: These circles represent the bolts that hold the blade in place—make sure they are evenly spaced.
Step 6: Drawing the Saw Blade Back
Extend a long straight line from the handle, ending with a short line at a right angle. Teacher's Tip: This creates the sturdy back of the saw blade.
Step 7: Creating the Serrated Edge

Draw a narrow zigzag line along the bottom of the blade. Teacher's Tip: Don't worry about making the teeth perfect—saws are meant to look sharp and jagged!
Step 8: Completing the Saw Teeth
Continue the zigzag line until it meets the toe of the saw. Teacher's Tip: Keep your hand steady to ensure the teeth look consistent.
Step 9: Final Blade Details
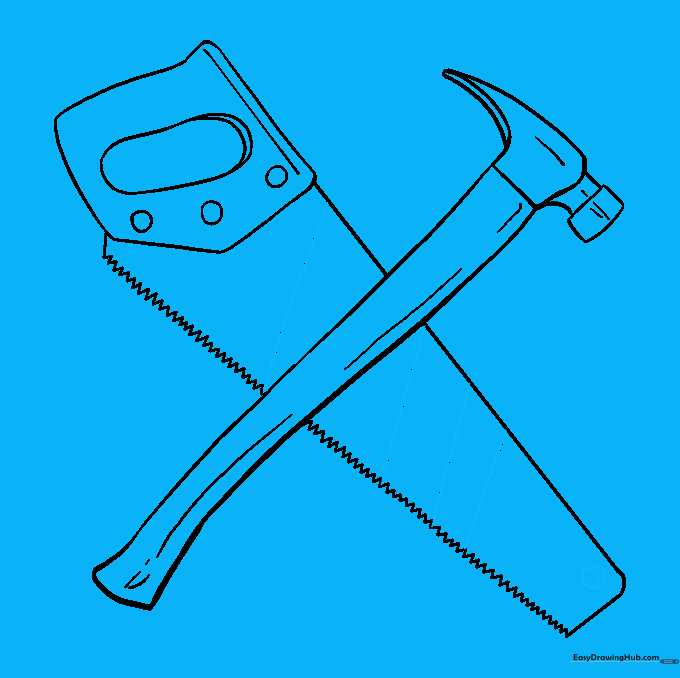
Add diagonal lines across the blade and a small circle at the toe. Teacher's Tip: These lines add a metallic sheen effect to your drawing.
Step 10: Bring Your Tools to Life with Color
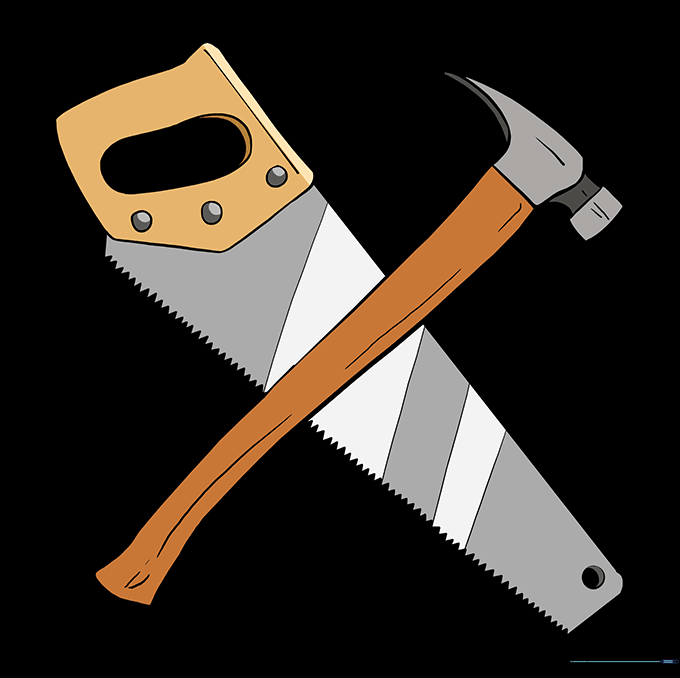
Color your hammer and saw! Use warm browns for the wooden handles and cool greys or silvers for the metal parts. Teacher's Tip: Use a darker shade of grey on one side of the blade to create a simple shadow effect.
More Tutorials


