How to Draw a Halloween Pumpkin: Easy 10-Step Guide
Ready to create your own spooky jack-o'-lantern? This tutorial is perfect for artists ages 5 and up. You will only need a pencil, an eraser, and your favorite markers or crayons to bring this festive pumpkin to life.
🎯 Final Result

Step-by-Step Instructions
Step 1: Sketching the Eye Sockets
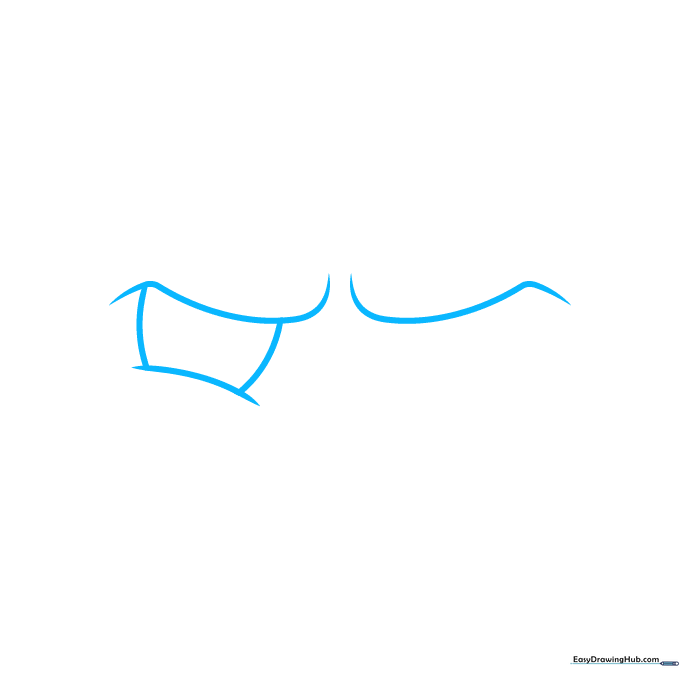
Draw two identical curved lines that point in opposite directions, like a mirror image. Add a small curve beneath the left line, then connect them with two more curves. Teacher's Tip: Keep these shapes symmetrical to give your pumpkin a balanced, classic look.
Step 2: Defining the Eyes
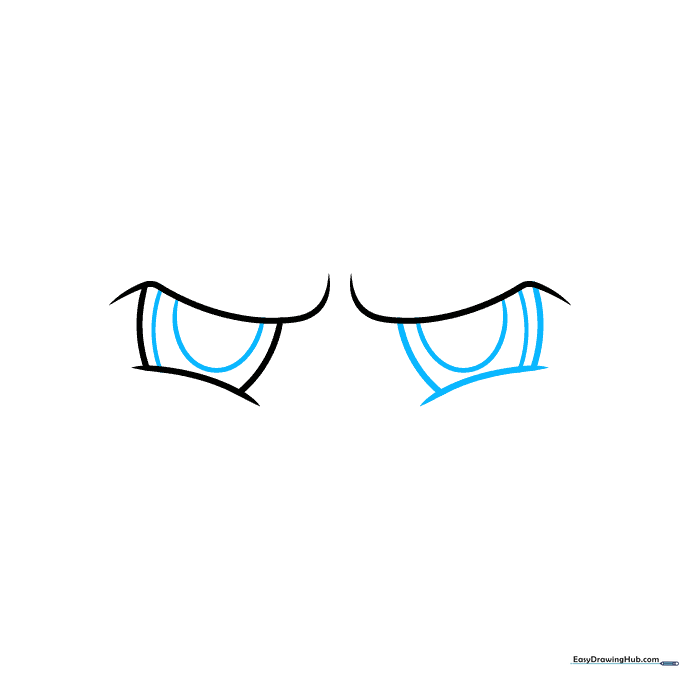
Add a semi-oval and a curve inside the first shape to give the eyes depth. Repeat this on the right side. Teacher's Tip: Think of these as the 'hollow' parts of the pumpkin where the light shines through.
Step 3: The Nose and Mouth
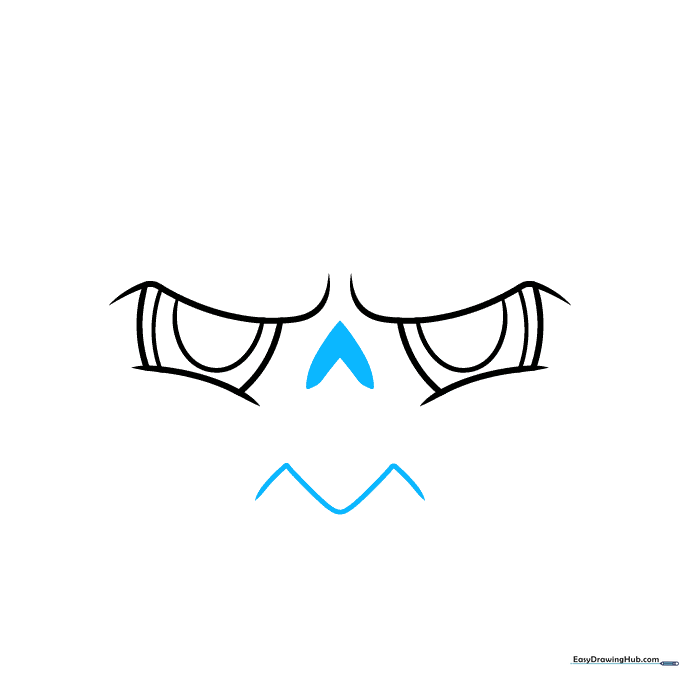
Outline the nose with an arrow shape between the eyes. Sketch a wide M-shape below for the mouth. Teacher's Tip: Don't press too hard; the M-shape is just a guide for the teeth we'll add next.
Step 4: Adding Jagged Teeth
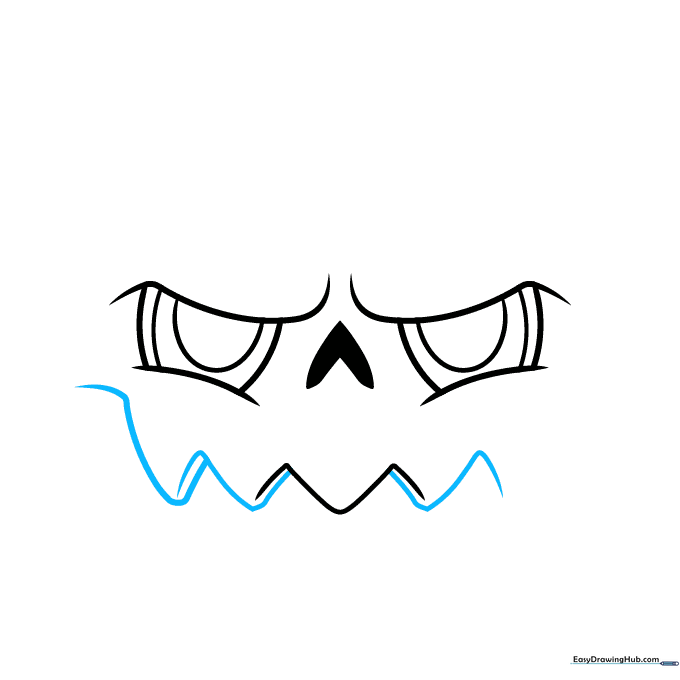
Draw triangles for the jagged teeth. Make them overlap slightly so they look three-dimensional. Add a small hook on the left side of the mouth. Teacher's Tip: Vary the size of the triangles to make the pumpkin look more 'carved' and realistic.
Step 5: Completing the Jawline
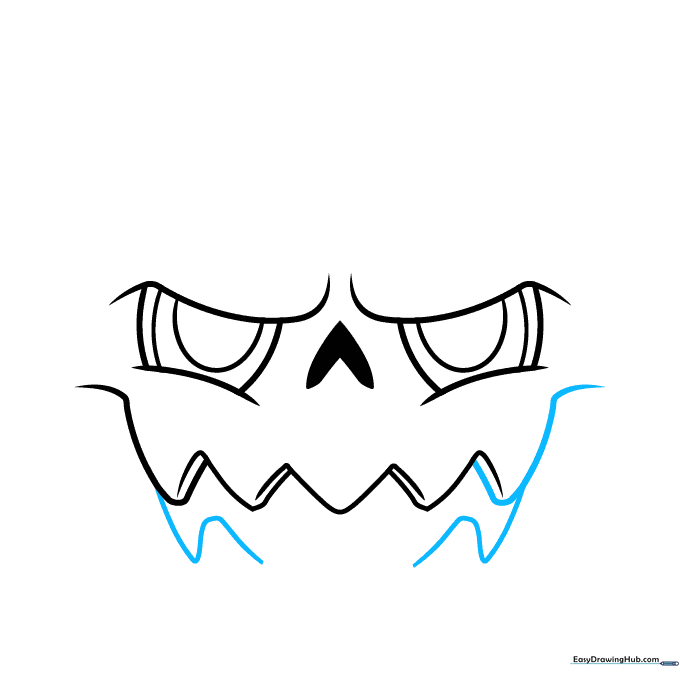
Sketch the final tooth and a hook on the right. Underneath the teeth, sketch a downward-pointing triangle and an uneven hill on each side. Teacher's Tip: These hills form the bottom lip of your jack-o'-lantern.
Step 6: Refining the Mouth
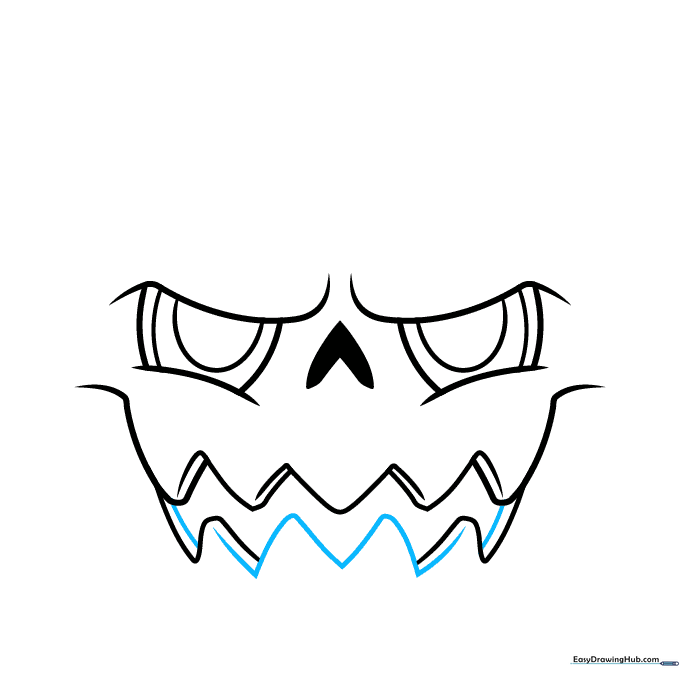
Draw two triangles in the center with lines that overlap the other teeth. Add lines inside the edges of the mouth for depth. Teacher's Tip: Adding these extra lines creates a 'shadow' effect that makes the mouth look hollow.
Step 7: Shaping the Head

Sketch a hill over the center of the eyes. Draw two overlapping hills on each side, then outline the head with wide curves. Add an arrow in the center bottom teeth. Teacher's Tip: Use long, fluid strokes to make the pumpkin look round and organic.
Step 8: Adding the Stem
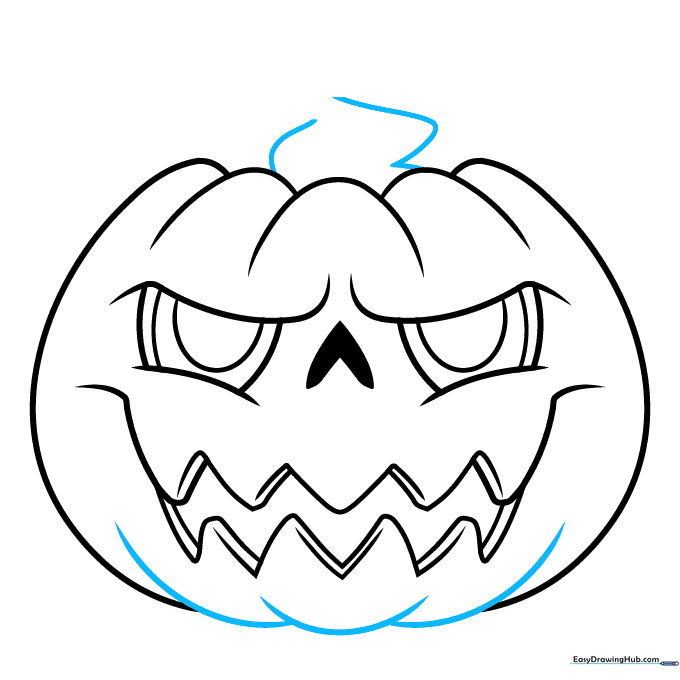
Draw a semi-circle under the bottom teeth, then add a curve on either side to complete the pumpkin body. Sketch wavy lines on top for the stem. Teacher's Tip: Stems aren't perfectly straight, so don't worry if your lines are a bit wobbly!
Step 9: Finalizing the Outline

Add a curve inside the stem, then draw loose, wavy lines on top. Frame the stem with two more hills. Teacher's Tip: This is the time to go over your pencil lines with a black marker for a bold, cartoon look.
Step 10: Adding Color

Fill the nose with black. Color the pumpkin bright orange. Add shadows on the bottom and around the facial features to make them look sunken. Use green for the stem and yellow for the eyes. Teacher's Tip: Use a darker orange or brown for the shadows to make the pumpkin pop!
More Tutorials


