How to Draw a Halloween Cat: Easy 10-Step Guide
Bring some spooky-cute fun to your sketchbook! This tutorial is perfect for artists ages 5 and up, requiring only a pencil, eraser, and paper. You will learn how to combine basic geometric shapes to create a charming cat peeking out of a jack-o'-lantern, building your confidence in character design.
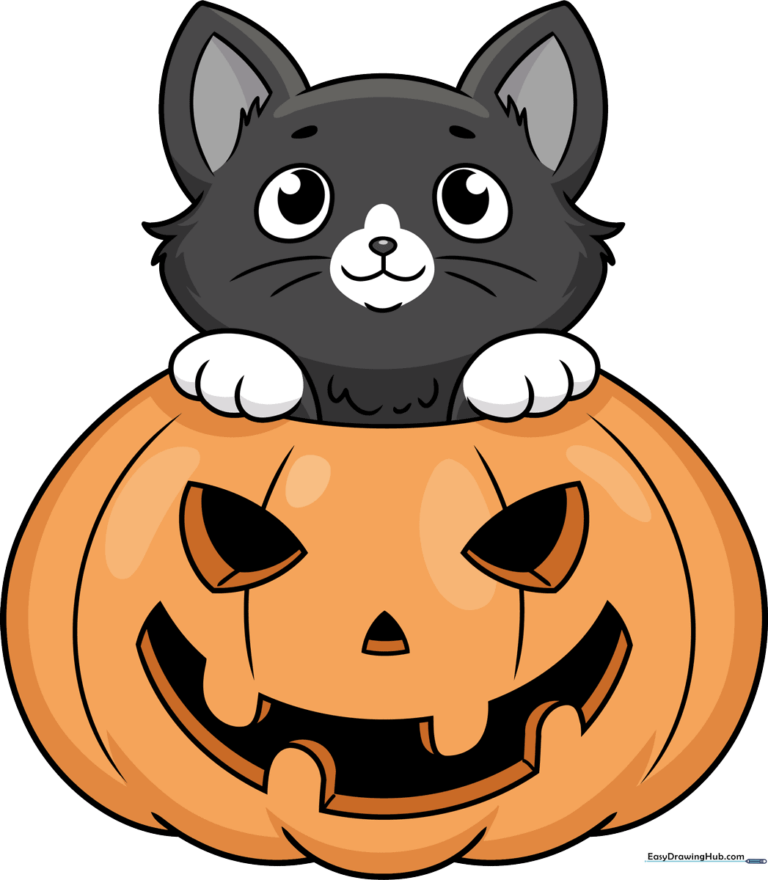
🎯 Final Result
Step-by-Step Instructions
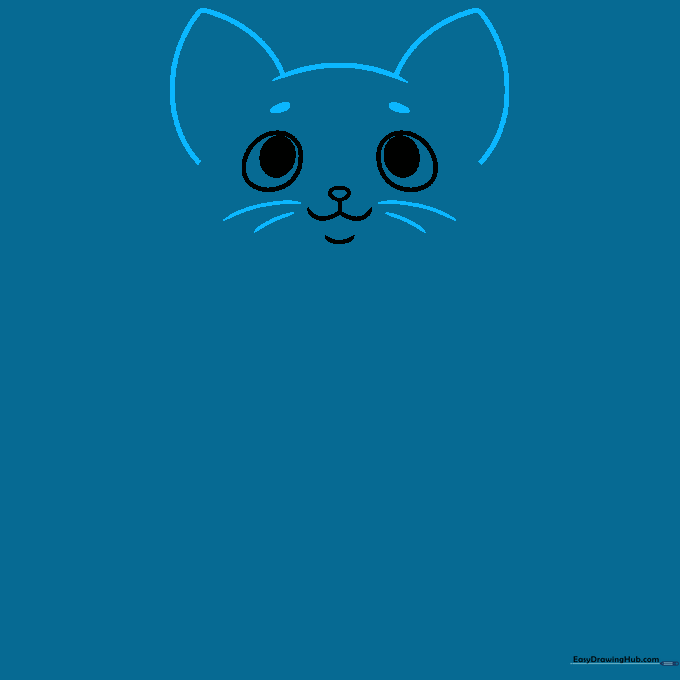
Step 1: Sketching the Face and Eyes

Draw two slightly tilted ovals for the eyes. Add small circles inside and fill them in to create pupils. Below the eyes, sketch a small, pointed-bottom oval for the nose. Tip: Keep the nose small to make the cat look extra cute!
Step 2: Adding Ears and Whiskers
Sketch two rounded triangles on top of the head for ears. Connect them with a soft curve. Add three short dashes above each eye for eyebrows and draw long, sweeping whiskers. Tip: Use quick, flicking motions with your pencil for the whiskers to make them look sharp.
Step 3: Adding Texture to the Fur
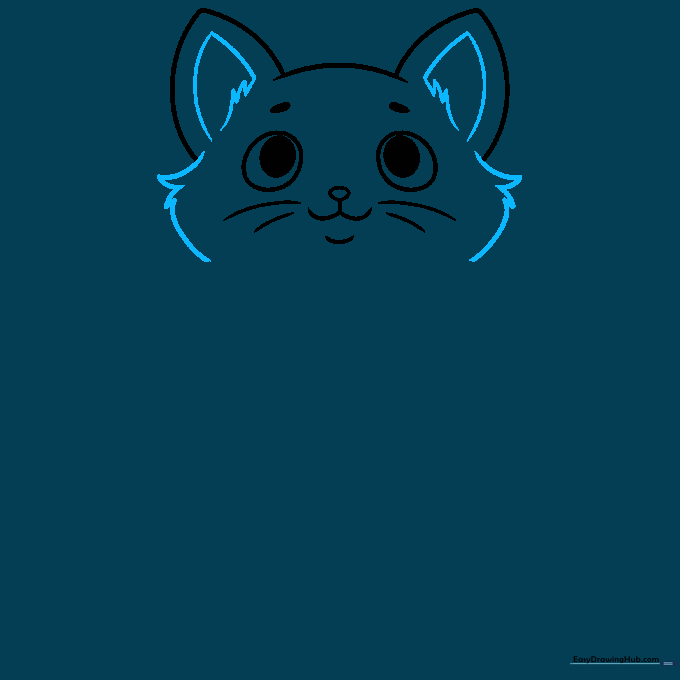
Draw a smaller triangle inside each ear. Use short, jagged, 'grass-like' lines around the face to give the cat a fluffy appearance. Tip: Don't worry about making the fur lines perfect; irregular lines actually look more like real, soft fur.
Step 4: Drawing the Paws
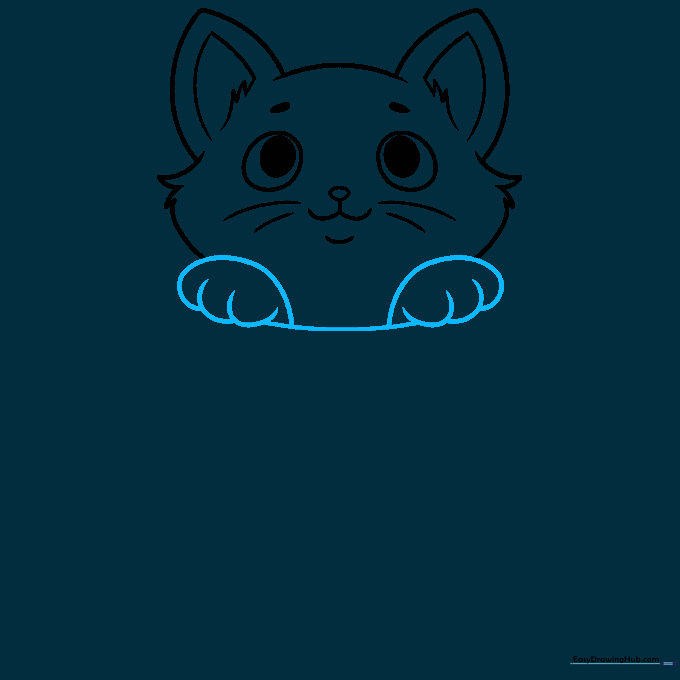
Sketch a curved line under the chin, then add two hook-shaped lines to form the paws. Ensure the paws look like they are resting on the edge of the pumpkin. Tip: Make the paws overlap the chest line to create a sense of depth.
Step 5: Starting the Pumpkin Base
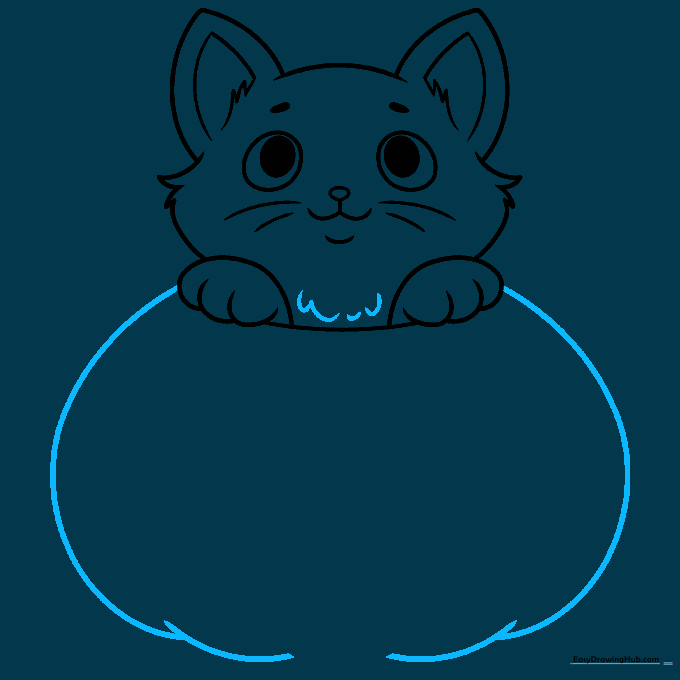
Draw wide, sweeping curved lines on either side of the cat to form the pumpkin's body. Add a few shorter curves at the bottom to give it a round shape. Tip: Think of the pumpkin as a large, slightly squashed circle.
Step 6: Carving the Pumpkin Face
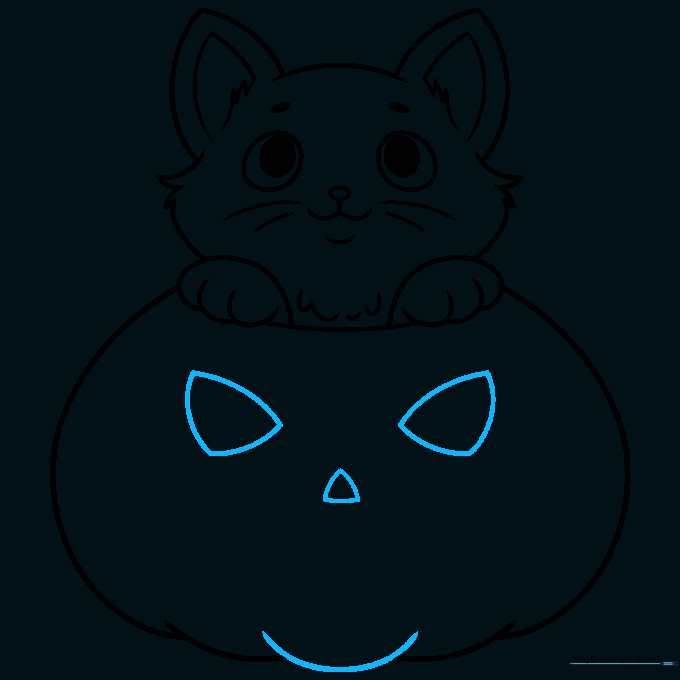
Add three rounded triangles inside the pumpkin for the eyes and nose. Close the bottom of the pumpkin with a final curved line. Tip: Keep the triangles symmetrical to make the jack-o'-lantern look balanced.
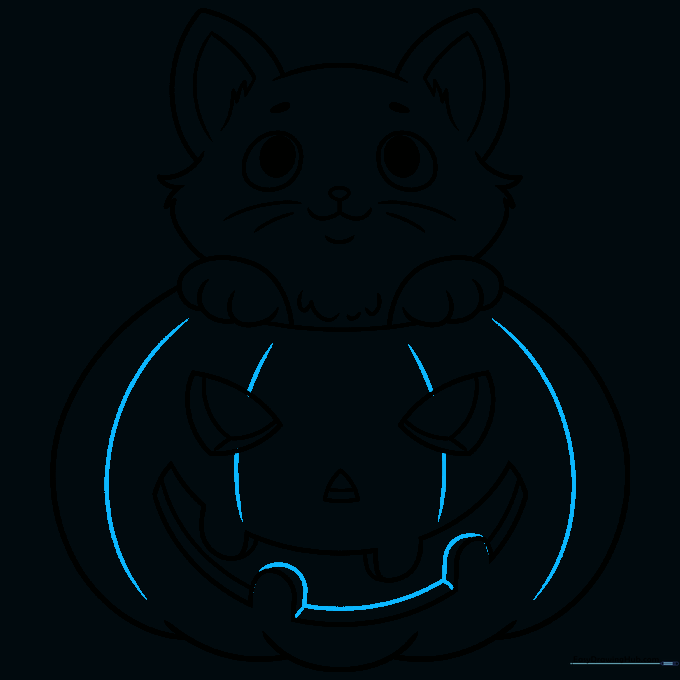
Step 7: Creating the Spooky Mouth
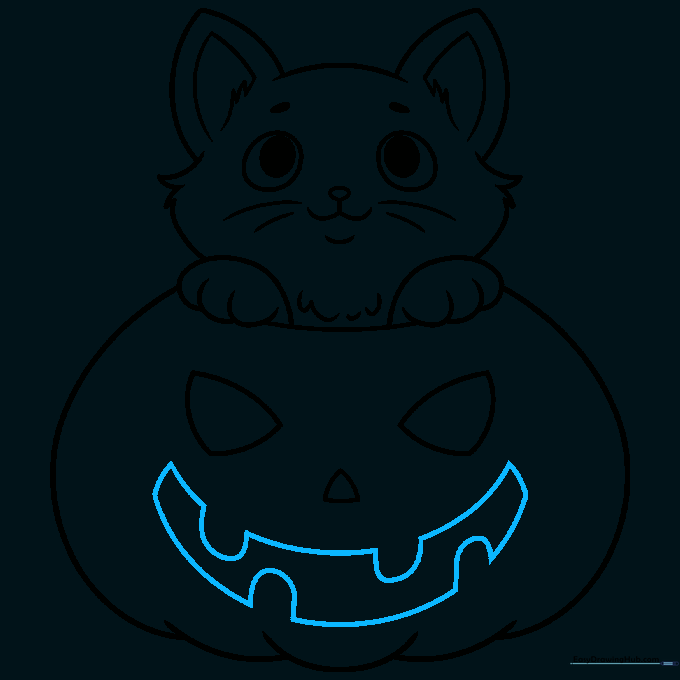
Draw two parallel curved lines for the mouth, then connect them with short vertical lines. Erase small sections to create a jagged, toothy grin. Tip: If you make a mistake, just use your eraser to 'carve' the teeth until they look right.
Step 8: Adding Depth
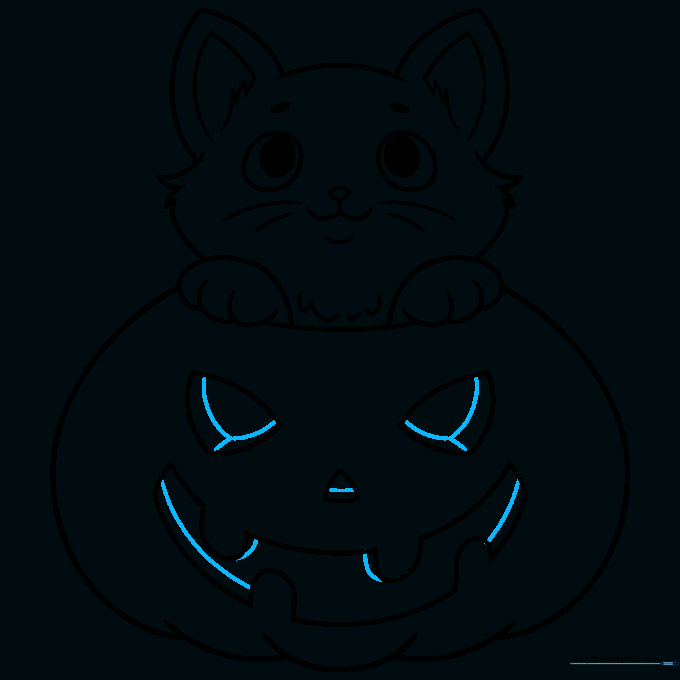
Add small curved lines inside the eyes, nose, and mouth of the pumpkin to give them a 3D, carved look. Tip: These small details make the pumpkin look like it has real thickness.
Step 9: Finalizing Pumpkin Texture
Add vertical curved lines along the sides of the pumpkin to suggest its natural, ribbed texture. Tip: Keep these lines light so they don't overpower the cat.
Step 10: Coloring Your Creation
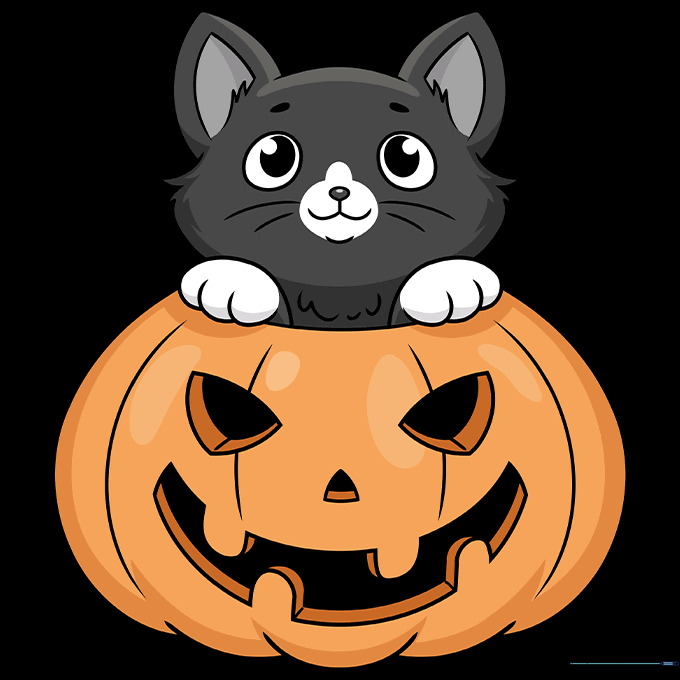
Outline your drawing with a black marker and erase any remaining pencil lines. Color the cat black, leaving small white spots for highlights. Use vibrant oranges for the pumpkin, using darker shades in the crevices for shadows. Tip: Use a white gel pen for extra-bright highlights on the eyes!
More Tutorials


