How to Draw a Gummy Bear: Easy 9-Step Tutorial
Looking for a fun, creative activity for your little artist? This step-by-step guide is perfect for ages 5 and up to practice basic shapes and character design. All you need is a pencil, an eraser, and some paper to bring these sweet treats to life.
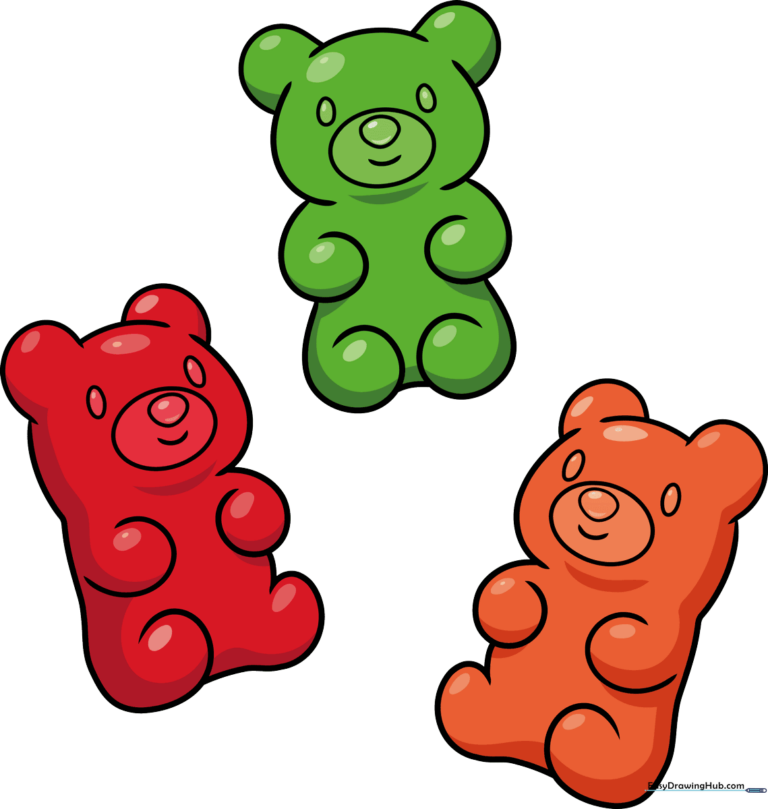
🎯 Final Result
Step-by-Step Instructions
Step 1: Sketching the Face
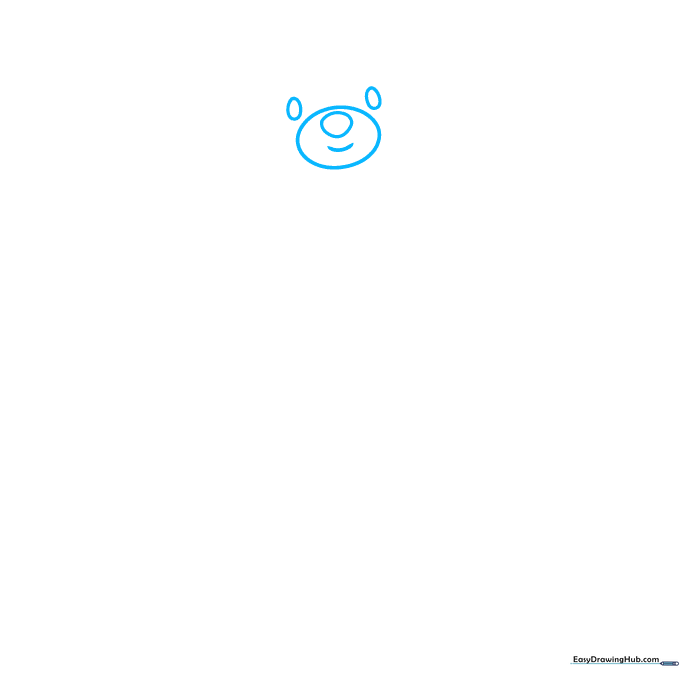
Start by drawing four ovals: two small ones for the eyes, a medium one for the nose, and a larger oval surrounding the nose area. Add a gentle curved line below for a happy smile. Teacher's Tip: Keep your pencil pressure light so you can easily adjust the symmetry later.
Step 2: Defining the Head and Arms
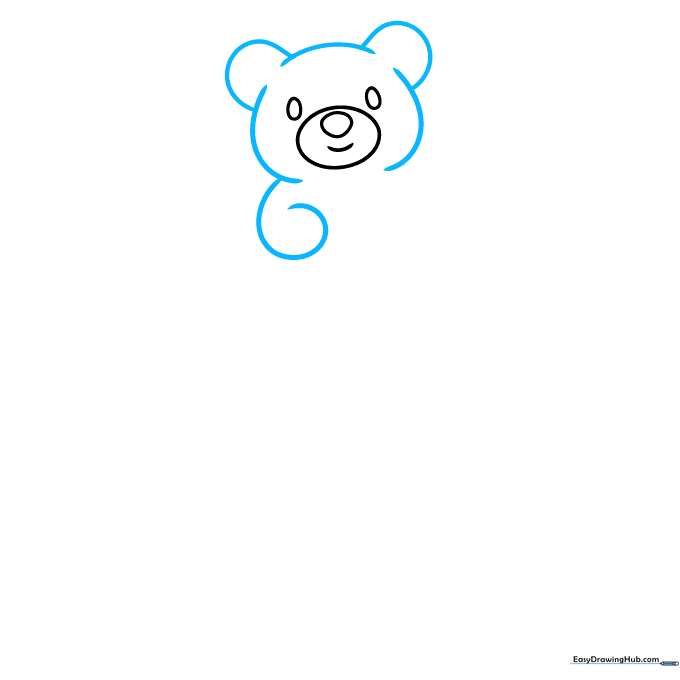
Use overlapping curved lines to outline the ears and the top of the head. Add a spiral-shaped line to represent the arm. Teacher's Tip: Think of the ears as small semi-circles attached to the top corners of the head.
Step 3: Completing the First Bear
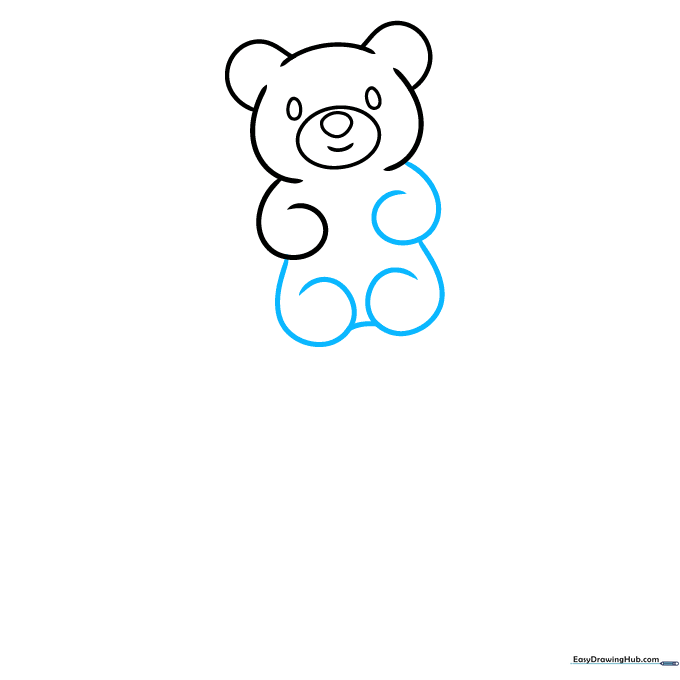
Draw an opposite spiral for the second arm and add two more spirals at the bottom for the legs. Connect the legs with a short horizontal line. Teacher's Tip: Ensure the legs are balanced so your bear looks like it's sitting comfortably.
Step 4: Starting the Second Bear
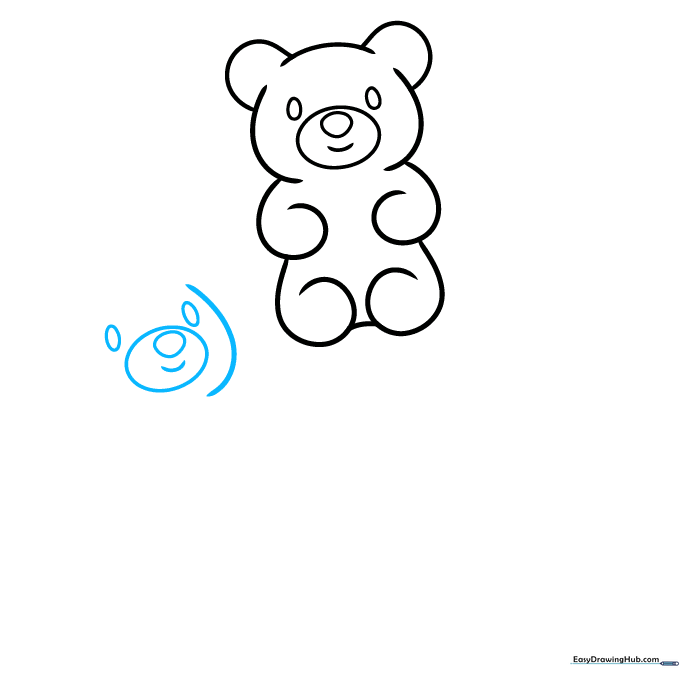
Repeat the face-drawing process for a second bear. Draw two eye ovals and a snout area. Teacher's Tip: Try placing this bear slightly overlapping the first one to create a fun, crowded candy effect.
Step 5: Shaping the Second Bear
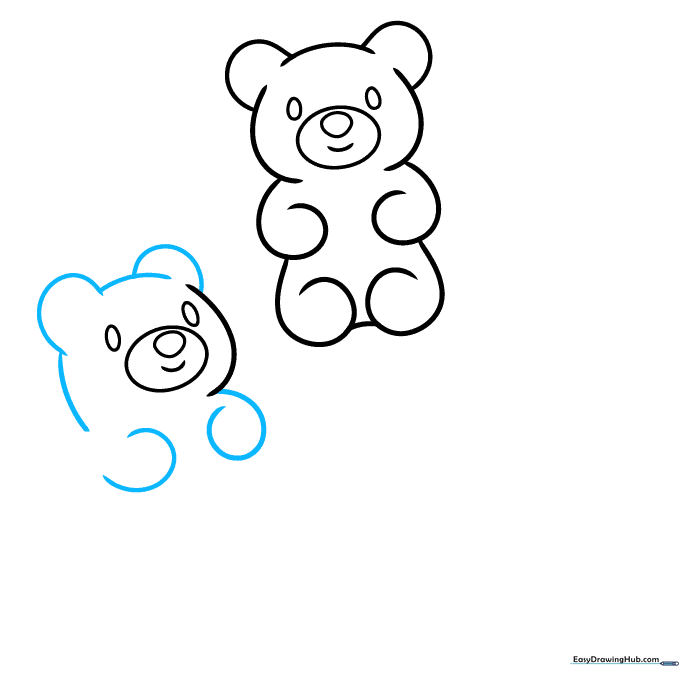
Add the ears and the top of the head using smooth, rounded lines. Sketch the arms extending from the sides. Teacher's Tip: Use short, quick strokes to keep the lines looking soft and 'gummy'.
Step 6: Finishing the Second Bear
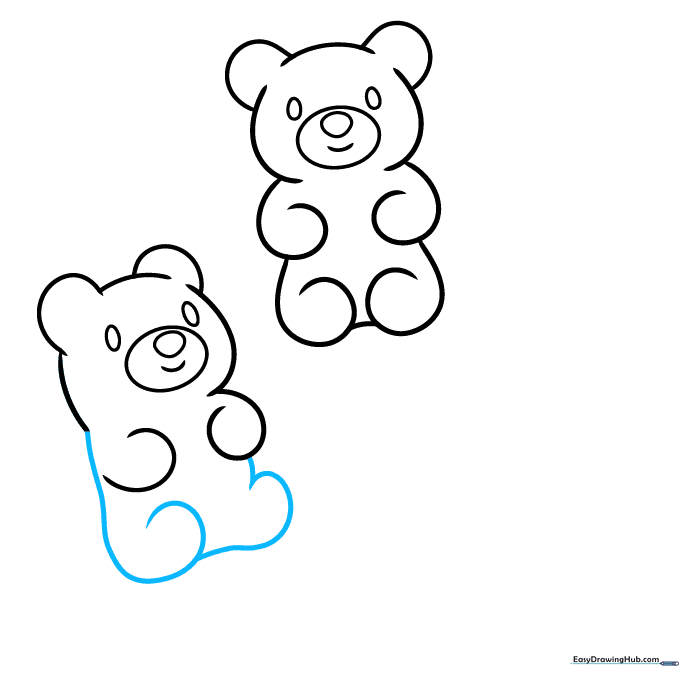
Draw a long, curved line for the back and leg. Add the final leg and torso side. Teacher's Tip: Ensure the back line is smooth to give the bear a rounded, plump appearance.
Step 7: Starting the Third Bear
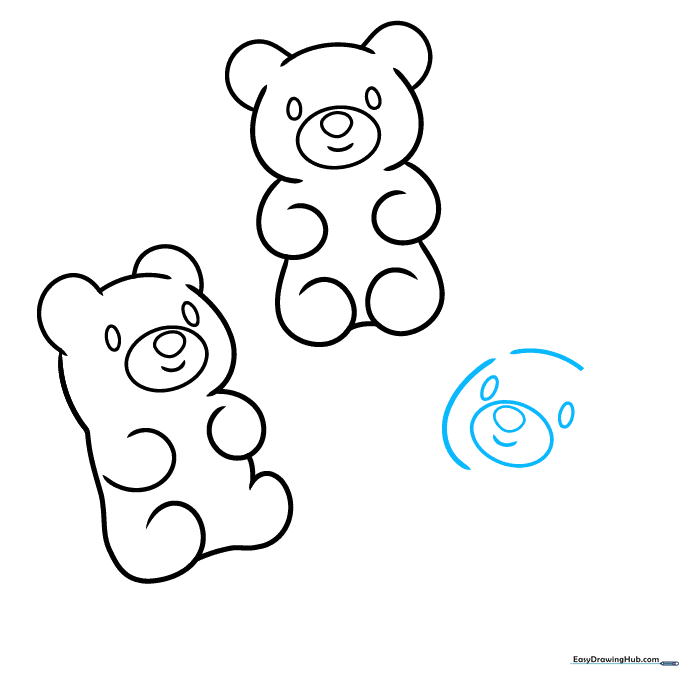
Begin the third bear by sketching the eyes and snout. Start the head outline with two curved lines. Teacher's Tip: Vary the height of this bear slightly to make the group look more dynamic.
Step 8: Adding Details to the Third Bear
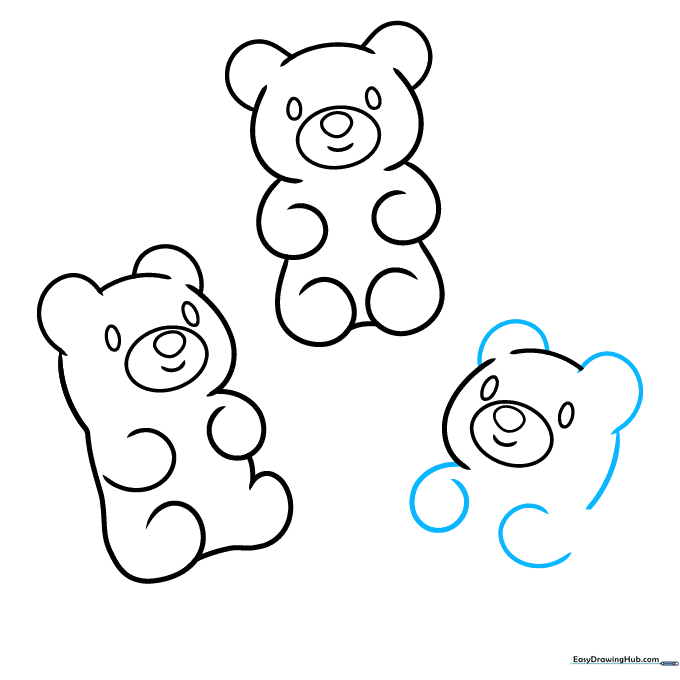
Add the ears and arms using the same curved techniques as before. Teacher's Tip: If you make a mistake, don't worry! Gummy bears are meant to be cute and imperfect.
Step 9: Finalizing the Outline
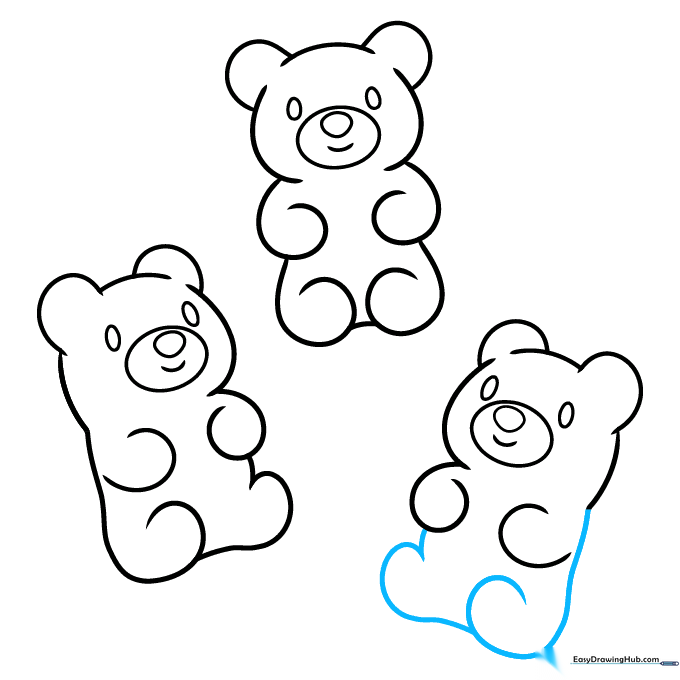
Complete the third bear by drawing the back and legs. Your gummy bear trio is ready for color! Teacher's Tip: Use a fine-liner pen to trace your pencil lines before erasing the guide marks for a clean look.
Step 10: Adding Color
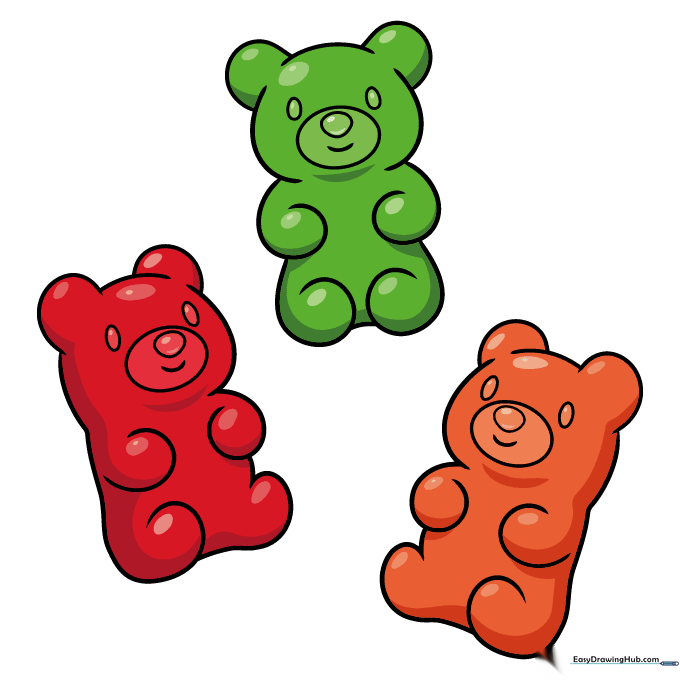
Bring your bears to life with bright colors like red, green, yellow, or orange. Teacher's Tip: Use a slightly darker shade of your chosen color on the edges to give your gummy bears a translucent, 3D effect.
More Tutorials


