How to Draw an Acoustic Guitar: Easy 10-Step Guide
Ready to bring music to life on paper? This tutorial is perfect for young artists ages 6+ looking to master the shape of an acoustic guitar. You only need a pencil, an eraser, and a piece of paper to get started. Follow along to develop your spatial awareness and line control.
🎯 Final Result

Step-by-Step Instructions
Step 1: Sketching the Guitar Body
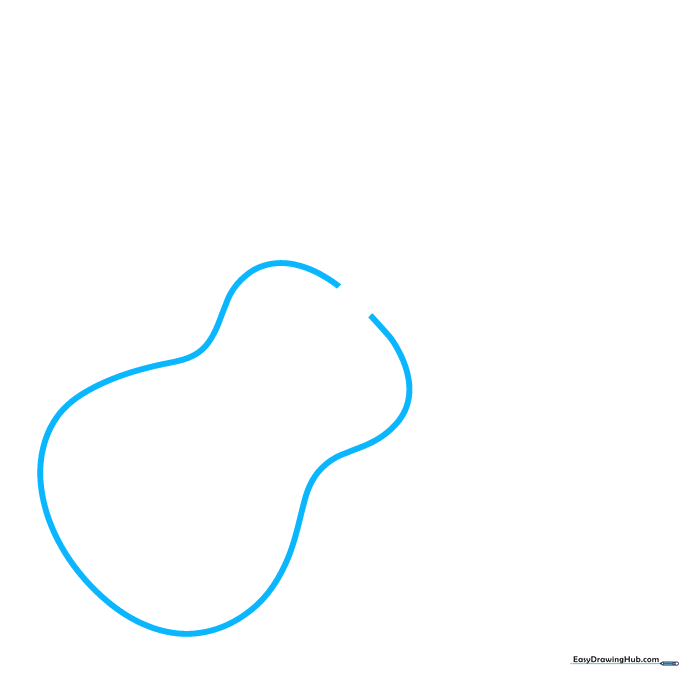
Start by drawing the main body of the guitar using a large, curved 'peanut' shape. Teacher's Tip: Keep the top of the shape open for now, as the neck will attach there later. Draw lightly so you can adjust the curves if needed.
Step 2: Adding the Neck and Sound Hole

Draw a long, narrow rectangle extending from the top of the body to form the neck. Add two circles in the center of the body to create the sound hole. Teacher's Tip: Make sure the neck is centered so your guitar looks balanced.
Step 3: Creating Depth and the Bridge

Draw a curved line along the side of the body to give it a 3D look. Then, sketch the bridge near the bottom of the sound hole. Teacher's Tip: The bridge is where the strings 'anchor' to the body, so keep it neat and rectangular.
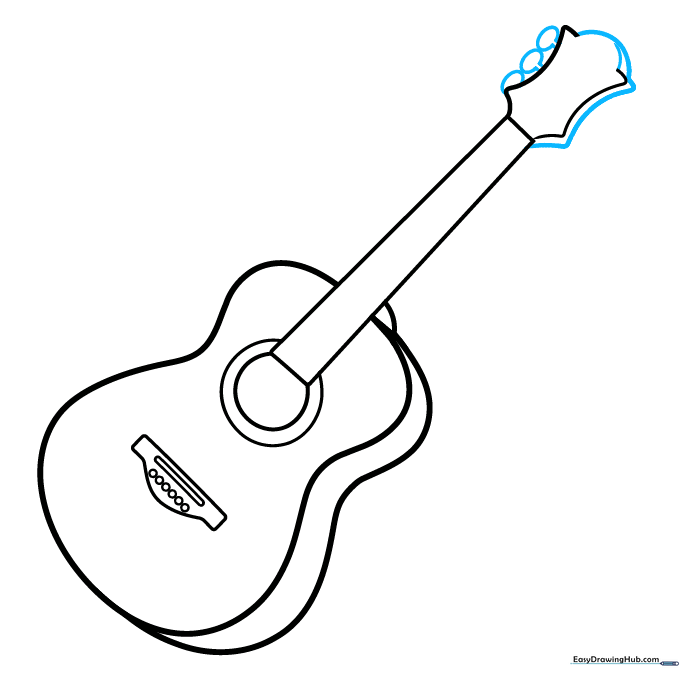
Step 4: Detailing the Bridge and Headstock

Add six small dots to the bridge and draw the headstock shape at the top of the neck. Teacher's Tip: The headstock is the 'brain' of the guitar, so take your time making the shape symmetrical.
Step 5: Drawing Tuning Pegs
Draw the tuning pegs on the headstock using small ovals and short lines. Teacher's Tip: These are what musicians turn to tune the strings, so draw them evenly spaced on both sides.
Step 6: Adding Frets to the Neck
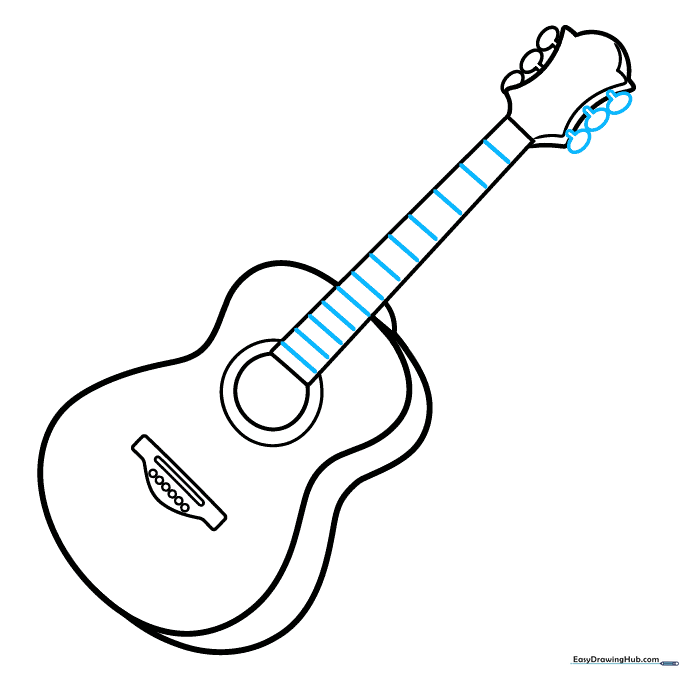
Draw horizontal lines across the neck to create the frets. Teacher's Tip: Notice how the frets get closer together as you move toward the body of the guitar—this is how real guitars are built!
Step 7: Stringing the Guitar
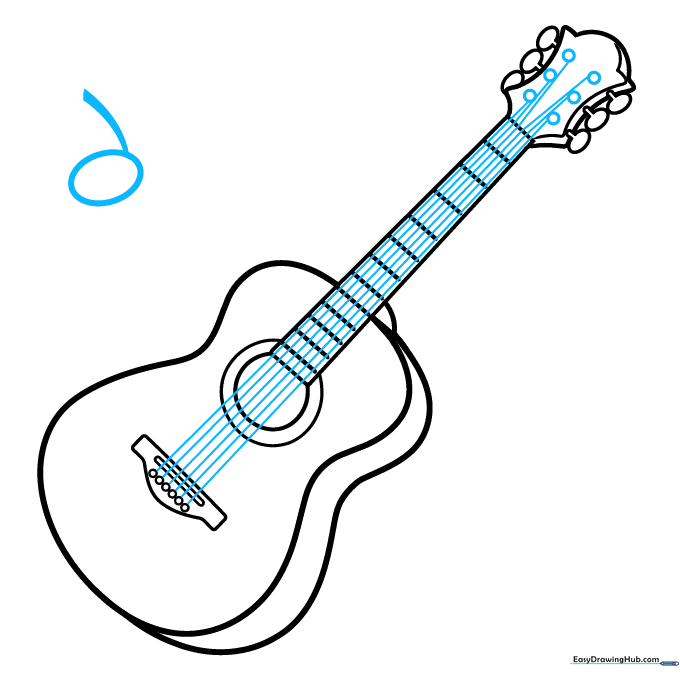
Connect the tuning pegs to the bridge with six straight lines to represent the strings. Then, start adding musical notes around the guitar to show it's playing a tune. Teacher's Tip: Use a ruler if you struggle to keep your string lines straight.
Step 8: Adding Musical Flair
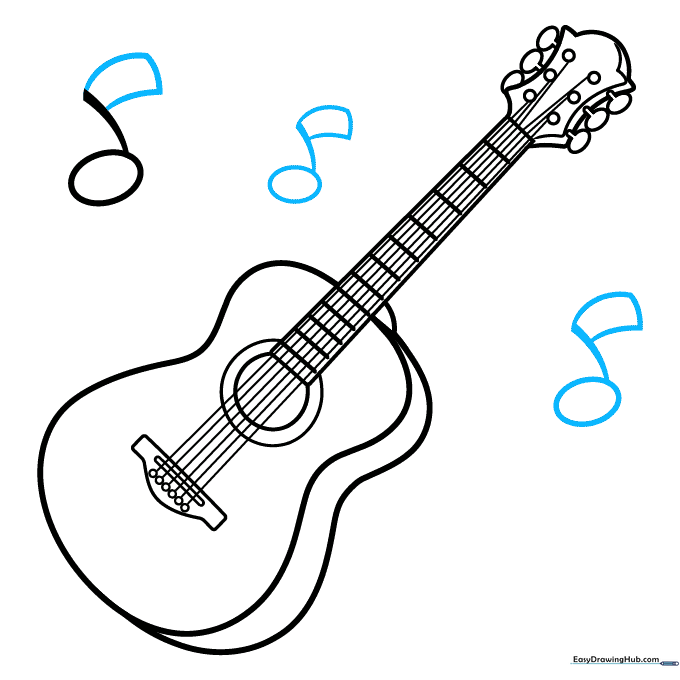
Draw more musical notes, like eighth notes, floating around your guitar. Teacher's Tip: Vary the sizes of the notes to create a sense of movement and rhythm in your drawing.
Step 9: Final Touches
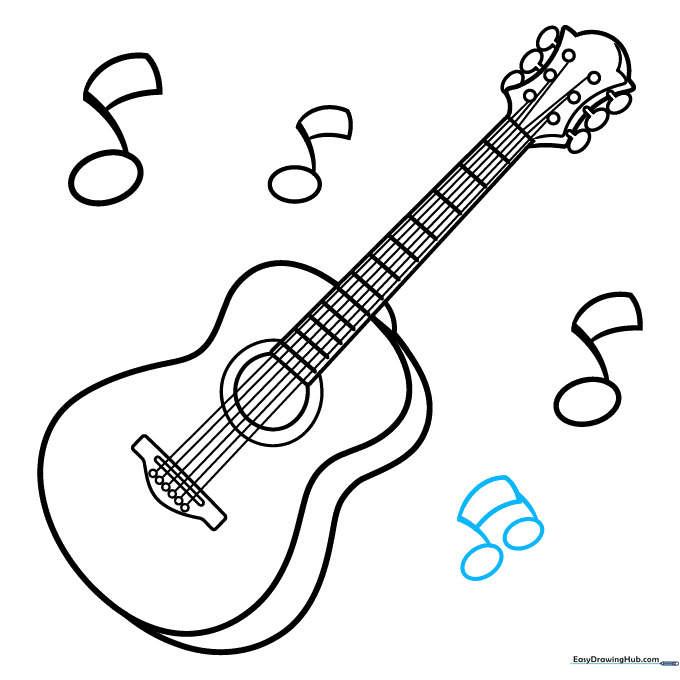
Add any final details, like a beam connecting your musical notes. Teacher's Tip: Check your drawing for any stray pencil marks and erase them now to prepare for coloring.
Step 10: Bring It to Life with Color

Time to color! Use warm yellows and tans for the wood body. You can use darker browns for the sides and headstock to add contrast. Teacher's Tip: Use a light touch with your colored pencils to blend the shades for a realistic wood grain effect.
More Tutorials


