How to Draw a Grizzly Bear: Simple 10-Step Guide
Ready to bring a powerful grizzly bear to life on your page? This tutorial is designed for young artists and beginners, requiring only a pencil, eraser, and paper. Follow these simple steps to master basic shapes and build confidence in your drawing skills.
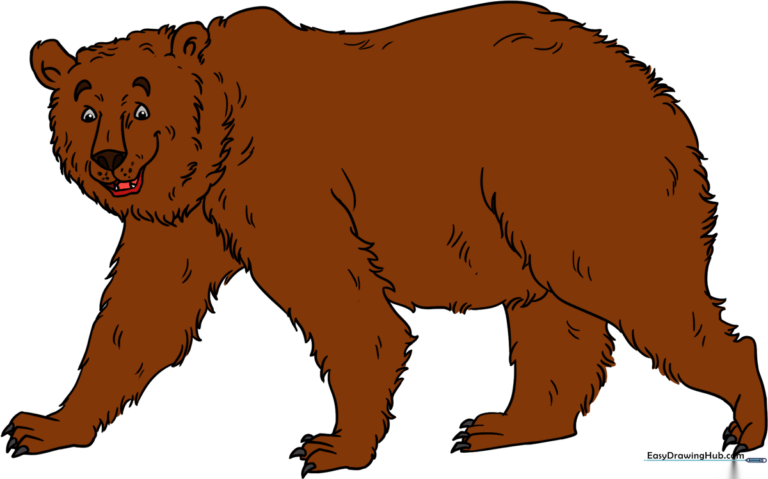
🎯 Final Result
Step-by-Step Instructions
Step 1: Sketching the Foundation
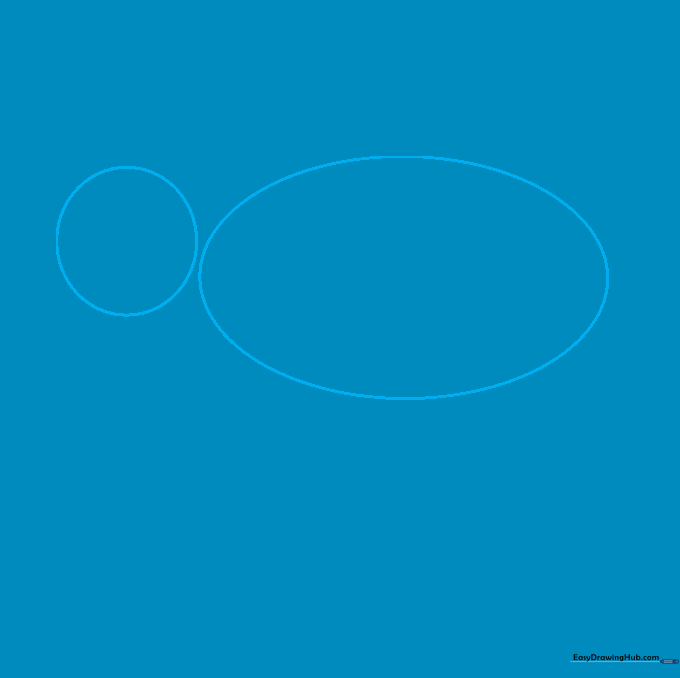
Start by drawing a large oval for the body and a smaller circle for the head. Teacher's Tip: Keep your pencil lines very light—these are just guides that we will erase later, so don't press too hard!
Step 2: Mapping the Joints

Add two circles below the head for the shoulders and a larger circle overlapping the back of the oval for the hips. Teacher's Tip: Think of these as the 'anchor points' for the bear's powerful legs.
Step 3: Defining the Silhouette
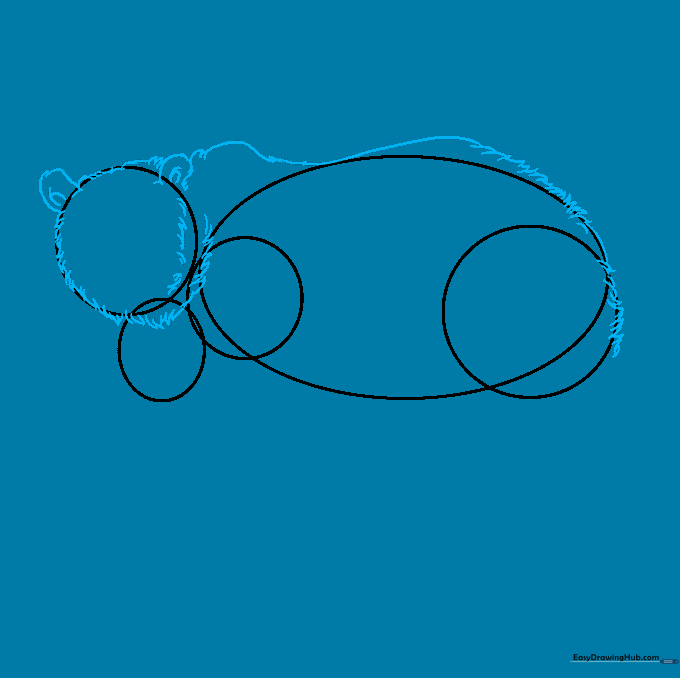
Draw small curved triangles for ears and use short, jagged lines to connect the head to the body, creating the bear's neck and back hump. Teacher's Tip: Use 'furry' strokes—quick, short lines—to make the outline look soft rather than perfectly smooth.
Step 4: Sketching the Front Leg
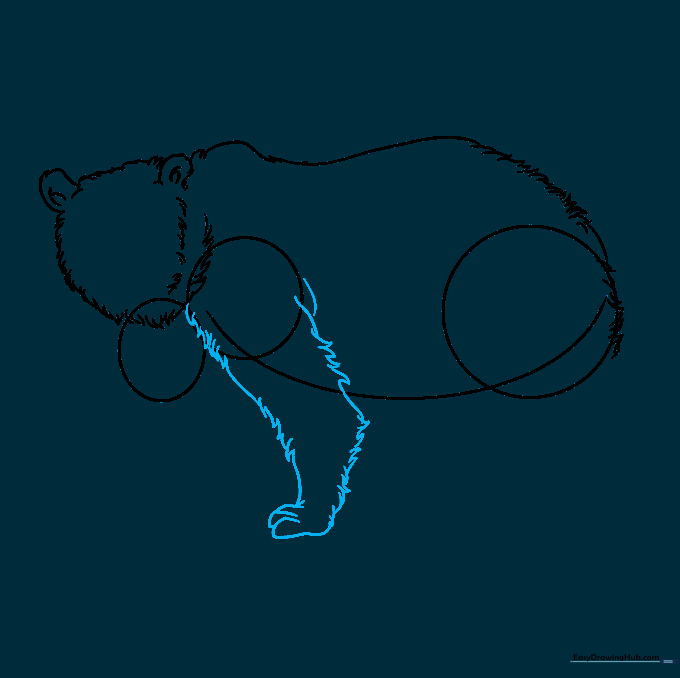
Using your shoulder circle as a guide, draw the front leg and paw with overlapping curved lines. Teacher's Tip: Bears have thick legs; don't be afraid to make them look sturdy and strong.
Step 5: Sketching the Rear Leg
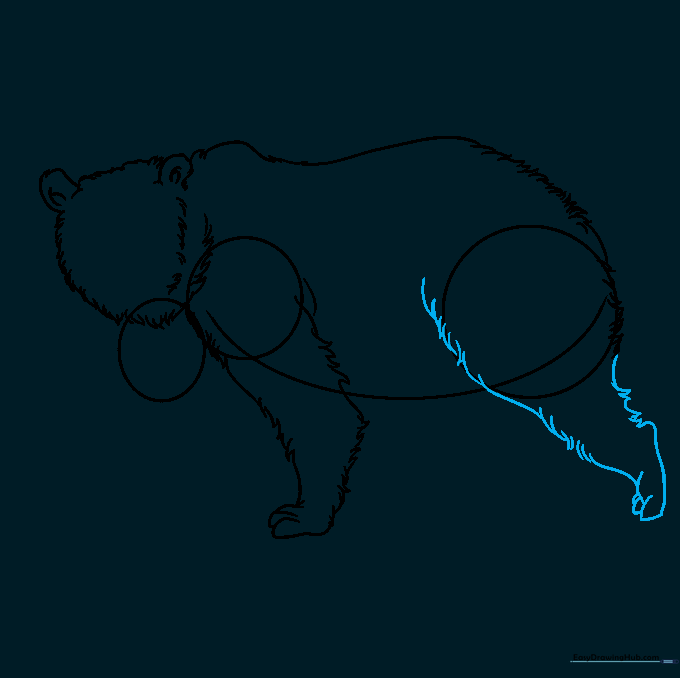
Now, use the hip circle to guide the shape of the rear leg. Teacher's Tip: The rear leg should look slightly bent, showing the bear is ready to walk.
Step 6: Refining the Body

Erase your original guide circles. Now, draw the far-side legs and add more 'furry' texture along the belly. Teacher's Tip: Cleaning up your guide lines now makes the final drawing look much more professional.
Step 7: Adding Claws
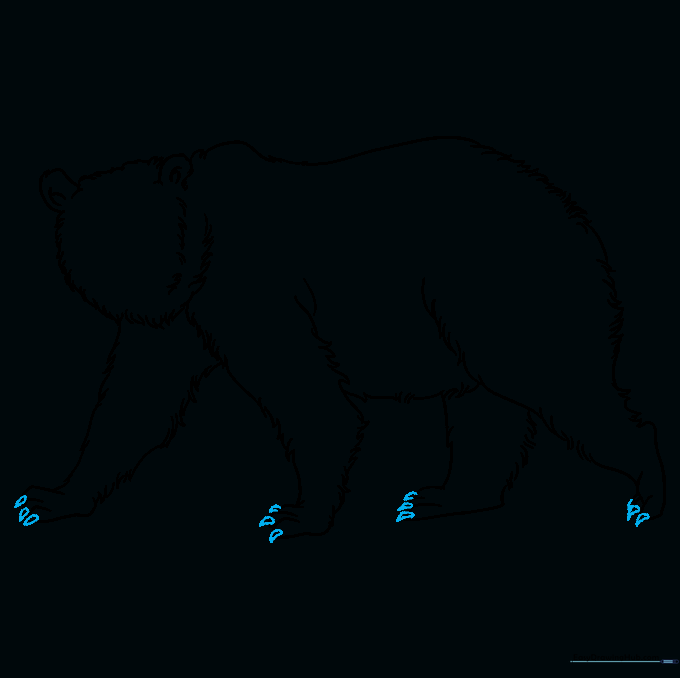
Draw small, sharp triangles at the end of each toe to create the bear's claws. Teacher's Tip: Keep them small—grizzly claws are long, but they shouldn't overwhelm the paws.
Step 8: Facial Features

Draw the eyes, eyebrows, and a snout. Add dots to the muzzle to represent whiskers. Teacher's Tip: A slightly curved mouth gives the bear a friendly, cartoonish expression.
Step 9: Adding Final Texture
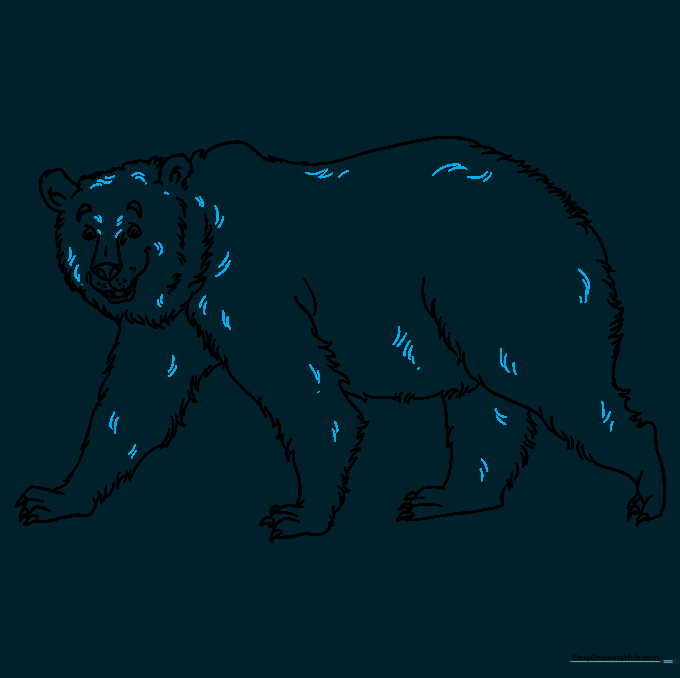
Add short, scattered curved lines all over the bear's body to give it a thick, furry look. Teacher's Tip: Don't make them too uniform; real fur is messy and goes in different directions!
Step 10: Bringing It to Life with Color
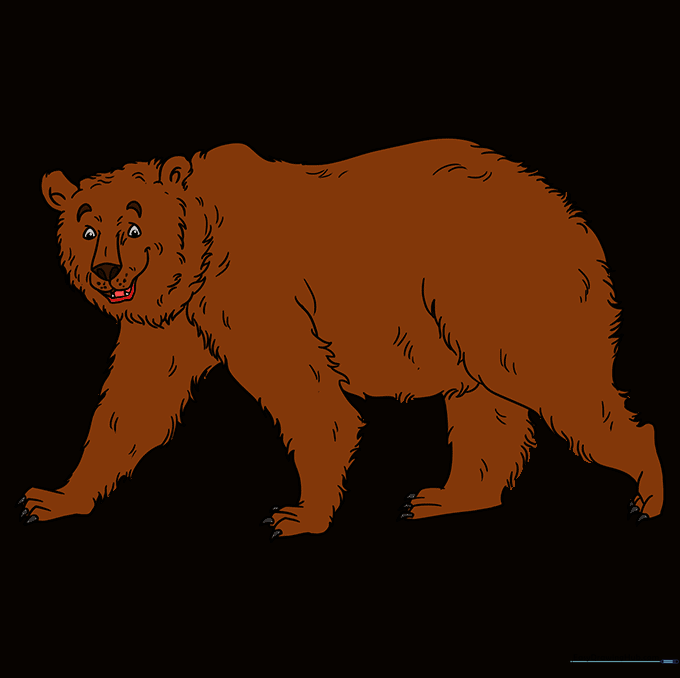
Color your bear! Use shades of brown, or experiment with blonde or reddish tones. Teacher's Tip: Use a darker brown for the shadows under the belly and legs to make your bear look 3D.
More Tutorials


