How to Draw a Great White Shark: Easy 10-Step Guide
Ready to dive into the ocean? This tutorial is perfect for young artists ages 6+ looking to master shark anatomy. Grab your pencil, eraser, and paper to follow along as we build a powerful Great White Shark from simple geometric shapes.
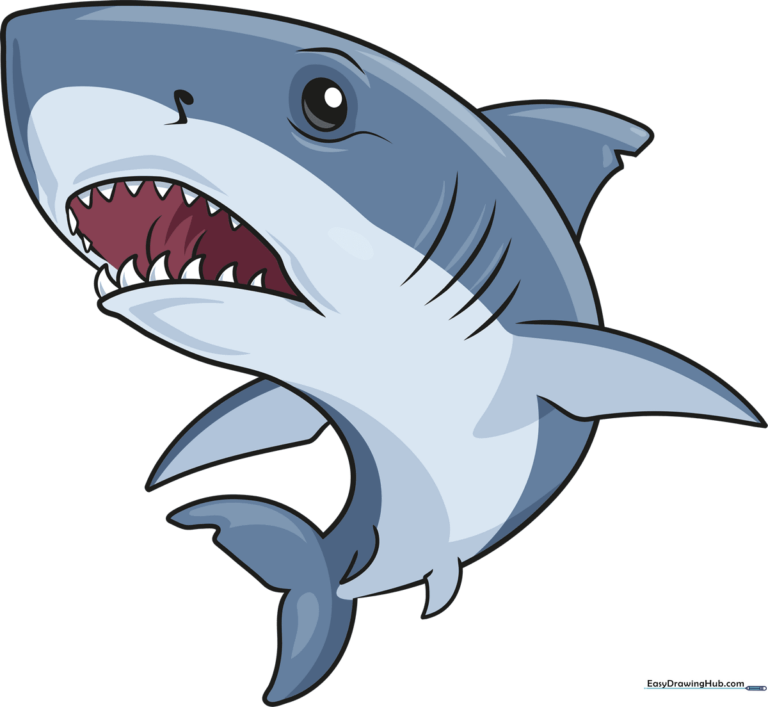
🎯 Final Result
Step-by-Step Instructions
Step 1: Sketching the Mouth Line

Begin by drawing a long, curved line shaped like a sideways letter 'J'. Teacher's Tip: Keep your pencil pressure light so you can easily adjust the shape later if the curve feels too steep.
Step 2: Defining the Snout
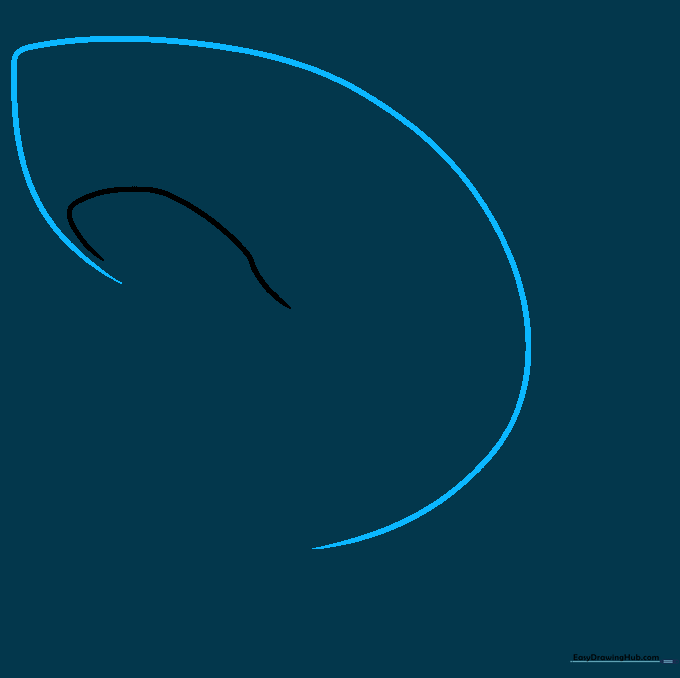
Draw a second curved line that arches over the first, creating the shark's nose. Teacher's Tip: Make the point at the top slightly rounded rather than sharp to give the shark a more natural, organic look.
Step 3: Forming the Underbelly
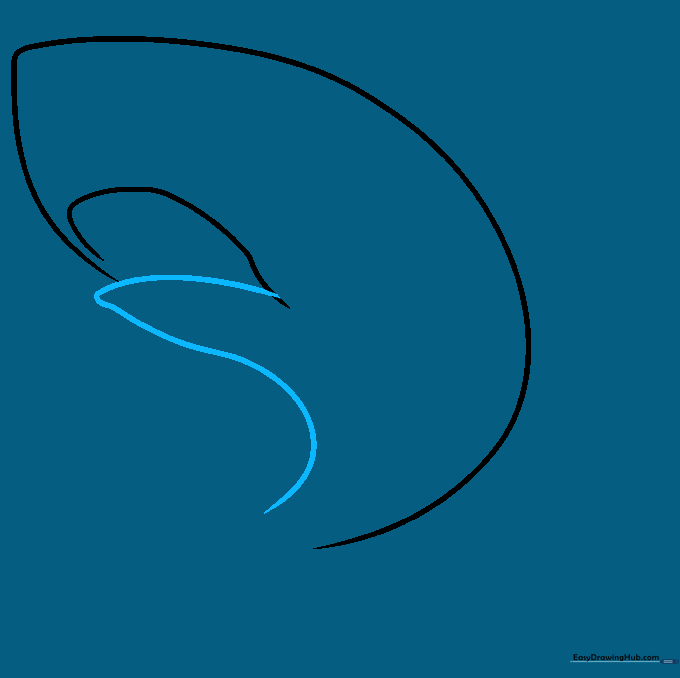
Extend a curved line from the bottom of your first mark, doubling it back to create the lower jaw and belly. Teacher's Tip: Think of this as the shark's 'tummy'—keep the curve smooth to show the shark is gliding through water.
Step 4: Adding Teeth and Gills
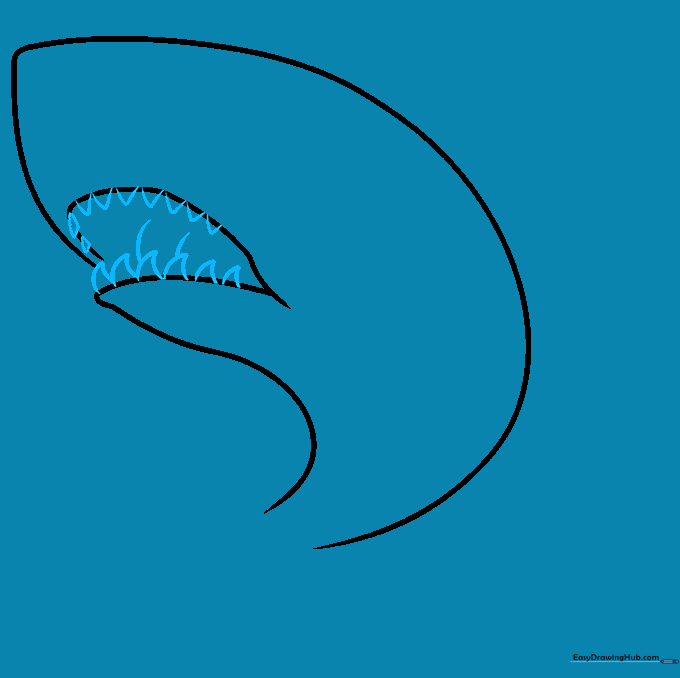
Draw small, triangular shapes inside the mouth for teeth. Add curved lines behind the mouth to suggest gill slits. Teacher's Tip: Don't make the teeth perfectly uniform; slight variations in size make the shark look more realistic.
Step 5: Drawing the Eye
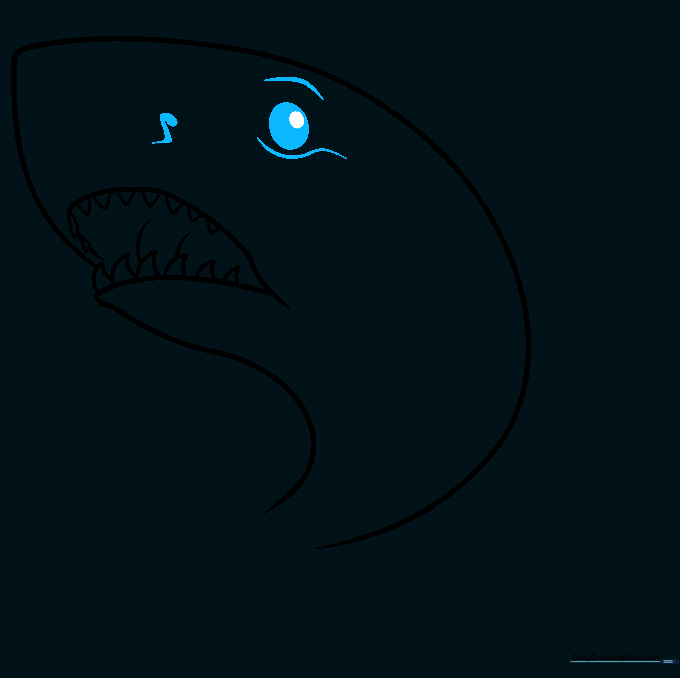
Create a circle-within-a-circle for the eye and add a small oval for the nostril. Teacher's Tip: Shading the pupil dark while leaving a tiny white dot creates a 'glint' that makes the eye look alive.
Step 6: The Dorsal Fin
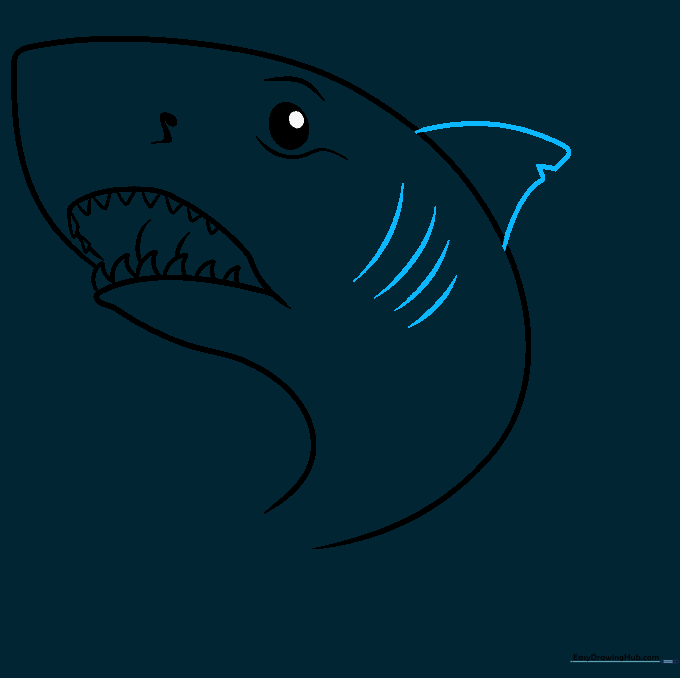
Draw a large triangle on the shark's back with a slight notch at the tip. Teacher's Tip: Sharks have a distinct 'hook' to their dorsal fin—try to curve the back edge slightly inward.
Step 7: Adding Pectoral Fins

Sketch the side fins using two curved lines that meet at a point. Teacher's Tip: Make sure these fins are wider at the base where they attach to the body to show strength.
Step 8: The Caudal Fin (Tail)
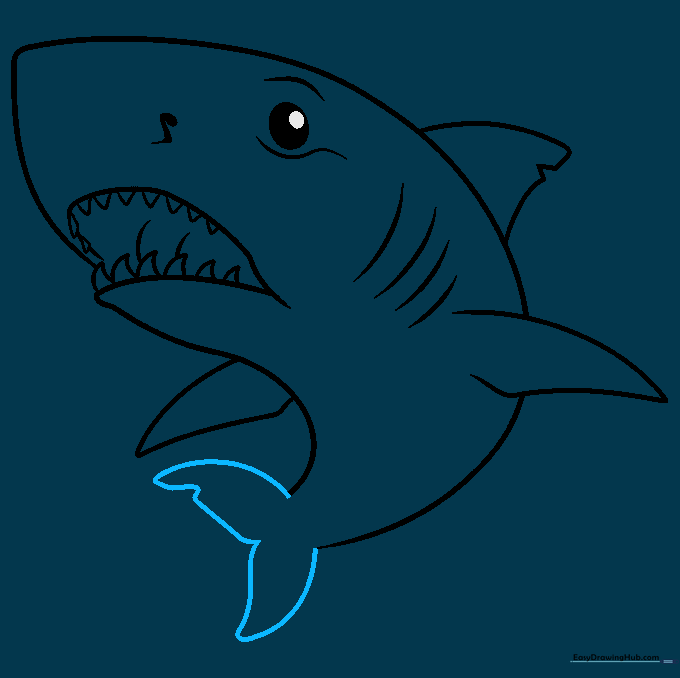
Draw the tail using two large, curved shapes that meet in the middle. Teacher's Tip: The tail is the shark's engine! Make it large and powerful to give your drawing a sense of movement.
Step 9: Finalizing Details
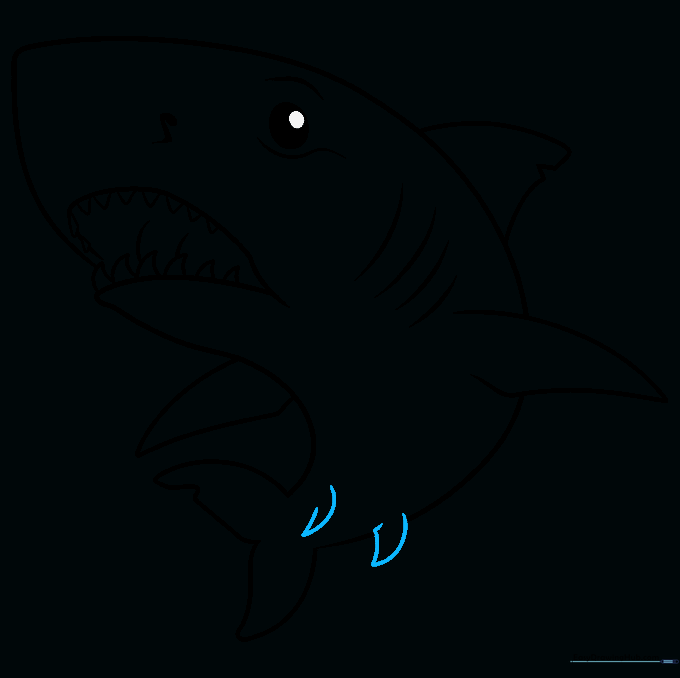
Add two smaller fins near the tail for balance. Teacher's Tip: Use your eraser to clean up any overlapping lines where the fins meet the body for a professional finish.
Step 10: Bringing it to Life with Color

Color your shark using grey for the top and cream for the belly. Teacher's Tip: Use a darker grey for the top and blend it into a lighter shade near the belly to create a 'counter-shading' effect, just like real sharks have!
More Tutorials


