How to Draw a Spooky Graveyard: Easy Step-by-Step Guide
Ready to create a spooky scene? This tutorial is perfect for young artists ages 8+ looking to practice atmospheric perspective and cartoon-style shading. You will need a pencil, an eraser, and a fine-liner pen to bring this eerie graveyard to life.
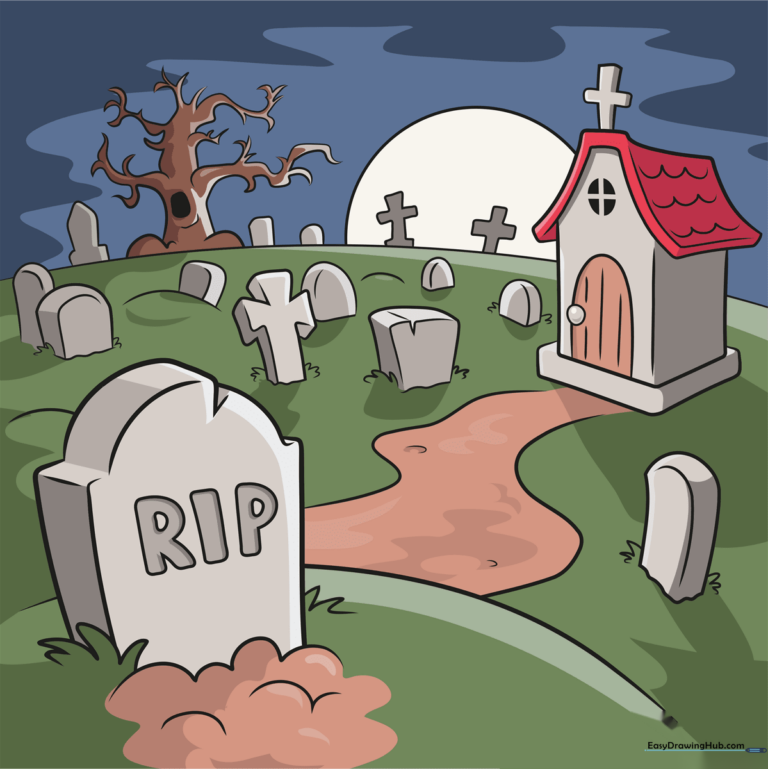
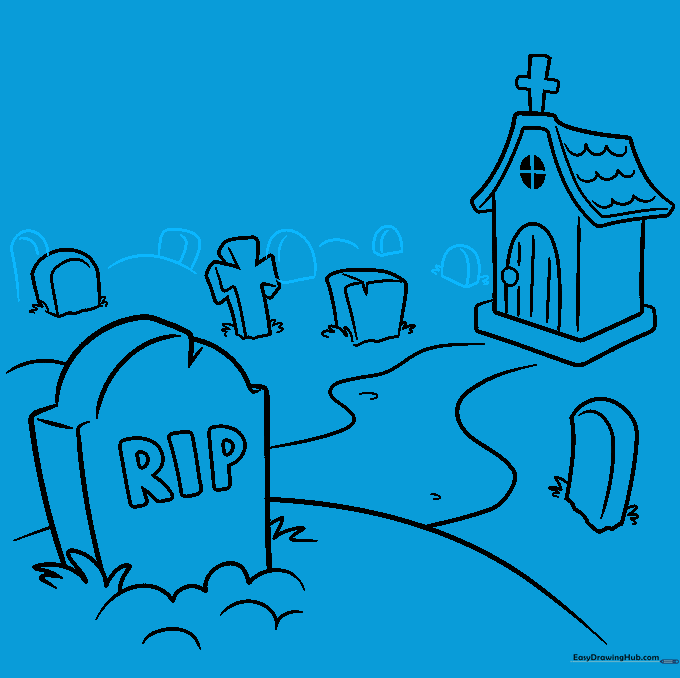
🎯 Final Result
Step-by-Step Instructions
Step 1: Sketching the Primary Tombstone

Start by drawing a rectangle with a rounded top for your first headstone. Add a side panel to give it a 3D look. Teacher's Tip: Keep your pencil lines very light here so you can easily erase the overlapping 'crack' line later for a weathered stone effect.
Step 2: Adding Detail and Texture

Write 'RIP' on the face of the stone using block letters. At the base, draw small, jagged 'U' shapes to represent tufts of grass. Teacher's Tip: Don't make the grass perfectly uniform; nature is messy, so vary the height of each blade.
Step 3: Creating the Path and Second Stone

Draw two curved lines leading into the distance to create a path. Add a second, slightly smaller tombstone nearby. Teacher's Tip: By drawing this stone smaller and higher up on the page, you create the illusion of distance.
Step 4: Constructing the Mausoleum
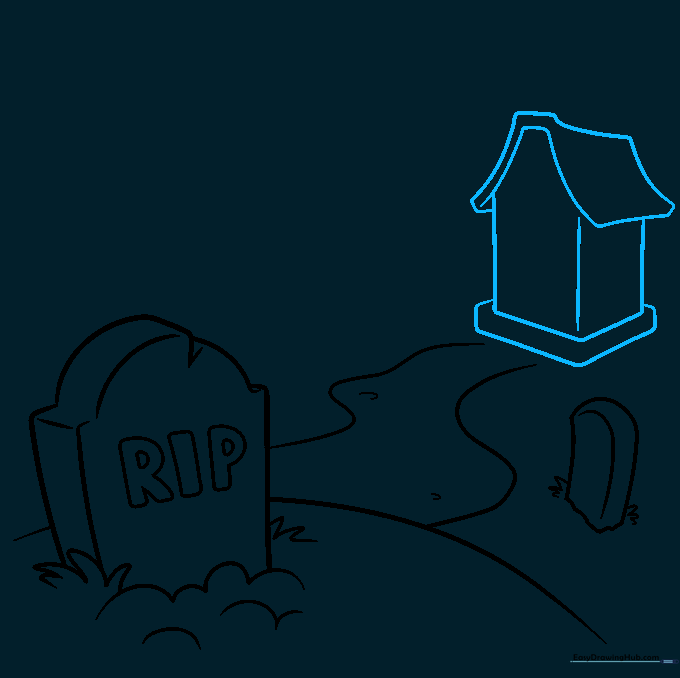
Draw a cube shape with a 'V' shaped roof to represent a small crypt or chapel. Use a ruler if you struggle with straight lines. Teacher's Tip: Ensure the base of the building sits flat on the ground line to keep the perspective consistent.
Step 5: Architectural Details
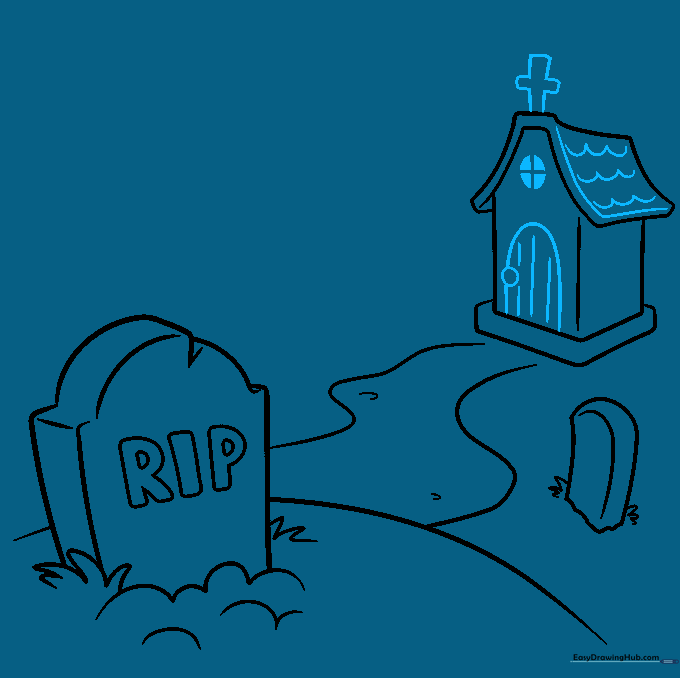
Add an arched door and a window to your mausoleum. Top it off with a small cross. Teacher's Tip: Use vertical lines on the door to give it a wooden plank texture.
Step 6: Populating the Graveyard
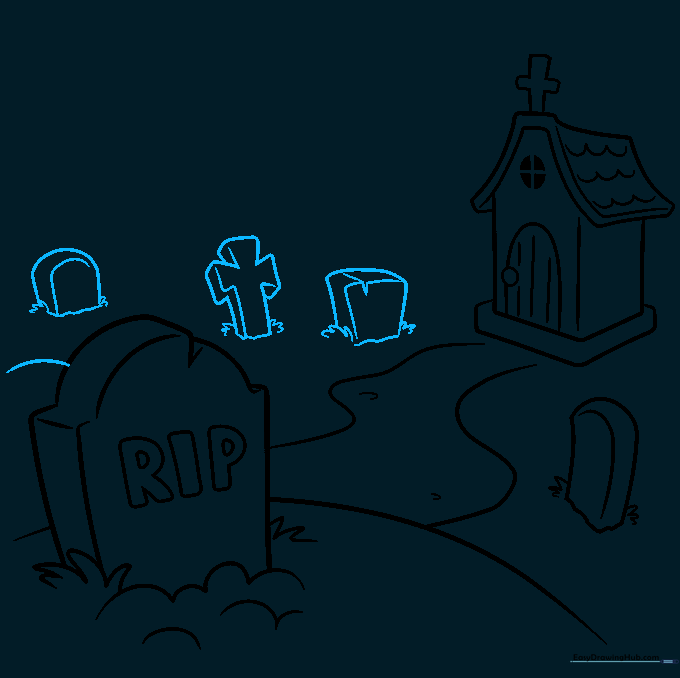
Add variety by drawing different tombstone shapes: crosses, rectangles, and rounded markers. Teacher's Tip: Overlap some stones to make the graveyard look crowded and aged.
Step 7: Defining the Terrain
Use rolling 'U' shaped lines to create hills in the background. This adds depth to your drawing. Teacher's Tip: Keep the lines soft and rounded to suggest gentle, grassy mounds.
Step 8: The Horizon Line
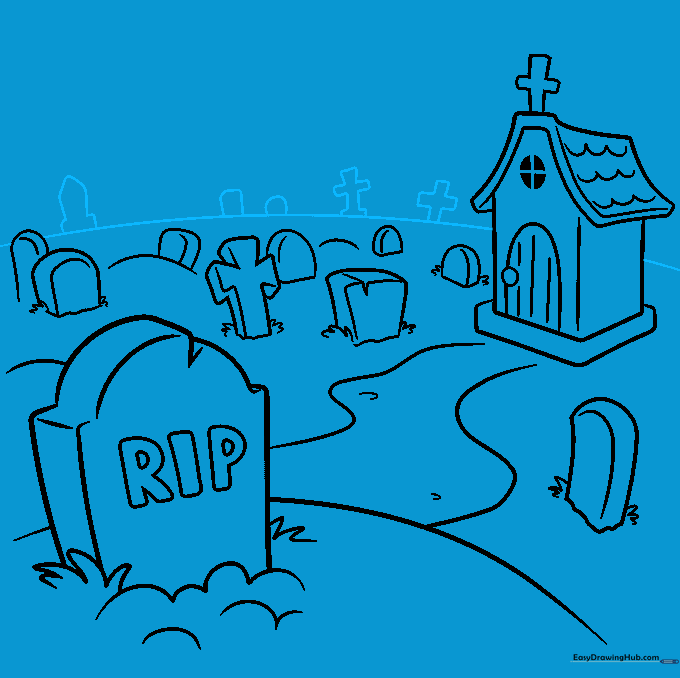
Draw a long, curved horizon line. Add tiny, distant tombstones along this line. Teacher's Tip: These should be very small—just simple shapes—to emphasize how far away they are.
Step 9: Adding the Spooky Tree and Moon
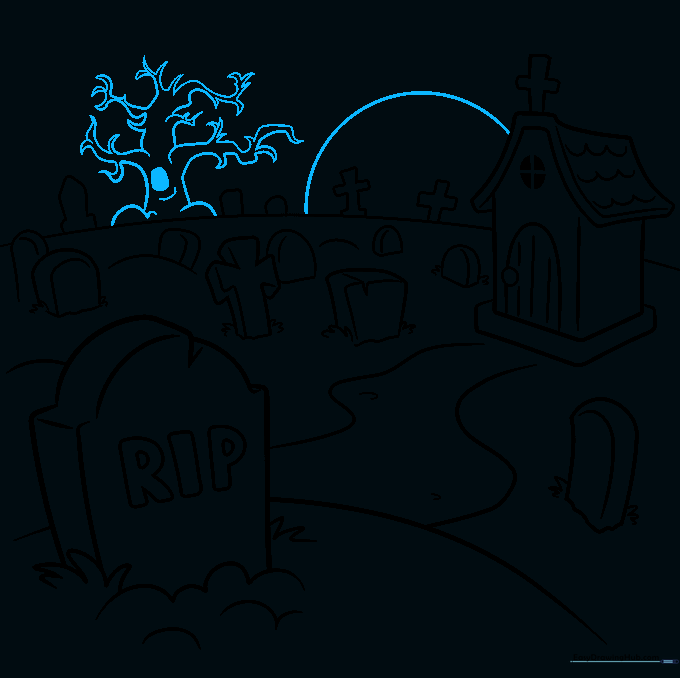
Draw a large, gnarled tree with twisted branches and a crescent moon in the sky. Teacher's Tip: Use 'V' shapes for the tips of the branches to make them look like sharp, spooky twigs.
Step 10: Final Coloring

Bring your drawing to life with color! Use cool blues and grays for a nighttime feel. Teacher's Tip: Leave the moon white or light yellow to create a high-contrast focal point.
More Tutorials


