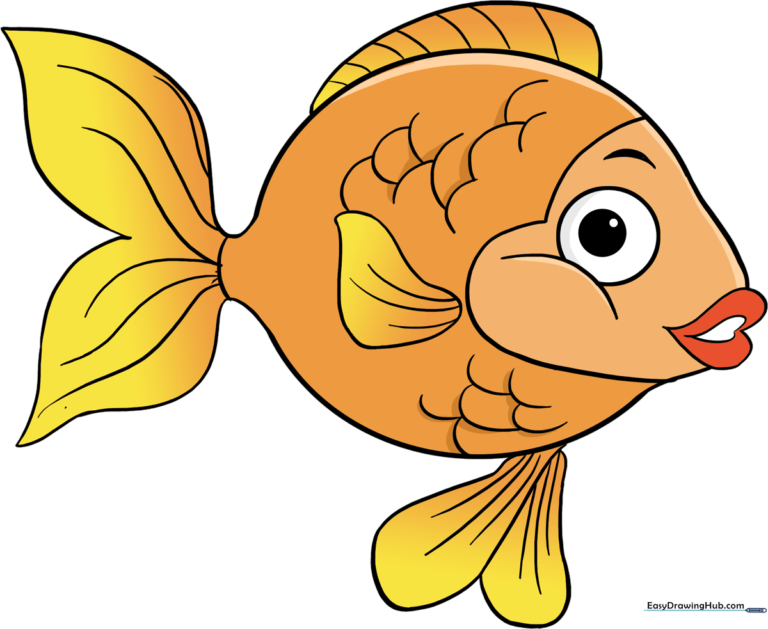
How to Draw a Goldfish: Easy 10-Step Guide for Kids
Bring a friendly goldfish to life with this simple, step-by-step drawing guide designed for artists ages 5 and up. You only need a pencil, an eraser, and your favorite coloring supplies to get started. Follow along to build confidence and master basic shapes while creating your own underwater friend.
🎯 Final Result
Step-by-Step Instructions
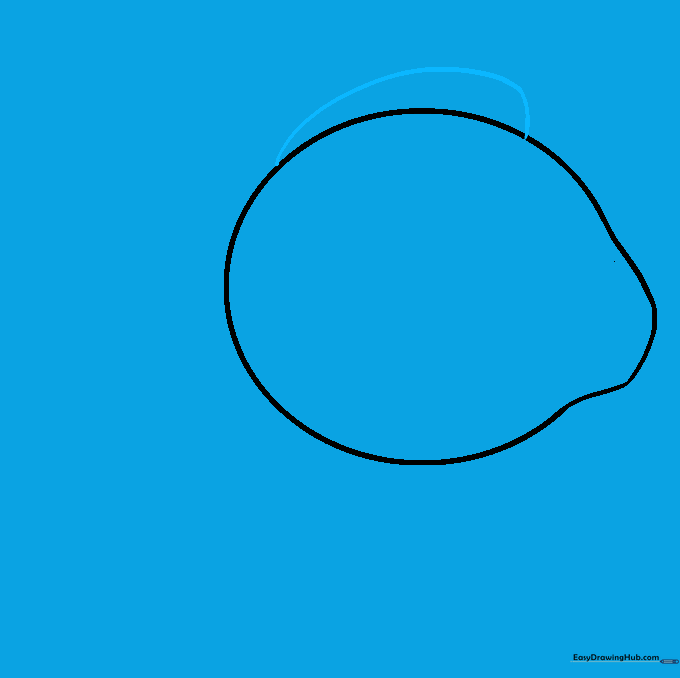
Step 1: Sketching the Body

Draw a simple circle to serve as the main body of your fish. Teacher's Tip: Keep this circle light and loose; it acts as a guide that we will refine later.
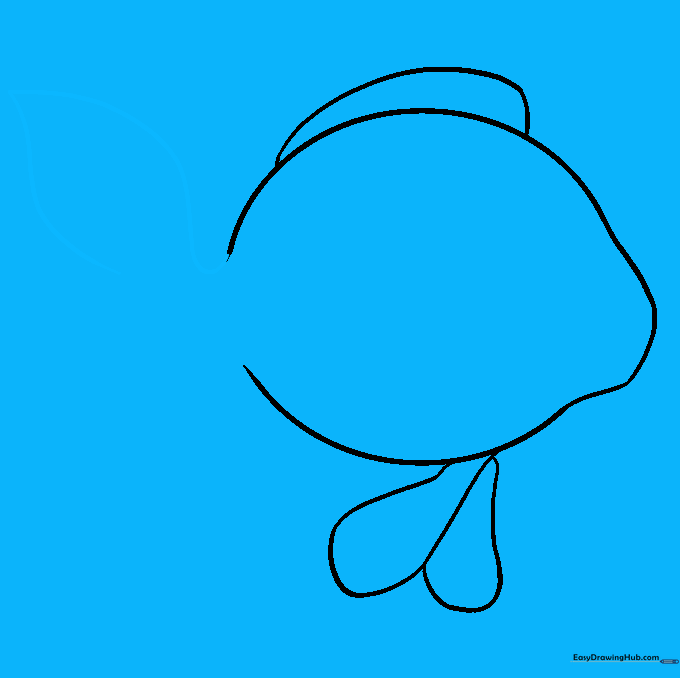
Step 2: Defining the Face

Erase one side of your circle and replace it with a gentle outward curve to form the fish's face. Teacher's Tip: Think of this as giving your fish a little 'nose' bump.
Step 3: Adding the Dorsal Fin
Draw a rounded, curved shape on top of the circle to create the dorsal fin. Teacher's Tip: Make sure the fin looks like a little sail—it helps the fish swim straight!
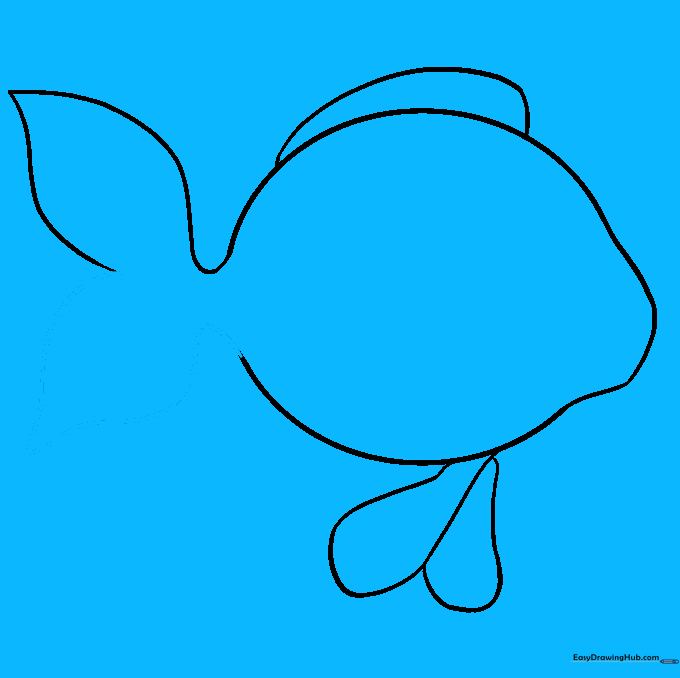
Step 4: Drawing the Pelvic Fins
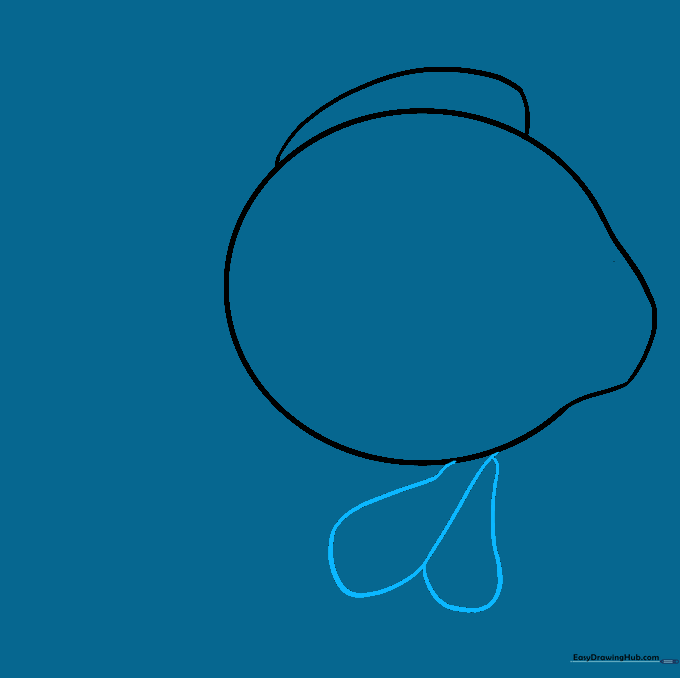
Add two teardrop shapes at the bottom of the body, overlapping slightly. Teacher's Tip: These are the pelvic fins; drawing them overlapping adds a sense of depth to your drawing.
Step 5: Starting the Tail
Erase the back of the circle and draw two long, curved lines meeting at a point to form the top half of the tail. Teacher's Tip: Keep your lines fluid and smooth for a graceful look.
Step 6: Finishing the Tail
Complete the tail by drawing the bottom section, mirroring the top. Teacher's Tip: Ensure the tail looks wide and flowy to give your fish character.
Step 7: Adding Facial Features
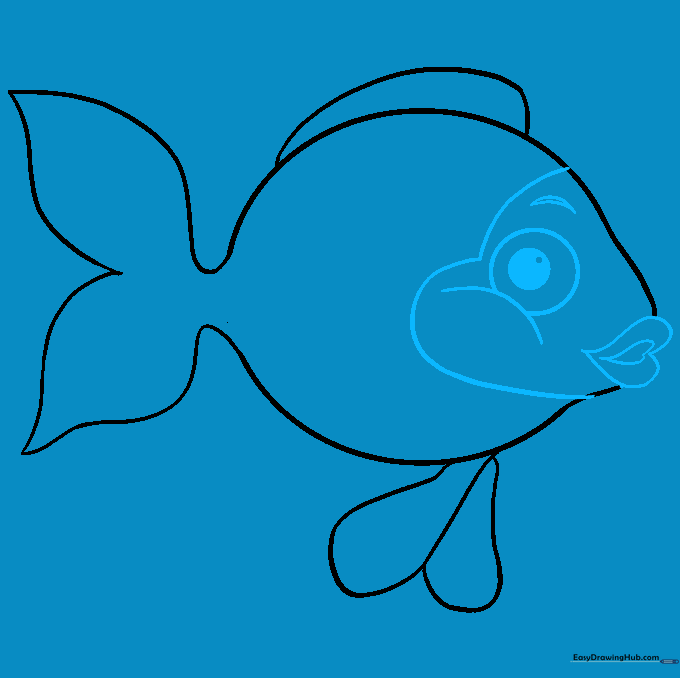
Draw a sideways heart for the mouth, then add a large eye with a pupil and a small eyebrow. Teacher's Tip: Use three small circles for the eye to create a realistic 'glint' effect.
Step 8: Adding Texture
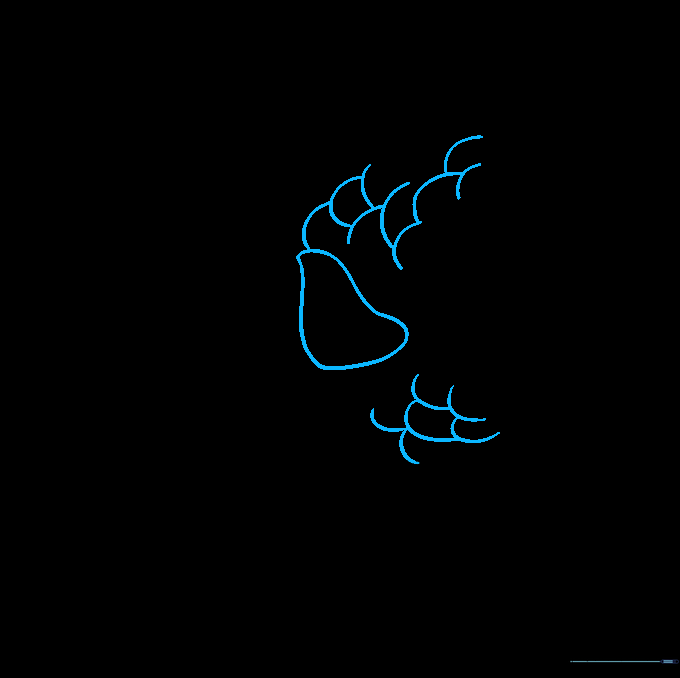
Draw the pectoral fin and add overlapping 'C' shapes across the body to represent scales. Teacher's Tip: Don't worry about making every scale perfect; the pattern is what matters most!
Step 9: Final Details
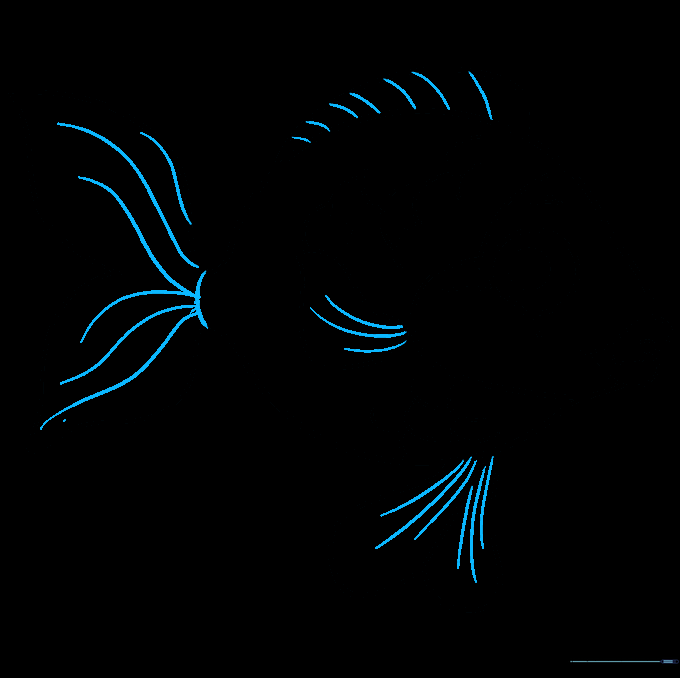
Add lines to the fins to show movement and separate the tail from the body. Teacher's Tip: Use a steady hand for these lines to make the fins look delicate.
Step 10: Bring It to Life with Color
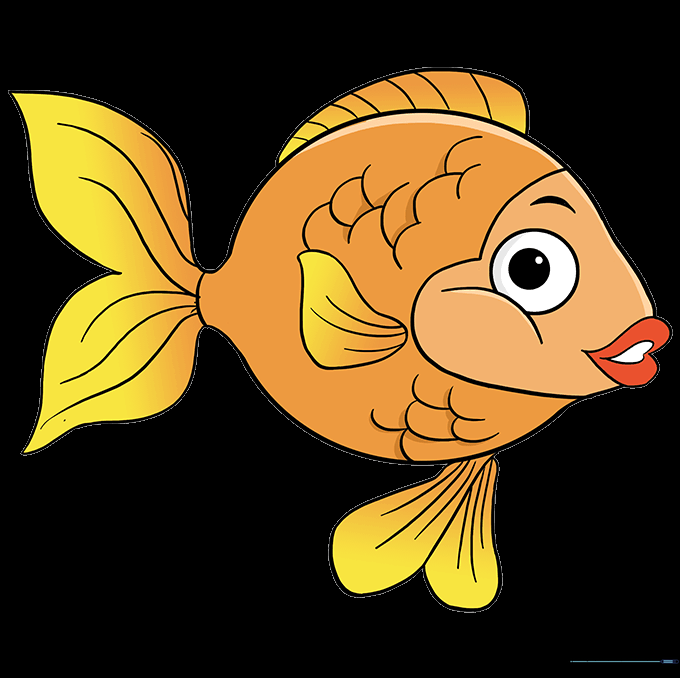
Color your goldfish using bright oranges, yellows, or reds. Teacher's Tip: Try adding a little white highlight in the eye to make your fish look like it's sparkling in the water!
More Tutorials


