How to Draw a Girl Superhero: Easy 10-Step Guide
Ready to create your own hero? This tutorial is perfect for young artists ages 6+ who want to design a powerful character. Grab a pencil, an eraser, and some paper to follow along as we build your superhero from the ground up, focusing on proportions and expressive features.
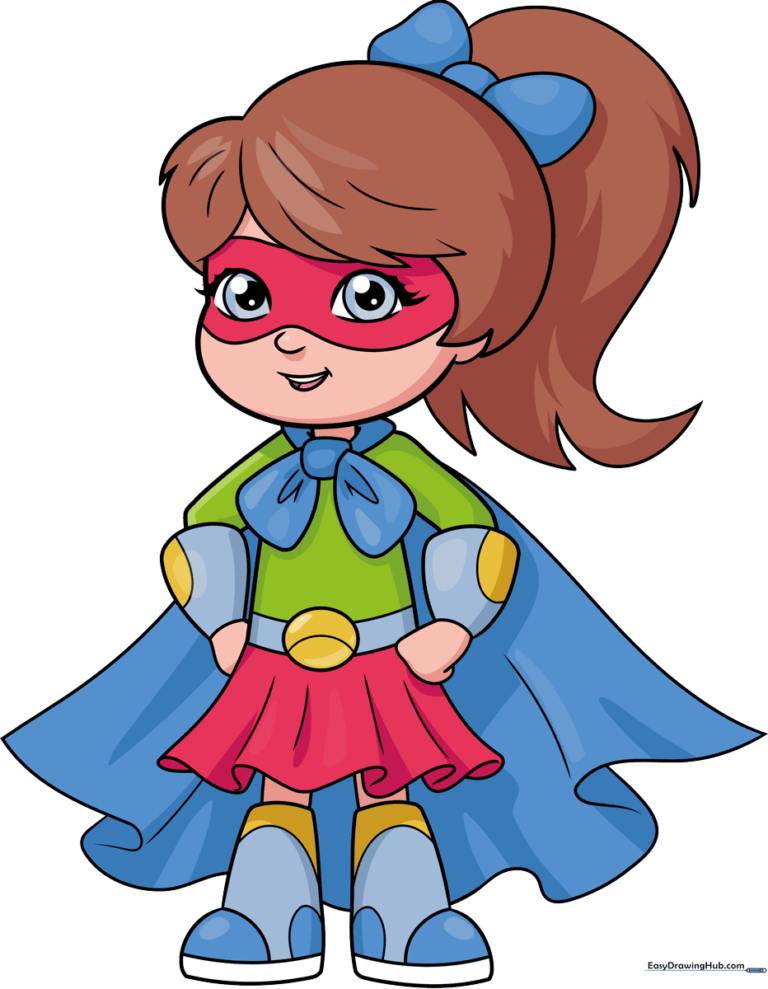
🎯 Final Result
Step-by-Step Instructions
Step 1: Sketching the Eyes and Face
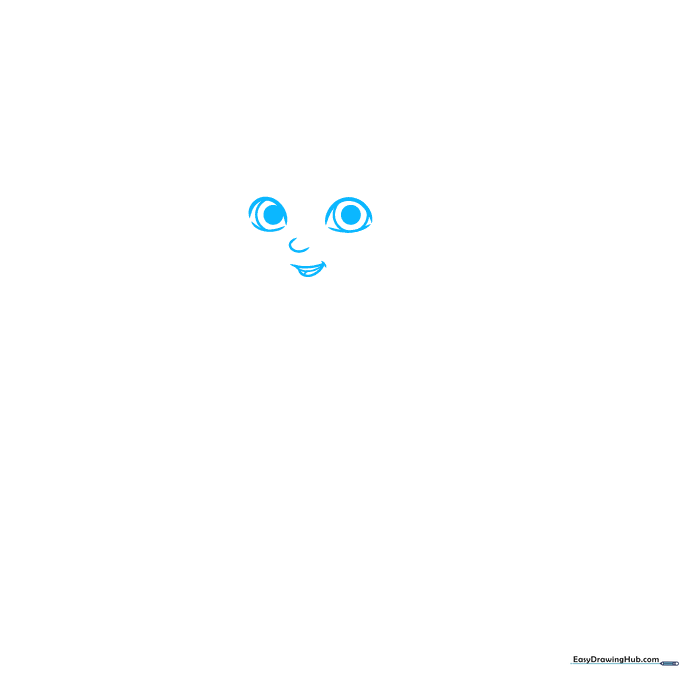
Draw two light, curved lines for the top and bottom of the eyes, then add small circles inside for the pupils. Teacher's Tip: Keep your pencil pressure light so you can easily erase any mistakes while you find the perfect placement for the face.
Step 2: Defining the Hairline
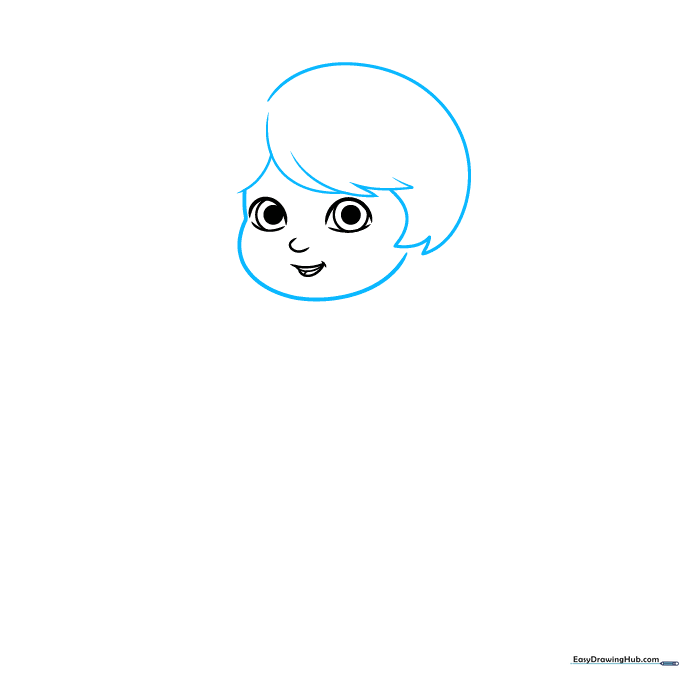
Use overlapping curved lines to frame the face and start the hair. Teacher's Tip: Use jagged, quick strokes to make the hair look natural and flowy rather than stiff.
Step 3: Adding the Mask and Ponytail
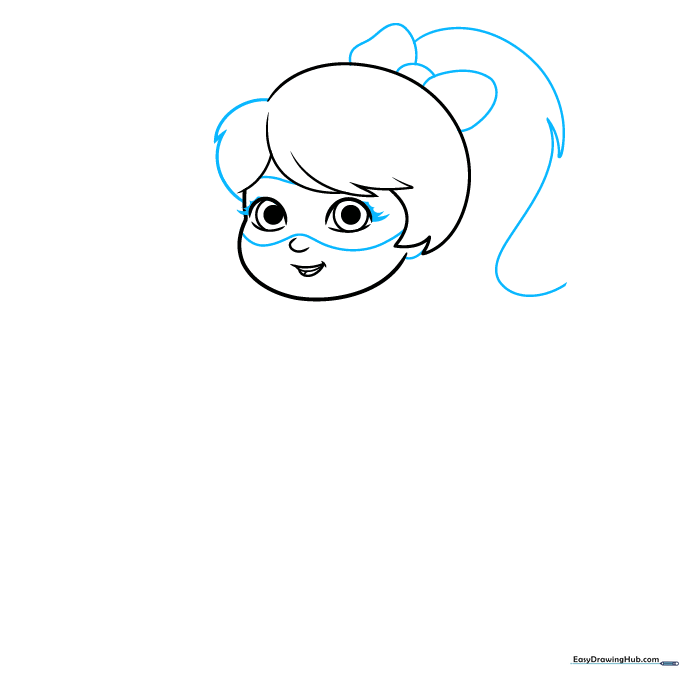
Draw the superhero mask around the eyes and add a ponytail with a bow. Teacher's Tip: Make sure the mask lines follow the curve of the cheeks to give it a snug, heroic look.
Step 4: Sketching the Cape and Arm
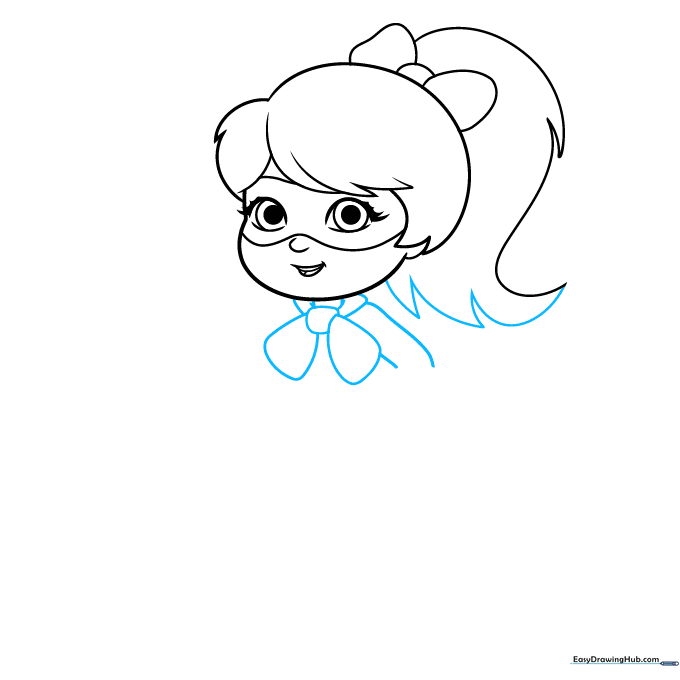
Draw the cape tied around the neck and one arm reaching out. Teacher's Tip: Use long, sweeping lines for the cape to suggest movement, as if she is flying!
Step 5: Drawing the Torso and Gauntlets
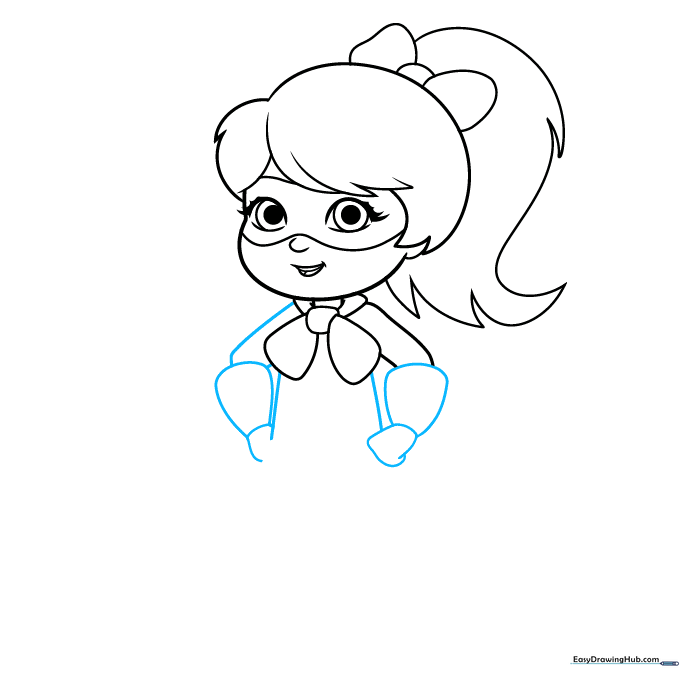
Add the second arm, torso, and protective gauntlets. Teacher's Tip: Keep the gauntlets slightly wider than the arms to make them look like real armor.
Step 6: Adding the Belt and Skirt
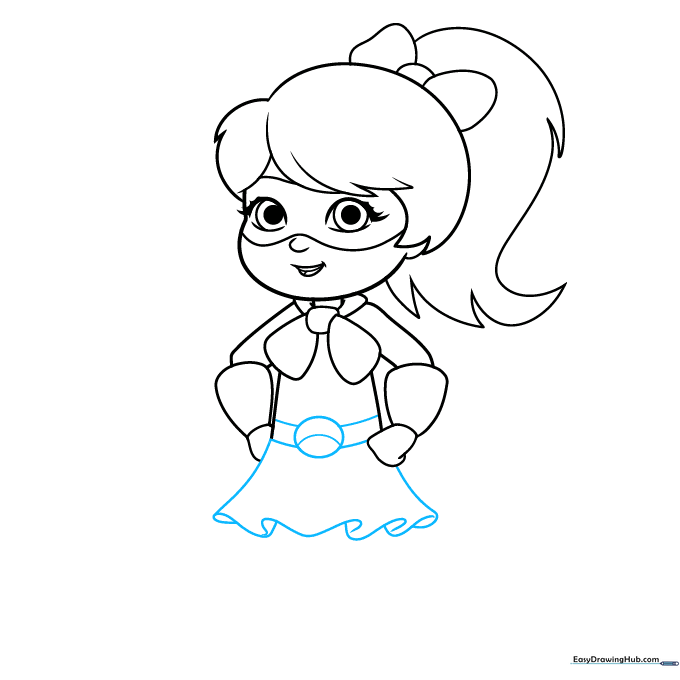
Draw the belt with a central buckle and the skirt base. Teacher's Tip: A simple oval buckle helps ground the character's outfit design.
Step 7: Legs and Boots
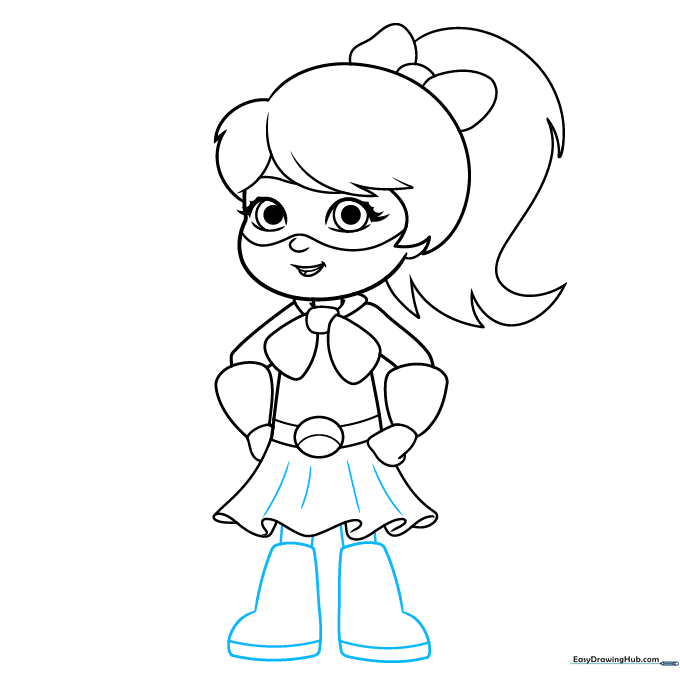
Sketch the legs and add tall boots. Teacher's Tip: Use curved lines at the ankles to show where the boots fold or bend.
Step 8: Refining the Cape
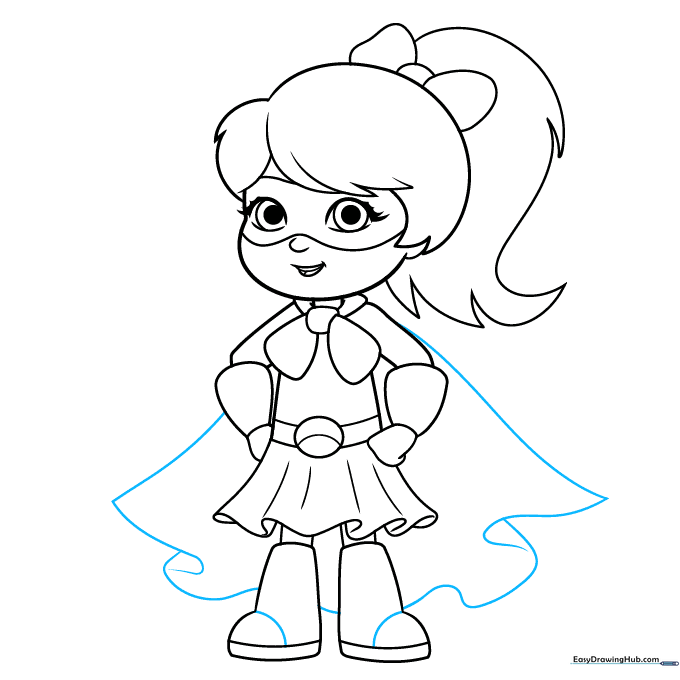
Extend the cape with long, flowing lines. Teacher's Tip: Overlap your lines to create folds in the fabric, which adds depth and realism to your drawing.
Step 9: Final Details
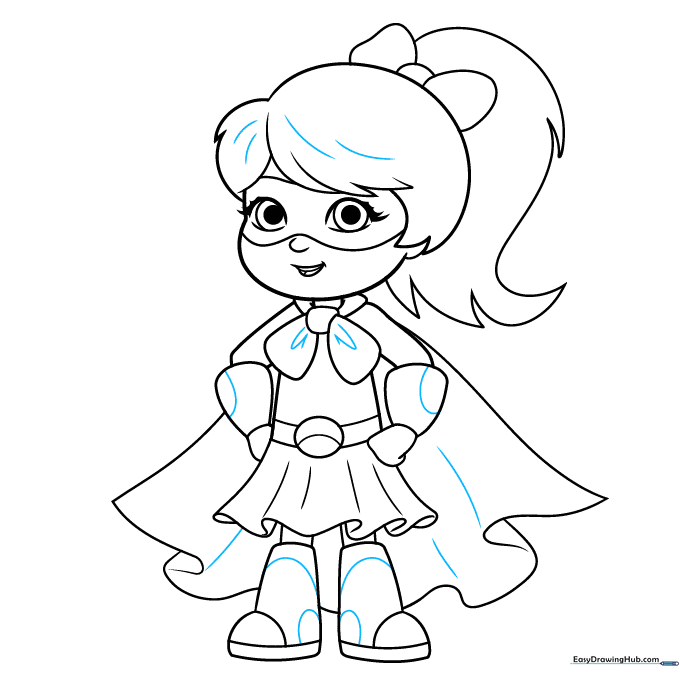
Add final textures to the hair, boots, and gauntlets. Teacher's Tip: Use small, consistent marks to show texture, making your hero look ready for action.
Step 10: Color Your Hero
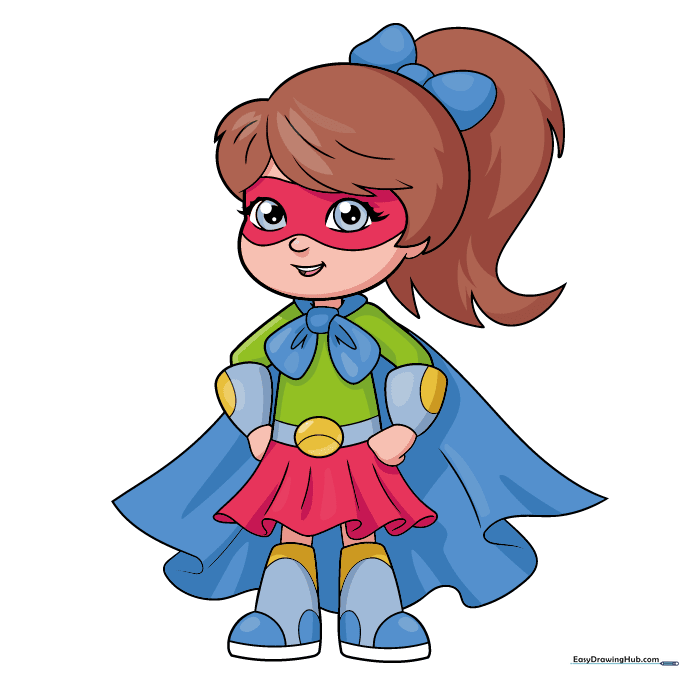
Bring your hero to life with color! Choose bold, bright colors and add a custom logo to her chest. Teacher's Tip: Use colored pencils to layer shades for a professional, vibrant finish.
More Tutorials


