How to Draw a Girl Face: Easy 10-Step Guide for Kids
This tutorial is perfect for young artists ages 5 and up looking to master character design. You will only need a pencil, an eraser, and your favorite coloring supplies to bring this character to life. Follow these simple steps to build confidence in your drawing skills while creating a fun, expressive cartoon portrait.
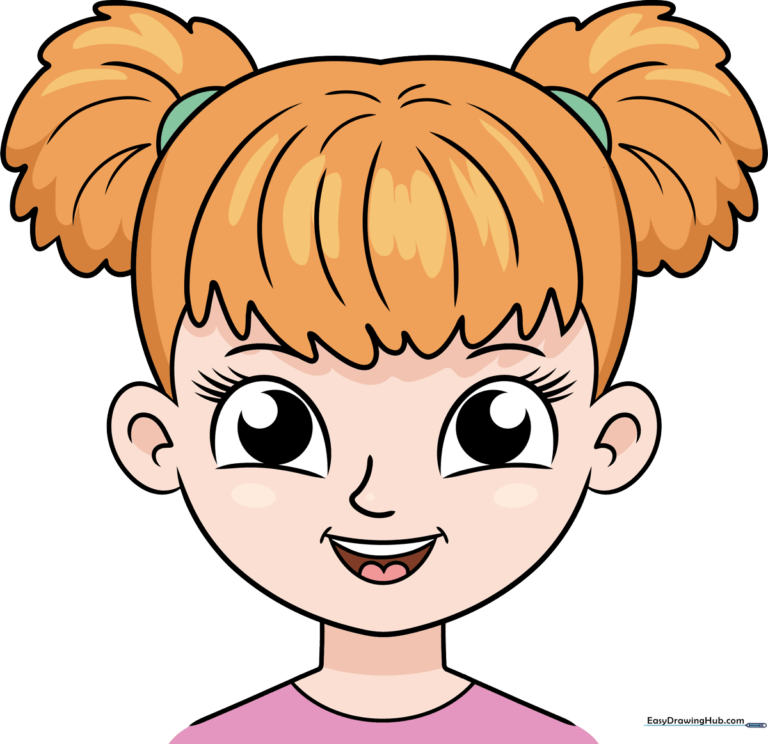
🎯 Final Result
Step-by-Step Instructions
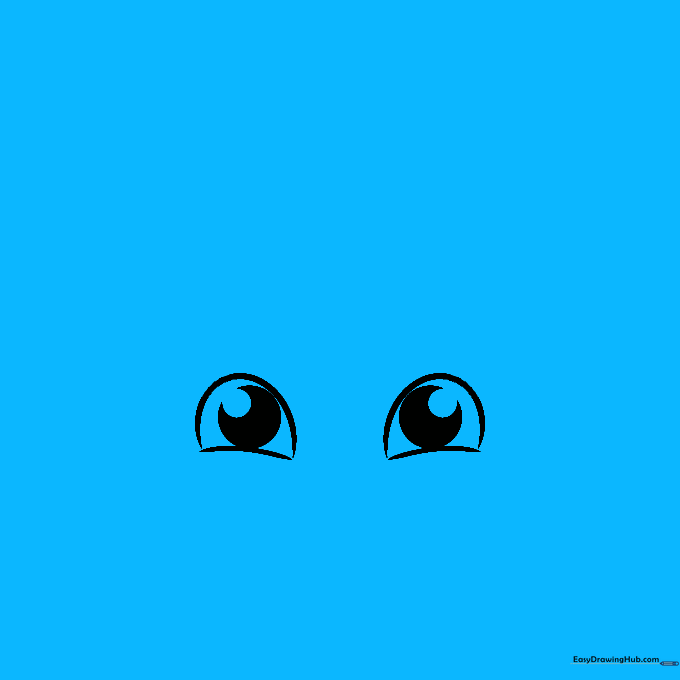
Step 1: Sketching the Eyes

Draw two small horizontal dashes for the base of the eyes, then add a dome shape over each. Place a circle inside each eye with a smaller dot for the pupil. Teacher's Tip: Keep the eyes level so your character looks balanced and friendly.
Step 2: Adding Facial Features
Add a curved line above each eye for the eyelid and small dashes for eyelashes. Draw a small hook for the nose and a gentle curve for the mouth. Teacher's Tip: Use light pressure for the nose so it doesn't overpower the eyes.
Step 3: Defining the Face Shape
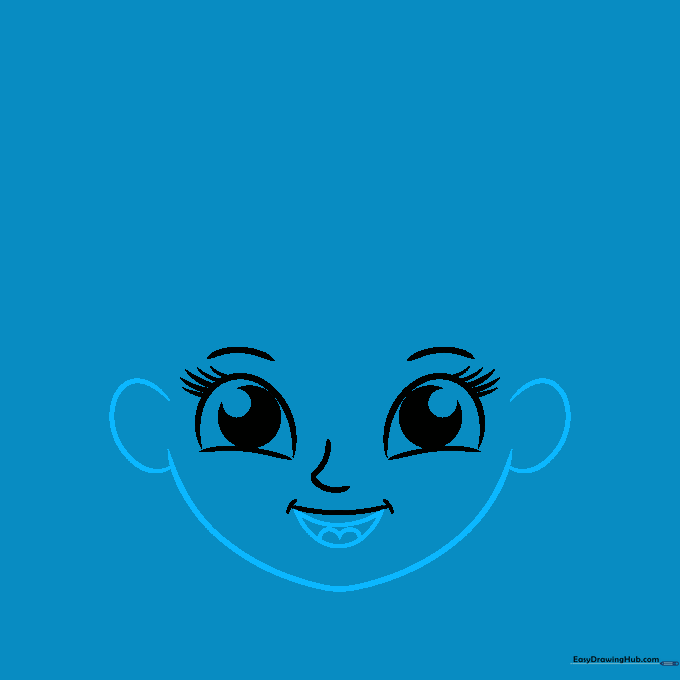
Outline the face with two curves meeting in a rounded point at the chin. Add a small loop on each side for the ears. Teacher's Tip: Imagine the face is an upside-down egg to get the proportions just right.
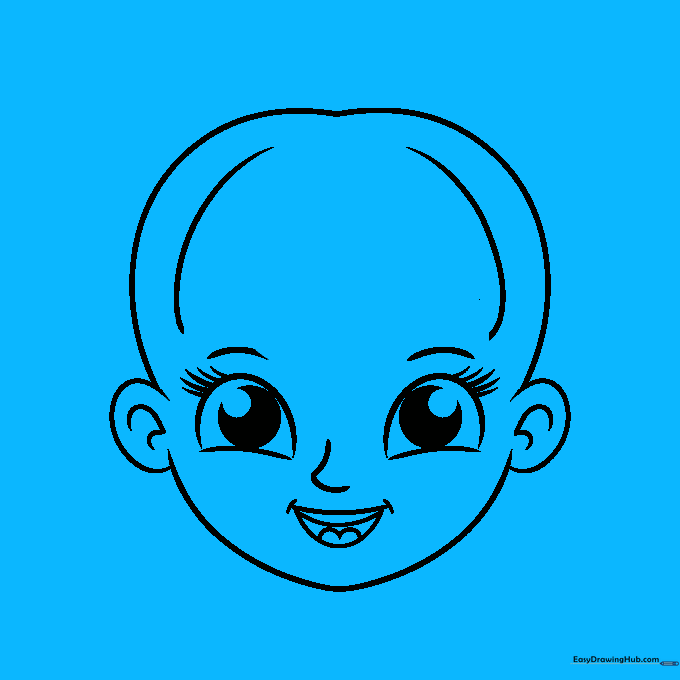
Step 4: Drawing the Head and Ears
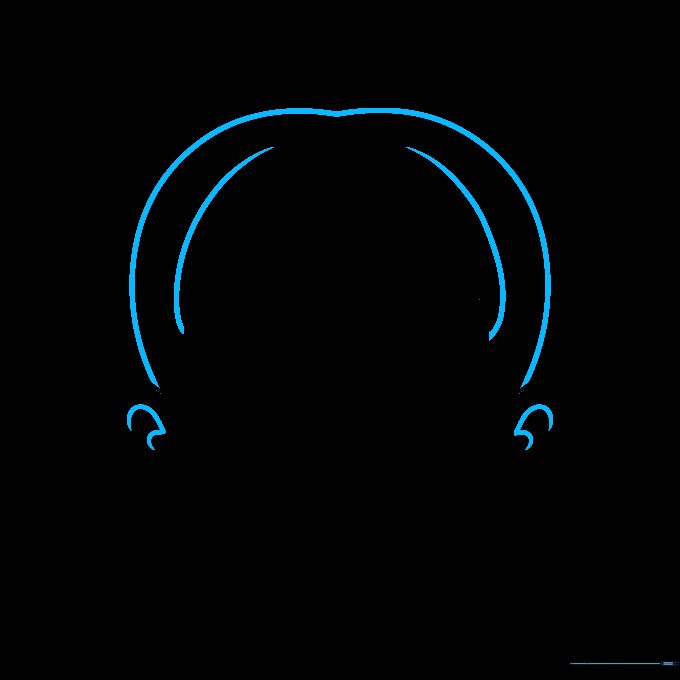
Draw a large curve for the top of the head and add small hook shapes inside the ears for detail. Teacher's Tip: Keep the top curve smooth to make room for the hair later.
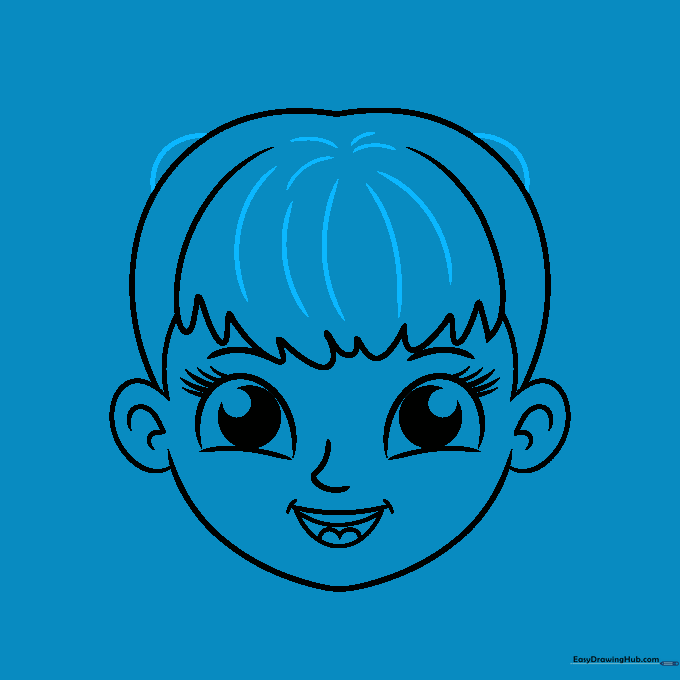
Step 5: Sketching the Bangs
Create wavy, cloud-like shapes across the forehead to form the bangs. Teacher's Tip: Don't worry about making them perfect; hair is naturally uneven and flowy.
Step 6: Adding Hair Volume
Add curved lines inside the hair area to show texture and volume. Teacher's Tip: Long, sweeping strokes help the hair look soft and realistic.
Step 7: Drawing the Ponytail

Use squiggly lines on the right side to draw a poofy, pom-pom style ponytail. Teacher's Tip: Use quick, light motions to make the hair look bouncy.
Step 8: Balancing the Hair
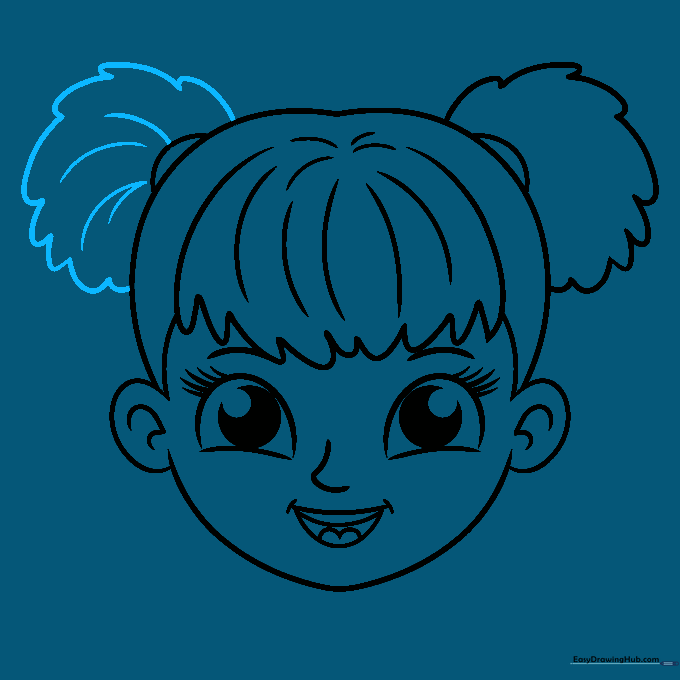
Repeat the previous step on the left side to create a matching ponytail. Teacher's Tip: Symmetry makes the character look polished, but don't stress if they aren't identical!
Step 9: Adding the Neck and Shoulders
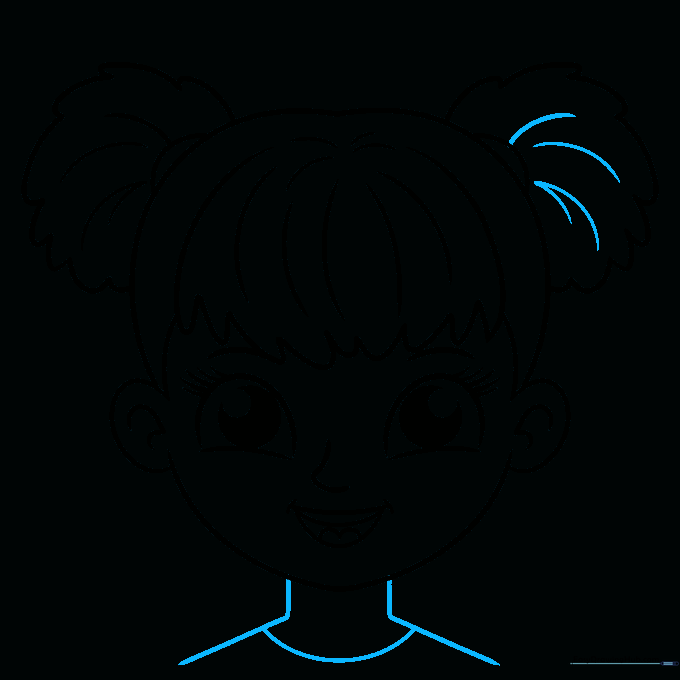
Draw two straight lines for the neck and connect them with a curve for the shoulders. Teacher's Tip: Keep the neck narrow so the head remains the focal point.
Step 10: Coloring Your Masterpiece
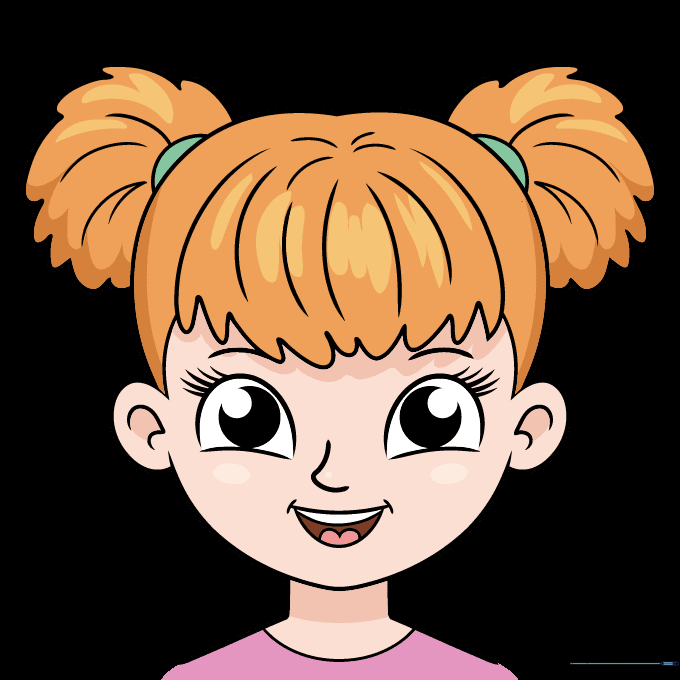
Outline your drawing with a black pen and erase any stray pencil marks. Color the hair, skin, and shirt using your favorite palette. Teacher's Tip: Use a lighter shade for the skin and a darker shade for the hair to create contrast.
More Tutorials


