How to Draw a German Shepherd: Easy 10-Step Guide
Capture the loyal spirit of a German Shepherd with this simple, step-by-step drawing tutorial. Designed for artists ages 5 and up, this lesson uses basic shapes to build confidence and fine motor skills. Grab a pencil, an eraser, and your favorite markers to bring this noble pup to life.
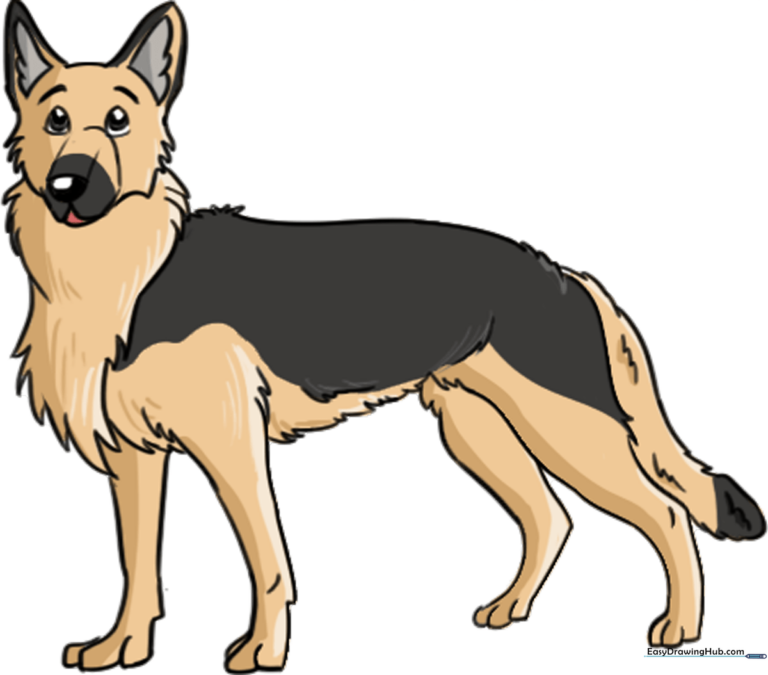
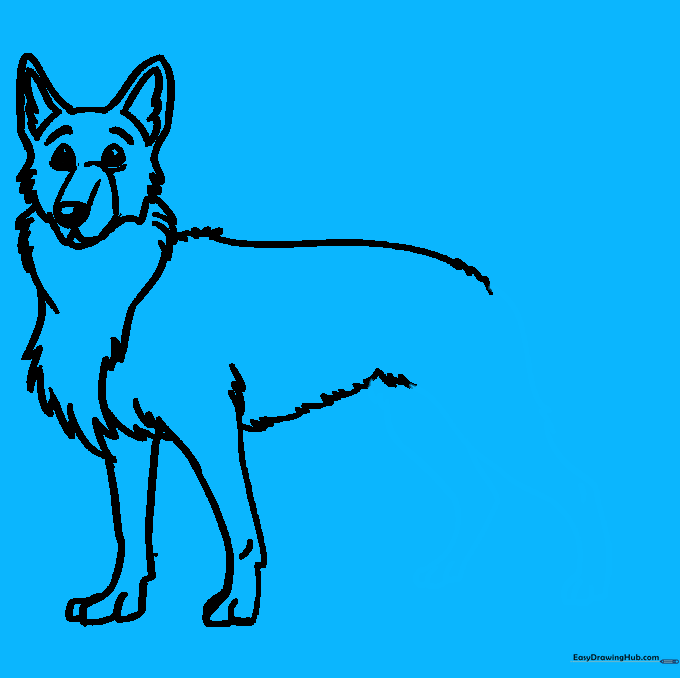
🎯 Final Result
Step-by-Step Instructions
Step 1: Sketching the Head Base

Draw a light circle to serve as the foundation for the head. Teacher's Tip: Keep this circle about the size of a coin and press very lightly with your pencil so it's easy to clean up later.
Step 2: Adding the Ears

Add two tall, pointed ears on top of the circle using curved lines. Teacher's Tip: German Shepherds are known for their alert, upright ears, so make them nice and tall to capture that iconic look.
Step 3: Defining the Snout and Cheeks
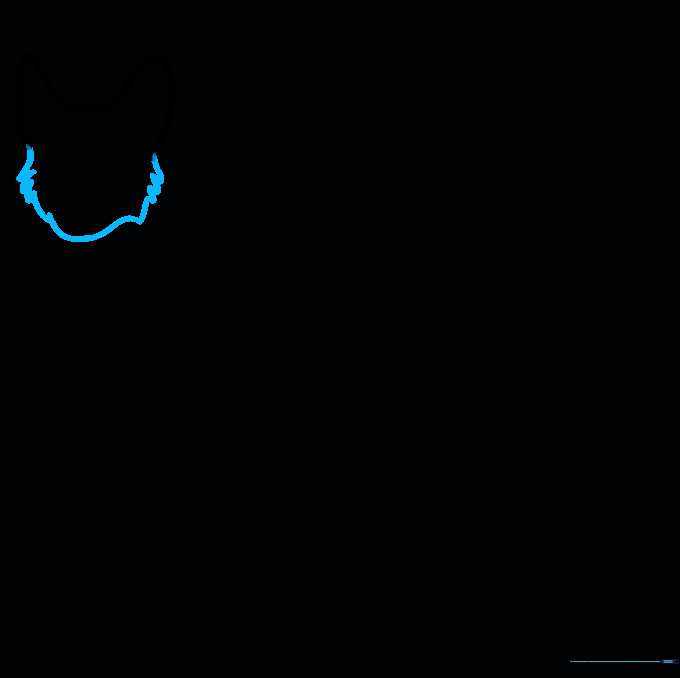
Use short, jagged lines around the cheeks to suggest fluffy fur, and connect them with a curved line for the snout. Teacher's Tip: Use quick, flicking motions with your pencil to make the fur look natural and soft.
Step 4: Adding Facial Features
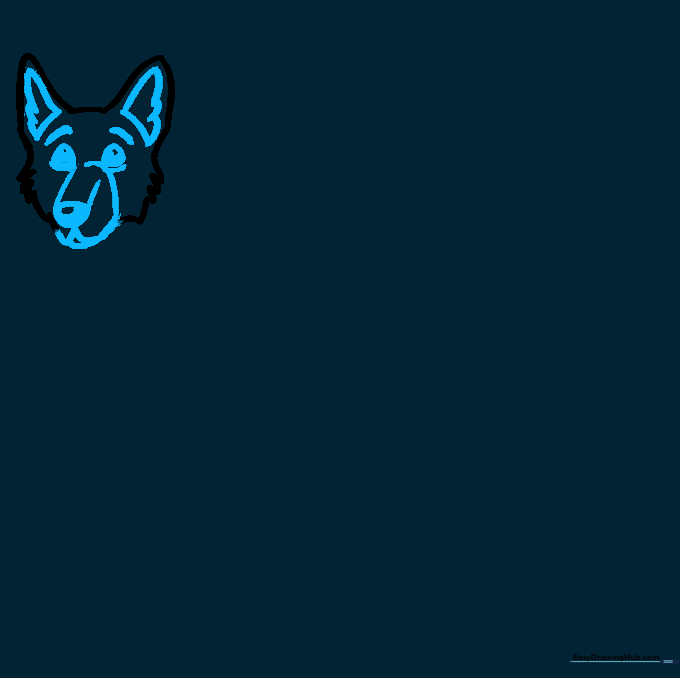
Draw the eyes, nose, and mouth. Shade the nose and pupils to give the face depth. Teacher's Tip: A 'W' shape for the mouth gives the dog a friendly, happy expression.
Step 5: Sketching the Neck Fur

Draw a triangular patch of fur under the chin using jagged lines. Teacher's Tip: This adds volume to the neck and makes your drawing look more professional and realistic.
Step 6: Drawing the Front Legs
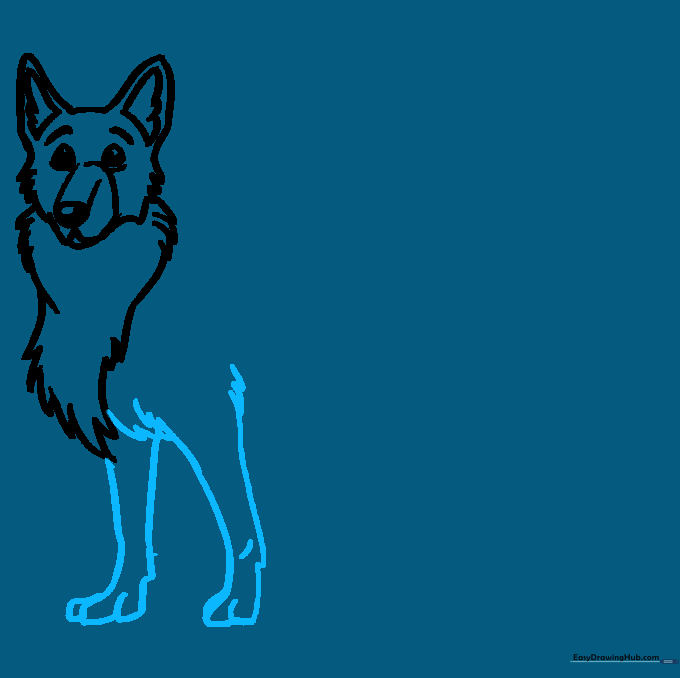
Draw the front legs using long, curved lines and 'U' shapes for the paws. Teacher's Tip: Add small jagged lines at the base of the legs to represent the tufts of fur around the paws.
Step 7: Outlining the Back and Belly
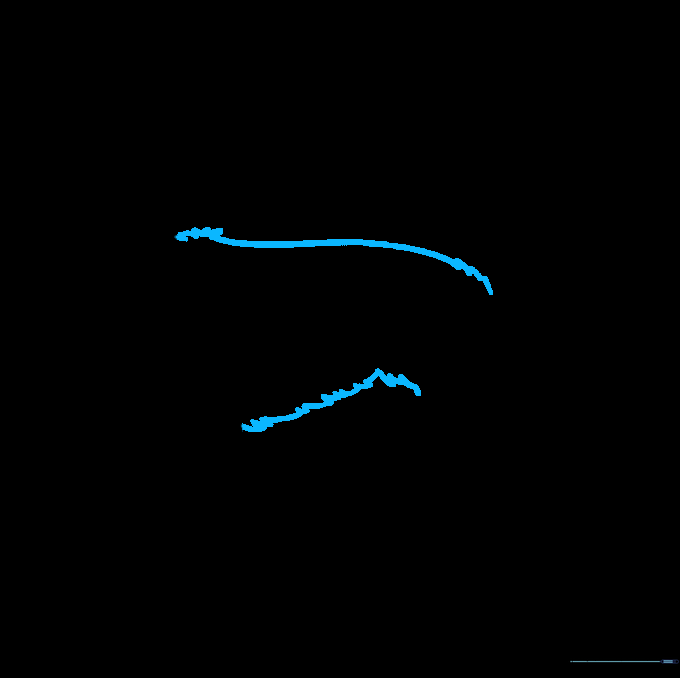
Connect the head to the body with a long, slightly curved line for the back and a jagged line for the belly. Teacher's Tip: Keep the back line smooth to show the dog's posture.
Step 8: Adding the Rear Legs
Draw the back legs with a slight bend at the ankle. Teacher's Tip: The bend in the leg is what gives the German Shepherd its athletic, powerful stance.
Step 9: Completing the Tail
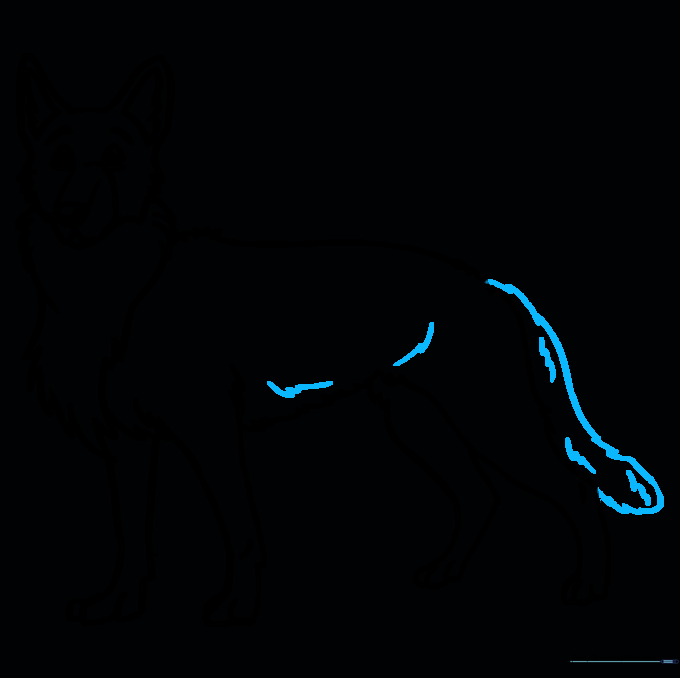
Draw a bushy, curved tail using jagged lines. Teacher's Tip: A thick, bushy tail is a signature feature of the breed, so don't be shy with your fur textures here!
Step 10: Adding Color
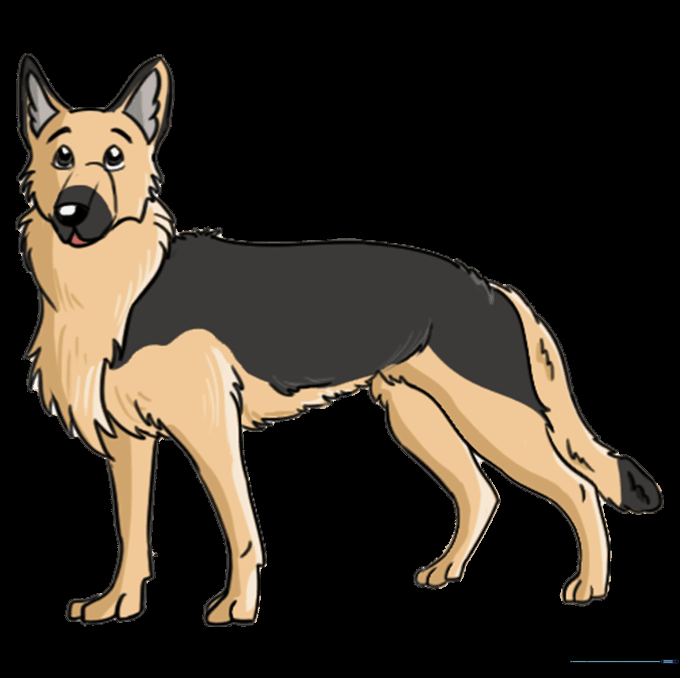
Bring your drawing to life with color! Use tan and black for the classic look, or experiment with other patterns. Teacher's Tip: Use light pressure for the tan areas and darker, firmer strokes for the black patches to create contrast.
More Tutorials


