How to Draw a Gargoyle: Easy Step-by-Step Guide
Ready to bring a stone guardian to life? This tutorial is perfect for young artists ages 8+ who want to practice character design. Grab your pencil, eraser, and paper, and follow these steps to master the hunched, powerful posture of a classic gargoyle.
🎯 Final Result

Step-by-Step Instructions
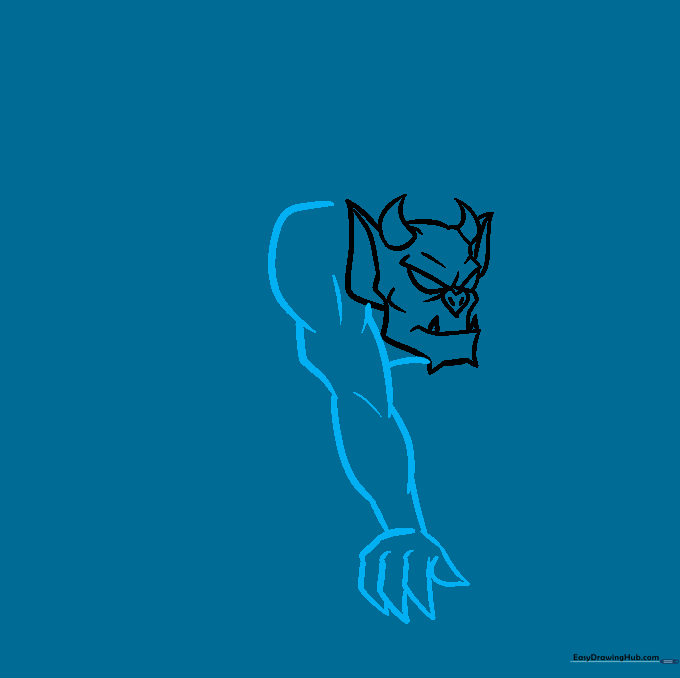
Step 1: Sketching the Face

Draw the eyes, nose, and mouth to establish your gargoyle's personality. Tip: Keep your pencil strokes light here; gargoyles are expressive, so don't be afraid to erase and adjust the jawline until it looks perfectly grumpy.
Step 2: Adding Horns and Ears

Close off the top of the head and add pointed ears and horns. Tip: Use short, jagged lines to give the horns a textured, stone-like appearance.
Step 3: Sketching the First Arm
Draw a thick, muscular arm reaching toward the chin. Tip: Use a curved line to connect the arm to the chin, which helps create that classic 'perched' gargoyle silhouette.
Step 4: Completing the Arms and Spine
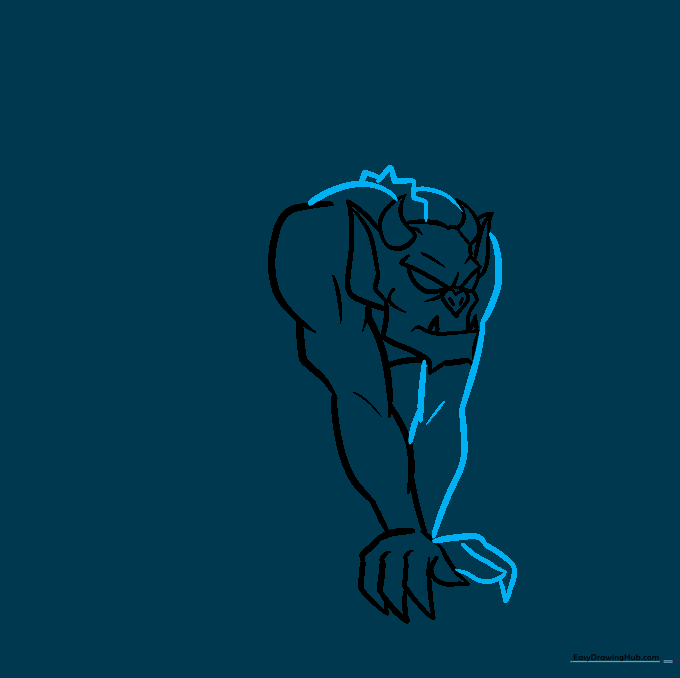
Add the second arm and a hunched, spiky spine. Tip: Imagine the weight of the creature pressing down on its hands to get the posture right.
Step 5: Drawing the Leg
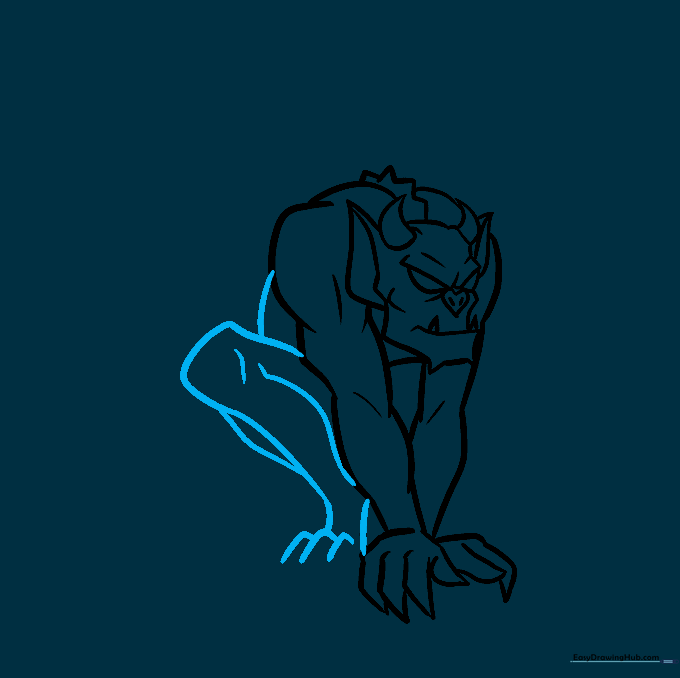
Draw a bent leg jutting out to the side with sharp toes. Tip: Keep the abdomen lines curved to emphasize the creature's compact, seated position.
Step 6: Adding the Rooftop Base
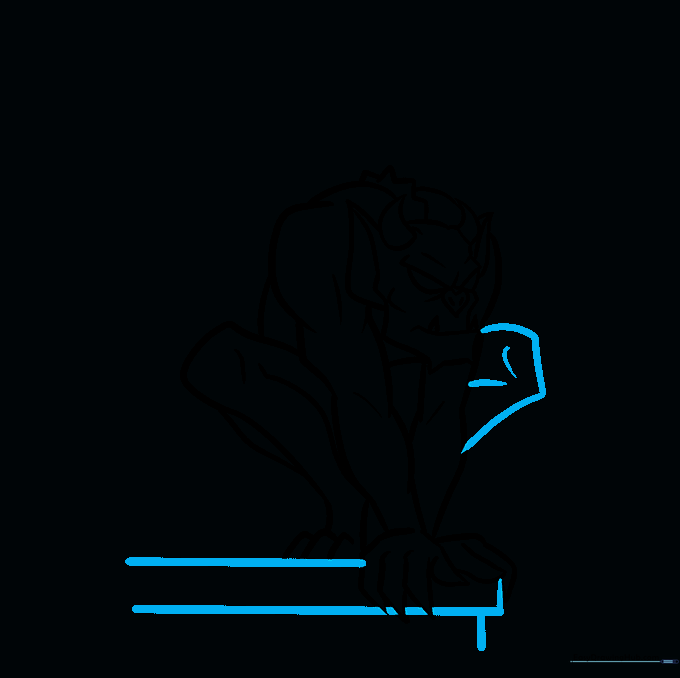
Draw the second leg and the ledge the gargoyle is sitting on. Tip: Use a ruler to keep the rooftop lines straight, which provides a nice contrast to the organic, curvy shapes of the monster.
Step 7: Sketching the First Wing
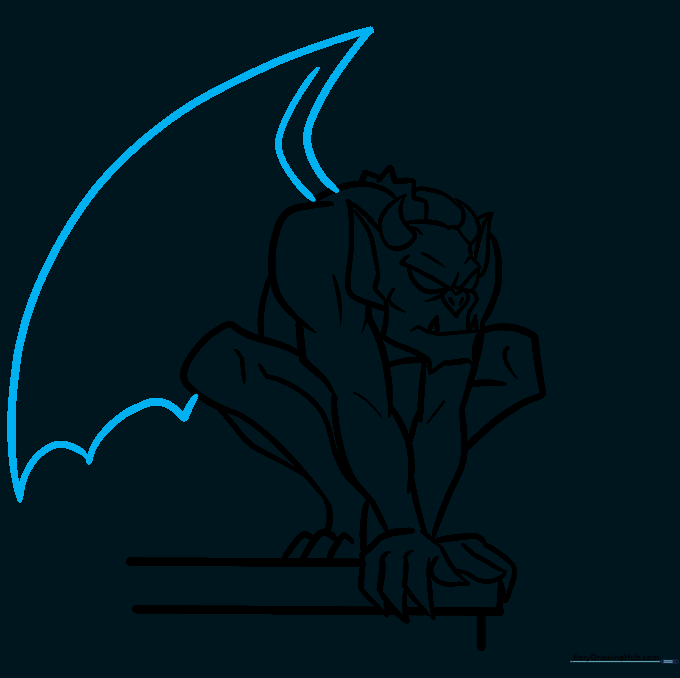
Draw a large bat-like wing on the left side. Tip: Think of an umbrella shape—smooth on top and scalloped like ocean waves at the bottom.
Step 8: Balancing the Wings
Mirror the wing on the right side. Tip: Check that both wings are roughly the same size so your gargoyle looks balanced and ready to take flight.
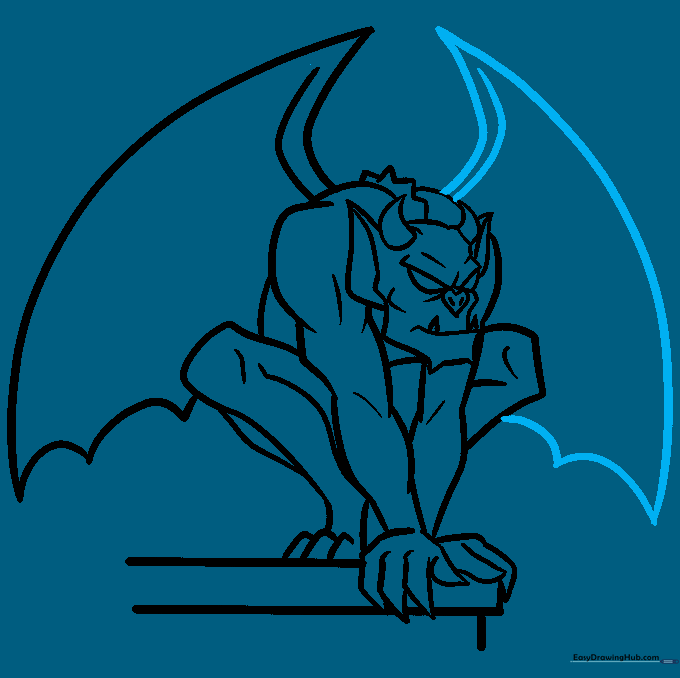
Step 9: Adding Wing Detail

Add vertical lines down the length of the wings. Tip: Align these lines with the bottom 'scallops' to make the wings look structured and leathery.
Step 10: Final Touches and Coloring
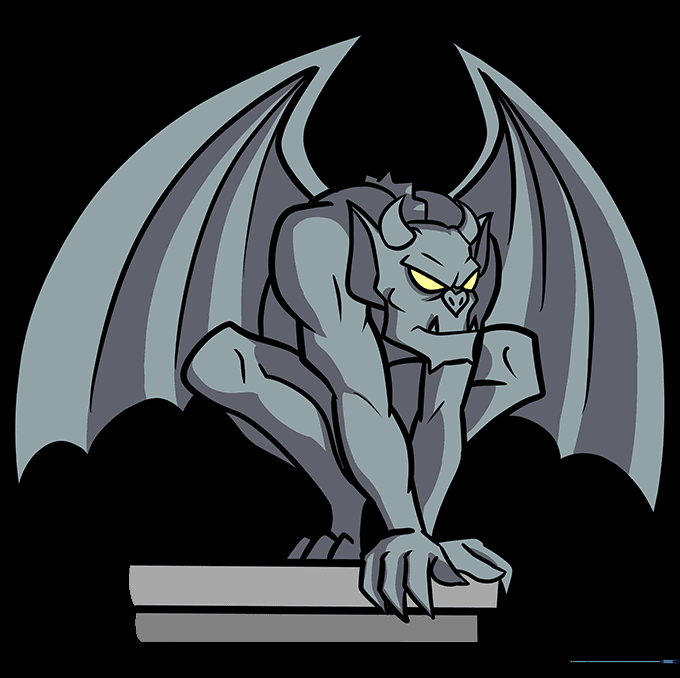
You've finished your sketch! Now, use shades of grey, charcoal, or blue to give your gargoyle that classic stone texture. Tip: Use a darker color for the shadows under the wings to make the figure pop.
More Tutorials


